Hi peeps!
It's been 3 weeks since my announcement article and here is how it went:
- First week (developed below):
- Good progress on the Tool Spot
- Well-thought character rework
- Second week (not developed below):
- Been recording some tracks for an album i'm working on
- Third week (developed below):
- Switch from SpriterPro to Anima2D
- Long hard road into hellfire (outer glow type effect attempt)
First Week
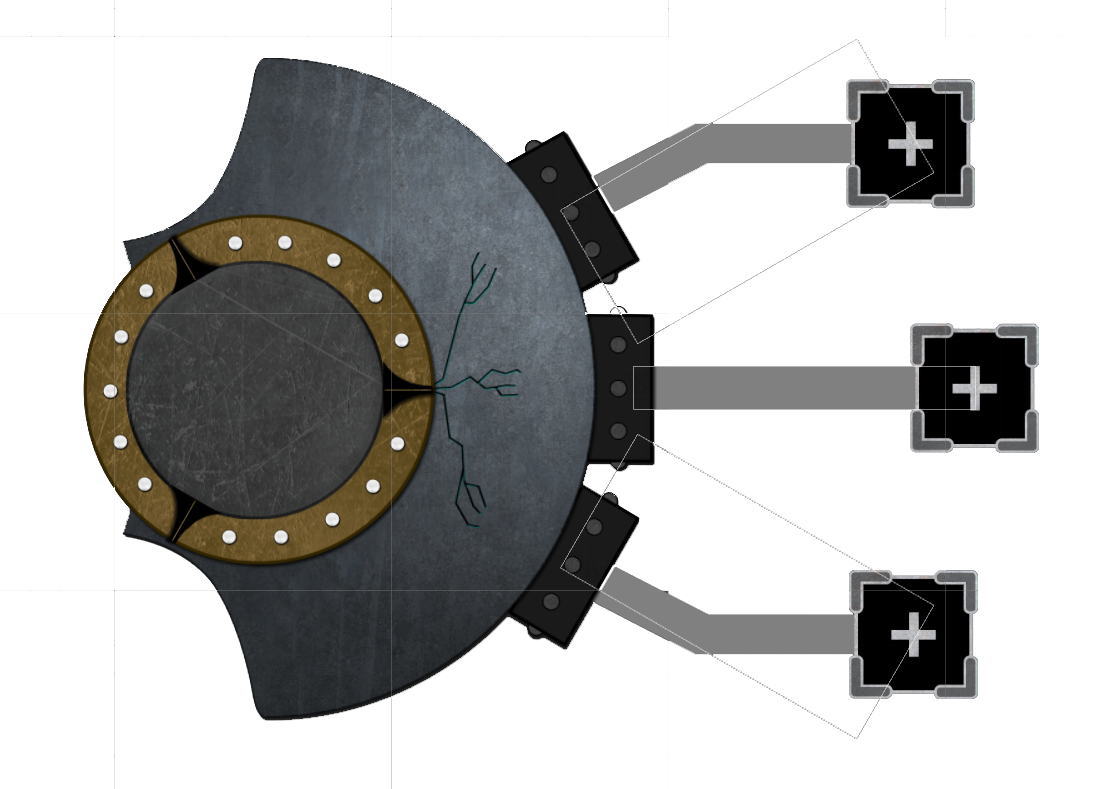
ToolSpot
That part went pretty well actually. The tool spot is a game element in which the player will put tool component in order to build tools to interact with the creature.
It went from this:
to this:
Cool, right? And because drinks are on me, here is a little video of how it is animated:
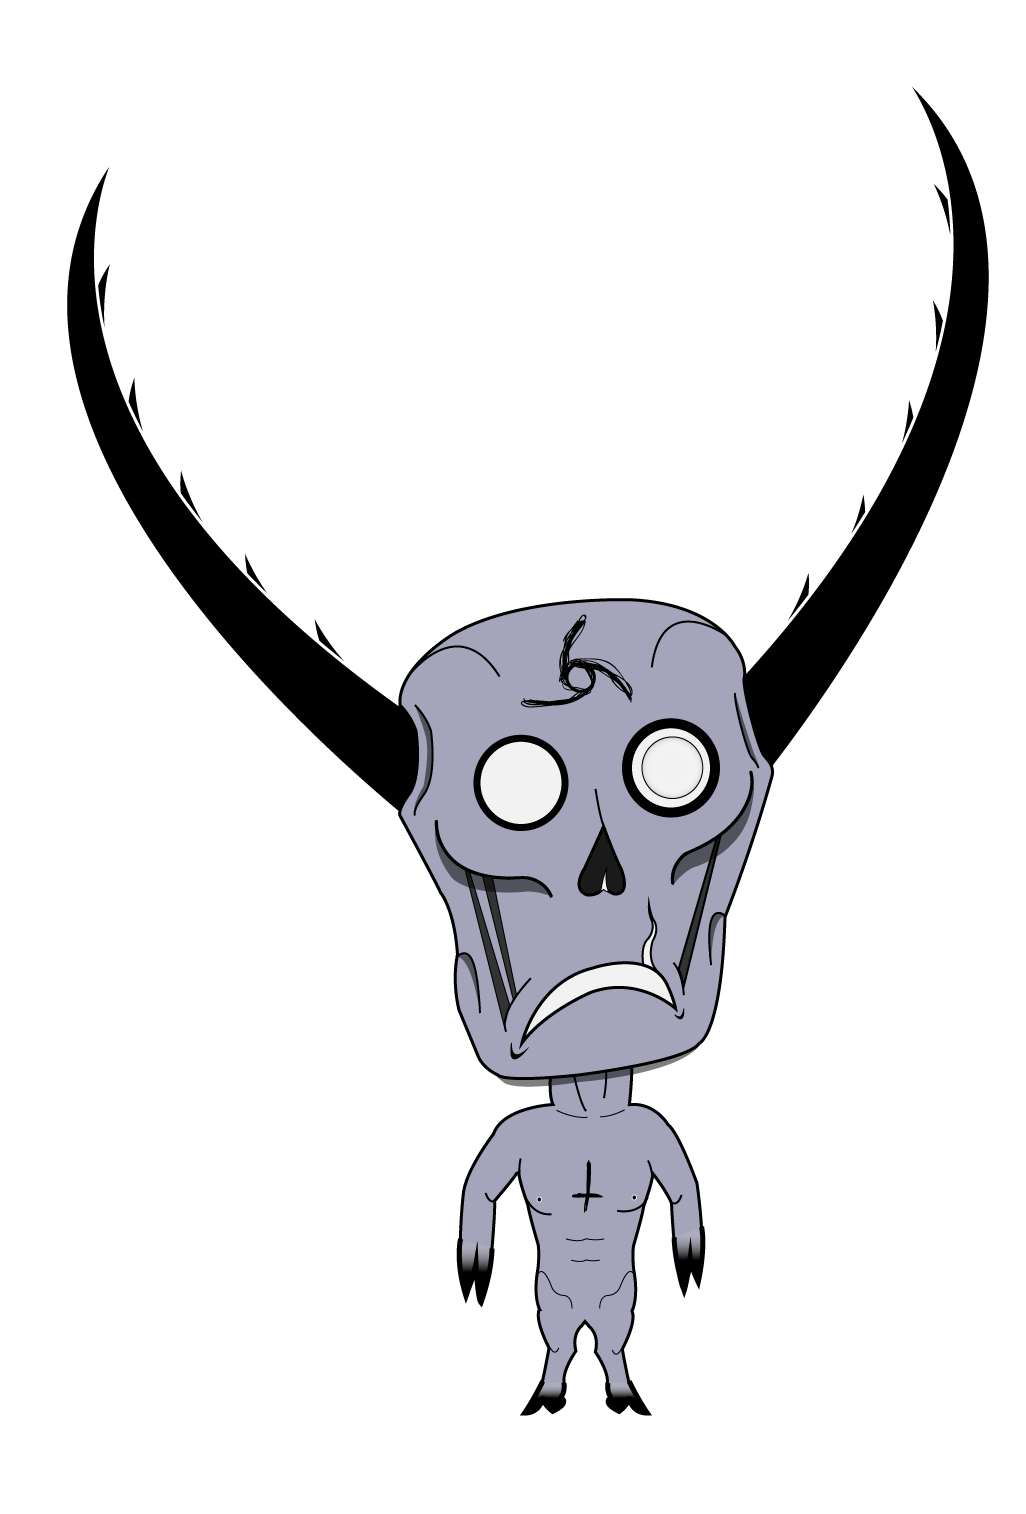
Character Rework
Audacious move right there, since the character was supposed to be in the stone, designed months ago, it was one of the pillar of the game's graphics, one of the first concrete aspect of the game, i even designed the other elements with him in mind.
But it just wasn't fitting anymore, there is nothing else to say.
I noticed it a long time ago when i designed the rest of the game scene, but it was already animated and a rework would imply lots of redo work which i tend to avoid as much as possible, like every healthy-minded human out there. But most of all, i had in mind the idea that its non-fitting design would emphasis the fact that it is misplaced, captured, doesn't belong here.
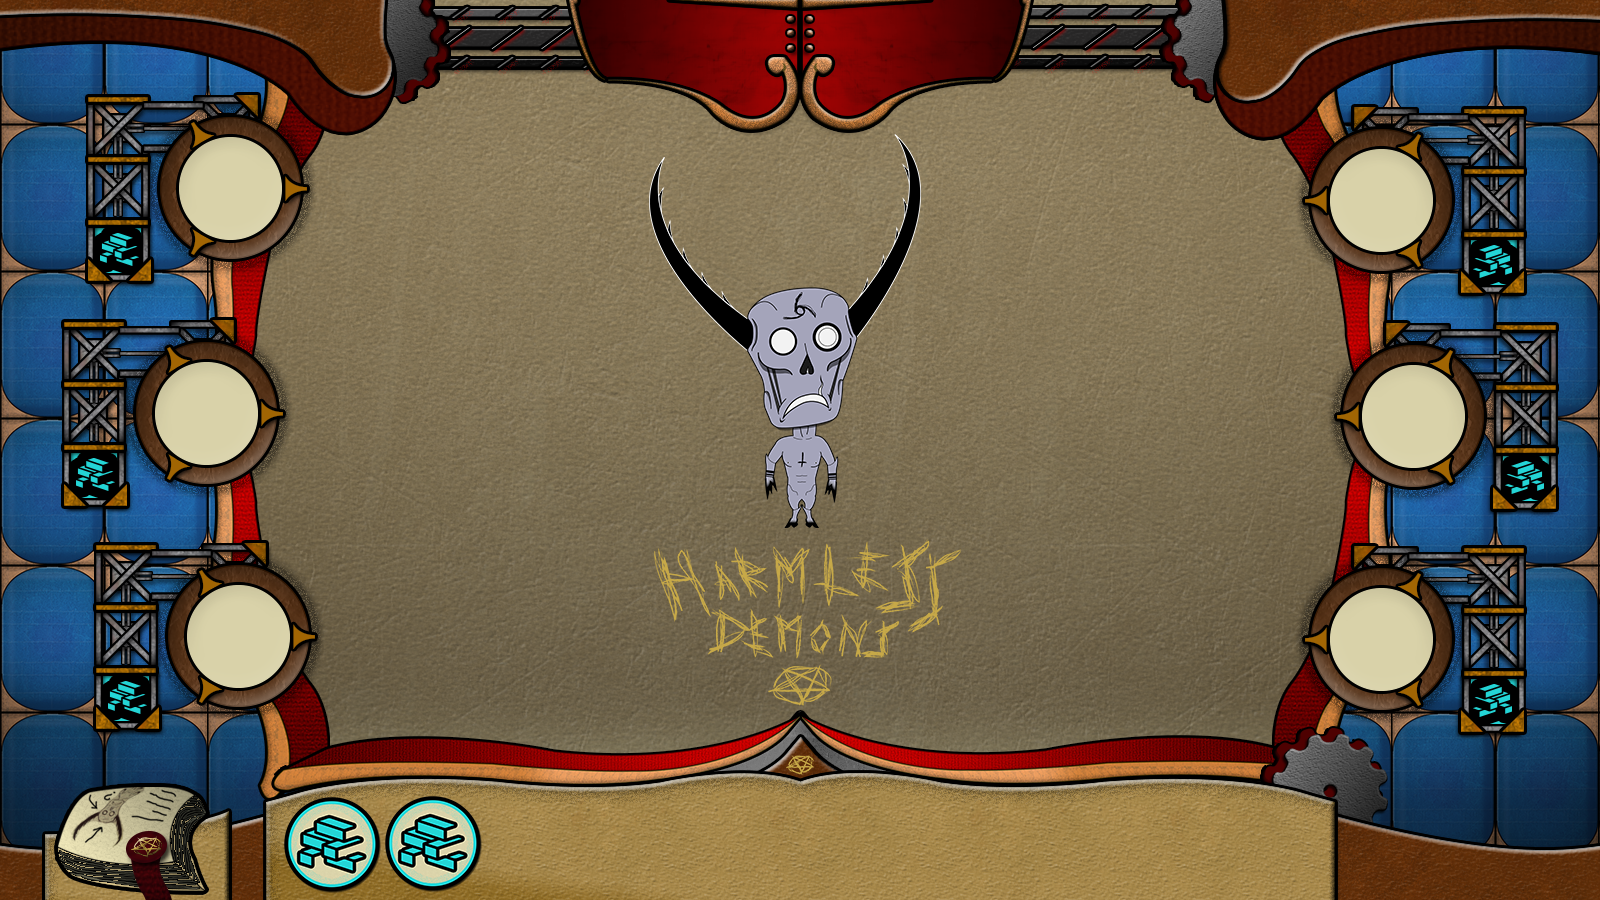
Cool idea, bad results. It just wasn't working. So i rolled up those sleeves and went down the mine. Here are the steps:
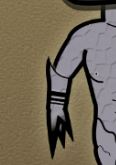
V0 (DAMN.):

V1:
V2, mostly based around Spriter Pro restrictions:
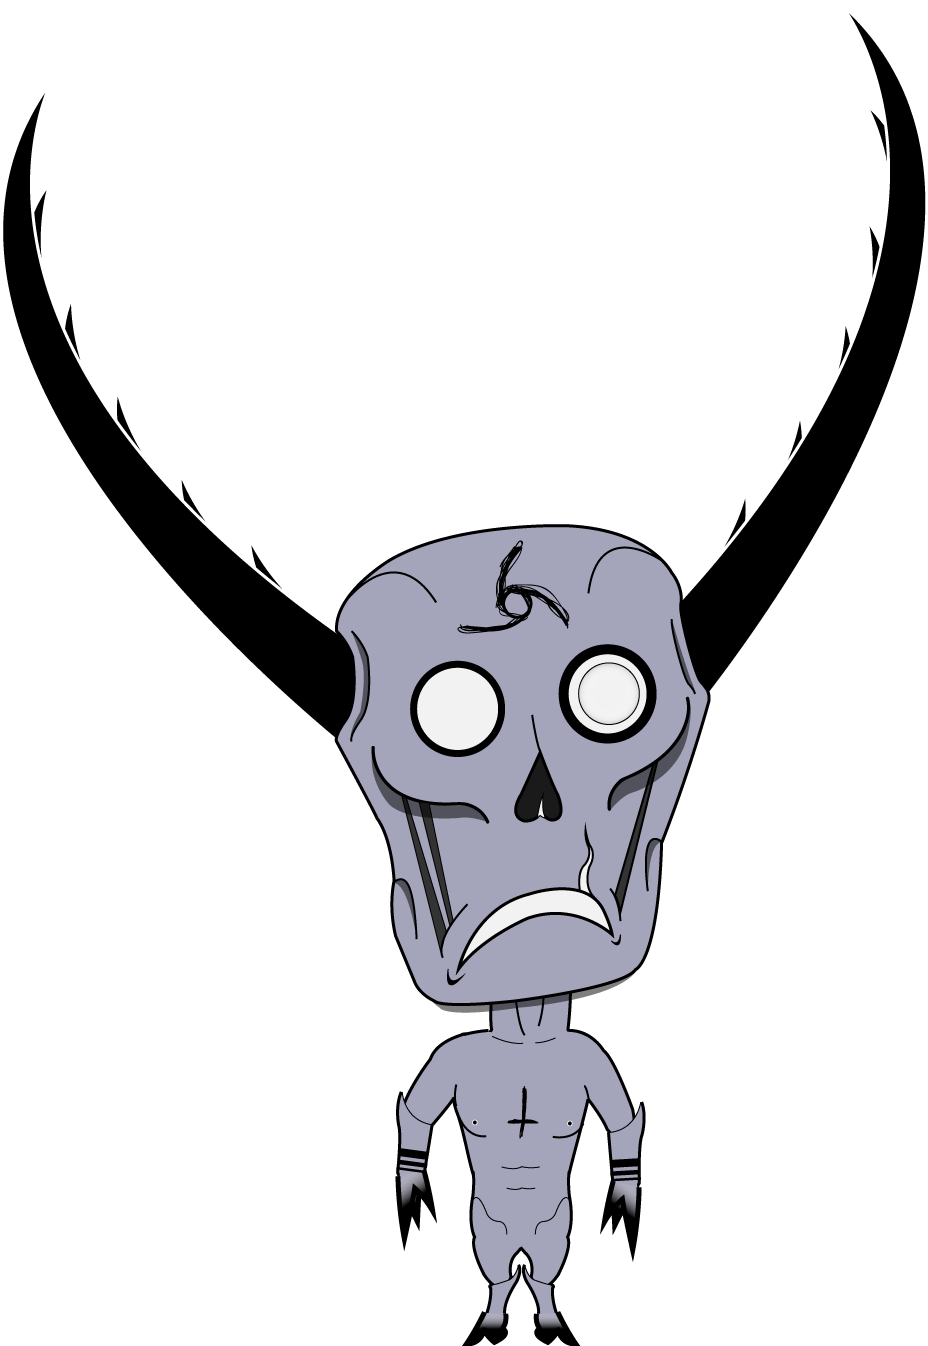
V3 (<x!Final!x>):
Now it feels at home. No more misplaced feeling indeed, but i don't think i'm enough in control of my design skills to control such an idea for now. Nevertheless, i"ll keep it in mind, maybe for another time.
Second Week
Non-Harmless Demons-related music recording. New material before the end of the month.
Third Week
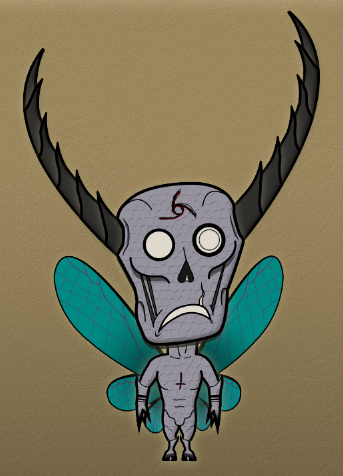
Switch from SpriterPro to Anima2D
I also noticed it a while back. SpriterPro was cool, but kind of a hassle (following statements might be biased by my potentially bad understanding of SpriterPro).
It was good from an animation standpoint, but for over the fly modifications and Unity integration, it was a terrifying experience to me. I had to reimport the whole prefab for every little change and it would override the old one, so i would have to redo most of the unity-part setup of my character. Plus, adding new elements to the character like the wings or the horns never went smoothly. No animations layers on the Spriter part so i couldn't easily do mixed animations like flying body movement + flying wings movement. I had to do both separately and mix them in mecanim, or do both in one Spriter Pro animation, which wasn't really practical.
So when i updated the "Head" structure, by adding a new "Face" sub folder and SpriterPro told me i couldn't change the original folder structure (i think i could have via the save file, but this was the last straw that broke the camel's back), i knew it was time for us to part ways, hold on to our best thoughts of good time spent together and never meet again.
It is how i went for a built-in solution, Anima2D. Way more flexible and easy to use (for now). Plus, it had some kind of sprite deformation feature (even if the description said it didn't) that is so incredibly useful and awesome i still can't believe i did animation without it before.
It would have made some of the early character design work smoothly, but let's keep the past to the past. No Regrets. It's Always Forward I'm Moving.
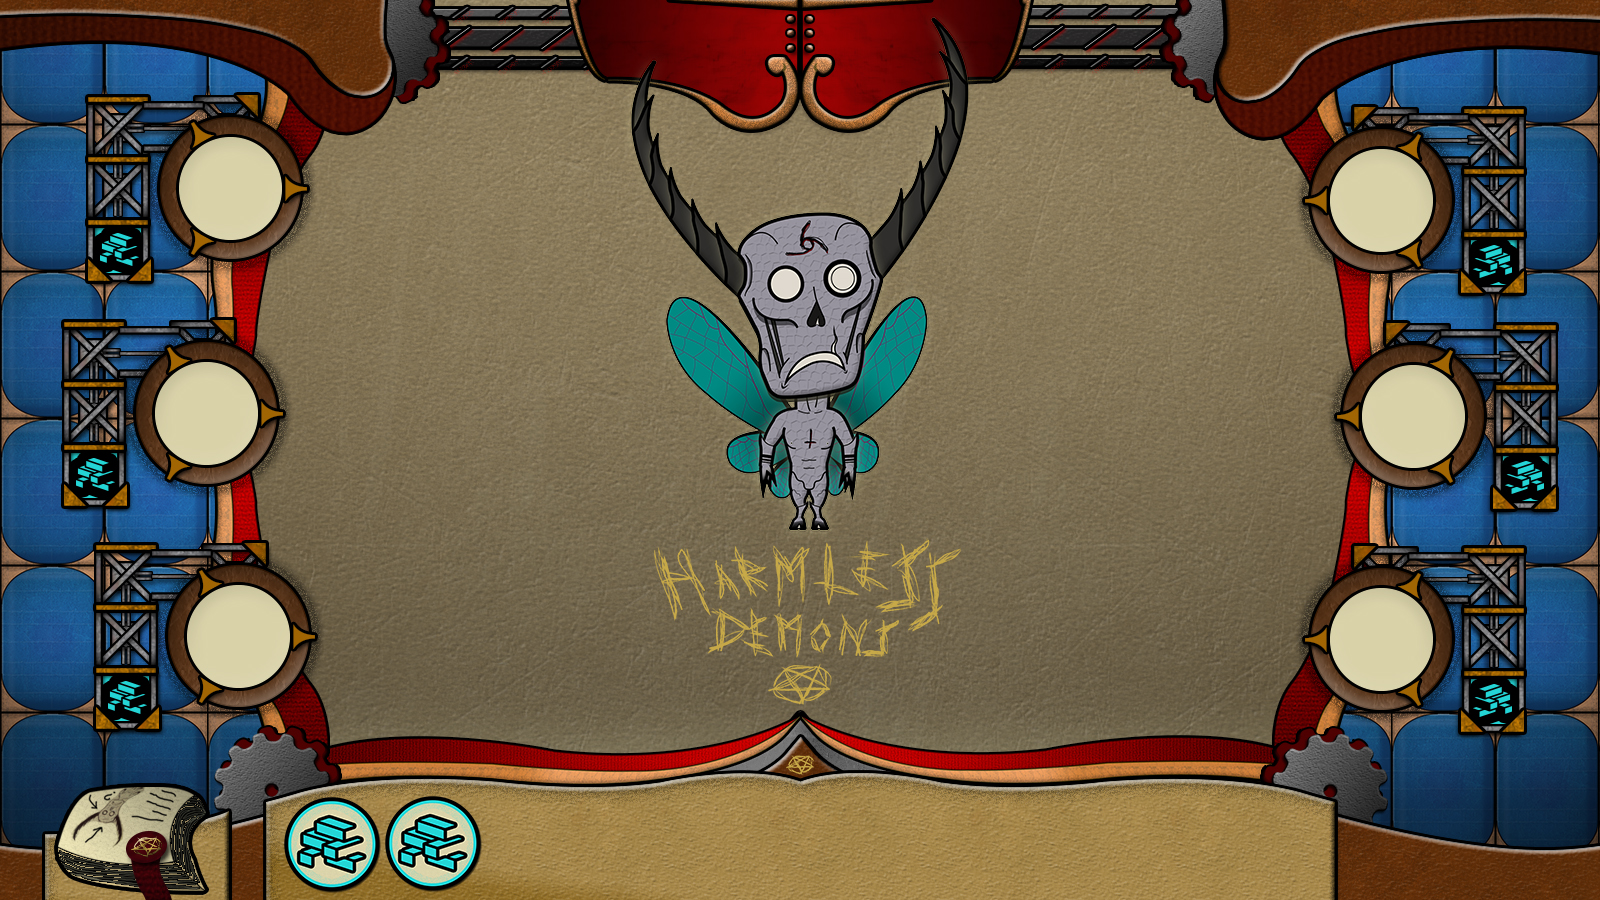
Long hard road into hellfire (outer glow type effect attempt, aka i just wanted the photoshop effect)
Take my hand reader, i'm now leading you the DeEpEst DaRkNeSs ever witnessed by the human eye. It all started in a simple way, i wanted the outer glow effect of photoshop in Unity. It really made the character pops out of the background, making it clearly visible, which i liked a lot.
I thought i would be a classical thing, and that i would find something pretty quickly on the internet explaining how to properly implement this effect in Unity. What a fool! The DeEpEst DaRkNeSs was actually already tightening his grip on my soul.
I'm a simple person. I'm not interested in something, i make no effort. My goal here was to integrate and animate my new character with my new animation tool, the glow was a detail, i wasn't interested in it. I wanted it to work as quickly as possible and then move on to my character animation! Make That Lil Buddy Move! ==> Red Card, My Friend! No Tackle In The Penalty Area!
I started looking up for (free) packages. I wanted to download, import, attach a script, tweak a bit, and voilà. But in all of the solutions i tried, there was always at least one point of this checklist that wasn't met.
Now that i'm calmer, i can say it, i started raging. My thoughts were erupting all over the place, "There Must Be A Simple Solution", i kept repeating myself. I saw the shaders and the source code in the packages, but i was forcing myself to stay away from it, "it's too soon" i was thinking, "not for such a stupid thing like an outer glow". I think i lost maybe 1 or 2 days, looking for a simple solution to save my time. Until i stumbled upon this.
I think it's because it was very close to be what i wanted that i finally dropped that all "Keeping Those Hands Clean" thing. My objective was now to make it work by all means. The animation was put off until later. From this point, everything ended open. Shader files? Open. Source code? Open. Eyes? Open. Mind? Open as well, you guessed it.
The only remaining problem at this point was that i couldn't make the glow depth filtered, it was always rendered on top of everything. Which wasn't the case in the test scene of the package. But in order to imagine a solution to that problem, i had to understand what was happening. I spent another 2 days, i'd say, in testing and reading stuff about Unity rendering pipeline, shaders and buffer command. I was obsessively heated and excited to understand, for no apparent reason. The exact opposite state of mind i was in during the first two days of this week.
Through reading, learning and testing, i slowly made the DeEpEst DaRkNeSs scatter. I finally tightened it to one issue: the depth filtered pass of the effect was made by reading the current state of the depth buffer (here final, because i called the draw command after the rendering of the scene), cutting the hidden parts. The things is, the unity built-in default sprite shader doesn't write into the depth buffer, the sprite layers and sorting order are just the rendering order. The effect was reading an "empty" depth buffer, explaining why it was always rendered on top.
So i made a custom sprite shader in which the rendering does write in the depth buffer. After that, logically, they were rendered in Z: 0, since they are sprites, that's where they are in the scene by default. The next step, after celebrating my victory over the beast all weekend, will be to make a manager that reads the layers and sorting order of the rendered objects and consequently place it on the Z axis to "simulate" depth and end up with an exploitable depth buffer. I will also have to handle the UI rendering since it does not write into the depth buffer either.
Conclusion
Well, to wrap up, it's been a though week for my brain, i'm totally late on my expectations and it saddened me at first, but i think it was worth. I've learned a lot of things that i will surely put in good use later, and even if it was a really roller-coasty week, it was pretty exciting overall. 8/10 would recommand.
That's all for now folks, to the next article.
I wish you the best,
DaDonJonJon.
Feel free to follow me on twitter if you want to keep up with my progression
@AmerJonJon