First off, Happy Holidays/New Year from the Creepy Octopus team! -2 months
We have been hard at work to finish the game and got kind of enveloped in the process itself. Making a blog post like this is great for interacting with the players however it takes a good amount of time. Despite having a lot of stuff to work on, most of it is either not really fun to write/read about and some things are great to talk about, but are better left for the player to find out while playing. We will be uploading posts but instead of making them on a set schedule we have decided its better of to make them when it feels right, or better yet when the opportunity arises.
Enough chit-chat, lets get right to it!
LIGHTS, CAMERA, PERFORMANCE, ACTION!
Most of you might be familiar with some of the processes that go into making a game. You have a multitude of programs that help create the art,music, programming and design. All of these components are extremely important as those make out the base of any game. But what brings them all together is the Engine, this takes all above mentioned assets together and gives us the ability to make a working game.
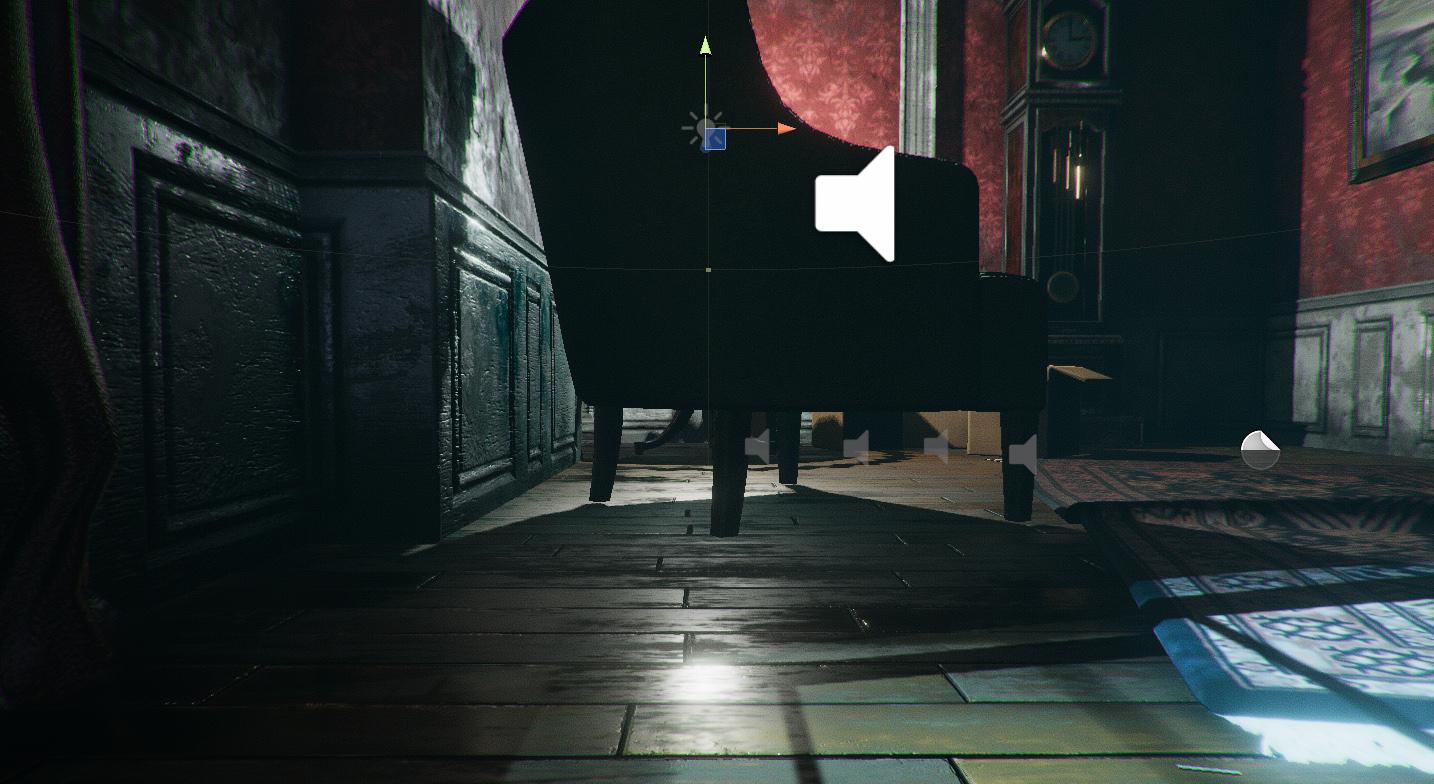
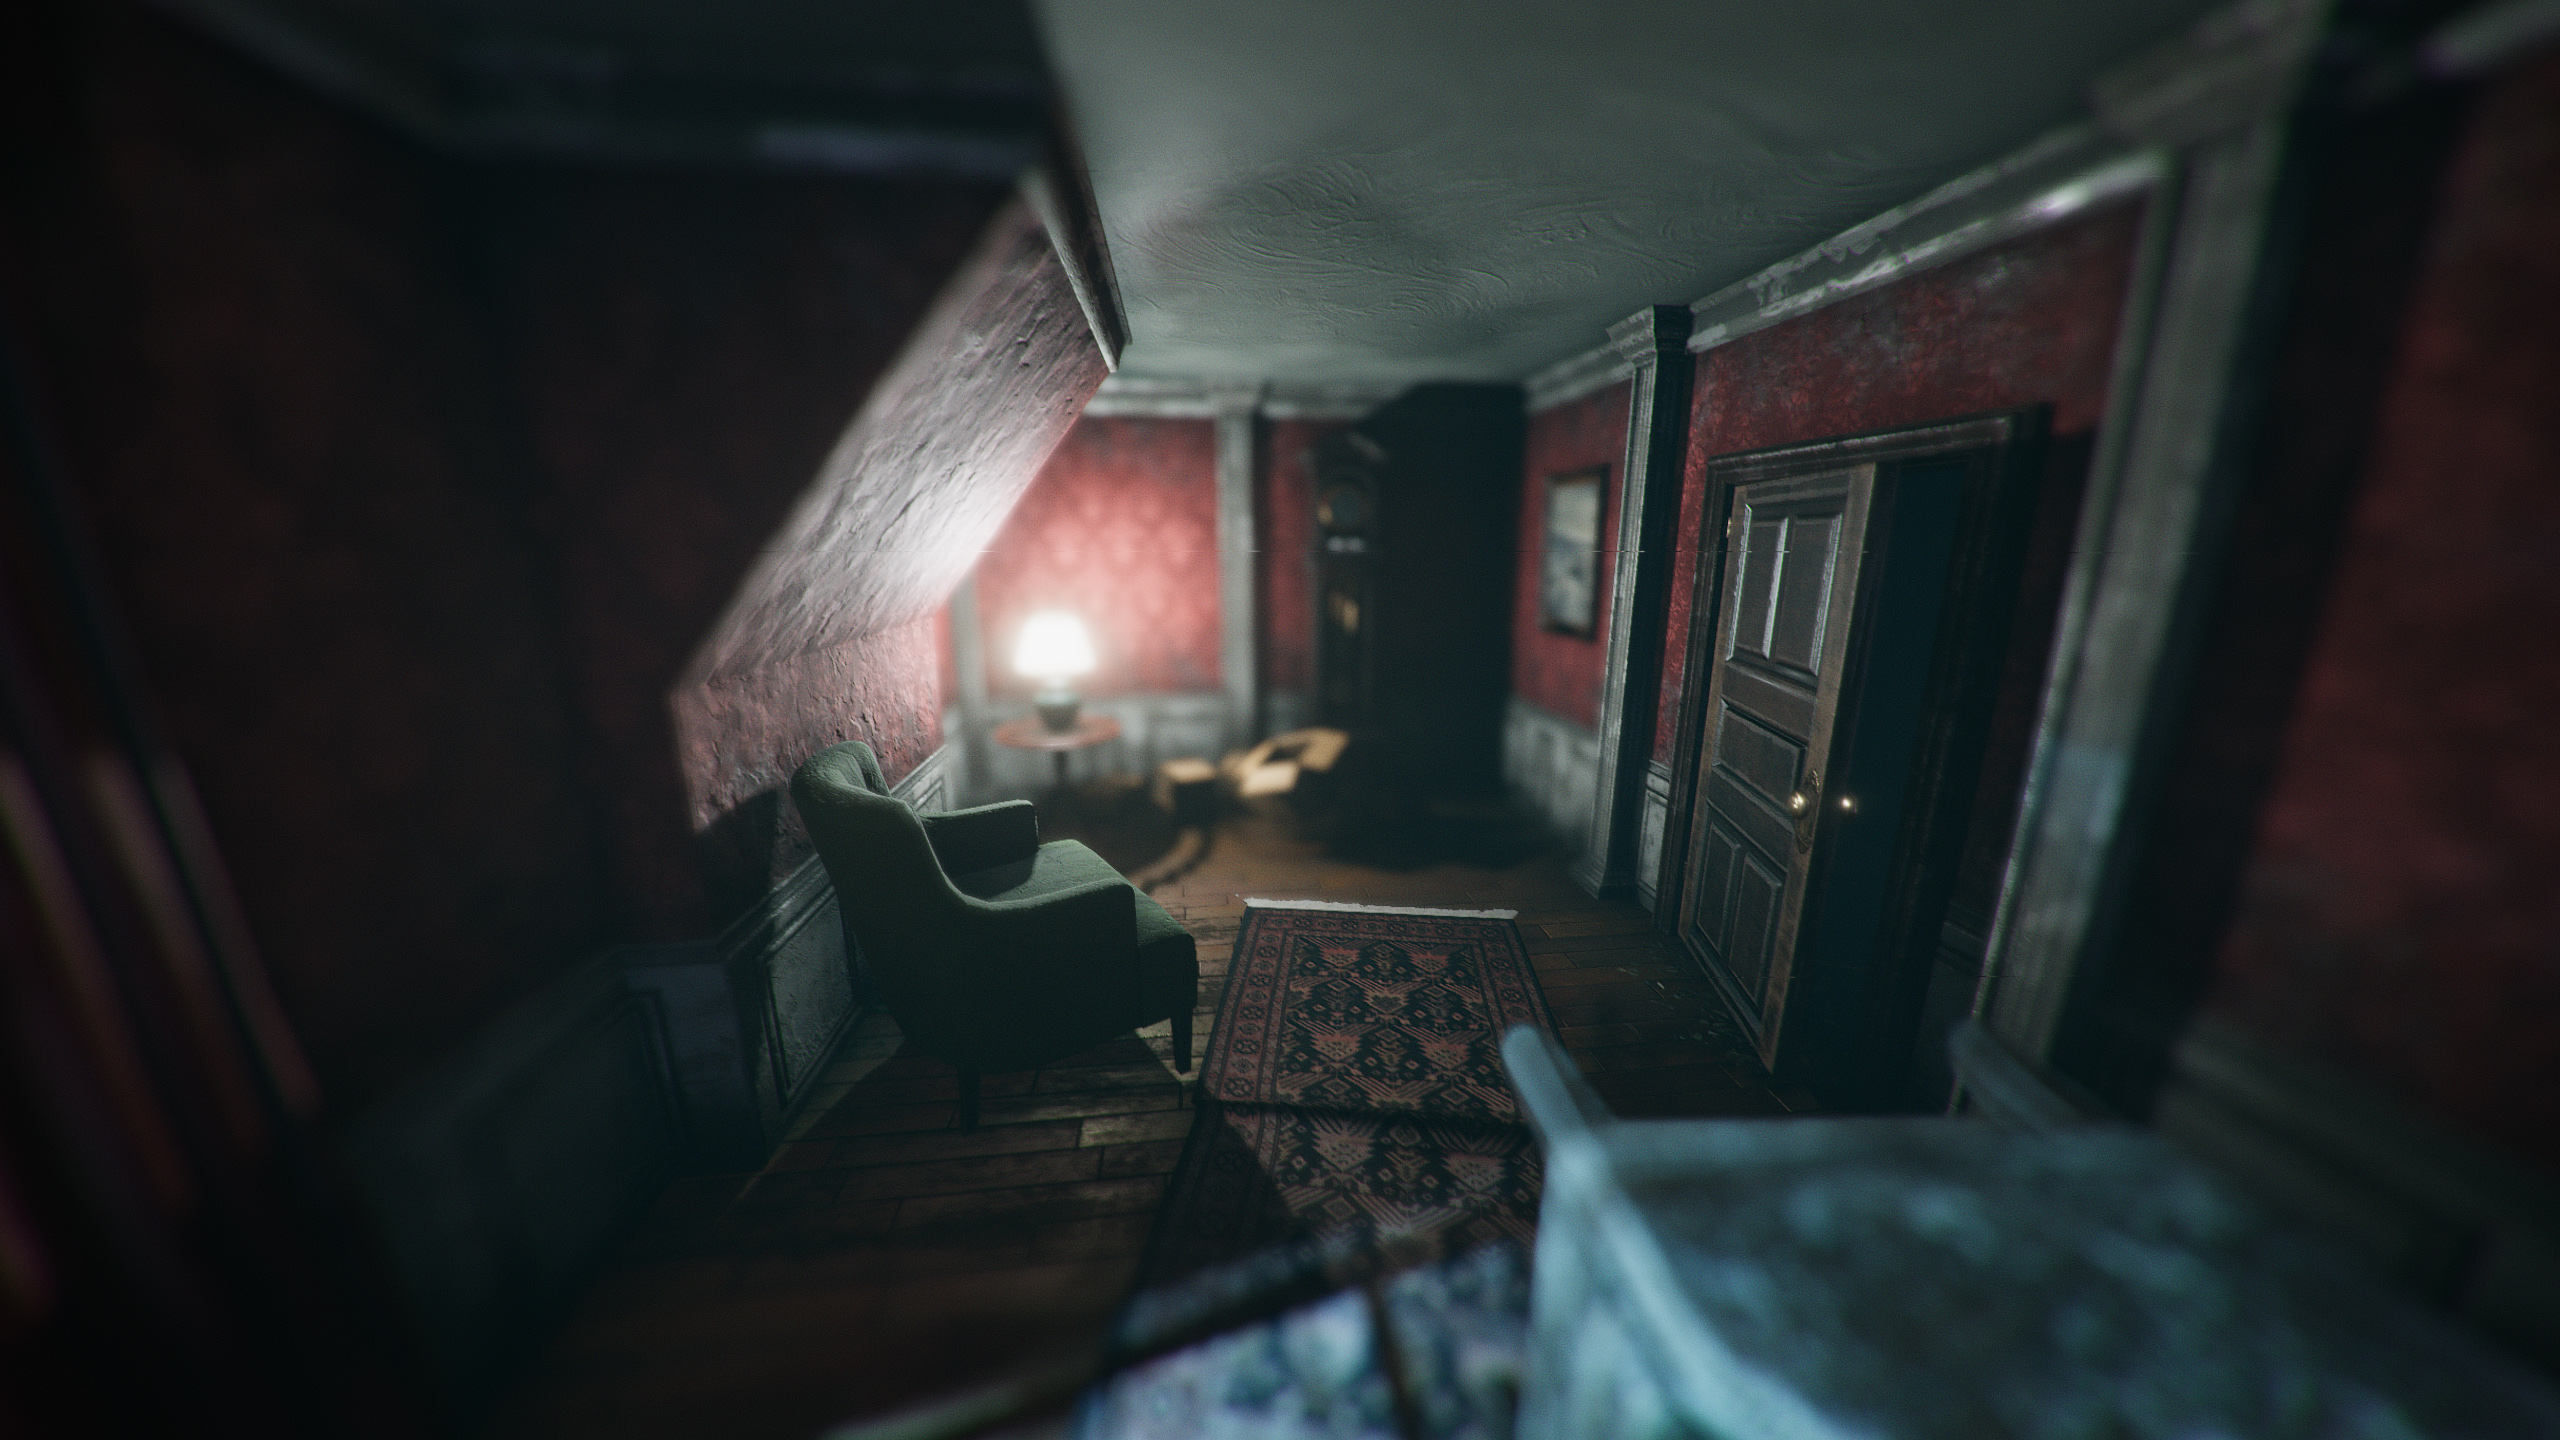
The first thing people notice is the graphics. This gives the game its flair and is something we have been heavily focused on. However graphics always come at a cost, and that is obviously performance. Sure programming, audio and even the design takes up a proportion of the performance. But almost always games tend to be bottle-necked by a lack of graphical performance.
We started off using real-time lights as this was a quicker and more convenient way of building the game. It also takes no time, you place the light, tune it a bit and you're done! But this causes a big performance hit, especially for a game that relies so heavily on shadows. How to counter this you might ask? Well baking of course! Baking is the process of capturing (baking) the light of the scene, this gets converted into a 2D map that gets loaded and overlayed on the objects during runtime.
However when we started baking, this was (in Unity at least) a no go, as unity's solution was primarily focused on using the directional lights to create ambient lighting. The problem with this is that baked lighting had no real-time direct lighting (that is, no specular lighting effects) and the problem of dynamic objects not casting any shadows on static objects. Lights also only effect either static or dynamic objects, there was no in-between. And while this is great for mostly static environments, Erida relies heavily on dynamic objects you can interact with throughout the game.
Fortunately for us, Unity added a bake mode called Shadowmask, this gives us the opportunity to use the lights in mixed mode effectively fixing most of the issues we had with the before mentioned method.


What this does is that specular lighting is still real-time, but at the same time it also bakes an indirect lighting map. Both of these would have worked with the old method listed above, but the biggest benefit of the Shadowmask mode, is that it bakes another map called.. well.. ShadowMask.
This map, as its name implies, creates a mask for all static lights so that no specular bleeding occurs. It also blends any real-time shadows from dynamic objects, with the created ShadowMask from static objects.
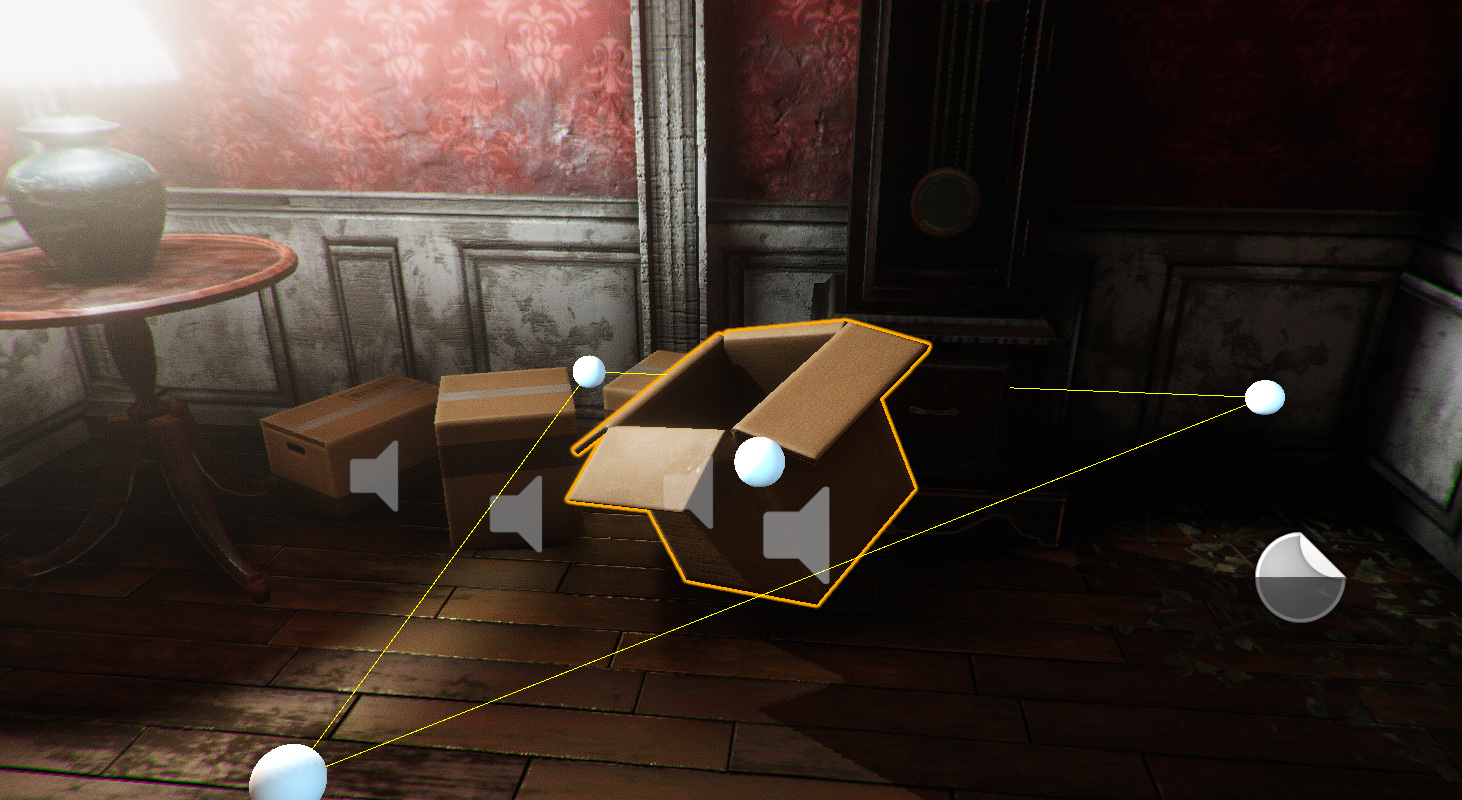
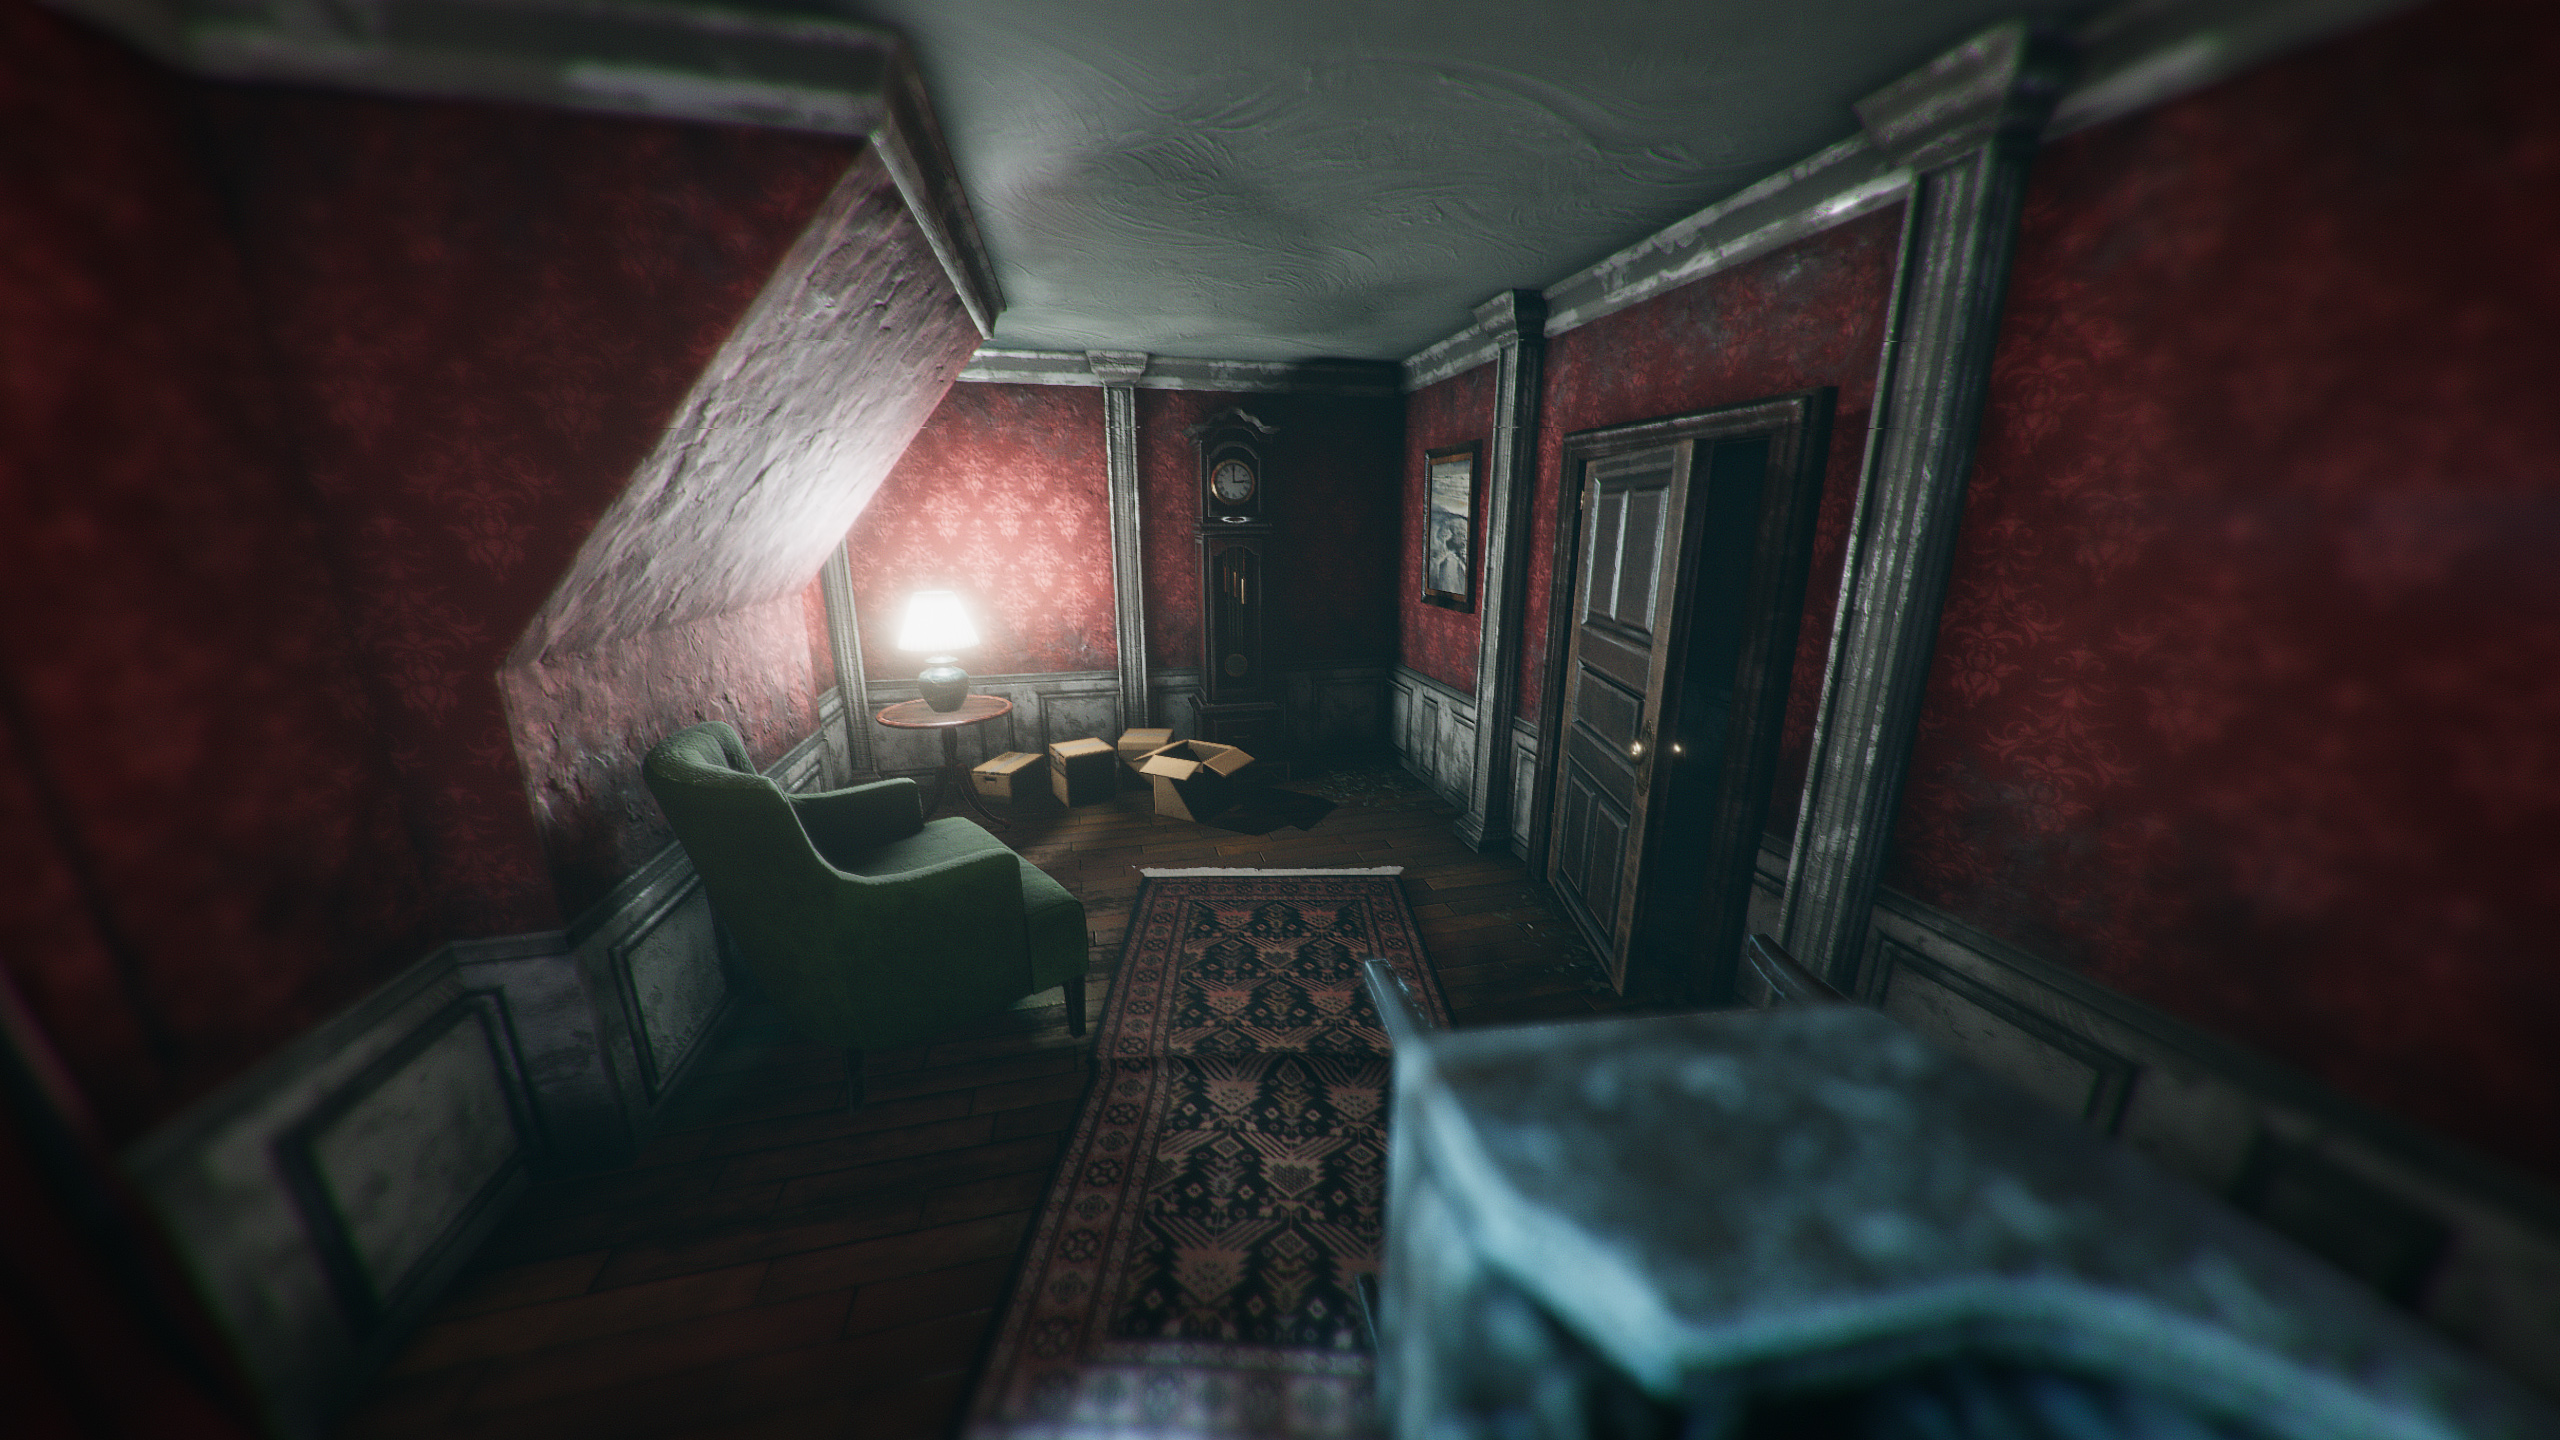
There however still remains one big problem, and that is static objects no longer cast shadows onto dynamic objects. Obviously this is not that much of a deal breaker but mostly something that can look weird if not cared for properly. Bringing us to the next solution: "Light-Probes"! Light probes, as the name implies, are probes that are manually placed to determine the presence light at the probes position. This process includes the light intensity but also any in-direct lighting the probe might encounter, such as: bounced lighting from a bright red/white wall, for instance.
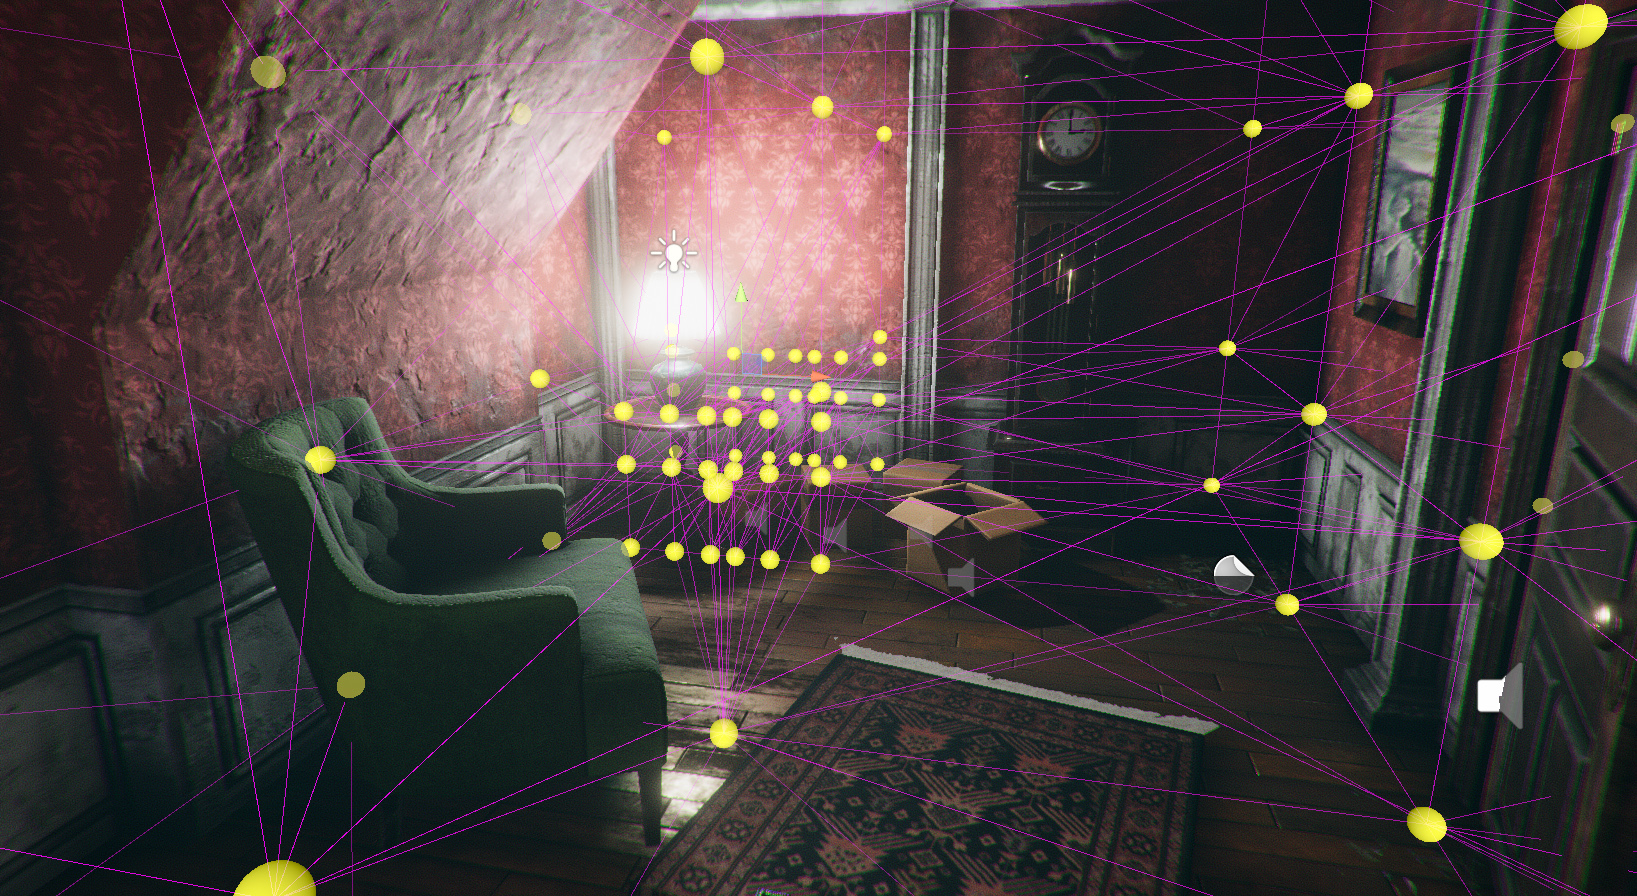
The objects then sample a specific amount of the light probes nearest to them, and this in turn lights the dynamic objects properly. Also visible from the first image is the distribution of light probes. Preferably you want the light probes to encompass areas that have a heavy shift of shadow and bright lighting. Notice how the objects underneath the table are darker then the objects which are not.
Conclusion
What does this actually give us in comparison to just real-time lighting the scene?
- Better more consistent lighting.
- Increased performance of up to 30-70%.
- Better looking/performing shadows.
Is all this trouble worth it? Yes we do think so. The performance alone is worth the trouble. The graphics improvement is just the icing on the cake.
Make sure to watch our trailer, and help support us at the following places