Article by - David Phoenix

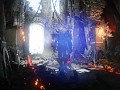
From the beginning of development, the goal was set out to create aesthetic and engaging materials whilst also maintaining good performance and as low of a memory/storage usage as possible. This meant opting for an art workflow that prioritises trim sheets and tiling materials over individually textured assets: by creating versatile materials, we can reuse them over many unique assets in a scene, therefore lowering the number of individual texture files and subsequently the total VRAM usage and overall game size.
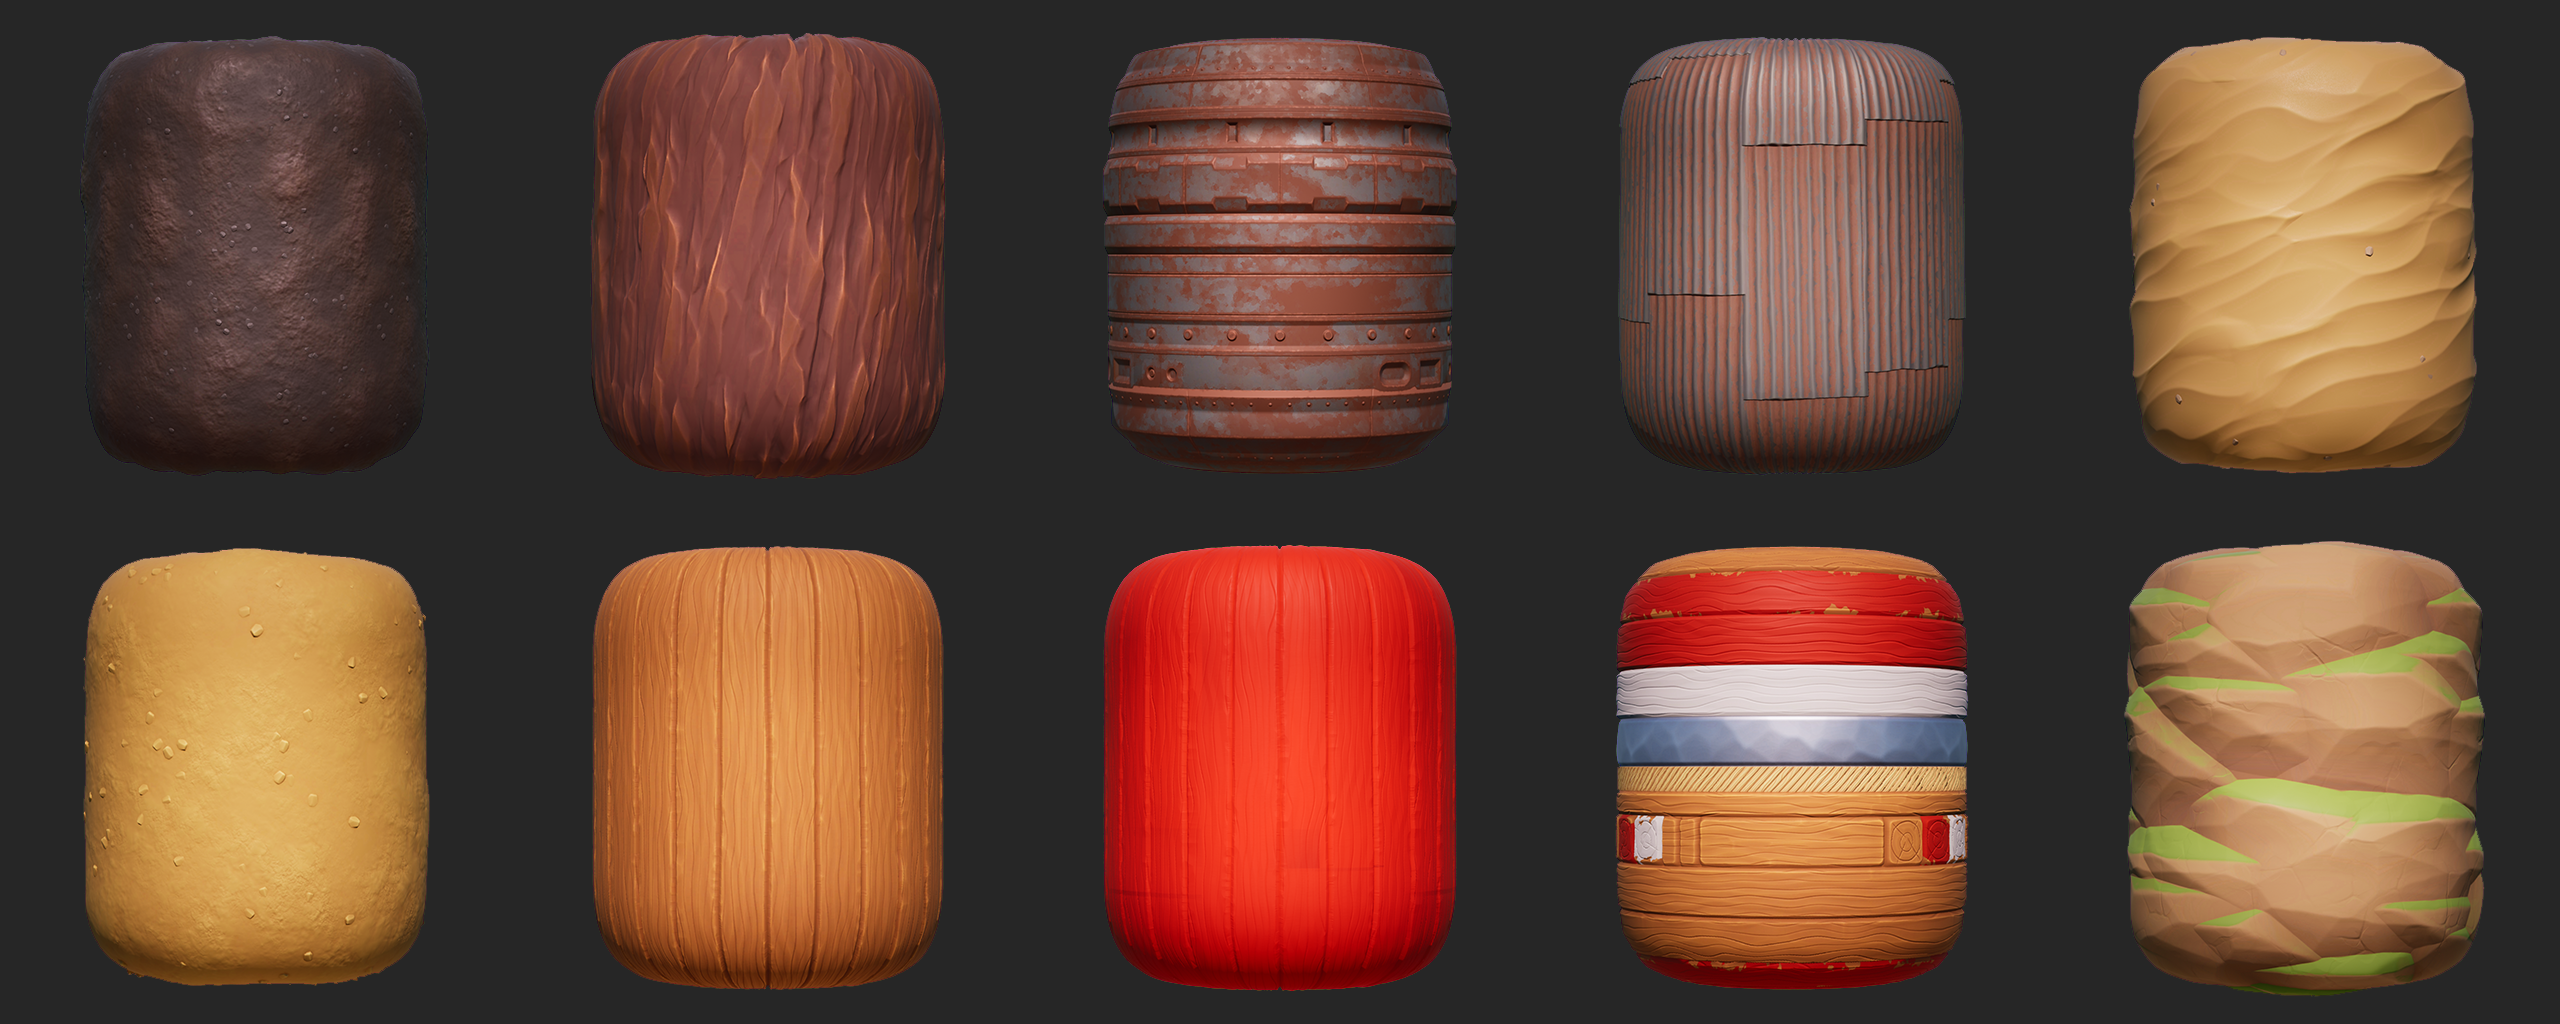

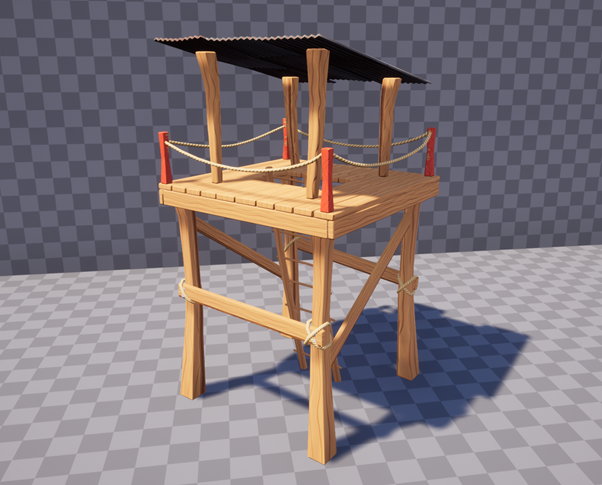
One of the first materials created was the wood trim sheet to texture the majority of the VeggieFields assets as well as various props and structures across the other maps where appropriate. This material was created in the Substance Designer package and features a good variety of wood plank materials, painted and raw, as well as varying sections for accessorising the applied assets.

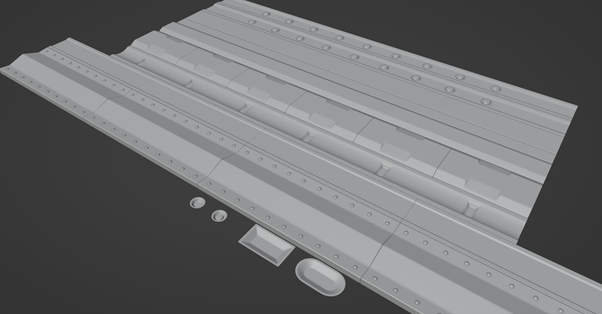
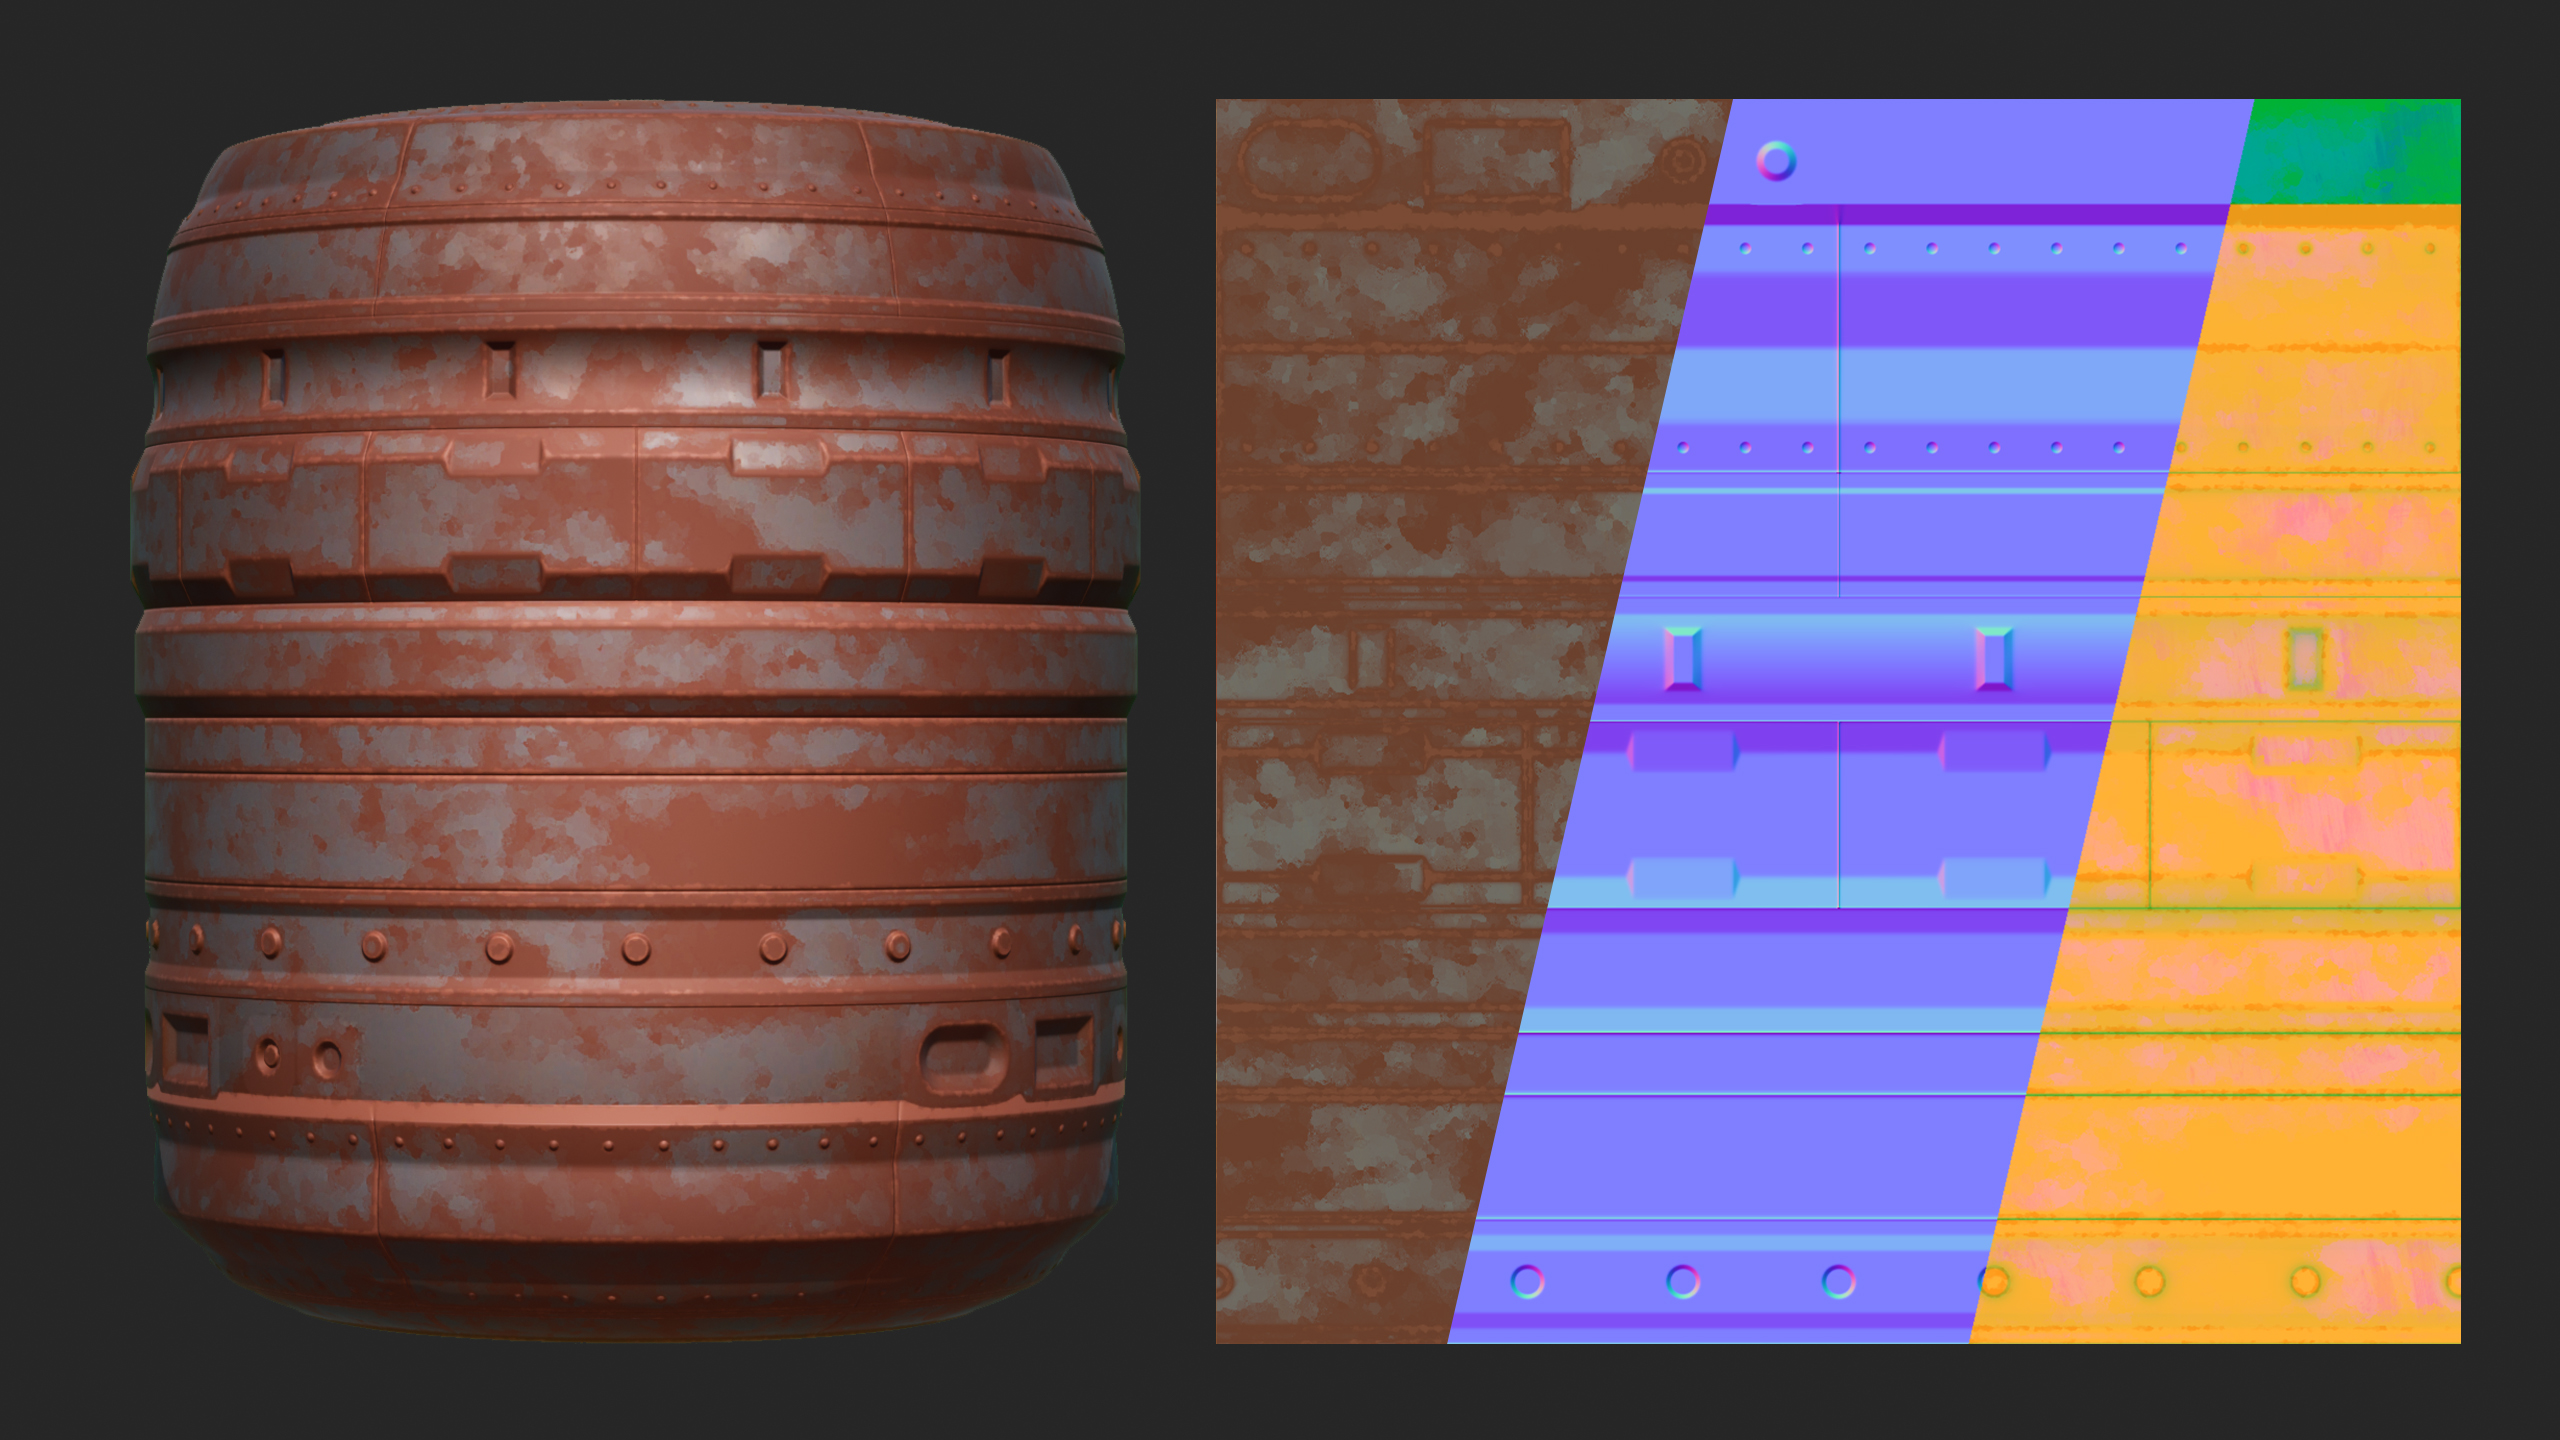
Another trim sheet was also created specifically for assets in the ‘logger’ region of Veggie fields and variations are also used later in other maps. A benefit of using these variations is that we can add new diffuse texture maps only and reuse the same normal and ORM maps.
For this trim sheet, we used Blender to create the base geometry which was then baked onto a plane and textured in Substance Painter: so it isn’t absolutely necessary to know how to use Substance Designer, for example, if you want to create compelling materials for your projects.


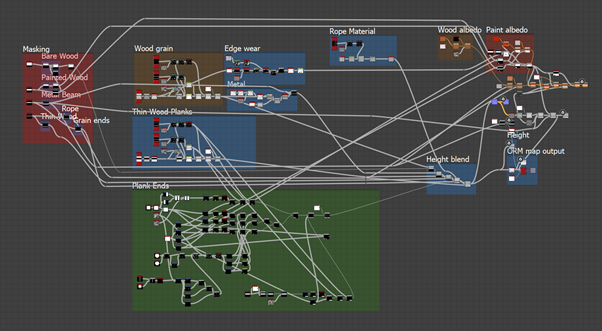
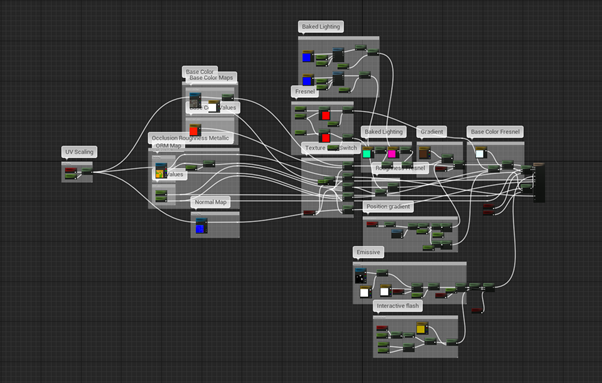
Equally as important as the textures themselves is how they are displayed in UE4. We had a great task of creating a familiar, yet unique, stylised feel to our materials which we achieved by adding certain elements to the shader graph.
Fresnel – White colour overlayed on extreme angles, creates the ‘halo’ effect around the edge of spherical shapes.
Procedural ‘baked’ lighting – Green top-down, and purple bottom-up faked lighting gives a more vibrant/abstract appearance to the surface. Also serves as an homage to the classic ‘baked’ lighting look like retro games where the lighting was included in the textures instead of from dynamic lights.
Procedural position gradient – A brown (or any colour) position gradient overlayed over the base colour. Starts from the bottom of the prop and fades up vertically.
Having these options built into the shader instead of in the textures themselves, meant we could share the settings over all materials and change them all at once if we decided we wanted to make a change to the stylisation. In addition to this, the procedural elements of the shader adapt to the position and rotation of meshes in the world, meaning, for example, the faked top and bottom lighting will always be at the top and bottom no matter how you rotate it.
![]()
Thanks for taking the time to read this article, hopefully, it was as informative as it was insightful into our development process. If you have any questions or suggestions feel free to leave a comment and we’ll be sure to get back to you :)