So, slightly less than a month ago, I uploaded a basic C++ tutorial covering how to download and setup an IDE/compiler, and how to create a simple Hello World application using C++, as a basic introduction to the language. However, I started these tutorials so that people can start game programming and achieve something from their learning, not so that they can learn about a load of abstract C++ concepts that have no real application at that level. I want to start discussing game programming as soon as possible.
I am expecting you to have already read my other tutorial, because several of the key points discussed in this tutorial were covered in more detail in my previous one. We are going to be utilizing a low-level graphics API (called SDL) in order to generate a client window and begin rendering graphics to the screen, which is the basis for any game.
1. In my last tutorial, you were using a compiler/IDE known as Visual C++. While Visual C++ is a great IDE and fantastic for generating Windows applications, it is not the best IDE out there for the type of graphics and game programming that we will be doing. Instead, we will be using another brilliant compiler known as Dev C++ for this tutorial:

Dev C++ will be our IDE for the purposes of this tutorial
You can download Dev C++ from this address. Once you have downloaded and installed Dev C++, and it appears to work correctly, you can move on to the next step (I am not going to go through the exact instructions on how to install an IDE again.)
2. If we are going to start graphics and game programming, we are going to need a graphics API. A graphics API is basically just a set of programs which are written to allow you (the programmer) to do things like draw graphics to the screen, render text, get keyboard input etc. without actually worrying about how the operating system does any of this stuff. The graphics API we will be using today is known as SDL (it stands for Simple DirectMedia Layer, because it is a layer on top of your operating system which allows you to interface with media. All that you need to know is that it will be essential for programming your game.)

SDL is a multi-purpose, cross-platform API designed to make operations like drawing graphics, rendering text and tracking mouse clicks easier, and not Operating System dependent.
The main reason I chose to use Dev C++ is because it is incredibly easy to integrate graphics APIs with Dev C++, because of the concept of Dev Paks (little packages which combine seamlessly with Dev C++ to do exactly that!) You can grab the latest version of the SDL Dev Pak from this address. Install the Dev Pak like you would install any other program, just double click on it.
3. Now, you need to start a new Dev C++ project, and the configure Dev C++ to work directly with SDL. Open up Dev C++, click on the 'File' menu, go to 'New' and then 'Project'.

Start a new Dev C++ project.
Click on the icon which says 'Empty Project', then type in a suitable name for the project, like 'SDL_Game' and hit 'OK'.
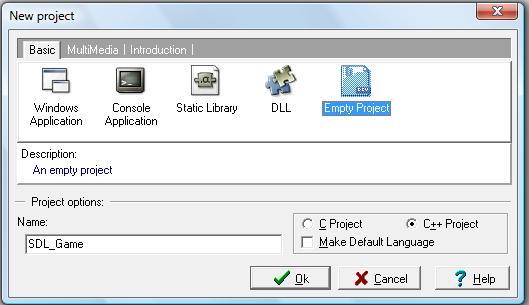
An empty project.
Now that you've started a new project, it's time to program Dev C++ to work with SDL. Click on the 'Project' menu and then select 'Project Options'.
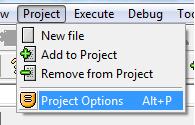
Open up the Project Options window.
Open up the tab that says 'Parameters' and type the following code into the box labelled 'Linker':
Then hit 'OK'.

Set up the linker's parameters in order to work with SDL.
4. We're now going to add some quick code to the project and run it, just to check that everything's set up correctly. I do not have time to go over what exactly the code does, that will be covered in a later tutorial. Anyhow, click the 'File' menu, go to 'New' and then 'Source File' and press 'Yes' if a dialog box appears.
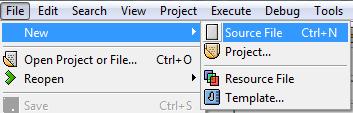
Create a new Source File.
Type the following code into the source file window:
int main(int argc,char* args[]) {
SDL_Surface* screen=NULL;
SDL_Init(SDL_INIT_EVERYTHING);
screen=SDL_SetVideoMode(640,480,32,SDL_SWSURFACE);
SDL_Flip(screen);
SDL_Delay(5000);
SDL_Quit();
return 0;
}
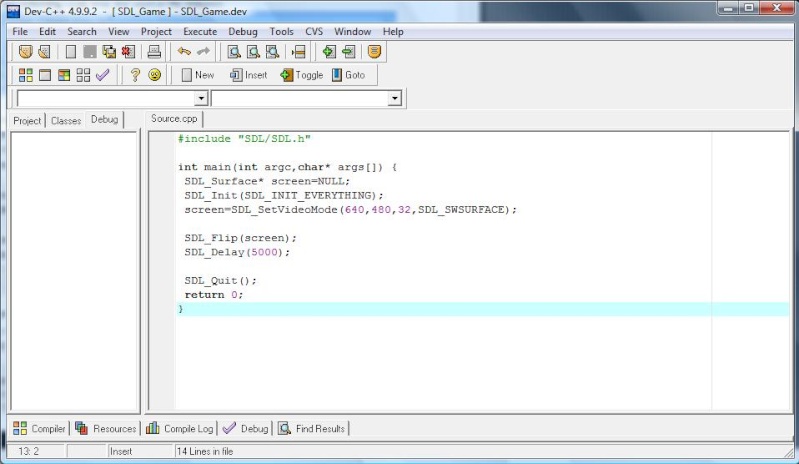
Your first SDL program.
5. There is one, final step that you must take before executing your program. You must download SDL.dll from this address. It is vital that you download the zip folder, unzip it, take the 'SDL.dll' file and move it to the folder: C:\Windows\System32. The dll MUST be transferred to this folder or your program will not compile!

You must transfer the SDL.dll file into the C:\Windows\System32 folder.
6. Now, go to the 'Execute' menu, and click 'Compile & Run'. Wait for a second while the project compiles, and you should see a dialog window appear, and then disappear after about 5 seconds.
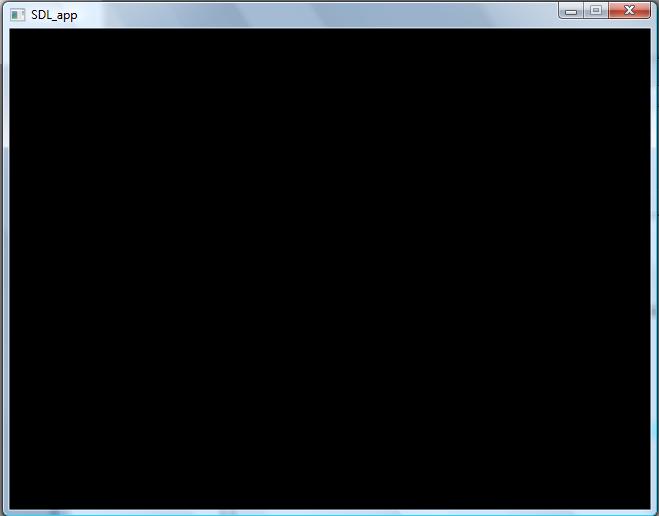
It's alive!
Congratulations, you have just made a fully functional graphical, windowed application using the SDL graphics API!
In my next tutorial, I'll show you how to do more advanced things with Windows and SDL, how to render graphics, and possibly how to make a simple 2D game!

Hey I haven't read this tutorial yet, but I think I might lol gj =D
Nice!
Wow nice and simple, I look forward to more!
This comment is currently awaiting admin approval, join now to view.
This comment is currently awaiting admin approval, join now to view.