Sprites from 3D to 2D
By Robber Knight
Intro: There isn't a huge lot of information on spriting 3D models to 2D sprites. There are a few sources, but nothing that really gets into it. I will try to create a series of sprite tutorials over the time of creating sprite-based games.
Let's start this tutorial with the first step in the line. Which is ofcourse the one most known to everyone. Which is the 3D modelling. I always like to create a body that I use as a base for every 3D model. I do update these once in a while. I will show these in the pictures below.
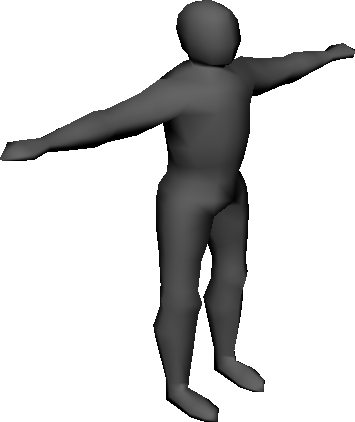

To the left is the first body that I used and on the right is the newest body. Being not completely satisfied I will probably redo the body once again to get a little bit more detail into it. I would like to have better hands atleast. Most of these details are mostly for myself, it can affect the sprite but not necessarily. Since the details often get quite small. Which of course depends on the sprite size and such.
After I'm done with the body I choose to extrude and create the clothes for the body. Some parts I have added in seperately as hats, kevlarvests, etc..
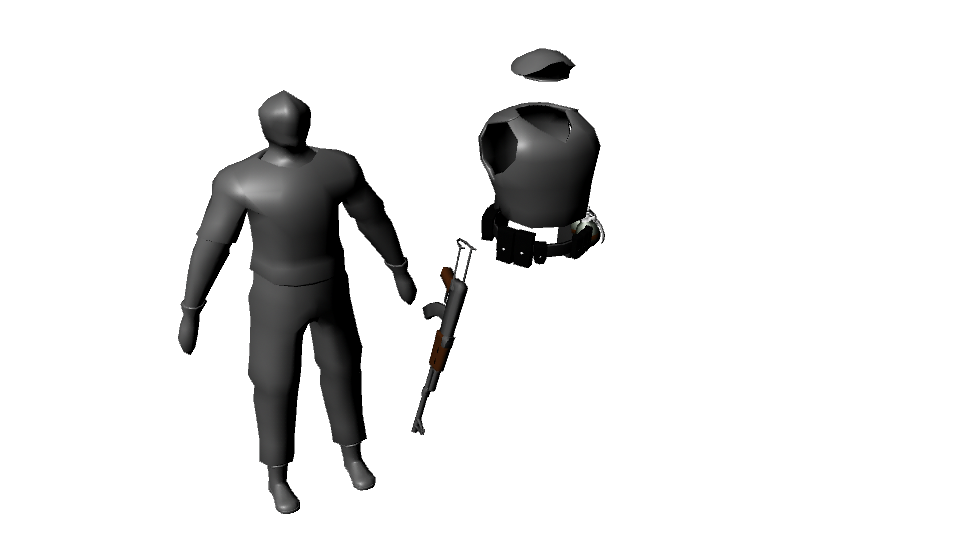
As shown above, the character has been modified. Which adds a little bit of detail. His head is a bit funny, I made it smaller on the top to add the beret. With nothing sticking out and not making the beret huge. Weapons are also added in later aswell as effects for the gun and flames for the molotov.
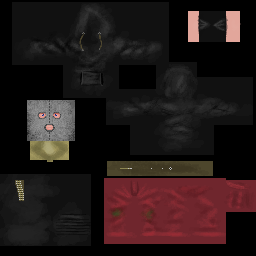
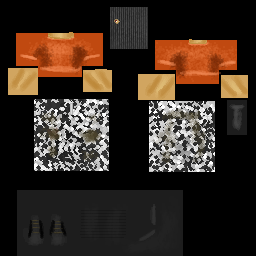
And I also add in the textures. They are quite simple and they are created in a 256x256 size. House textures are x2 so 512x512. It is nothing crazy on the textures as they are just there to add a little bit of extra poof or mmphf to the characters. I would like to add that they are very important however. Even if they are simple. It will really add a lot of depth to the characters. They won't look so bland.
Same model but the difference is the textures.
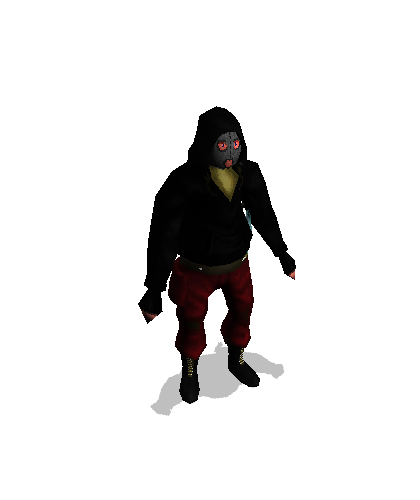
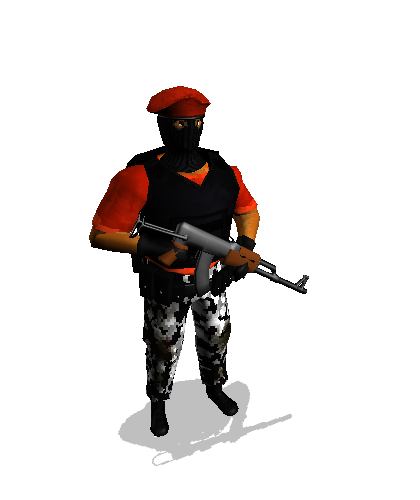
Here are the 3 characters. In the order of which they were created. The arsonist to the left is the old body. The other two are the newer body. The arsonist was the second character ever created for the game. The next step is to create animations for the characters. I won't cover how to animate. But it is essential, small movements is a key tip. Often larger movements tend to become really huge when it is sprited.
It warps quite a lot since I don't really mind it. It doesn't really show a lot in the sprites. You can do it differently when you create yours ofcourse.
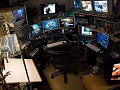
Lastly we want to render out these fancy characters. What I have setup is 5 cameras that can render the animations that I want them to. The cameras are South, South West, West, North West and North. In the game engine I will flip the sprites.
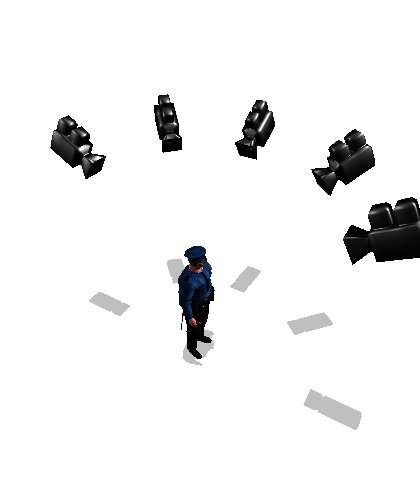
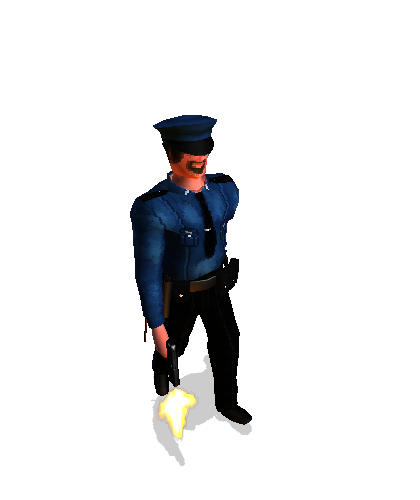
This is how the camera setup looks like. And ofcourse there are lights added aswell, I cast the sprite shadow right on top of the character, because I'm not smart enough to have the sprite shadow be consistent with all the cameras as the lights would have to change direction. Without lights the sprite tends to become really really dark. I render out the sprites in about 16 frames per animation.
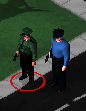
Which produces a sepereate sprites. I then pack them into a sprite sheet for easier handling and add it into the game engine. The result becomes the sprites that you see in the game.
Just noticed a flaw in the right sprite. Which tends to happen and then I have to back and redo the animation and the rendering. What can you do haha. Well this is it for a general tutorial on how to create sprites.
And don't worry I will keep posting articles that are more in depth on the process. Which might give more insight in the process. But I will probably create one article per step later on. Hope it gave something or and idea at the very least.
Welcome to the revolution, Commander...


really interesting, cheers for that