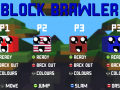
Block Brawler now has a 4th playable map!
And here's (briefly) how I made it.
New Map
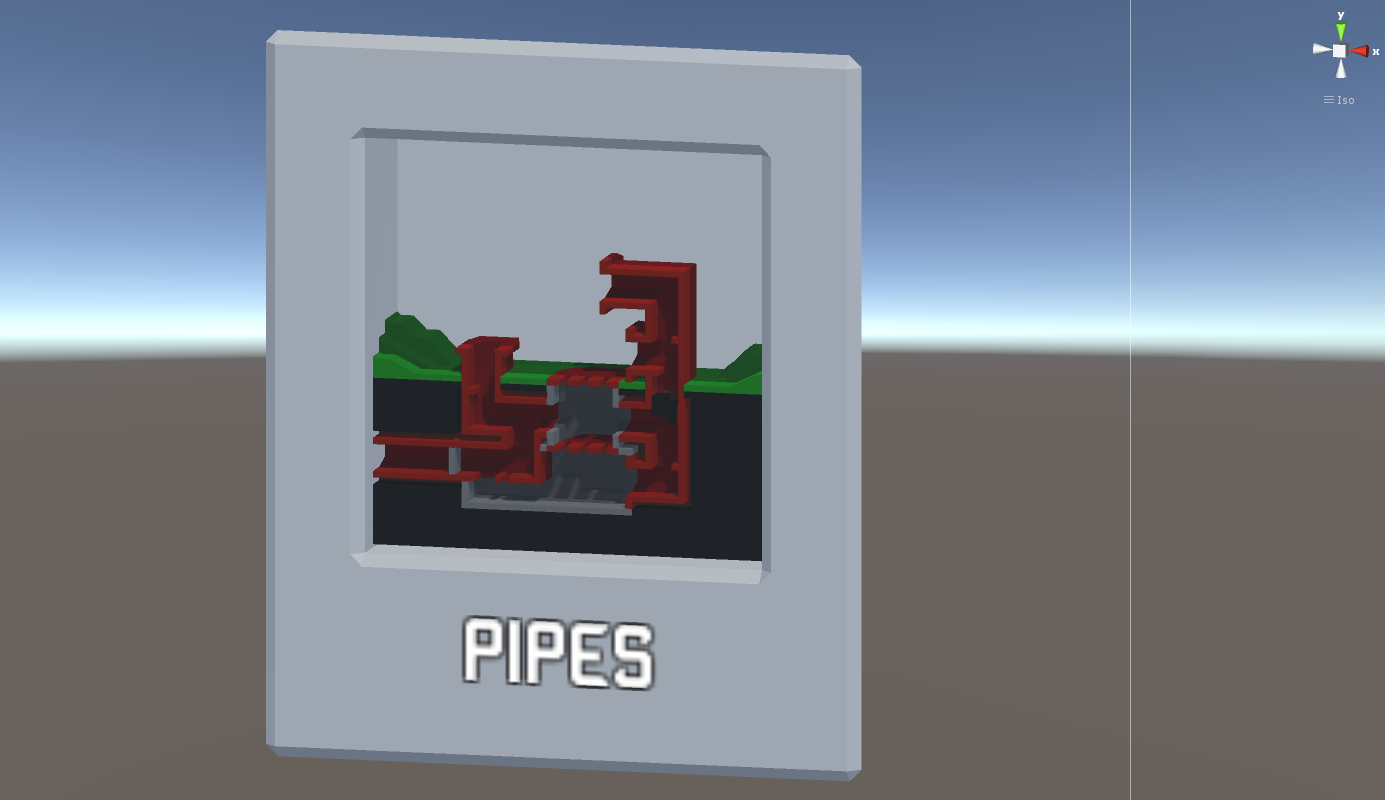
Title: Pipes
Setting: Green hills with pipes leading down to a sort of sewer system
Features:
- 1 Pipe down to sewers.
- 1 Pipe up to get some height.
- 2 Grills/Manhole covers with small holes for smaller blocks to fit through.
- 1 mid chamber with 2 large entrances and the grills top and bottom.
- 1 large chamber at the bottom of the map.
Spawn points: All above ground
Lighting: "Sun" above ground, some small point lights below
The Making Of
Please take note; I am a programmer, I know I might be doing this wrong...
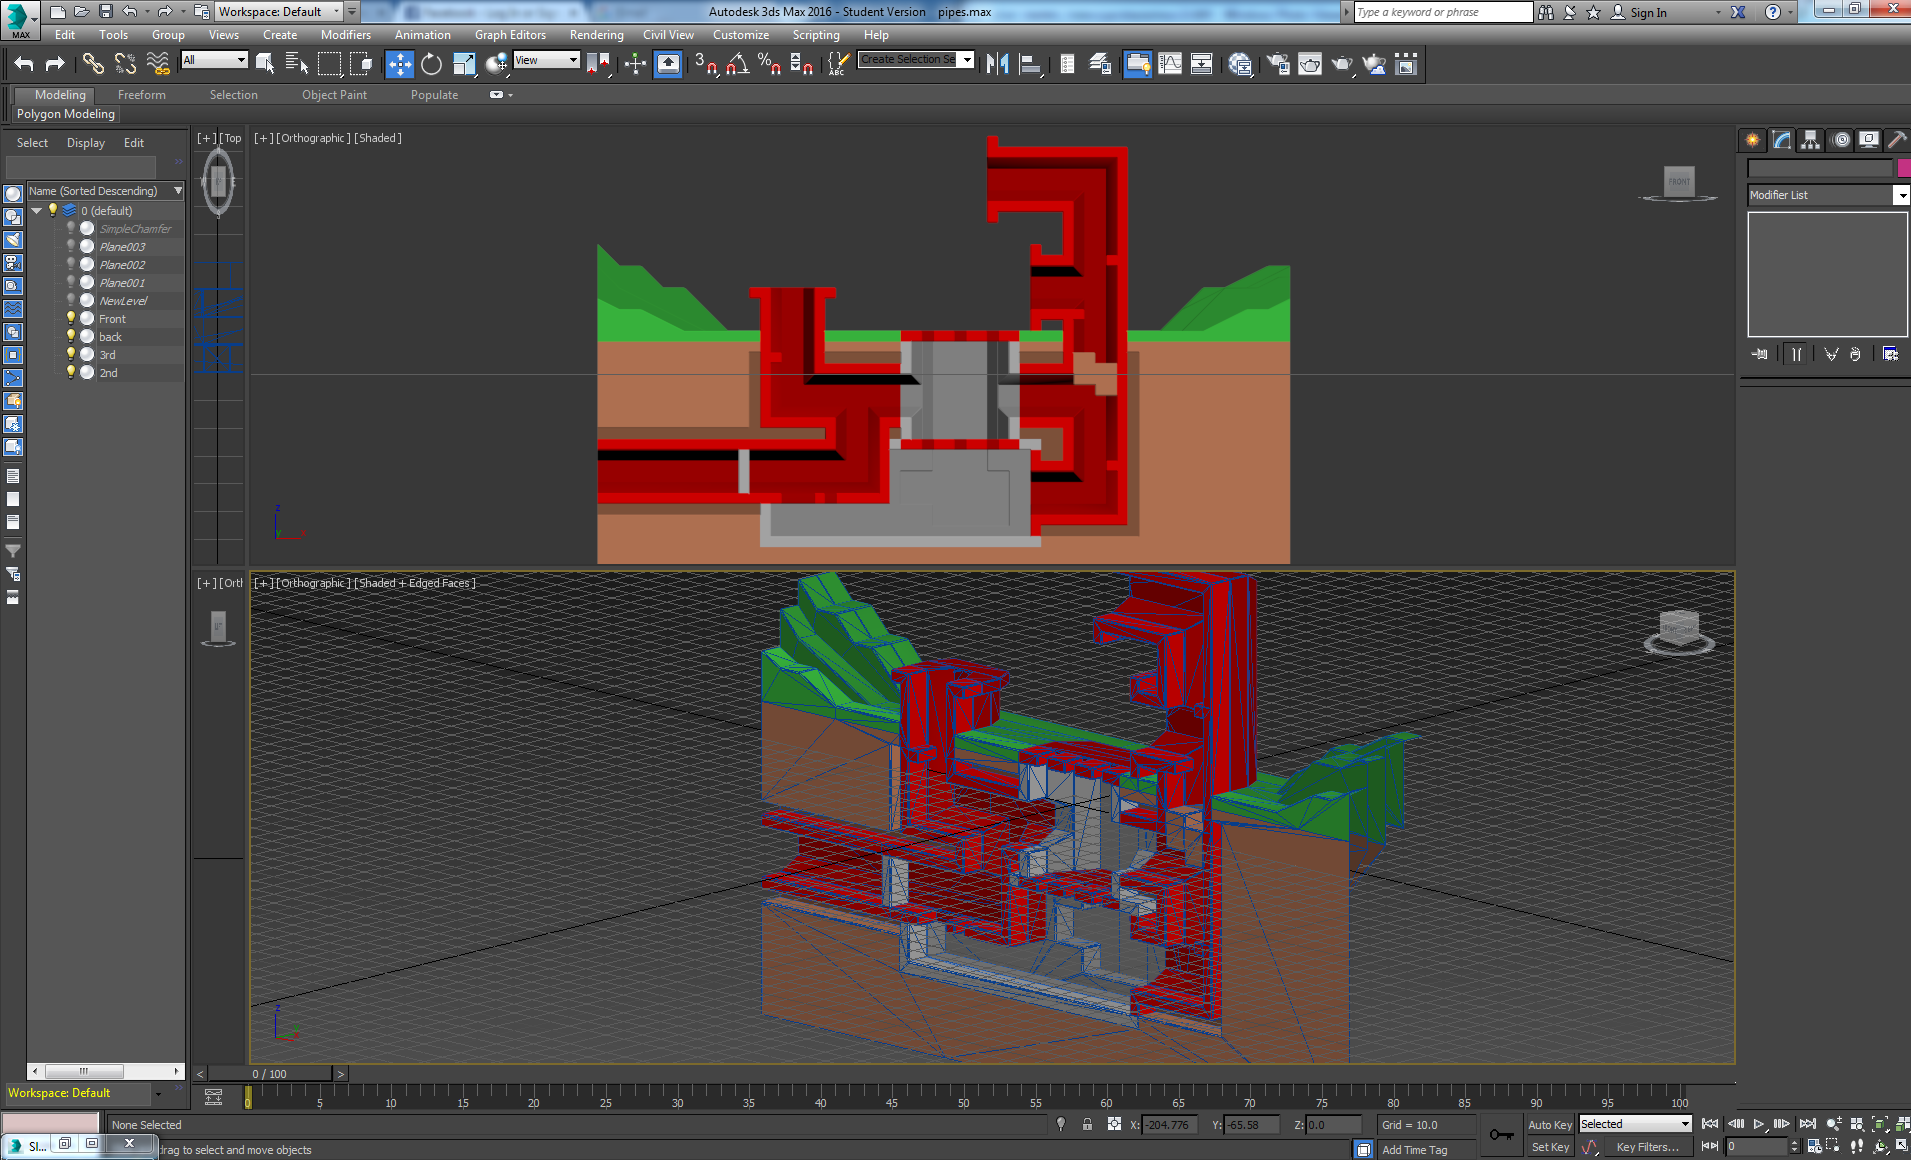
Program: 3ds Max
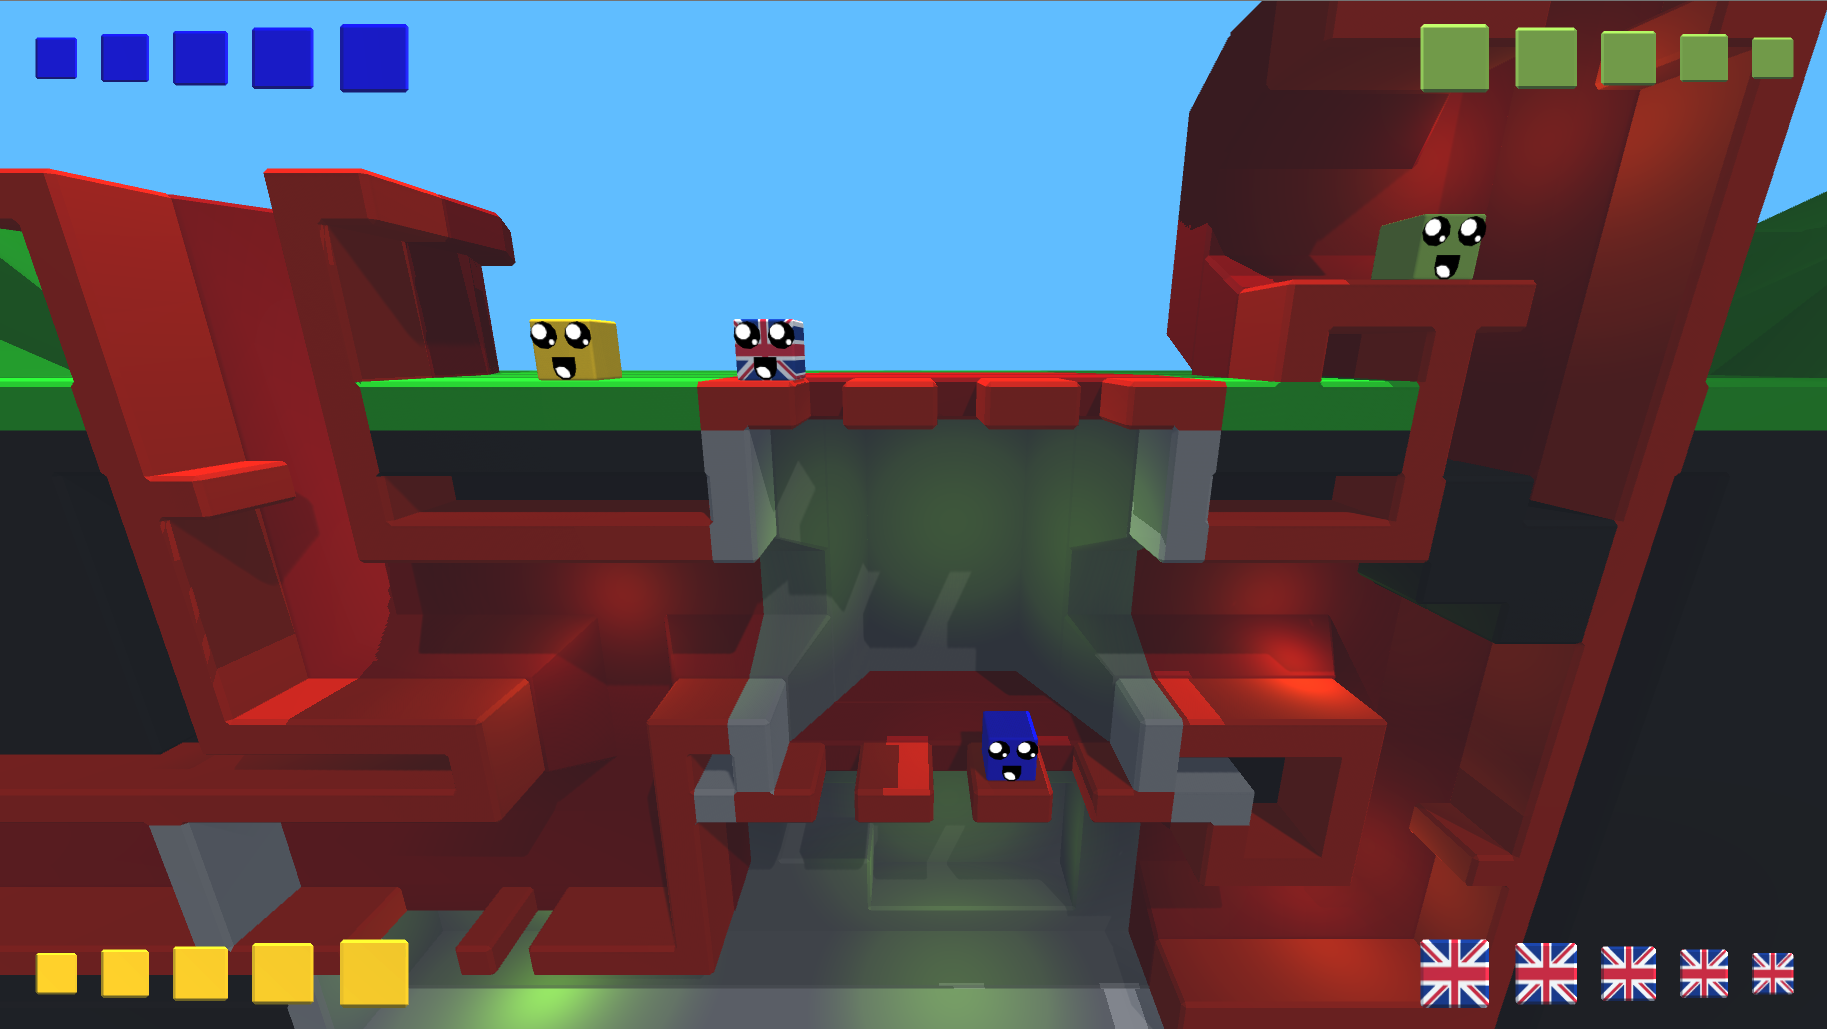
Step 1: Using planes, made up of grids of many squares, cut out the free space for each layer of the map.
Step 2: Using target weld I convert select boxes into slopes as needed
Step 3: Selected and apply the materials to the appropriate areas
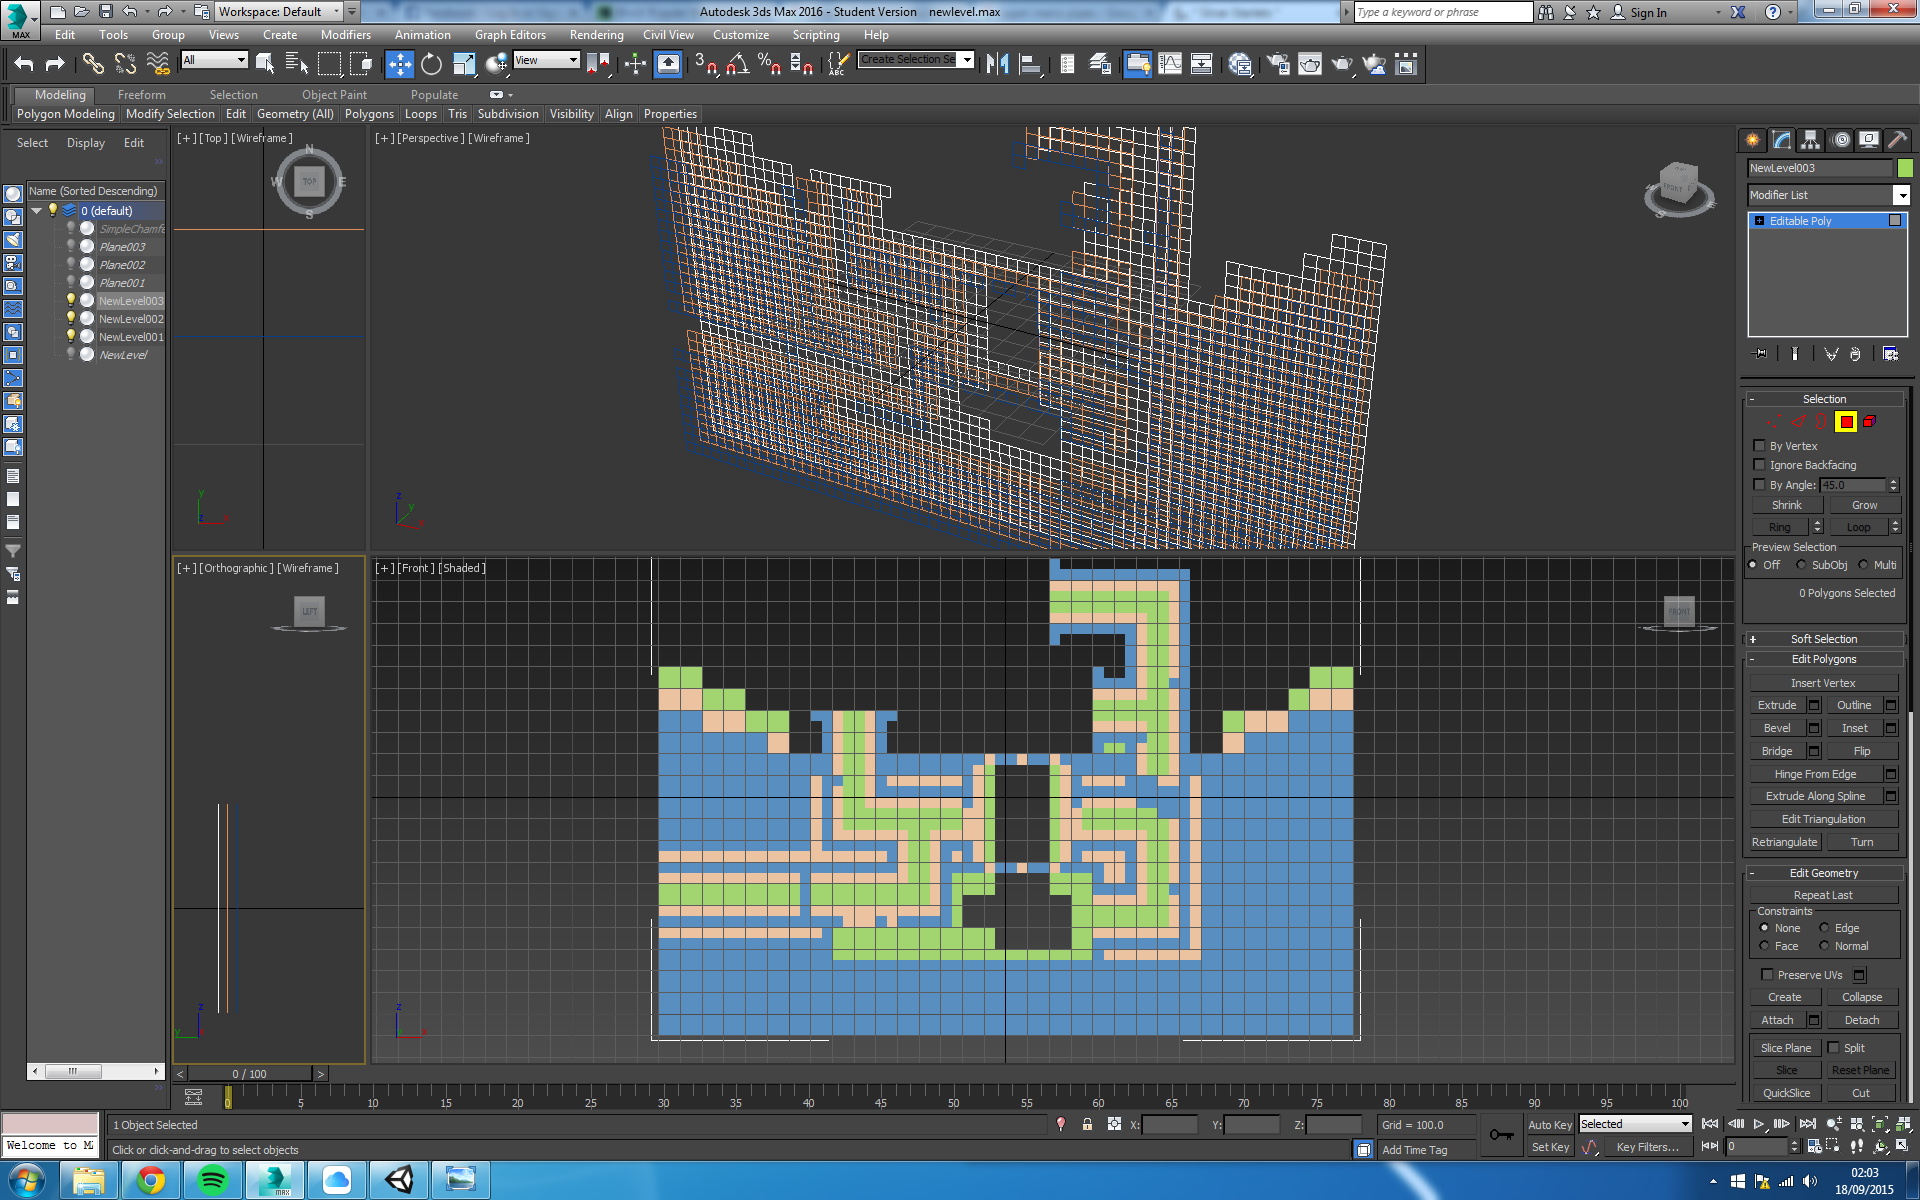
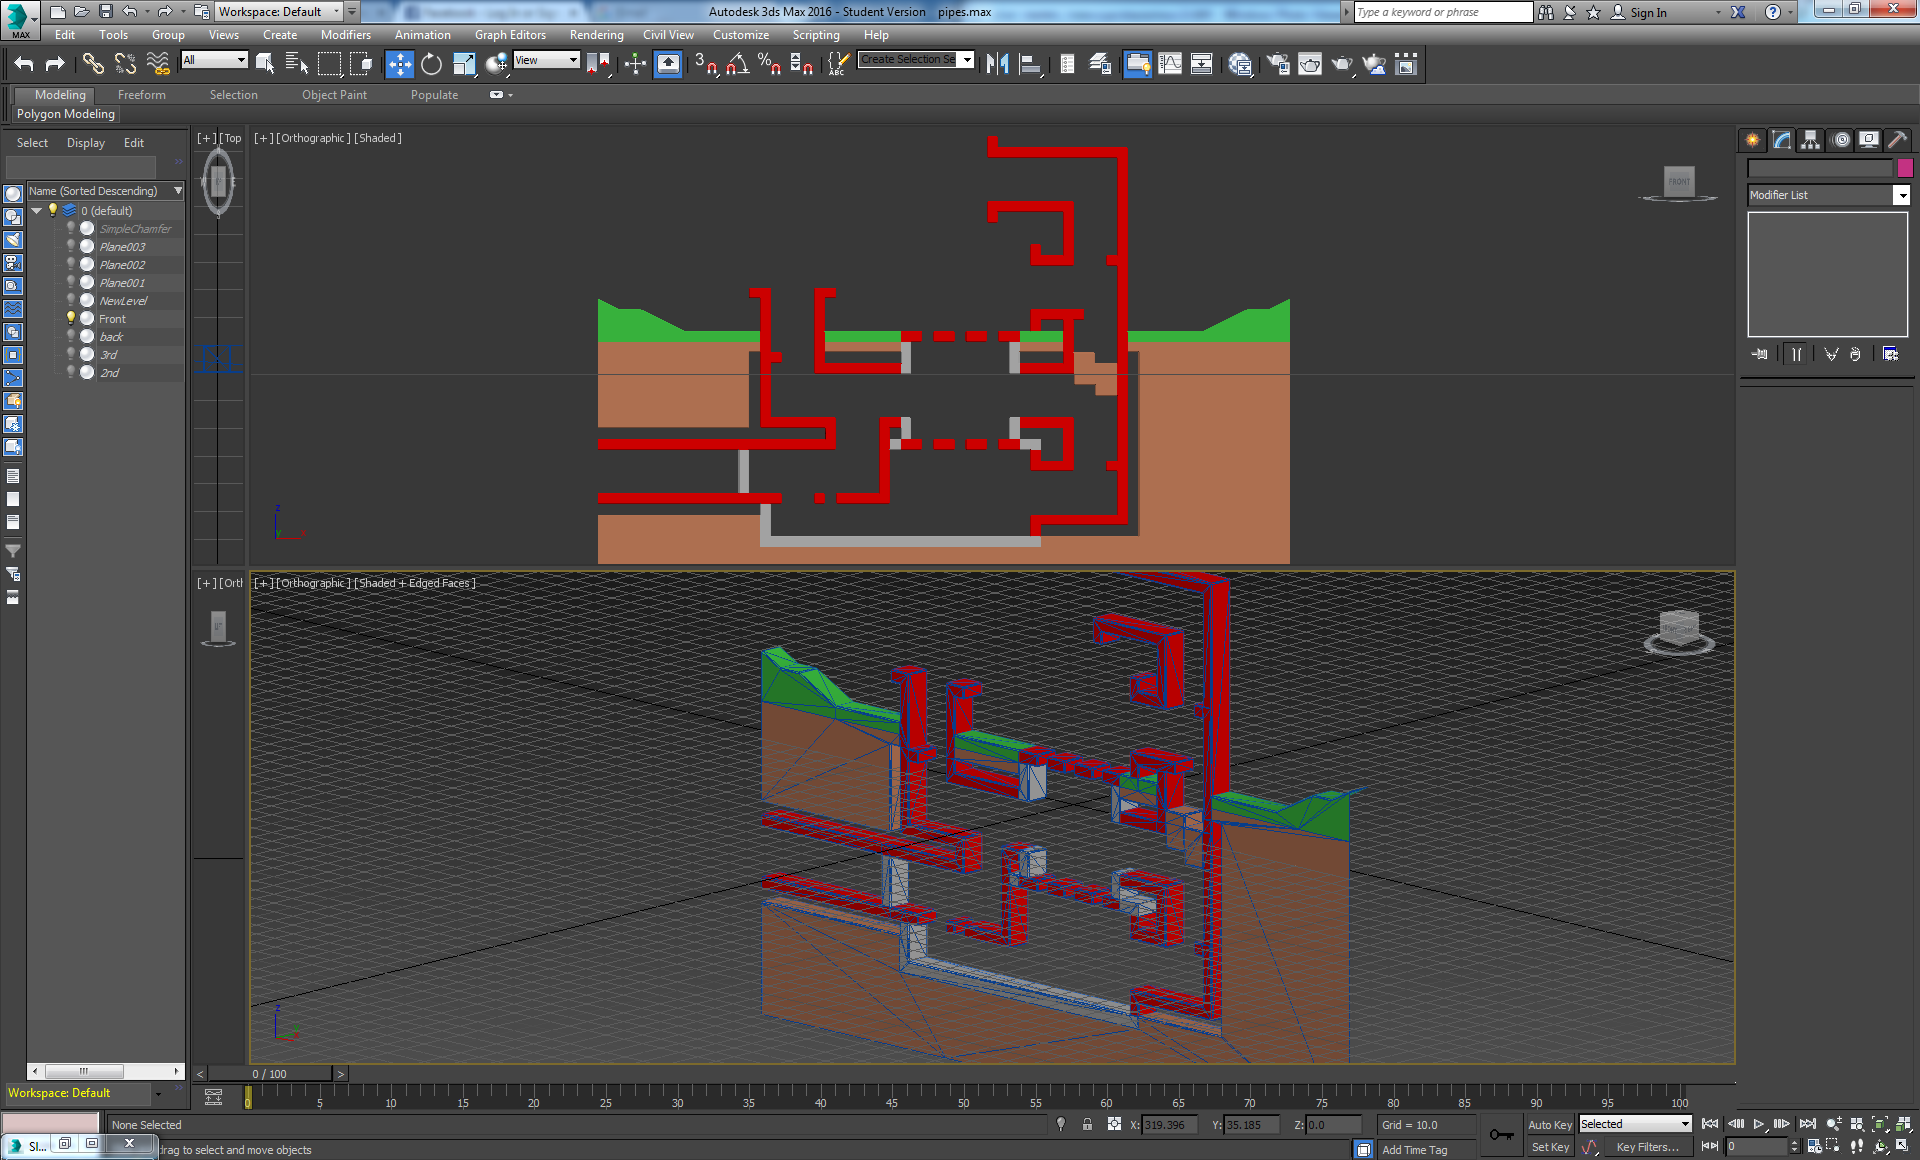
Step 4: Extrude the faces
(I don't have screenshots from every step sadly...)
Step 5: Chamfer the edges of blocks
It's important to do the chamfer before optimizing, or the chamfered edges become uneven at the joints.
Step 6: Optimize the mesh down to the least number of vertices without losing the shape.
I use the ProOptimizer for this, getting it as low as possible before tidying up with target welds.
*These steps are done for each layer*
Step 7: Export to FBX
Program: Unity
Step 8: Import the FBX, reset the scale and rotate to face the camera, copy the required extras onto the prefab.
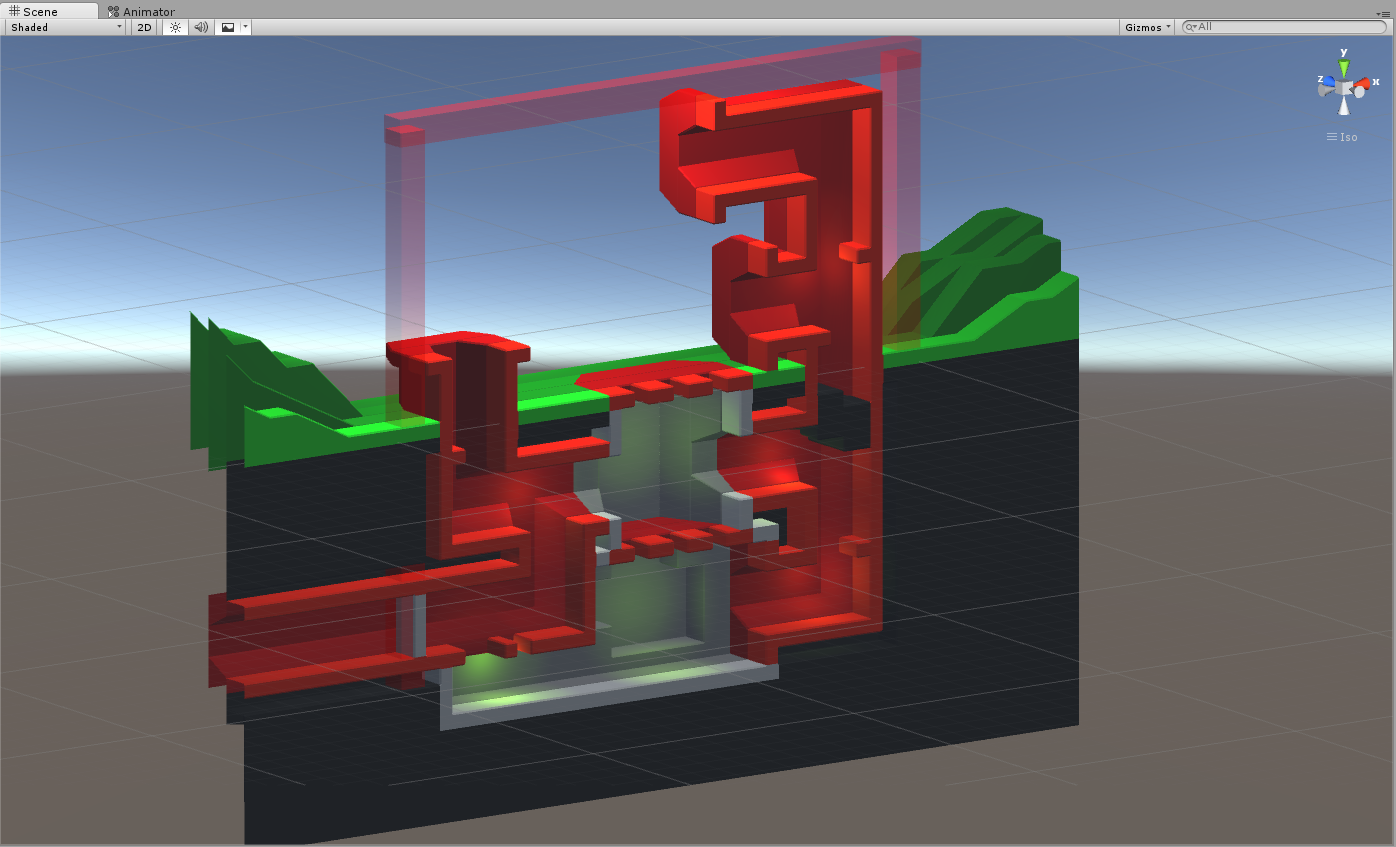
Step 9: Adjust the extras: Red boundary boxes moved to edges; Bot Marker moved to lowest point I want view-able; Collision boxes arranged to match the level; Spawn points moved to appropriate places.
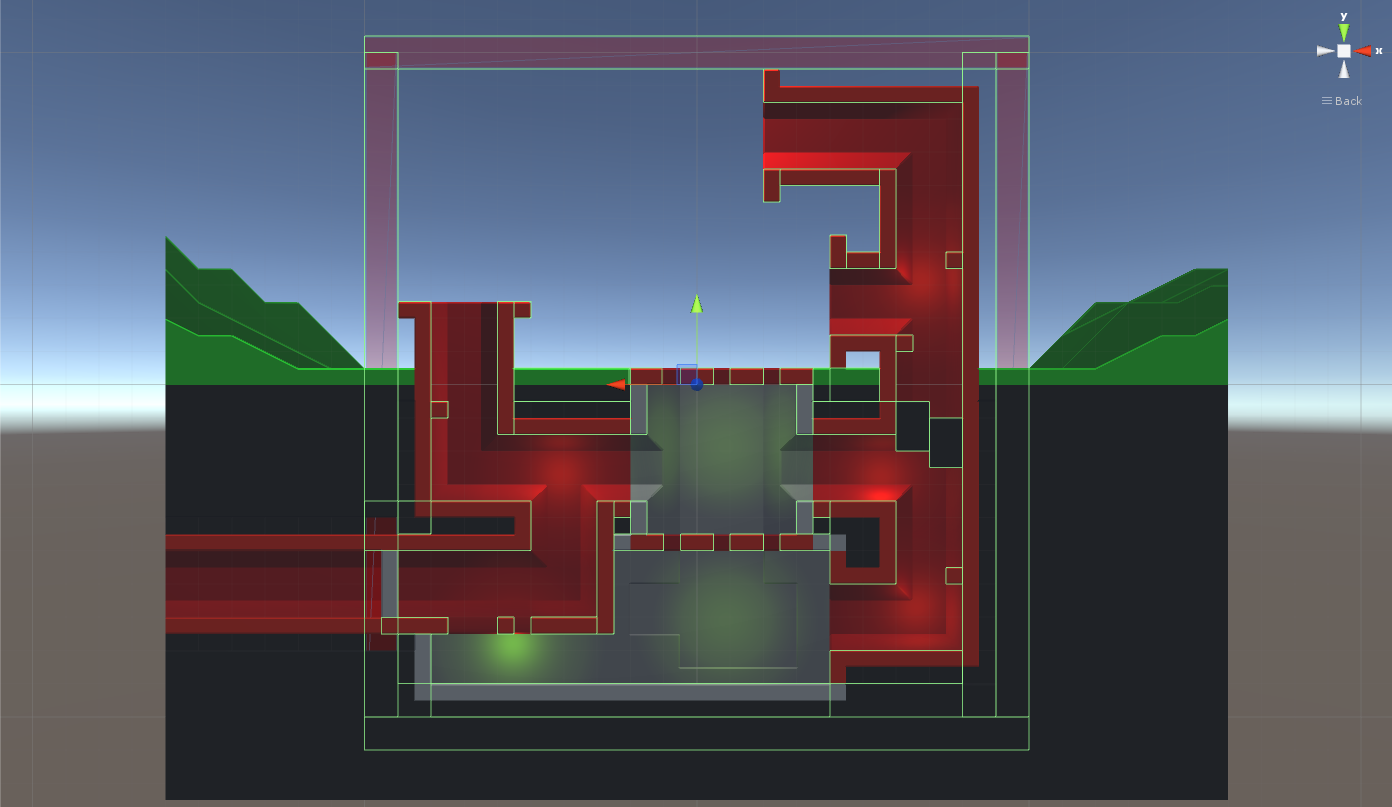
Step 10: Adjust the light positions and colors: I'm using a yellowish green this time for the sewers.
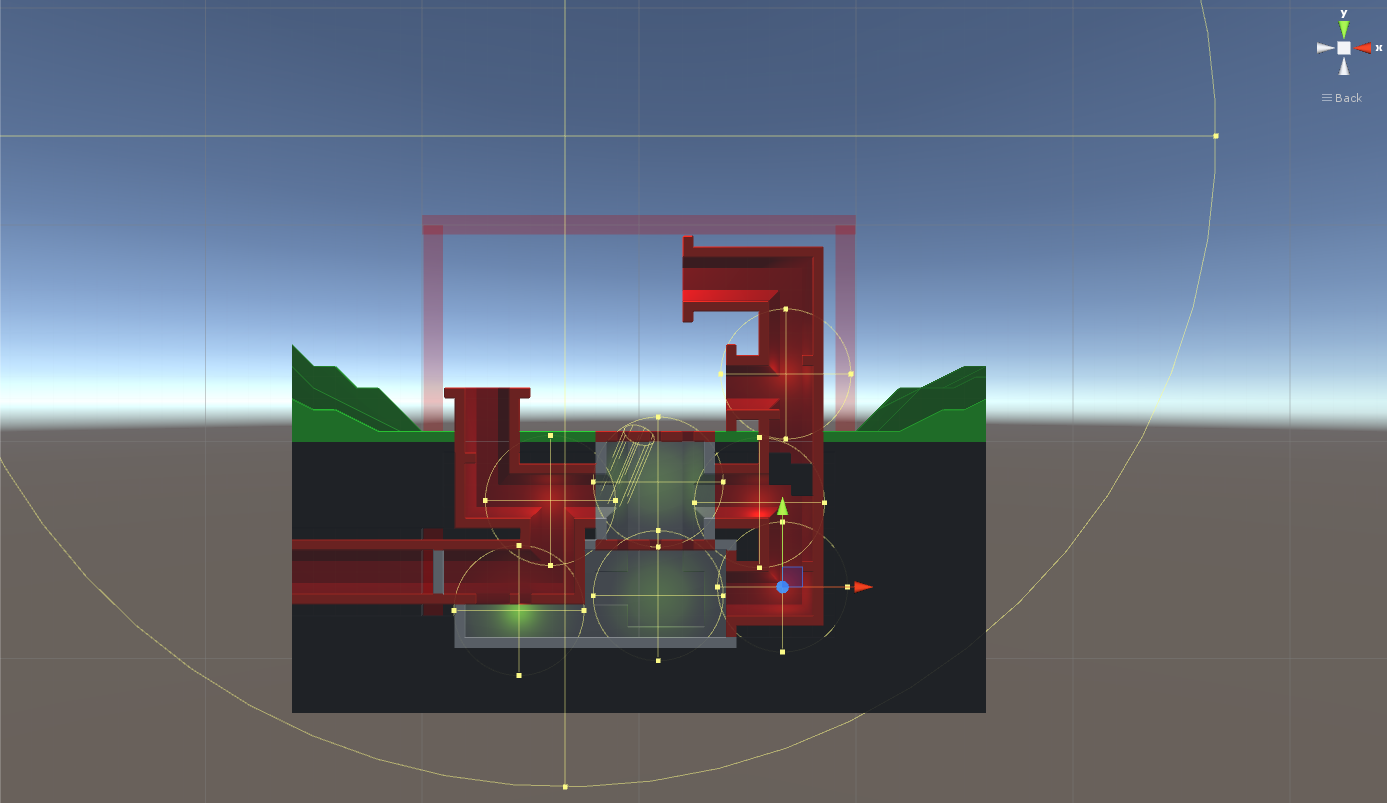
Step 11: Create the scale model (0.055) for the level selector
Step 12: Link them into the game. I'm using simple arrays to hold my levels and associated assets.
Done...
Other News
- Added the Dutch Flag to the available skins
- Added some conditions to the movement particle spawning, so now they wont just keep spewing out blocks if you stop moving...
- Changed the camera to a fixed angle; the look-at feature of the previous camera threw the angle off too much when very zoomed in.