No point and click adventure game would be complete without the ability to pick up seemingly useless junk for use in some elaborate puzzle. The old game selected from a couple of animations, then just played them near the object. The end result meant the player had to use their imagination a little bit.
Not the most convincing animation…
For this 3D remake, we had 3 options:
- Use the old method of playing a generic animation (sacrificing quality)
- Manually create an animation for every object pick-up (best quality, but extremely time consuming)
- Use code (IK) to manipulate the skeleton of the player model to pick up any object
Since time is a precious commodity when creating an indie game, we decided to go for a hybrid between 1 and 3, catch-all animations and code driven fine tuning of the player’s skeleton.
I’ll start by explaining the IK part of this system. In layman’s terms, IK (Inverse Kinematics) is figuring out how to place joints in a system (in this case the player’s skeleton) given a desired end position. I find it to be a difficult thing to explain with words, so allow me to demonstrate with some crudely drawn diagrams I made.
Here is an arm. It’s made up of 3 parts, and 2 joints; a hand, a lower arm, and an upper arm. The hand is connected to the lower arm and the lower arm is in turn connected to the upper arm.
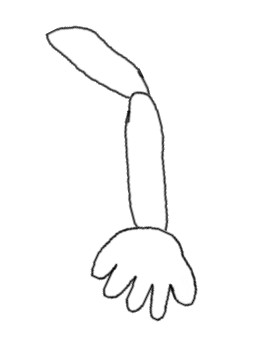
It’s supposed to be an arm. This is why I’m not an artist
This is a simplified version of the player skeleton in our game. Of course out player has a body and even various joints for his fingers, but for demonstrations sake, we’ll be using just these parts.
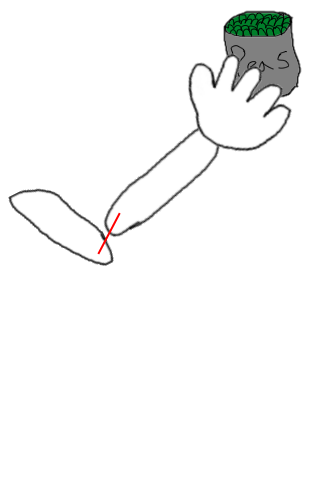
Let’s say the player came across a tasty-looking can of peas that we would very much like to pick up.
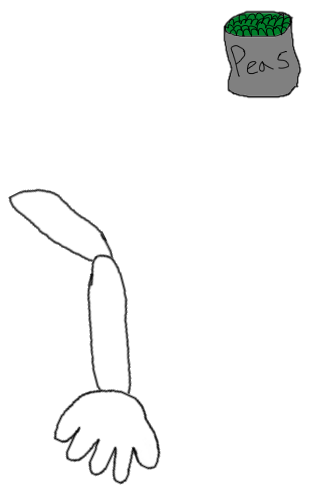
An excellent drawing of a can of peas
In order to pick up these delicious peas, we know where our hand needs to end up; grasping the can.
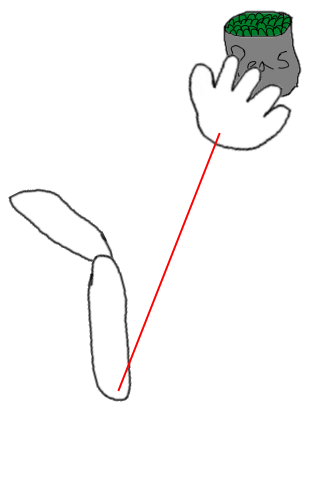
Our hand needs to end up on the peas
If we move our hand to where it needs to go, the arm needs to follow (unless your name is Rayman). This is where the power of IK comes in. Since the hand has moved, we need to update all of it’s children, in this case, the lower arm.
The hand’s child, the lower arm, is repositioned to match the hand’s new location
Now that we’ve moved the lower arm, we need to move it’s children as well, which in this case is just the upper arm. This usually continues all the way down the entire system until we hit a dead end.
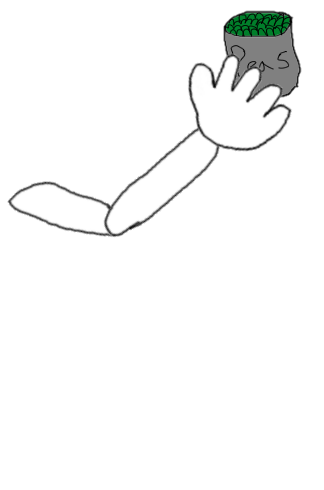
All parts of the arm have now been repositioned and we have successfully obtained the peas
This is the basic algorithm behind IK. For convenience I’ve included the steps in gif format below.
The IK algorithm
I will admit my experience with actually building IK systems myself is limited. In the past I have built an IK system for use in drawing rope like objects, where each segment is just a line and there are hundreds joined together in series. However the algorithm gets a little more complicated when you have multiple children and other considerations such as joint constraints (for example, the arm should be limited since elbows can’t bend backwards).
Since I’m not an expert on IK, I decided to get an off-the-shelf solution for use in Arrival in Hell. There are a few out there, but the one which is held in the highest regard is the excellent Final IK system. It’s a pleasure to use, has tonnes of different features and their support team has been very helpful.
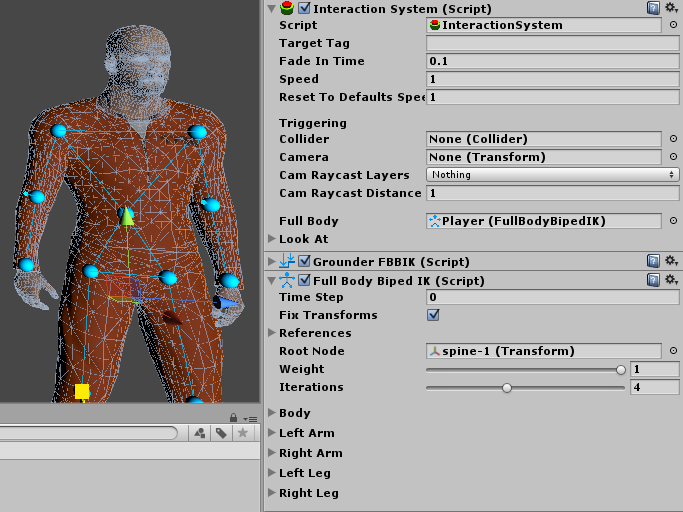 Final IK setup on the player
My interaction system works like this:
- Using my Interactive Object system, the player moves to a target position (near the object he is picking up) and looks at the object
- A generic pick-up animation is played appropriate for the object (if the object is on a table, he just reaches out, if it’s on the floor, he bends down to pick it up)
- During the course of the animation, Final IK’s weight (how much it affects the hand position) is modified to blend between the animation and the IK controlled hand position.
- At the point the IK weight is 100%, we know the hand is positioned on the object, at this point the Unity GameObject is re-parented into the player’s hand. This way we no longer require IK to position the hand over the object, since it will permanently be attached.
- The animation finishes with the player placing his hand (now containing the object) over his pocket. Once the animation has completed, we hide the object (indicating the player has put it in his pocket)
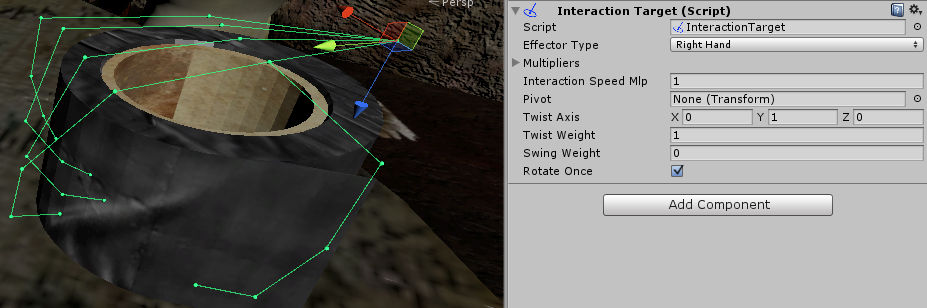
A target position for the player skeleton’s hand bones
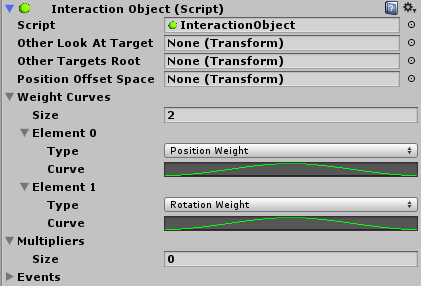
An interaction object script showing the weighting over time
This system isn’t as good as animating every pick-up animation by hand, but it is far quicker. In order to create a new object which can be picked up I:
- Copy an object and replace the model
- Change the parameters in my InteractiveObject script
- Reposition the ‘walk to’ target and hand skeleton target
- Swap the generic pick up animation if needed
This process is so fast, I have made a gif to demonstrate it!

Very rapid addition of an InteractiveObject which can be picked up
It’s not the prettiest animation in the world, but it gets the job done. Here is how it looks in the game at the moment. Please excuse the character model glitching a bit; it’s a work in progress.
How the animation currently looks in the game
Thanks for reading. Please leave a comment if you have any questions about the topics covered in this week’s write-up. Next week I plan on writing about how our dialogue system works.


Thanks, that was really useful, I keep this in mind for later :)
One Question: how do you detect, if the animation is finished? Do you use AnimationEvents? I searched for something like built in events but with no luck.
Hi,
Sorry for late reply, my notifications were turned off for some reason.
So how it works is:
1) Start pickup animation
2) On a timed delay, it starts the FinalIK interaction. The delay is hard coded to match when the animation is almost in the right place, I could instead just start the interaction immediately and have weight 0 for a certain length of time instead. It's just evolved this way, and I don't want to fix what isn't broken :).
3) The FinalIK interaction has a weight graph, this also dictates how long the interaction takes. I have timed it so it matches the animation length (or longer probably)
4) In code I can check if the interaction is complete, since it's the same length as the animation, then I know the animation is complete too (I use interactionSystem.IsInInteraction (FullBodyBipedEffector.RightHand) to check if it's still interacting)