I thought I would show everybody how I light the levels in Silas. Before getting started, I model and test the levels to ensure they play really well. Once the models are finalized, the lighting process starts.
Step 1: I place these little yellow lights in 3ds Max. They are omni area lights.

As you may notice, they all have yellow rings around them. This shows me their lighting radius. Past the yellow ring, the light dissipates. You can also choose the color, set how bright they are, and change the shadowing properties. However, in step1 I mainly focus on placing ambient lights that do not produce shadows.
Step 2: Add the lights to the entire level. And set up the shadow lights. These are the lights which produce the shadows for indoor levels. In outdoor levels, I would barely use any lights at all but rather just one main sun.

Step 3: Render and ensure the brightness levels are appropriate. Usually I lower the environment ambiance as whole for a space level like this. I also put lots of small little ambiance lights instead of just one huge one. In the pictures below, you can the see the 3ds Max renders:


Step 4: Once I am happy with the lighting it's time to export. First I must bake all the lightmaps using a function called "Render To Texture". I then store these lightmaps in a folder on my computer. After this, I re-export the models with their second uv-coordinates and combine them in another modeling program for final game use.
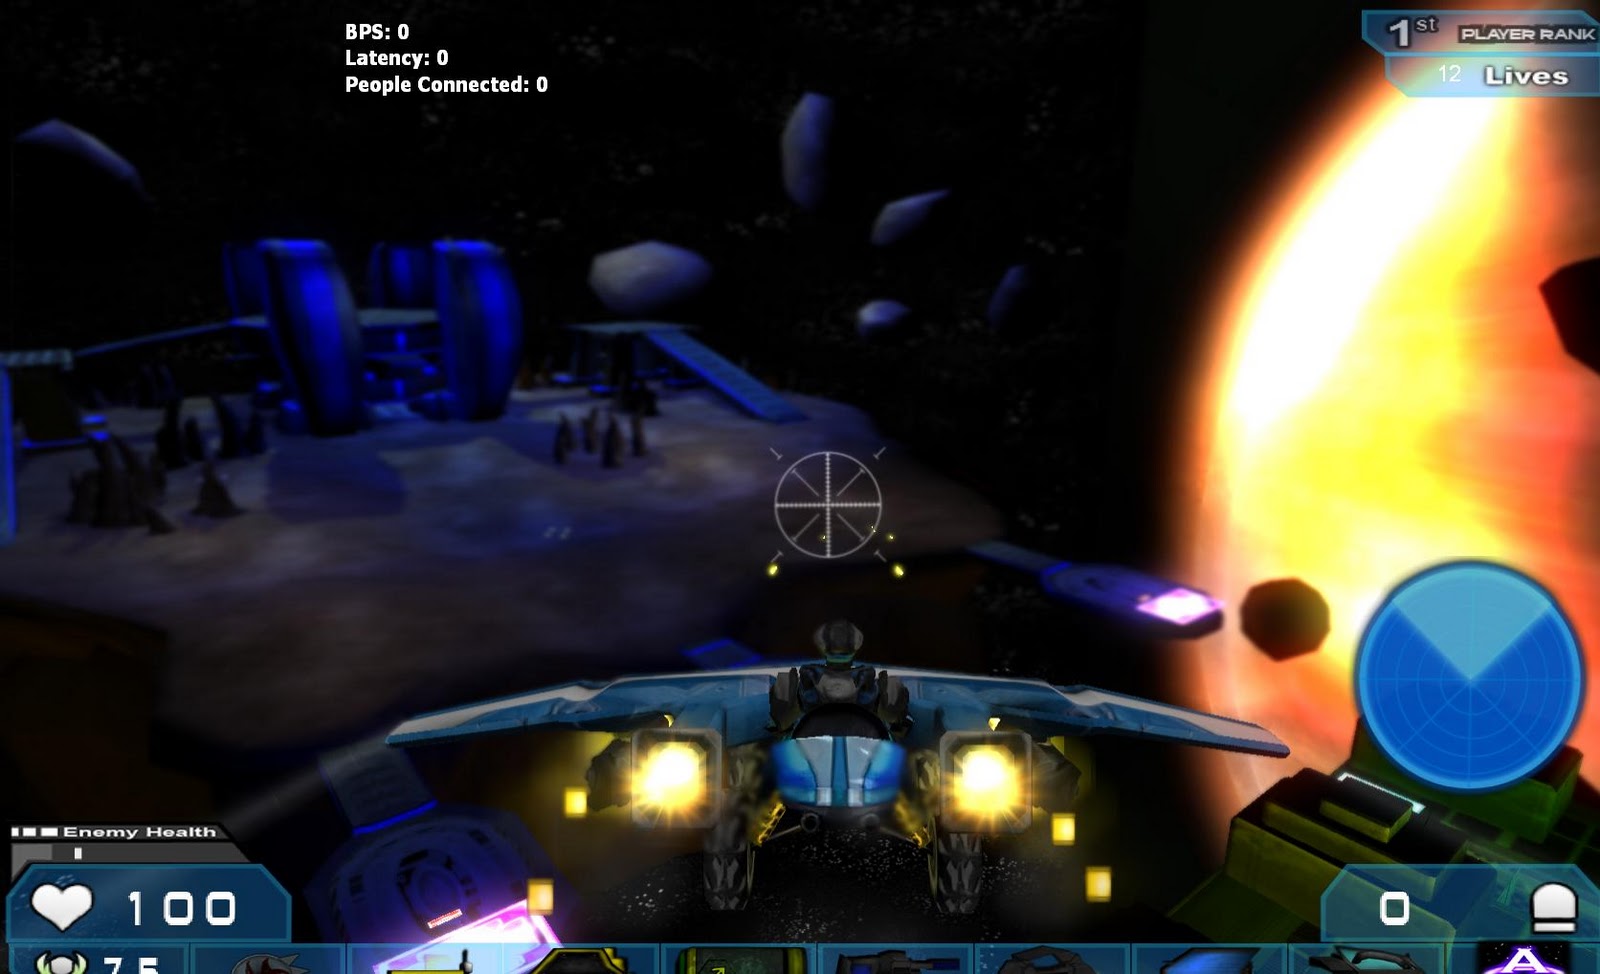
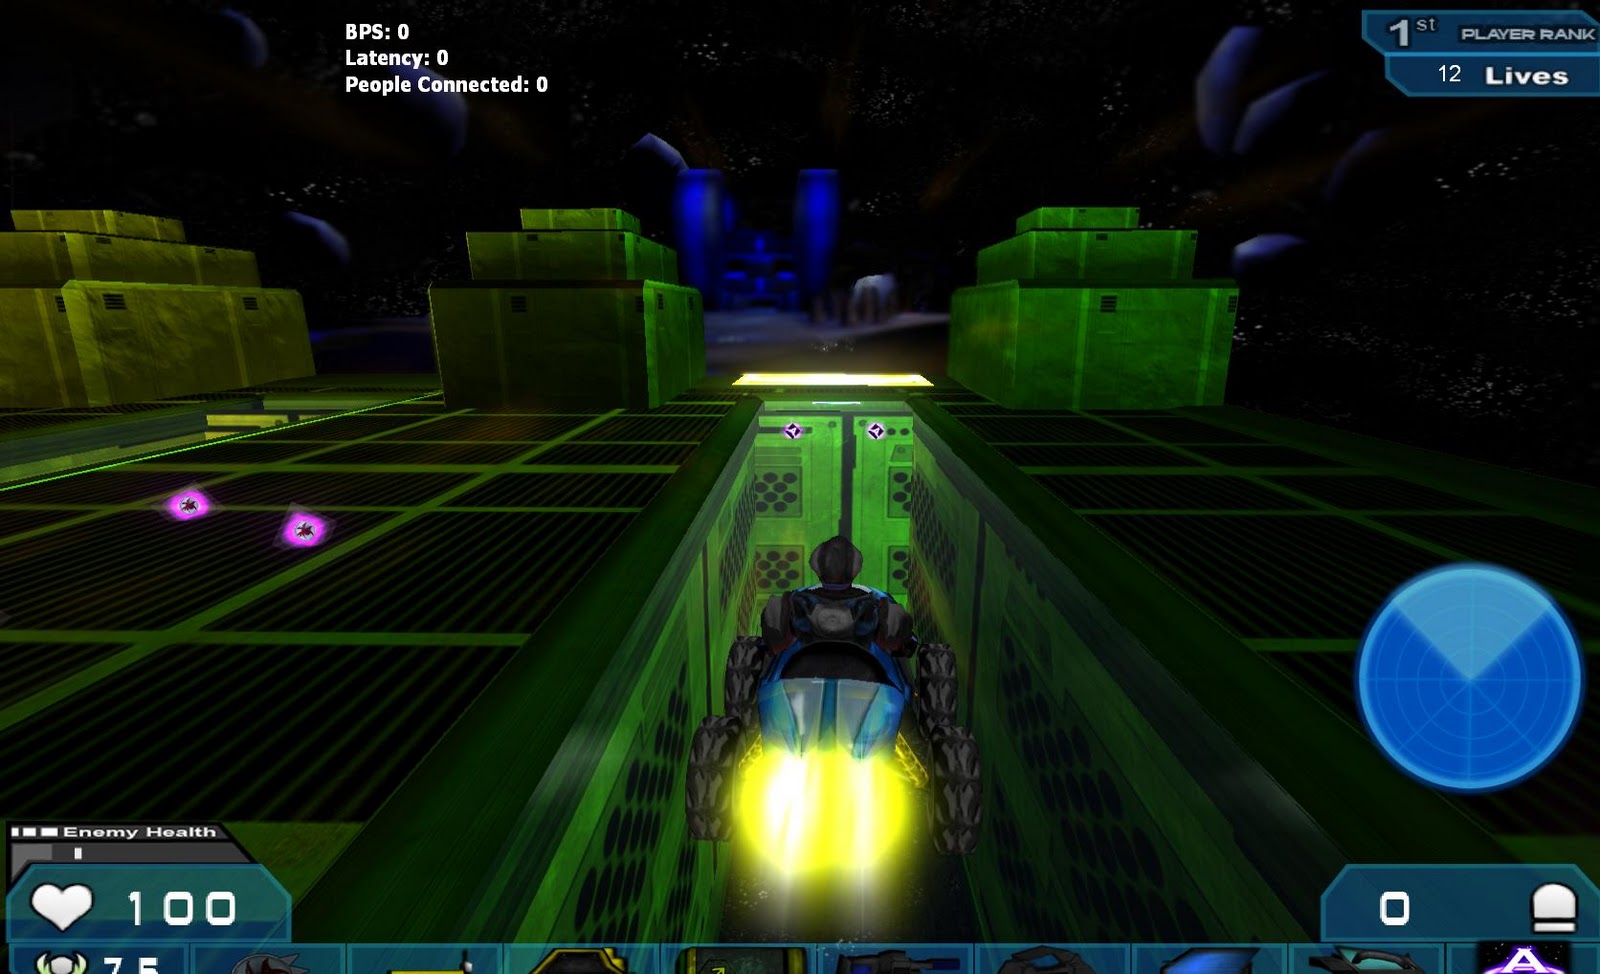
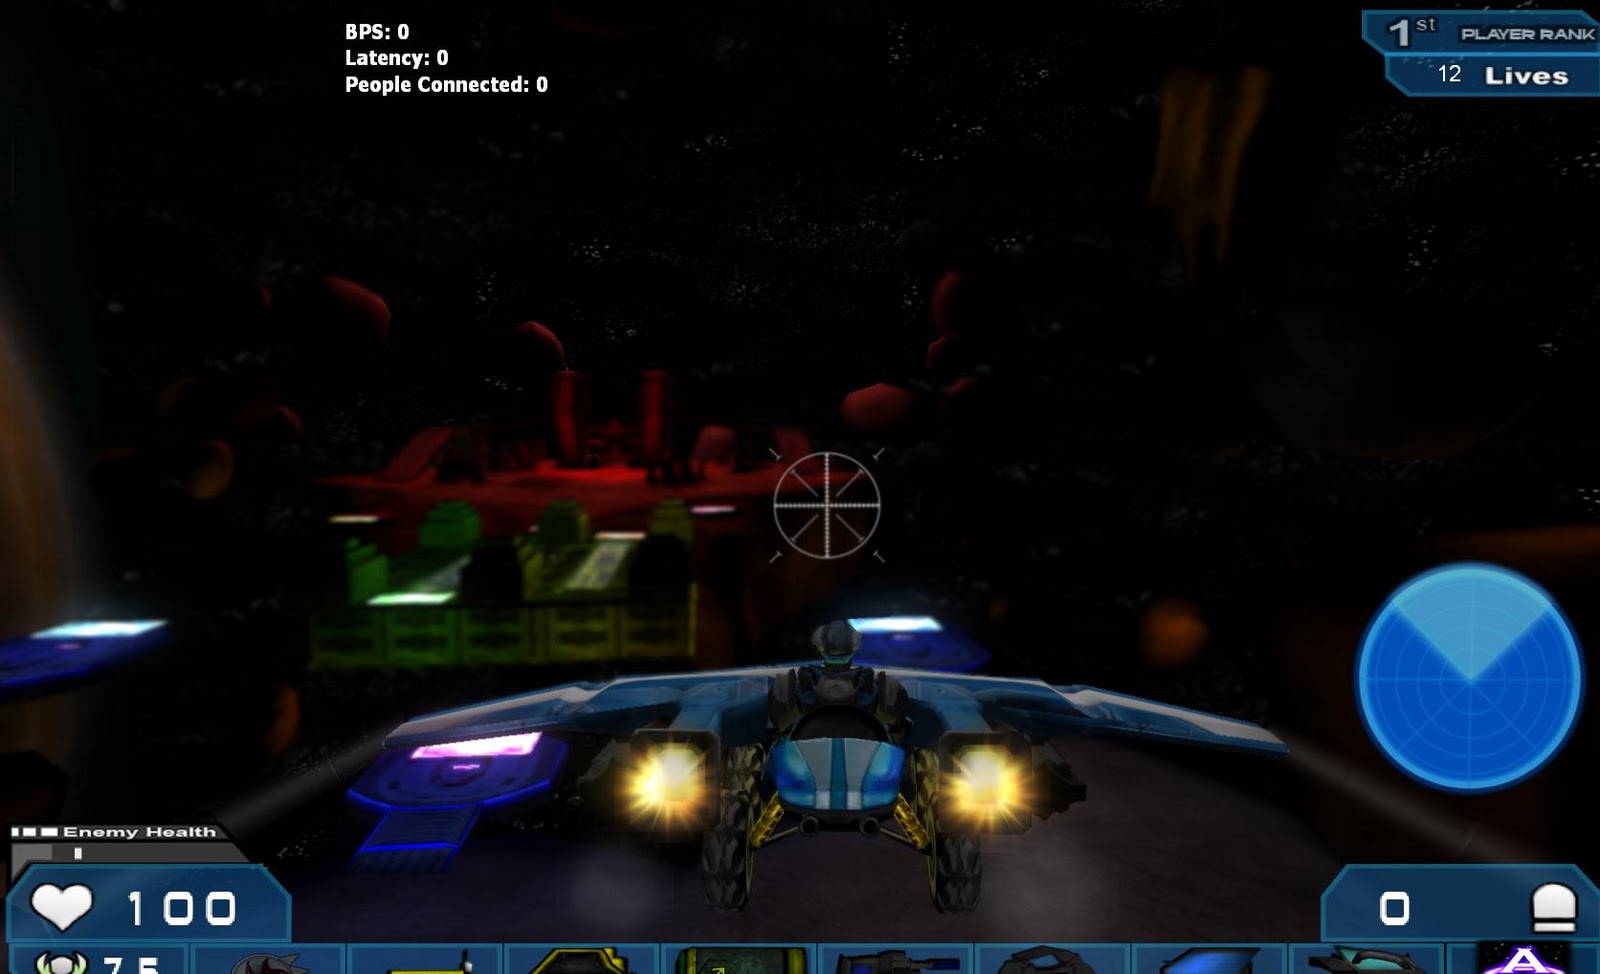
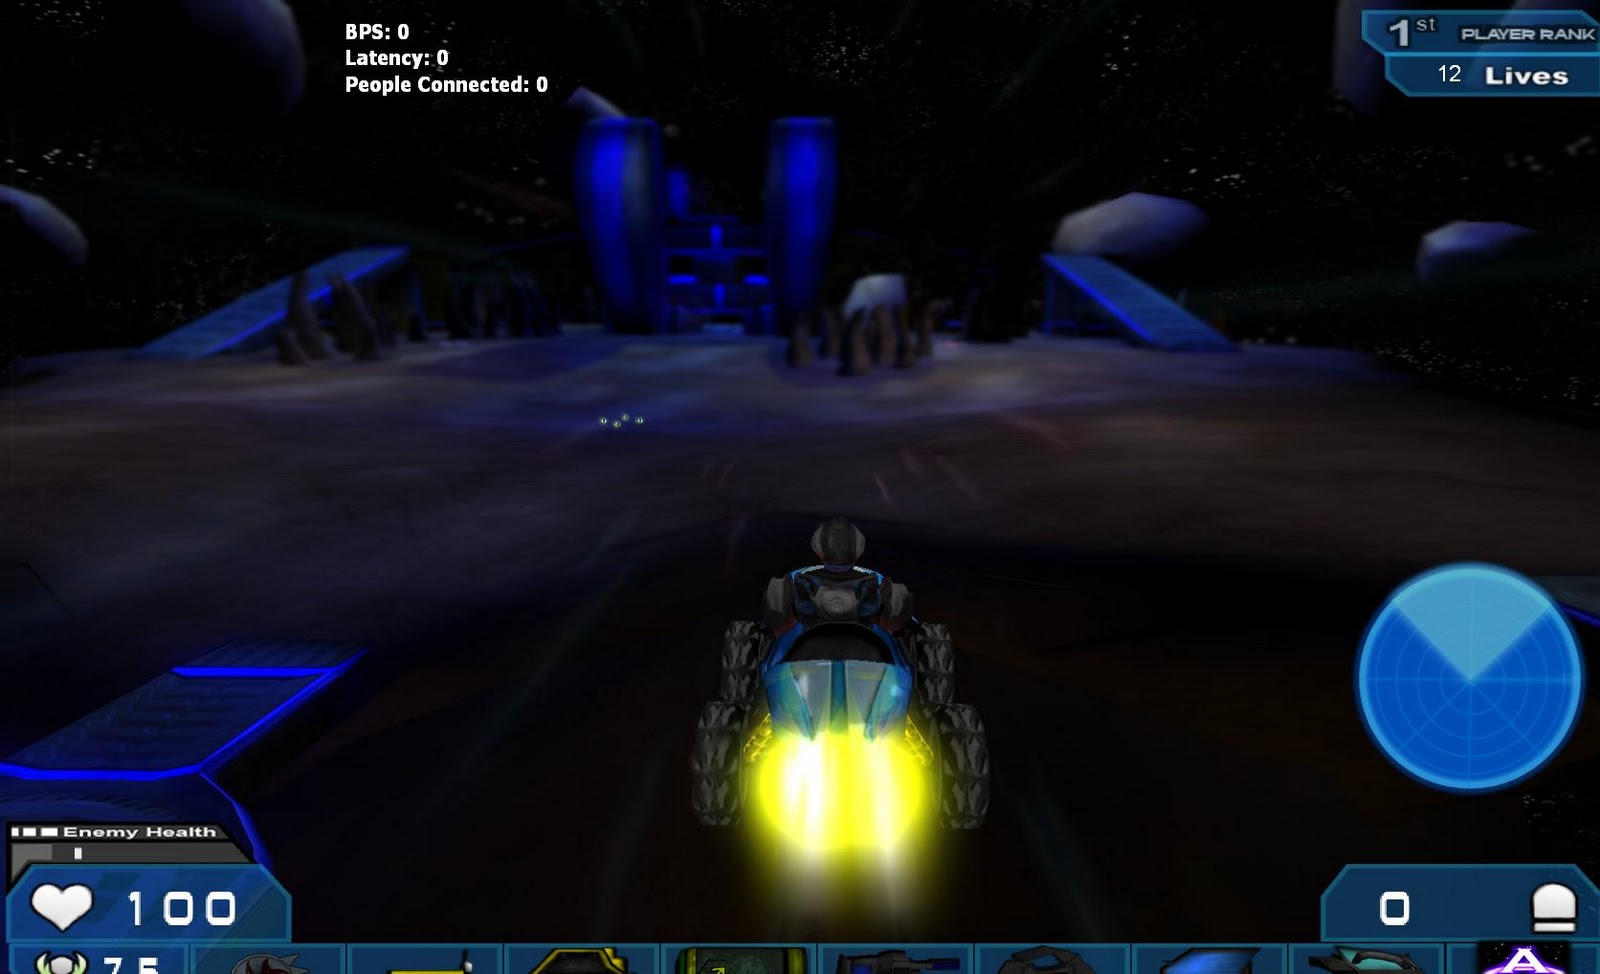
Step 5: Play and make sure lighting is correct in the game engine:
I hope everyone enjoyed this small lighting tutorial. If you would like more details send me a message and I will try and help you.
Thanks for reading. Please feel free to let me know what you think. I aim to make Silas one of the best PC games around, so please help support it by tracking, spreading the word, and pre-ordering!
Follow Silas at these Sites:


Nice, looking really good, and yet again another game i can't wait for.
Thank you for the lighting tutorial. I'm looking forward to seeing your lighting in-game.
Thanks guys! I think I will start releasing some more in-game stuff soon. :|)