Creating textures for a model can either be ridiculously easy or devastatingly difficult, depending on the complexity of the model, the UV mapping of the model and the available textures. For this project I was really interested in creating our own texture assets. This means photographing or painting the textures ourselves. And since I’m not much of a 2D artist, I went down the photography road.
We had to establish the visual design of the game and a general idea of which models would be present in-game in order to decide which textures would be needed. After we had a list of various game objects and an idea of the architecture and different types of buildings in the game environments, I could proceed to jot down a list of textures that would be necessary. Then I simply took half a day of walking around town photographing the materials on my list. For example: brick wall, asphalt, ventilation system, window, door etc.
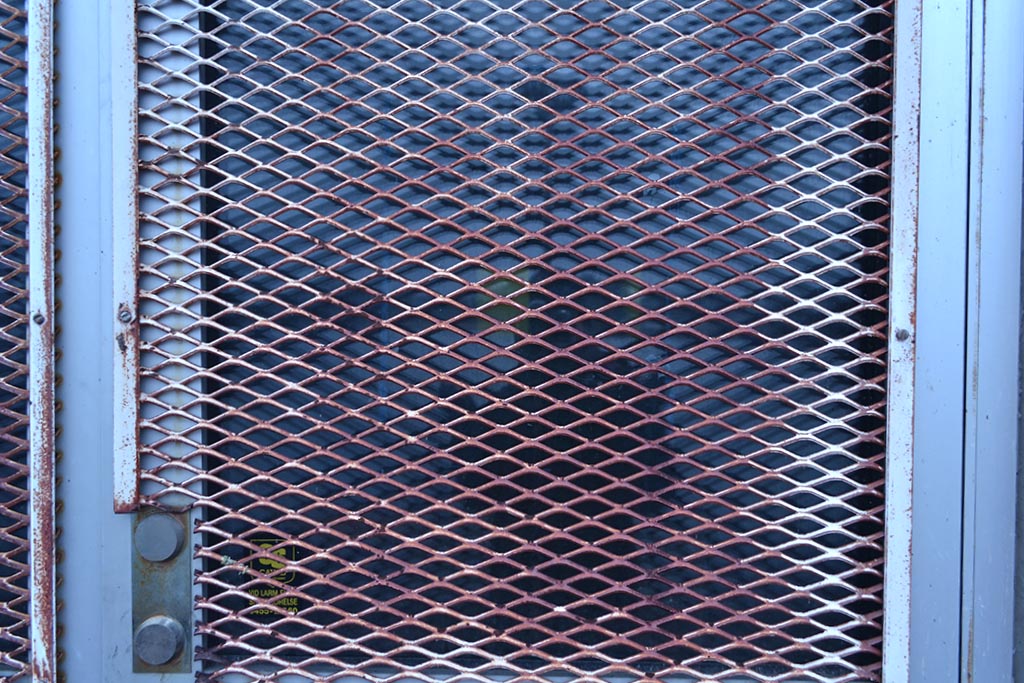
The camera I’ve been using is a Nikon D3100, a pretty standard DSLR camera with a basic 55mm lens. This is one of the photographies I collected. It’s a simple grid I found on the window of a storage room door.

So now we’ve got the stock photo. What next?
Camera lenses are concave, like the human eye. Thus, straight lines will be bent in the photography if the photo was taken up close, as you can see on the image above. It’s kind of bulging. In order to make a decent texture out of it, we will need to process it quite a bit in an image editing program. In this case I’m using Photoshop which has something called Lens Correction (found under the Filters tab) which fixes this issue, and even has predefined settings for my specific camera.
Here’s the result after using Lens Correction. You can probably spot the difference.
Fixing the white balance
I took this image on a cloudy day and even though I tried to fix the white balance in the camera, but the image still came out quite pale and bluesy. To fix this I’m doing the steps explained in this tutorial basically using an adjustment layer for Levels and eye dropping the dark and bright portions of the image.
Result.

Creating a repeating texture
In the case of this particular texture, lens correction might not be absolutely necessary but I still use it just in case. The reason it might not be necessary is that I will now cut out a small portion of the image and create a repeating pattern to make it into a usable texture. I then remove the spaces between the grid loops and add a green background color just to give you the idea.
This particular texture is supposed to be the mesh of a fence. So I will have to shrink it a bit horizontally to make the holes in the mesh uniform. After this I simply use the Filter > Offset function to make the texture seamless. This tutorial describes the basics of the technique but it’s really up to you to fix the details depending on the complexity of the image. I used a combination of the Brush Healing tool and the eraser which fixed this texture up nicely.
Here’s the final texture map.

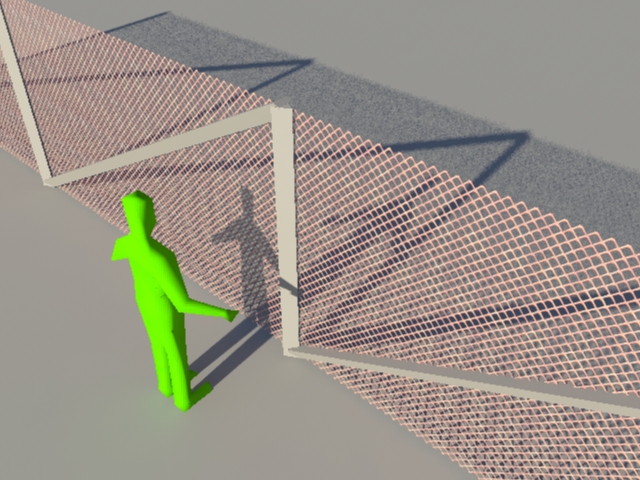
And here is the texture applied on a 3D fence in Autodesk Maya.
Again, it’s not always the same for every texture. This particular one was very easy to create. You always find some wrinkles to iron out in ways you have to invent in the moment., but I hope this post provided some insight on how we create some of our textures.
