Foreword
In this article I will tell you about the creation process of weapons for Lost Squad. Also, the basic principles of creating 3D content for video games will be touched upon, the overall process of modeling and texturing will be shown on a specific example, as well as my own observations on each weapon model separately, some nuances and difficulties I encountered, working moments and fun solutions.
I apologize in advance for the inarticulateness and possible overload of information of dubious accuracy. Perhaps some of the points will be interesting for beginner in 3D modeling, but experienced professionals will not find here anything ingenious and new.
Lost Polygons
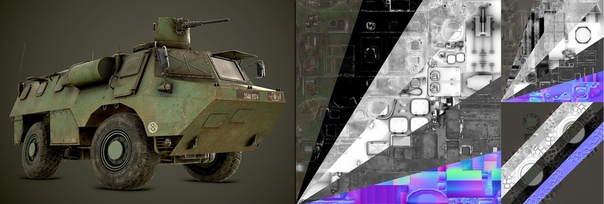
Lost Squad — is a fan-made Source Engine based game in Half-Life® 2 universe about what happened to Barney Calhoun after Half-Life® 2: Episode One events and why he was not in Half-Life® 2: Episode Two.

One of the technical features of the game is that the player is present in the game world with a first-person view, while the character's body is physically present in the scene and responds to events. In other words, there are not only hands visible that firmly hold the weapon, but also rest of the body that will cast shadows, be visible in reflections, in scripted scenes or if you just look down.
In the original Half-Life 2, this system was implemented somewhat simpler - the character's body was not present at all, only a view-model of a weapon with arms rigidly attached to the game camera. If you look at this model in the editor, you can see that all those areas that are not visible at a certain angle of the view are simply missing. For cases when the weapon is not in player's hands, but just lying around somewhere on the ground - another, so-called world-model is displayed, with all the main details present, however, in order to save resources, greatly simplified in its shape and texture.
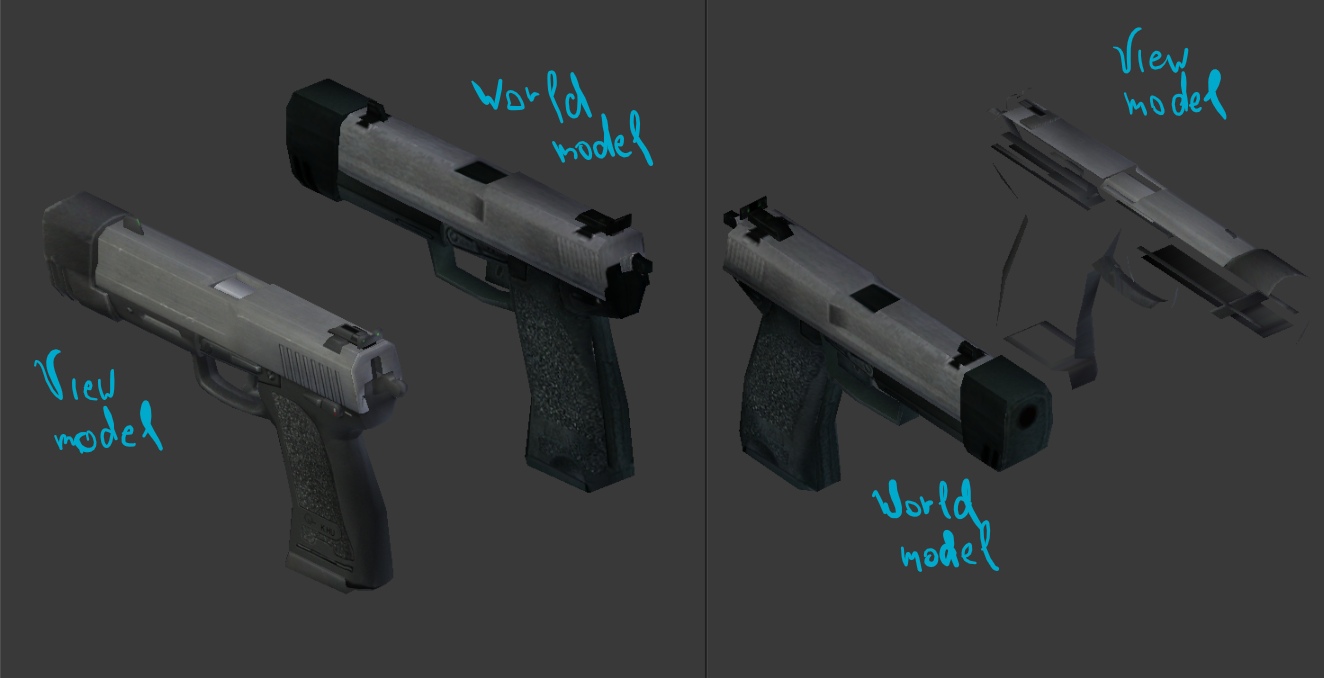
The difference between the View- and World-models. Missing pieces of geometry on the V-model, low resolution and polycount of the W-model
With Lost Squad system described above, it is undesirable to use the view model, since the viewing angles and camera movements are dynamic, which means that the missing details of the view model from certain angles will be “lit up” sooner or later. Using the world-model, from the first-person view is also unacceptable - the quality is too low for this: low polycount, and the textures look very blurry. Of course, you could take a view-model and just mirror it, thereby add the missing parts. But the result, and the time spent on achieving it, was not worth it. It turned out long and ugly, and therefore we decided to make models of weapons from scratch.
Preparation
So, it was decided to completely remake some types of weapons. Moreover, with the highest possible quality of the final result, which I am capable of at the moment, or the capabilities of the Source engine.
In Lost Squad only part of the original Half-Life 2 arsenal is used, for example, Gravity Gun, Crowbar or Feropods are unique, and according to the story they were given out only to Freeman.
The final list of weapons to remake looks like this:
- 9mm Pistol
- .357 Magnum
- Explosive Grenade
- RPG
- SMG-1
- Shotgun
- Crossbow
- AR2
At the beginning I was opening and studying the original View and World models from HL2 in the editor. Often, they were markedly different from each other by the presence or absence of some details. Sometimes the differences were quite significant - View and World models models for the same weapon could have a different design or even scale.
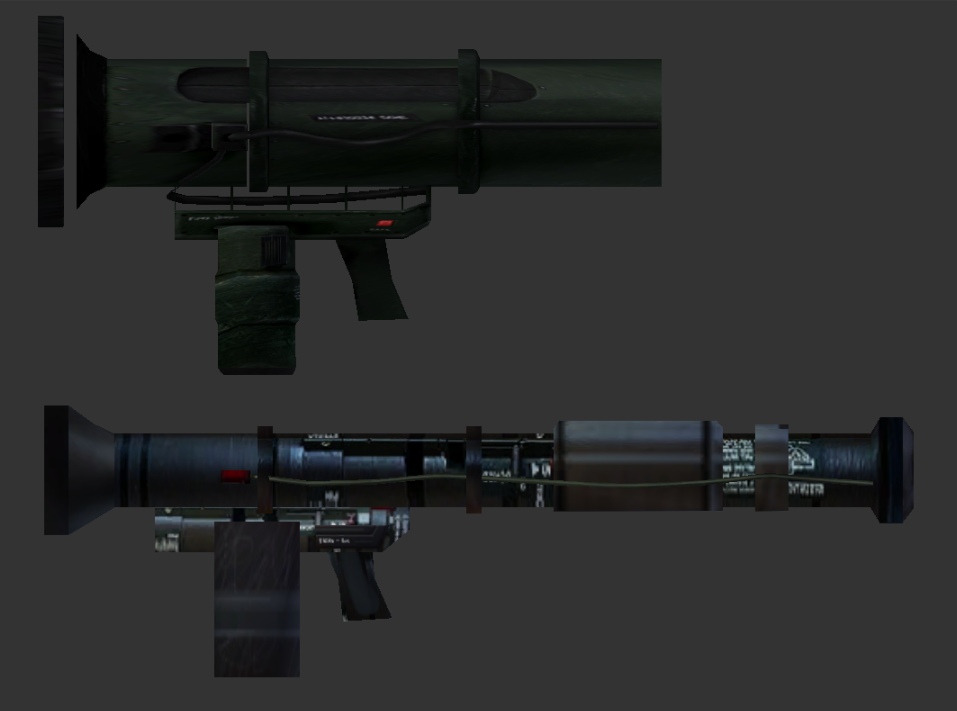
One of the clearest examples of such differences. Top - a model that is visible from the first person,
below - a model that is displayed in the hands of the NPC
Almost every weapon has its real prototype in the real world, and I searched the web for all sorts of photographs and drawings of the originals. I collected all images I found that were suitable for use as references in the PureRef program, which is a kind of wallboard where you can attach notes, pictures. At the same time, the program window can be conveniently positioned on the entire screen of the second monitor, and instantly scaled to focus on a particular image, or on several at once.
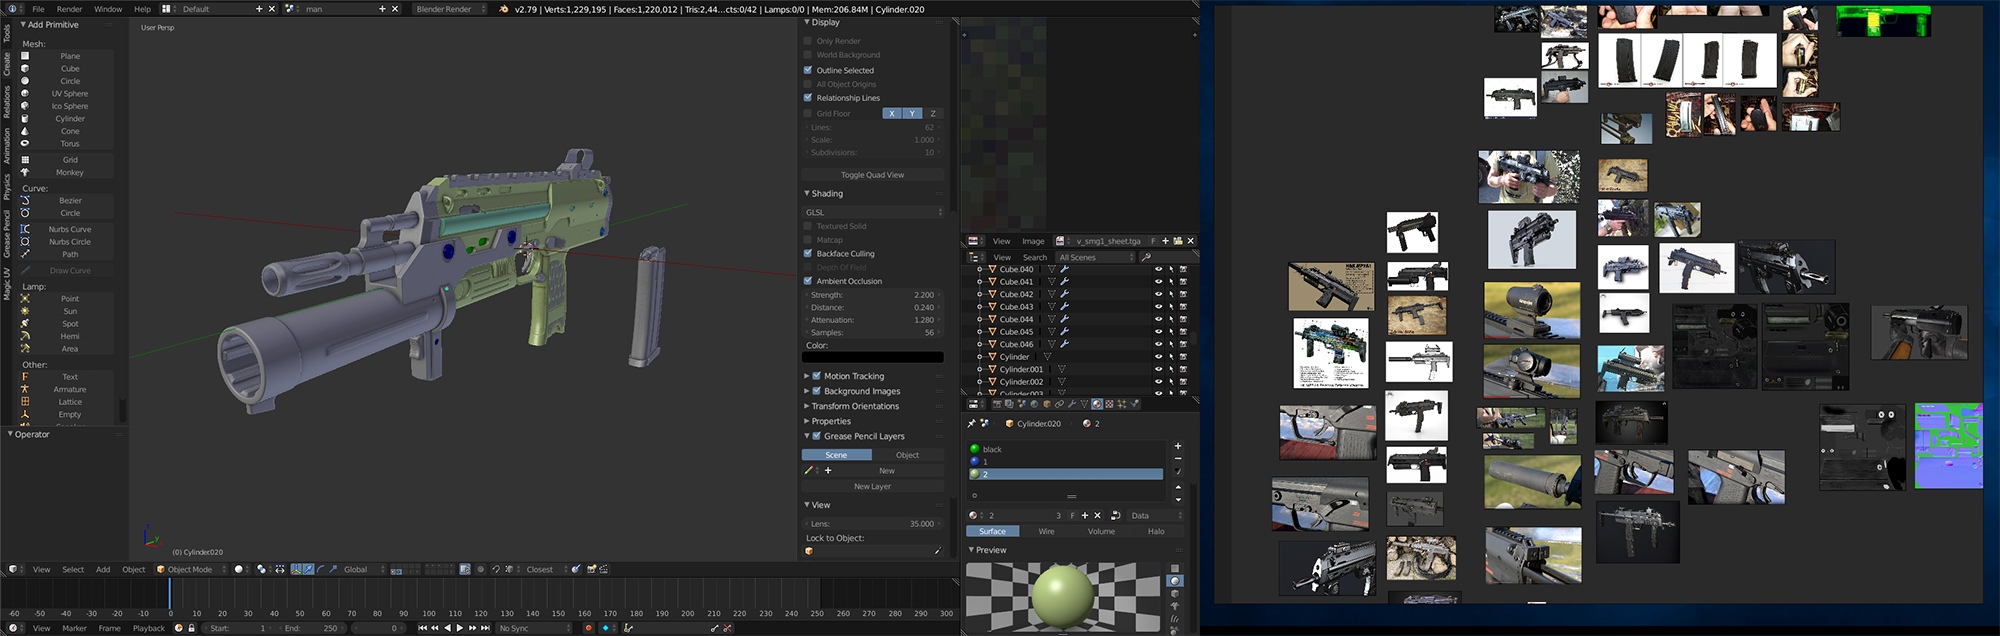
On the first monitor - a 3D editor window, on the second - PureRef with reference images
In addition to photographs of specific original samples, I was looking for all sorts of details of any other weapon, to make it easier to understand how they work, or simply as ideas to improve the overall look of the model.
Thus, I imagined the final model as something that absorbed elements from both the original HL2 models and real samples.
Lowpoly/Highpoly
Having decided on how all this should look like, I started modeling. At the moment for 3D modeling I use Blender. It is not as “heavy” as the Autodesk software, very stable, fast-paced, and absolutely free. In terms of modeling is not inferior to the something like 3Ds Max or Maya.

Blockout
Process of creation of each model begins with a blockout - a rough blank, which determines only the scale and shape of the future model.
A multicolored texture blockout imported into the game
Usually, such model never leaves the 3D editor window, but in certain cases it is imported into the game to see which elements will be best seen at first-person view, where should be more polygons or texture scales, and where not. For clarity, I sometimes paint the individual parts of the model in different colors on the texture.
The scale and shape are determined, now it is time to create a high-poly model, containing the maximum number of parts, like smoothed chamfers, bolts, holes or something else. The number of polygons of this model can vary from hundreds of thousands to two or three million.
Finished highpoly model
But this is not important, because such model will not be used directly in the game, it is only needed to "bake" its details into the normal map for another, simplified model with a much smaller number of polygons. Very small details, like a pattern on the handle or chips/scratches on highpoly, I usually try not to model - it's more easier to draw them later on texture. As a result, a highpoly-model is a detailed mesh with additional edges, which, when using the Subdivide modifier, helps to keep the shape, or give the details more expressiveness.
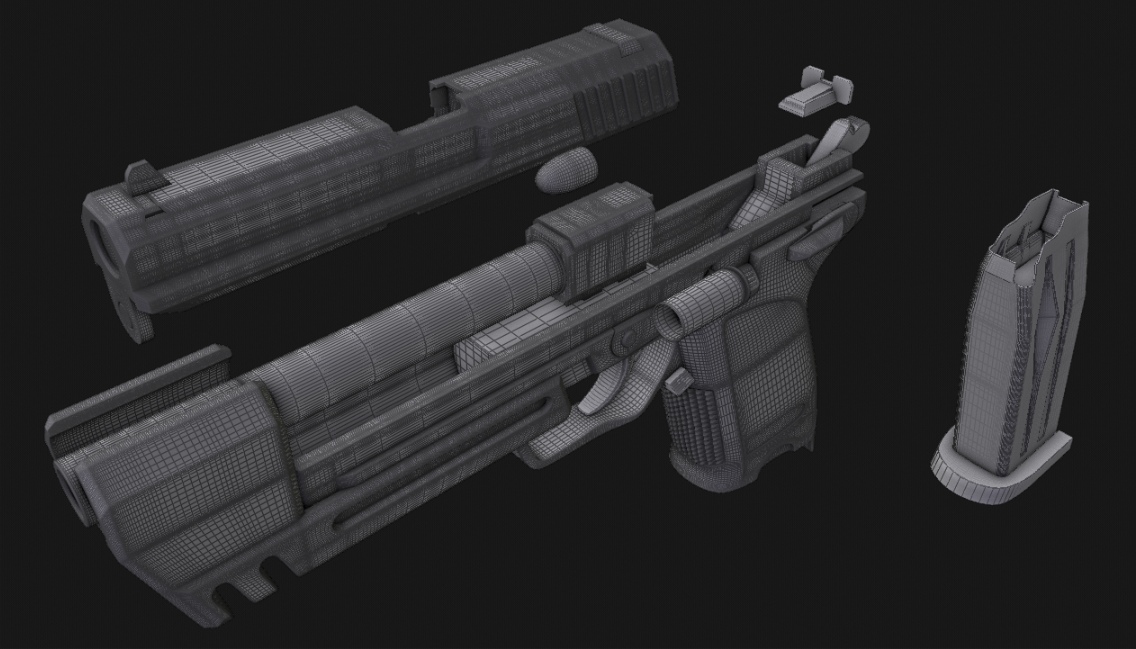
Next step - creating a low poly model. In terms of shape and scale, it coincides with highpoly, but it has a much smaller number of polygons and details, and it will be used in the game. Here I am looking at which elements will be best seen in the scene, which parts need greater priority in terms of detail. Accordingly, those elements that most of the time are out of sight (for example, the insides of the handle, visible only when the magazine is removed) will have a smaller number of polygons and a smaller size on the unwrap. Absolutely flat surfaces also do not need large number of polygons, but for round elements, such as curved lines of the bolt or sight, I tried not to save the polygons so that they did not look too angular.
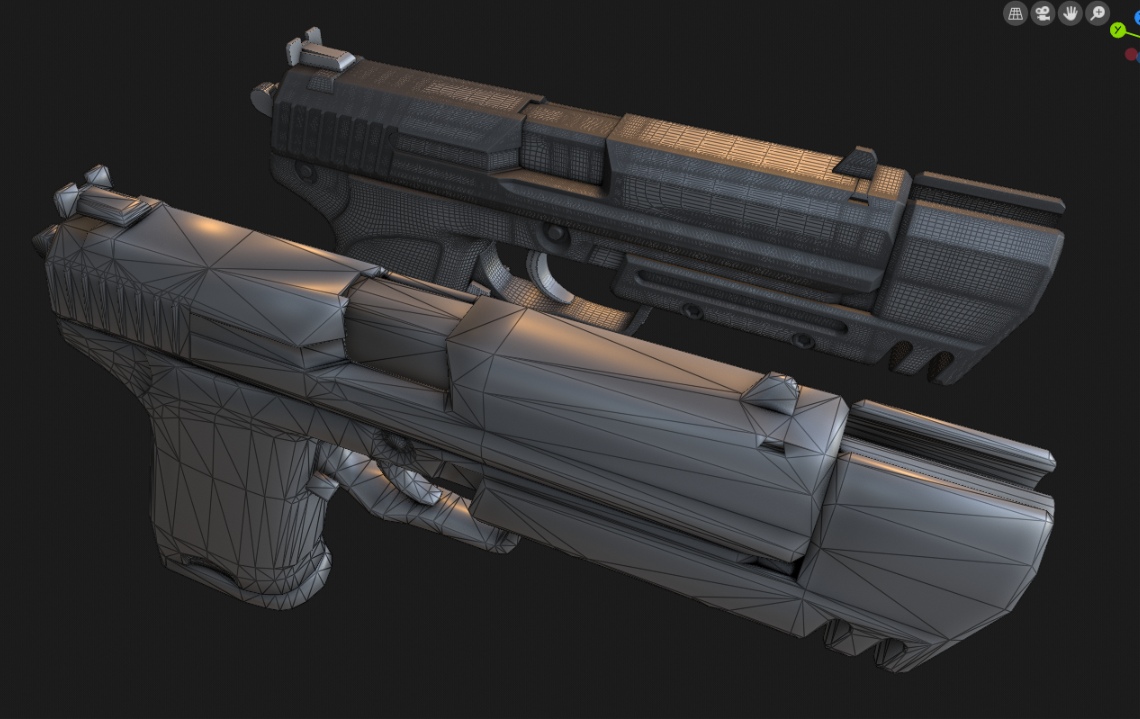
Lowpoly and highpoly
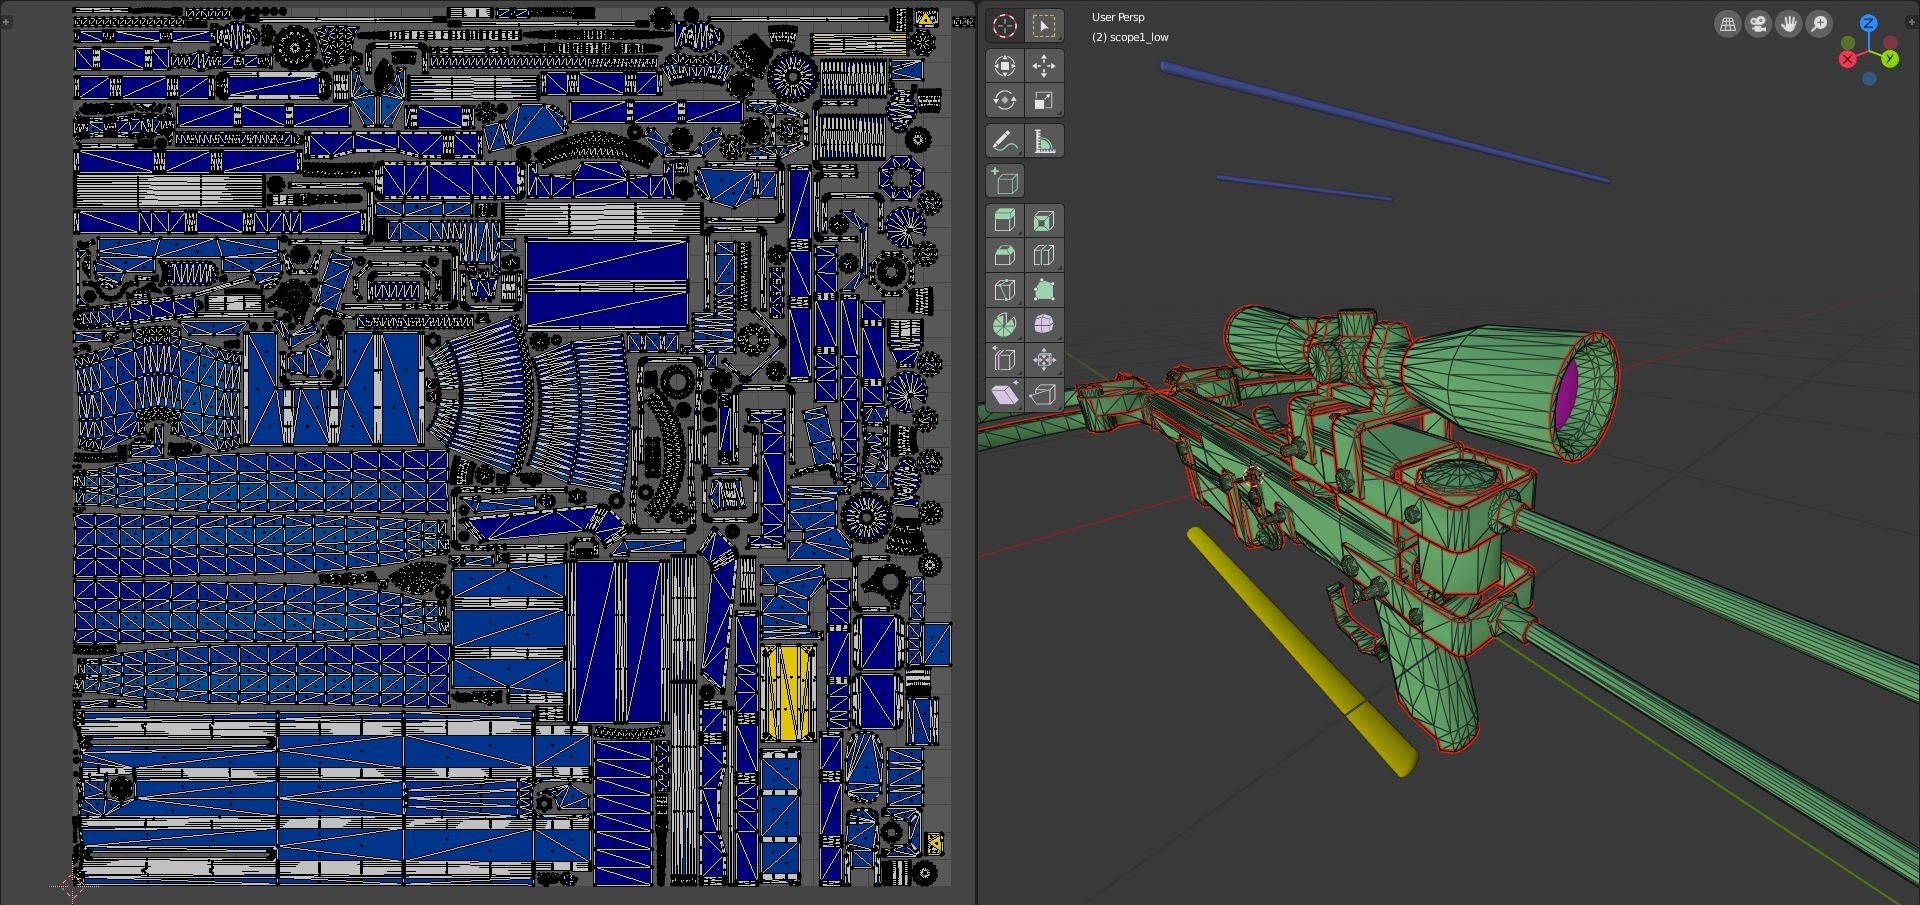
After the lowpoly model is ready, it is necessary to unwrap it, which is necessary for the subsequent creation of textures. UV-map is essentially a two-dimensional representation of a three-dimensional model on a plane, according to the principle of origami. The individual elements are neatly laid out, and a texture is drawn on the two-dimensional representation.
It is important, if possible, to use each free pixel of the UV-map and not to leave empty spaces, since the better the distribution of elements throughout the entire UV-map, the less blurry the texture will be.

Manual UVW done in ~ 3 hours
Initially, I did unwrapping using standard Blender tools. Weapon models often contain a lot of small parts, which you have to manually place on the UV-map, because automatic generation does not take into account the “holes” in the details, leaving a lot of unused space.
UVW map done by ShotPacker in 3 minutes
After some time, I tried the ShotPacker plugin, which gave an amazing result. What took me before half a day by hand, this plugin does in a few minutes, and you can specify which parts should be done smaller than the rest (due to their unimportance). Some models use more than one texture due to a simple lack of memory or some other technical aspect.
Texturing
Photoshop
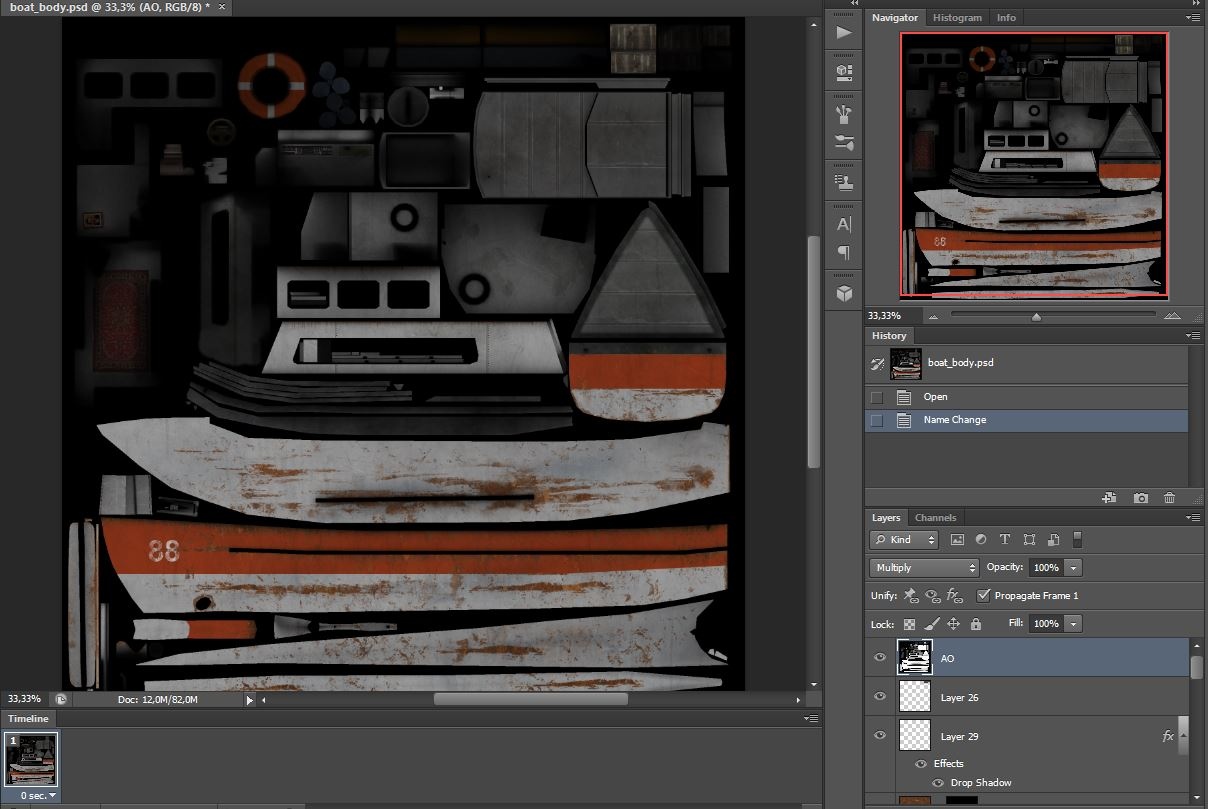
Before, when creating textures for such kind of models, I used Photoshop. All the actions were limited to the fact that I imported the image of the model's uv-map from the 3D editor, set it with the upper layer with translucency, and then using this “stencil” I created the texture, overlaying layers with photos of various pieces of iron and wood, combining it, adding clarified lines to edges that mimic wear or scratches. Then saved and moved it to the 3D editor window again to see the changes. If there were errors, I returned to Photoshop, and so on, until I was satisfied with the result. Not the most convenient way, especially if the 3D model is complex, in terms of detail.
In 2015, I saw Substance Painter for the first time. This program just blew my mind with its capabilities, and I began to study it right away. I liked everything in it literally - the ability to conveniently draw on top of the model and on its uv-map, use procedural materials and filters, familiar work with layers and their blending as in Photoshop, and a wonderful youtube-development channel with detailed instructions and video tutorials. From all this I must note procedural component - for example, such trivial things as the effects of aging of the surface, dirt, chips or scratches, which previously almost had to be manually drawn in Photoshop for hours, here are generated in a couple of clicks. At the same time, if the texture is already ready, but suddenly you want to quickly change something, you can always go back to a specific effect and change its parameters. Non-destructive, so to speak.

Substance Painter
The highpoly model plays an important role in the correct operation of procedural filters - in addition to the normal map required for correct shading and displaying all the small details, a number of special maps are also rendered on the lowpoly model, such as the map of the position of the faces or the position map of certain parts of the model in space (different filters, depending on what effect they perform, require a certain map, or several at once). The process of baking all these maps is organized in the same place, in Substance Painter - lowpoly and highpoly models are loaded, the types of maps and their settings are selected, the Bake Maps button is pressed, and everything is ready.
Substance Painter is a modern program, the textures in it are created mainly for modern engines, where physical-correct rendering (PBR) is used. In the “traditional” or “ancient” methods of rendering, the lighting construction algorithms were much simpler, and the texture artists had to go on tricks, drawing highlights and shadows on the main texture (diffuse) so that the texture would not look too simple. Also, auxiliary textures were usually added to the main texture - to simulate the effect of specularity or glare from direct light sources in 3D scene.
An example of a model with PBR textures
In the modern PBR process, everything related to light, shade, and the nature of the material is performed automatically in the engine. In his textures, the artist only needs to display information about the color of a particular material, the degree of its smoothness/roughness, and whether this material is a metal or a dielectric. He doesn't need to draw any shadows or glare - the shaders will calculate everything and display them in real time.
As for the Source engine, at the moment in terms of rendering and lighting, it is very outdated and falls a few steps behind modern engines, like UE4 or Unity. Of course, there can be no talk about PBR, and if you feed to Source such textures, they will look too plain, if not completely wrong. Why, then, use Substance Painter for such old engine? The answer is the convenience and the ability to "convert" textures so that they look good even in Source.
The algorithm is simple:
- At first, PBR textures are created: base color, roughness, metallic, AO

PBR textures
- Then the diffuse texture adapts to the Source: using the Baked Lighting filter, the lighting and the shadows received from the PBR rendering are superimposed over it:
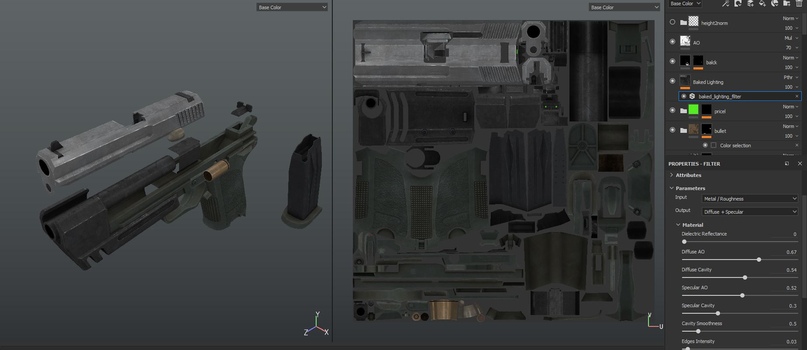
Baked Lighting filter
- Separately, additional black and white texture masks are created to simulate highlights and reflections, which are used only in Source:

Phong, Exponent, AlbedoTint
1) specular mask (phong): for the presence of gloss in the white areas and its absence in the black;
2) exponent mask that controls the size of the highlights (black is a large glare, gray is a small one);
3) a color deviation mask (albedotint) that adjusts the shade based on diffuse textures.
As the result we have two sets of textures - for the Source and for the PBR.
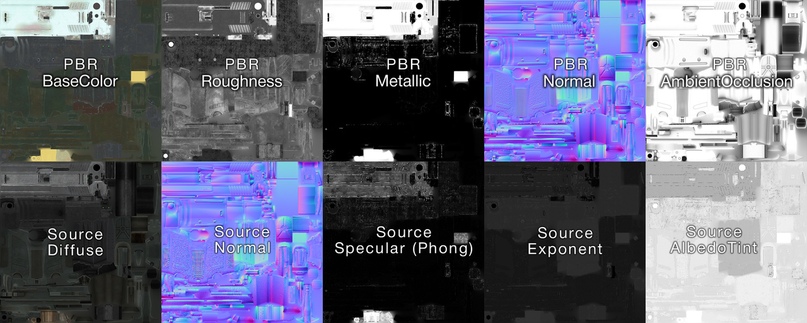 Difference between PBR and Source textures
Finished textures are easy to export by assigning them to the desired color channels for Source. In Substance Painter, I have created an export profile for this that does everything automatically, for example, the specular mask will be in the alpha channel of the normal map, and the exponent and albedotint masks will occupy the red and green channels of a separate texture. Some models use the effect of self-illumination (luminous marks on the gun’s sight or red-hot armature, which the crossbow shoots), for this a separate black and white texture created as well, the white color of which indicates the luminous parts of the texture. Placed in the alpha channel of diffuse texture.

Profile for texture export
After exporting to the tga format, all textures are converted to a different format, compatible with Source engine, and then a text file of the material is created, in which the paths for the main textures are written, as well as the lighting parameters. The finished material is first checked in a regular model viewer, and then in the game itself, at this point the final edits and adjustments are made.

HLMV and text editor
The bones needed to create animation and control of individual parts (magazine, shutter) are attached to the completed model, several LODs are created - simplified versions of the main model, with a gradually decreasing number of polygons. In the game, such models will automatically switch when the player approaches or moves a certain distance. When making LODs, I created duplicates of the main model, and depending on the complexity of the model, I manually removed the “extra” parts and polygons by hand. In other cases, the standard blender modifier Decimate was used.
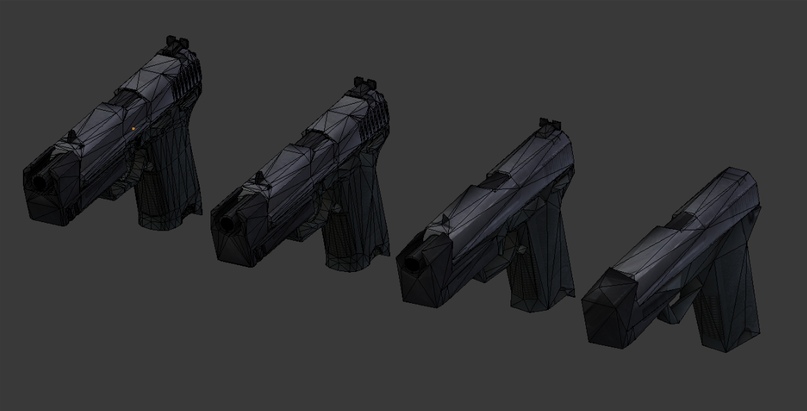
LODs
This is how my whole simple process of creating models and textures for Lost Squad looks like. In the next part of the article I will talk about each model separately, in order to clarify some points and share interesting observations.
Original Author of this article - T-braze
Translation by Reinghord

Extremely hot.
супер а когда карты покажете или демку? или полноценную версию?
Incredible amazing work! I cant imagine how talented modeller is
NICEEEEEEEEEEEE
Great you see your project is back to life.
I was afraid this mod was pushing up daisies. Good to know it's still kickin'!