Hey, this is leeswim247 here.
My plans here are to help people starting out in the gaming development community in order to create their dream games. With me having absolutely no knowledge when it comes round to physically creating a game, this is a learning experience not just for you, but for me as well.
I will keep all of the tutorials here as simple as possible so that developers of all levels can follow easily, and I will be using all of the materials in these tutorials to go into the final version of SumoBlocks (the current game in which I am developing).
To follow these tutorials, simply track the SumoBlocks' Profile.
Or you can visit the Rolling Tank Productions' YouTube page.
Carry onto the next page to see a detailed written version of the tutorial above.
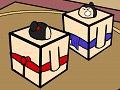
I have created a simple design for my Sumo Wrestler using the Standard Primitives object creator in 3D Studio Max 2009, without applying animation and skin.

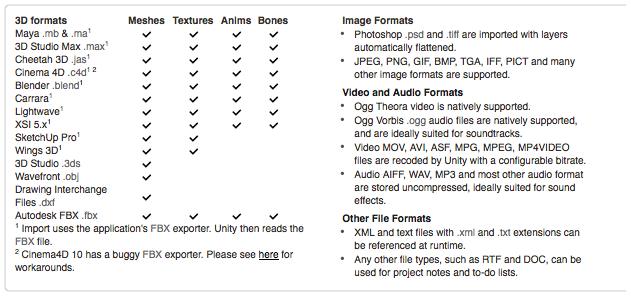
You can visit the Asset Importing section of the Unity Website where they have information regarding what formats are supported for import into Unity.
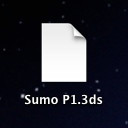
Once you've completed your model, you will need to export the file to somewhere easily retrievable, such as the Desktop. I have called mine Sumo P1. And the file type is .3ds.
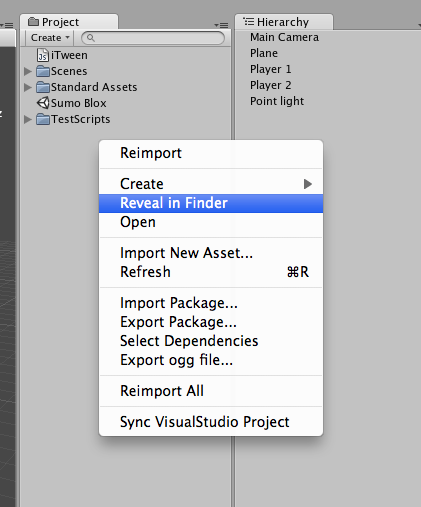
Now, open up Unity. Right click in the Project window and select Reveal in Finder (or Reveal in Windows Explorer for Windows users).
Now, drag and drop the model's file from your Desktop to the Assets folder that has popped up.
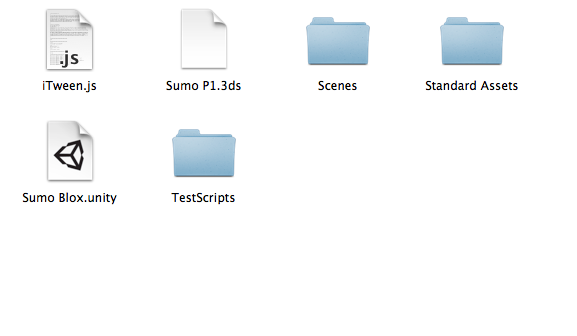
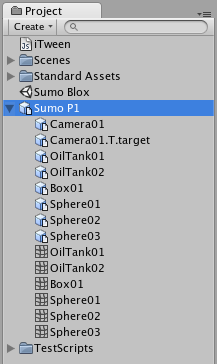
Automatically, the model will appear in the Project window back in Unity.
Your model's menu will be able to drop down to allow you to view all of its separate objects and components.
Components with the  icon are the objects.
Components with the  icon are the meshes.
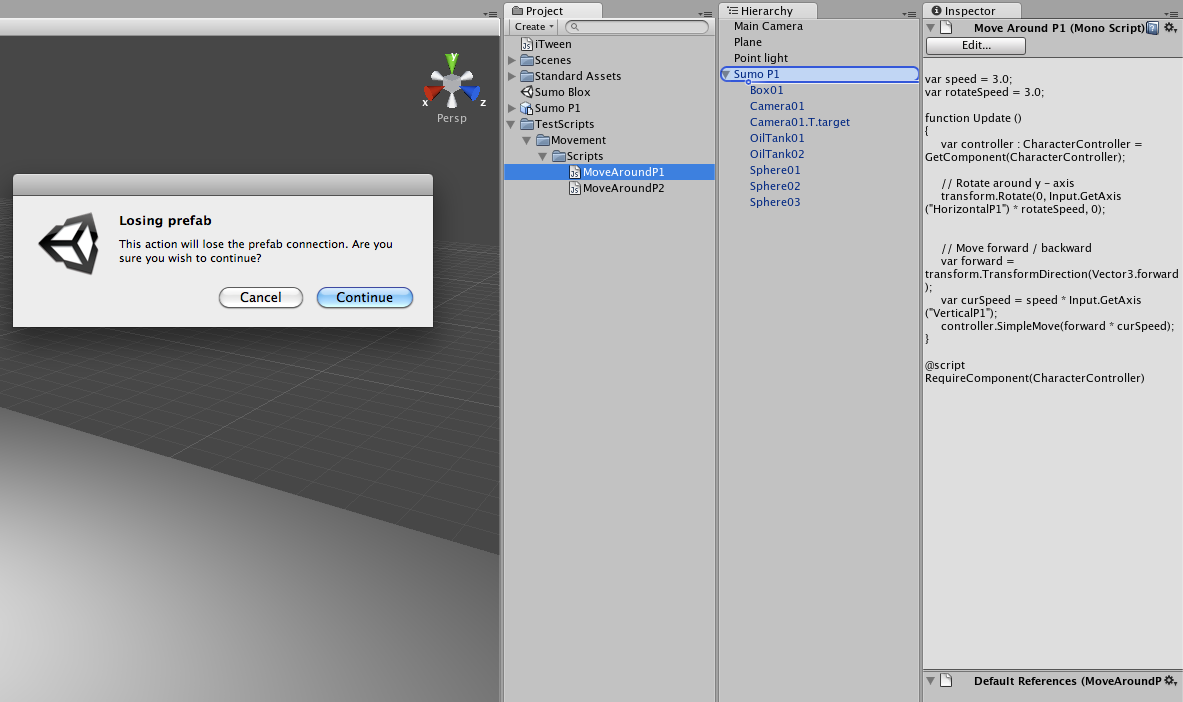
Now, drag and drop the model into your Hierarchy window to import the model into your Scene.
A window will pop up. Simply click Continue.
Click on your model in the Hierarchy and the object's settings will show up in the Inspector window.

In the Character Controller settings, you will need to change the Height, Radius and all of the Center options to adapt your model.
The Height and Radius will alter the size of the Collider Mesh, and the Center will change where the Collider Mesh is placed in respect to the model.
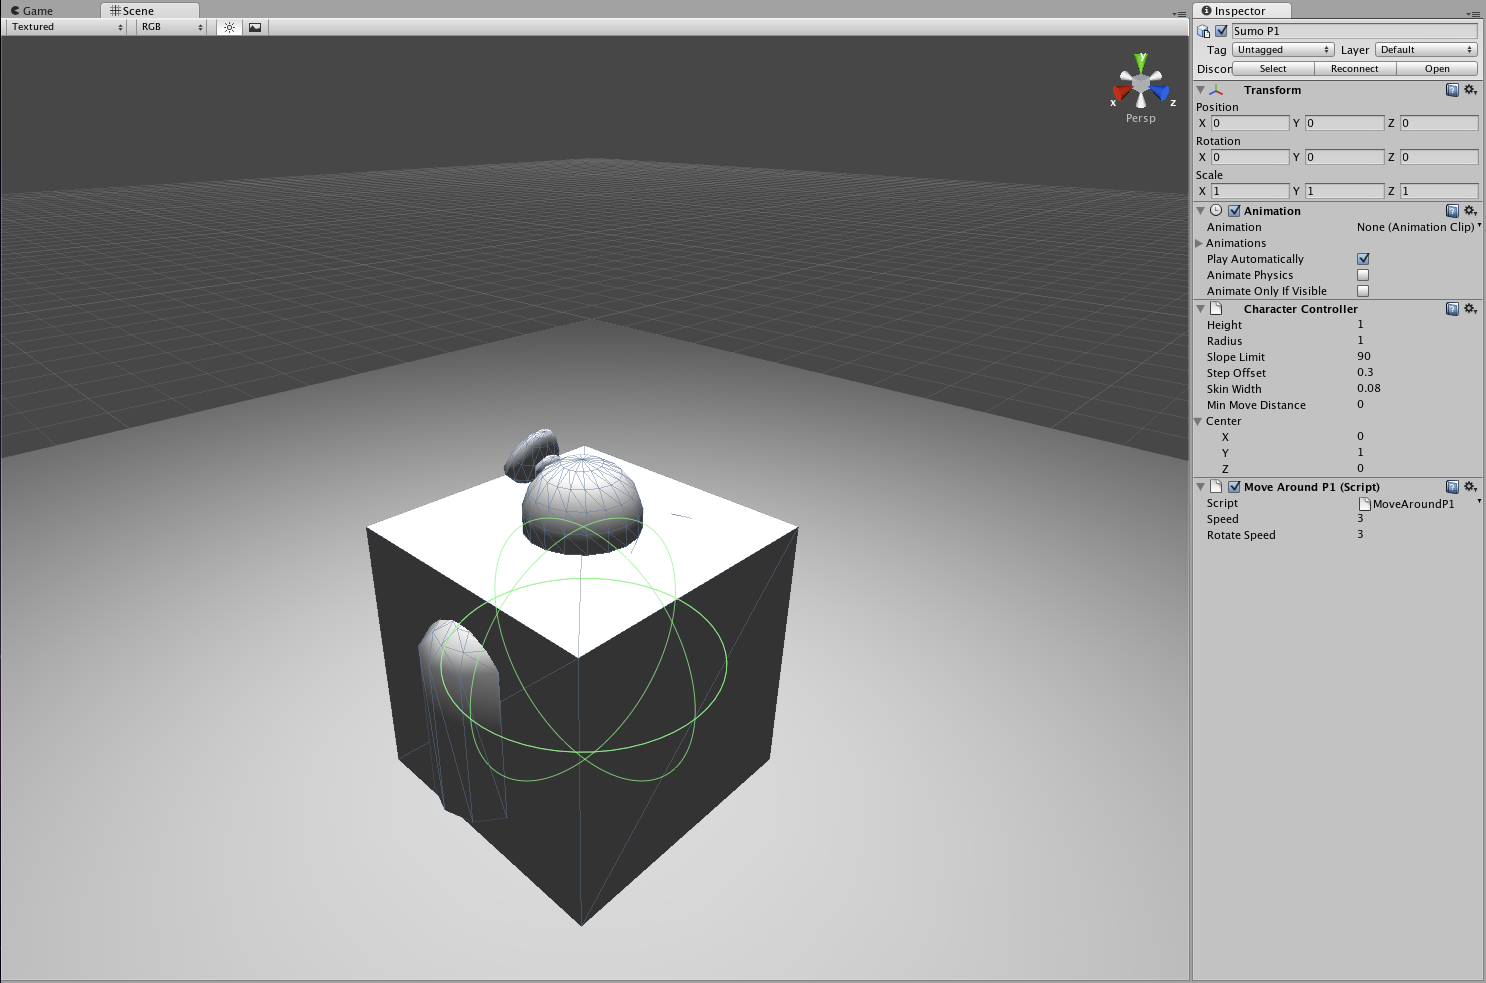
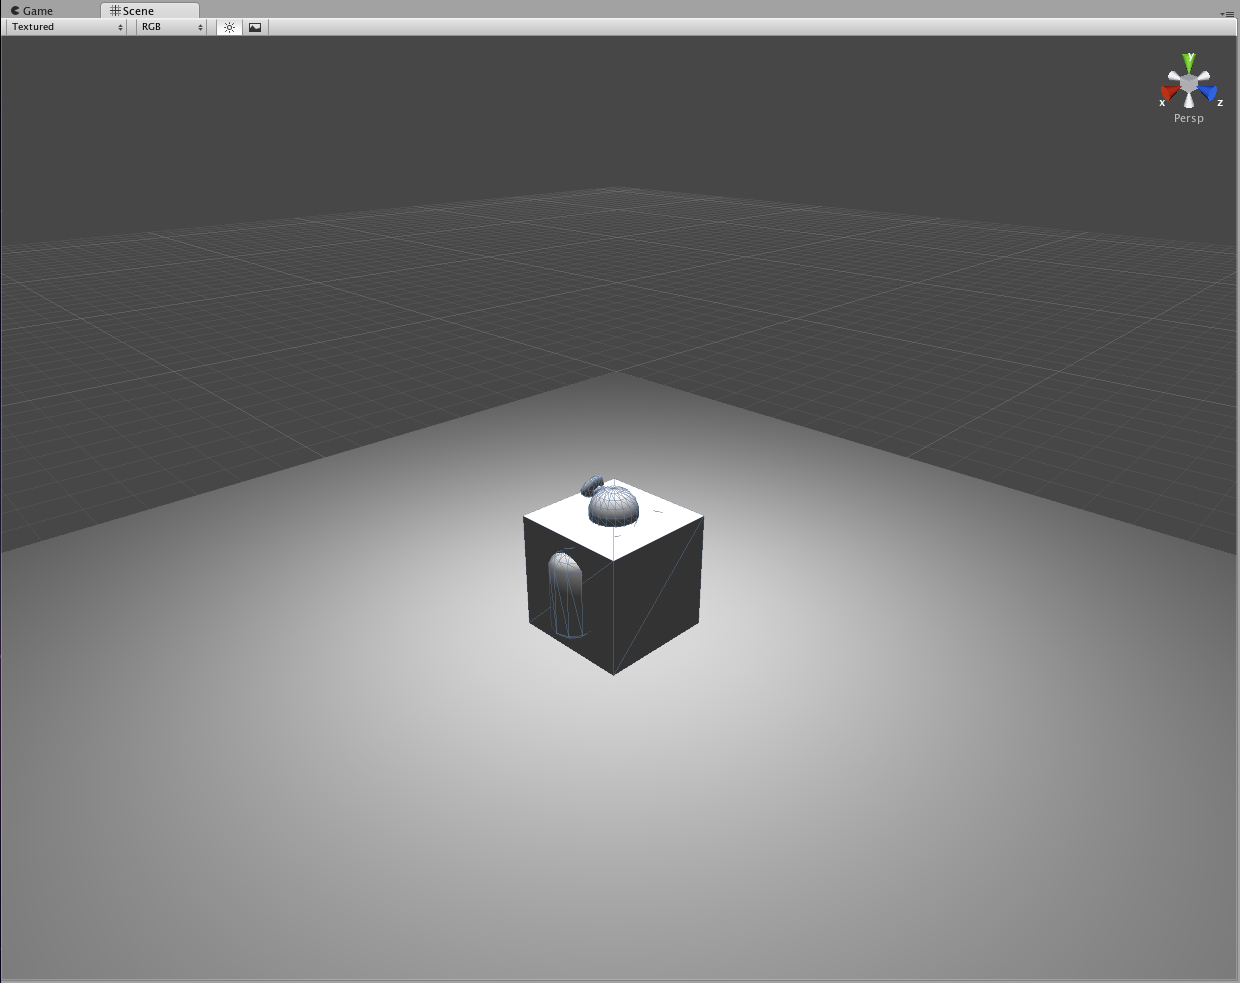
Play around with the numbers until you they match the model's size and shape. If you need to, change the Perspective view to get a better look at the mesh.

And there you have it. I hope that this tutorial has been a great help to you. Any questions you have about this, don't hesitate to ask and I will help you along your way as much as I possibly can.