Today's new game patch for Stellar Stars is out! And it gives you the power to create or join game rooms! Want to know how? Here are 3 super quick and simple steps to do just that!
Step 1 - Set Up Photon Unity Networking
Without a doubt, I find Photon to be the most user-friendly engine for adding multiplayer to a game. So head over to Photonengine.com and create an account.
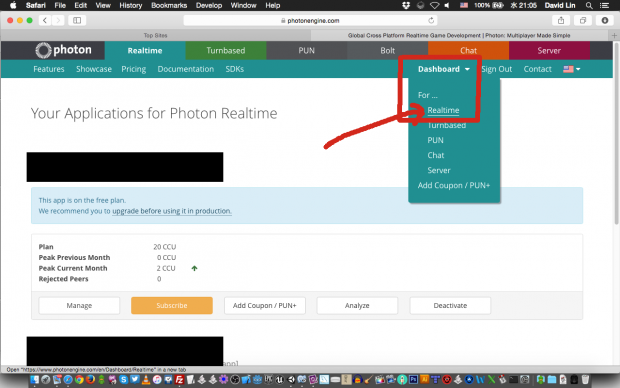
Once you have created your account, use the Photon dashboard and choose Realtime like so (you can choose others if your game is a strategy game for example).
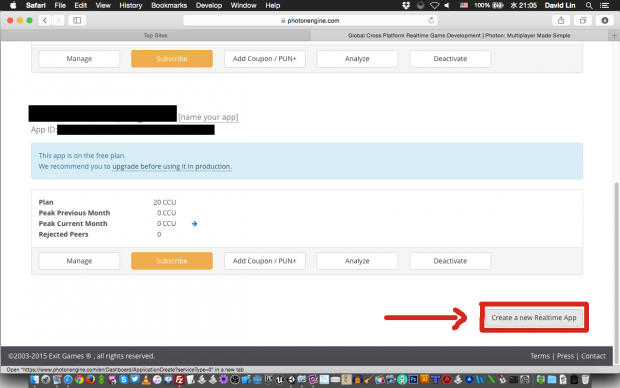
At the newly loaded page, scroll down to the bottom where you can see the button which says "Create a new Realtime App". Click on it!
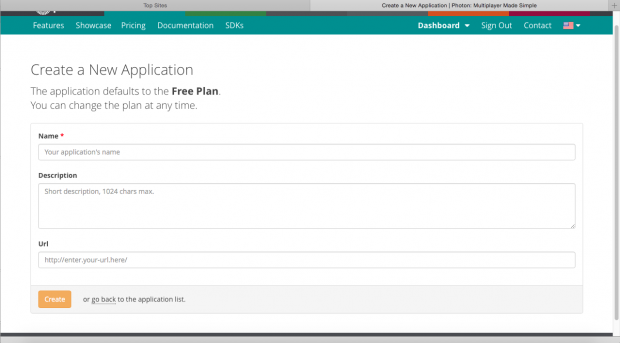
Fill in the name, description and the link to your game and you are good to go! Once you have created your new app, you can go back to the dashboard and check out the new addition to the list!
From there, grab the App ID that was created for your new Photon application (as shown in red above)!
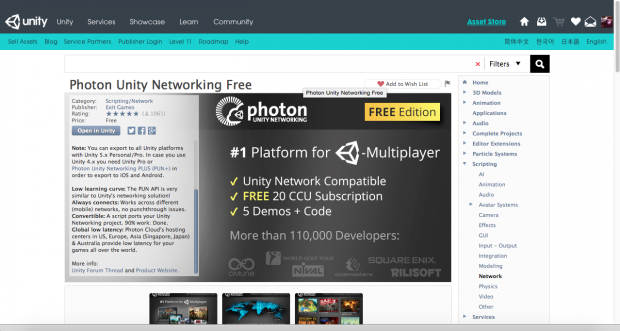
Once you have done that, grab the Photon Unity Networking (PUN) from Unity's asset store!
After you have finished downloading it from the asset store, import it to your project in Unity.
And once you have imported it to your project in Unity, go to Window-> Photon Unity Networking -> Highlight Server Settings.

You will then see this appear on the inspector at the right.

While there are a number of fields here, focus on the field that says "AppID". Enter the app ID which you have gotten from creating your application on the Photon Engine dashboard.
Step 2 - Connect To Photon
To connect to the Photon network, you should always set a user name or ID for a player to differentiate him/her from other players. You can do so by writing:
PhotonNetwork.player.name = "playerUserNameHere";
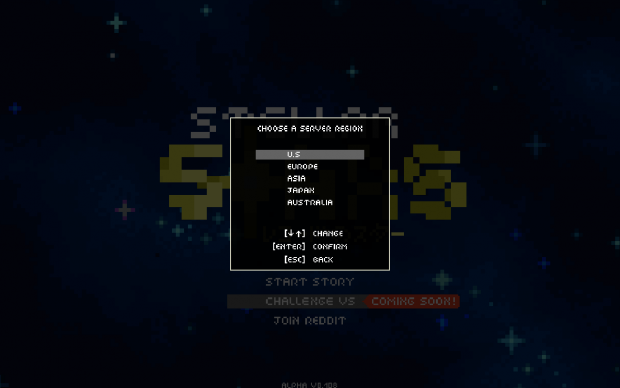
And you also have to choose a region to connect to. The rule of thumb is always to connect to the nearest server for the smallest amount of lag.
Depending on your game, you could check to see your player's location, and connect to the nearest region. For Stellar Stars, I created a list of server regions which you can choose from. So really, it is up to you.
To connect to the Photon network,
PhotonNetwork.ConnectToRegion(CloudRegionCode.us,"1.0a");In the example above, the game will connect to the US region with the game's version set at "1.0a". You can connect to the other regions (e.g eu,asia,jp,au) if you choose to do so. Setting the game version will help ensure that players will only play with other players who are using the same game version.
Once you have called the ConnectToRegion() method, the game should attempt to connect to the master server at the region which you have specified. Therefore, to know when you are connected, create the method:
void OnConnectedToMaster() { //you can do things like setting a boolean here to say that the game is now connected to the Photon Network
ifConnectedToPhoton = true;
}
Once you are connected, Photon will call the OnConnectedToMaster() method. And that is where the next step comes in.
Step 3 - Creating/Joining Game Rooms!
To play with others in a multiplayer match, you will need to create game rooms for players to join. To do so,
PhotonNetwork.CreateRoom(roomName, new RoomOptions() { maxPlayers = 4 }, TypedLobby.Default);As obvious as it is, roomName is the name of the room. The RoomOptions can be used to set custom room properties via RoomOptions.customRoomProperties if you want. For most situations, you would want to just limit the number of players in a room (as shown above).
Setting the TypedLobby as default makes it visible in the Default (I prefer to call it General) lobby. Not every game requires a lobby. And not all games would benefit from displaying a list of game rooms. So once again, this decision is up to you.
So once you have called the CreateRoom() method, Photon will attempt to create a room with the specified room name.
To know when the room has been created, add this:
void OnCreatedRoom() { Debug.Log("Created A New Game Room!"); }Once Photon has created a new game room, the OnCreatedRoom() method will be called. Now if you were planning to display any UI for game rooms, that's where you can do so.
While creating a game room seems rather straightforward, it can sometimes fail. If you try to create a game room with a name that already exists, it will fail. So if you want to know when that happens, use this:
void OnPhotonCreateRoomFailed() {
    Debug.Log("Oh No! Creating room failed! Why?????");
}
To join an existing game room, do this:
PhotonNetwork.JoinRoom(roomName);Using the name of a room, you can call Photon to find and help you join it. And to find out when you have joined the game room, add this:
void OnJoinedRoom() {
    Debug.Log("Just joined an existing game room!");
}
When you have successfully joined an existing room, Photon calls the OnJoinedRoom() method. So if you want to display a notification when that happens, that's where you can do it.
To make things easier for you, I have included the script (C#) which you can download and try out.
And that's how you can easily add multiplayer game rooms to your game! I hope that this simple guide was helpful to you. Do let me know what other things you wish to learn about!
Last but not least, remember to experience today's Stellar Stars' patch! Enjoy!