Today we reach the final chapter of the asset creation story. After the modeling and base texturing it’s time to beautify the texture with some additional tricks, all of which are essential when creating a model intended for video games.
NORMAL MAP
The first step is to create a normal map for the model. There are two methods for normal map creation. The first one is to generate the map from the previously finished texture and the other method is to create the normal map from the 3D mesh directly.
While the consensus is that the normal map generated with the second method is ways better and more detailed, sometimes it’s not necessary to go through all the trouble and just generate a map from the texture with an easy to use software tool.

For our game we use xNormal (http://www.xnormal.net/1.aspx) to generate normal maps from the diffuse map. After the image is generated we use image editing tools to improve the detail quality if it is necessary.
In cases where it’s required to generate normal maps from the 3D mesh we use zBrush (http://pixologic.com/zbrush/). This is mostly usefull when we need normal maps for natural assets, such as rocks, because the map generated from the texture in these cases is generally awful.
AMBIENT OCCLUSION
Ambient occlusion attempts to approximate the way light radiates in real life, especially off what are normally considered non-reflective surfaces.
AO is used to add realism to the models and get an effect of “self shadowing” without putting any strain on the PC.
For our game we use SMAK (http://getsmak.com/) to bake the AO maps.
SOF
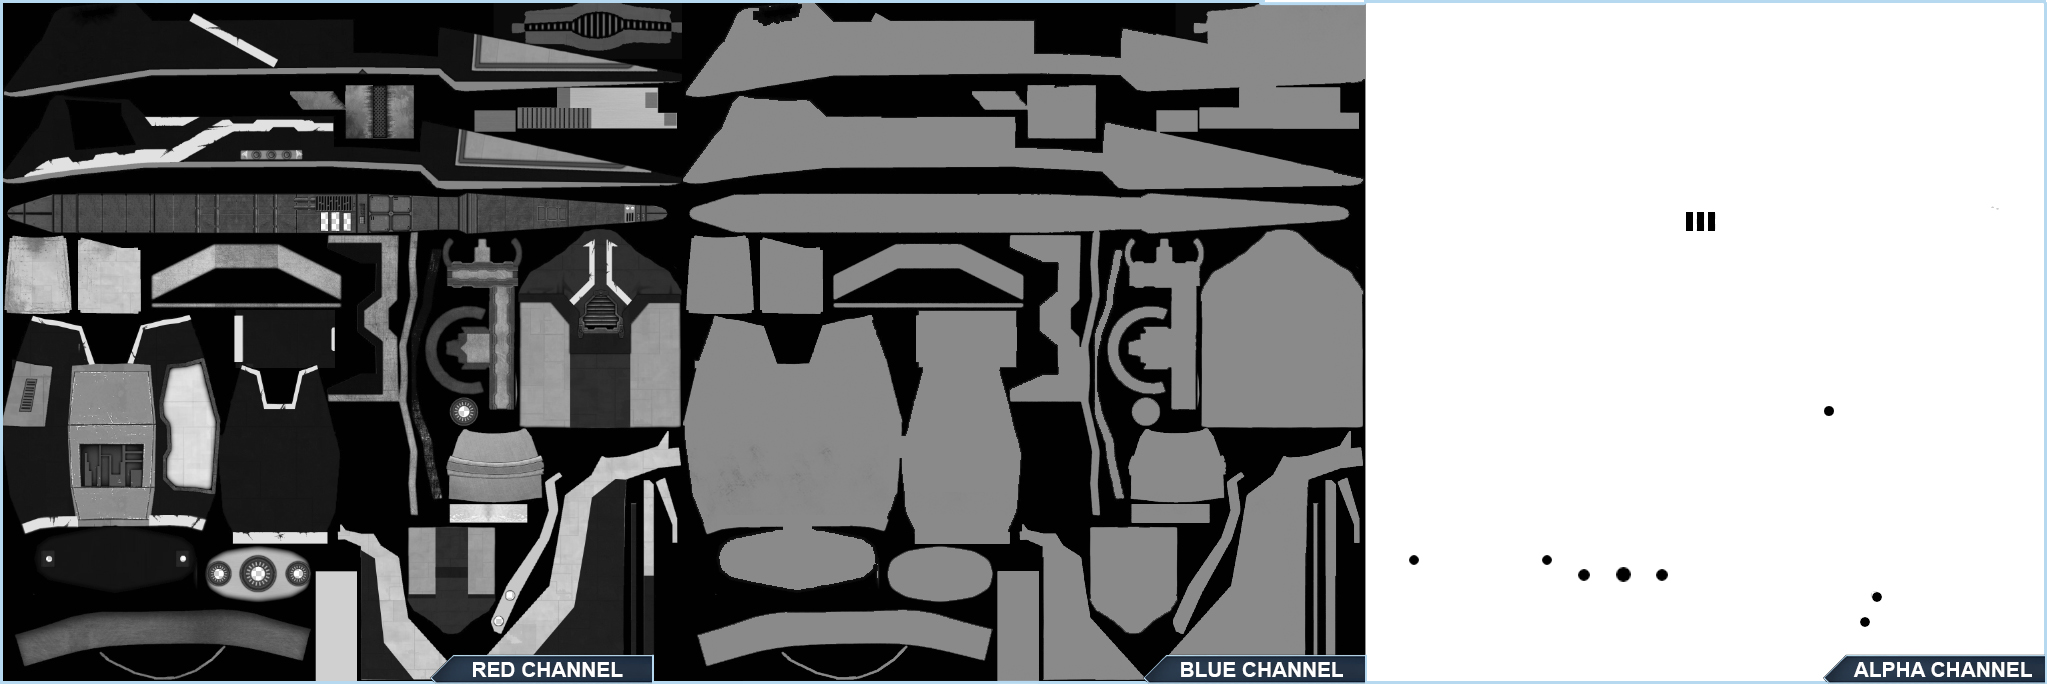
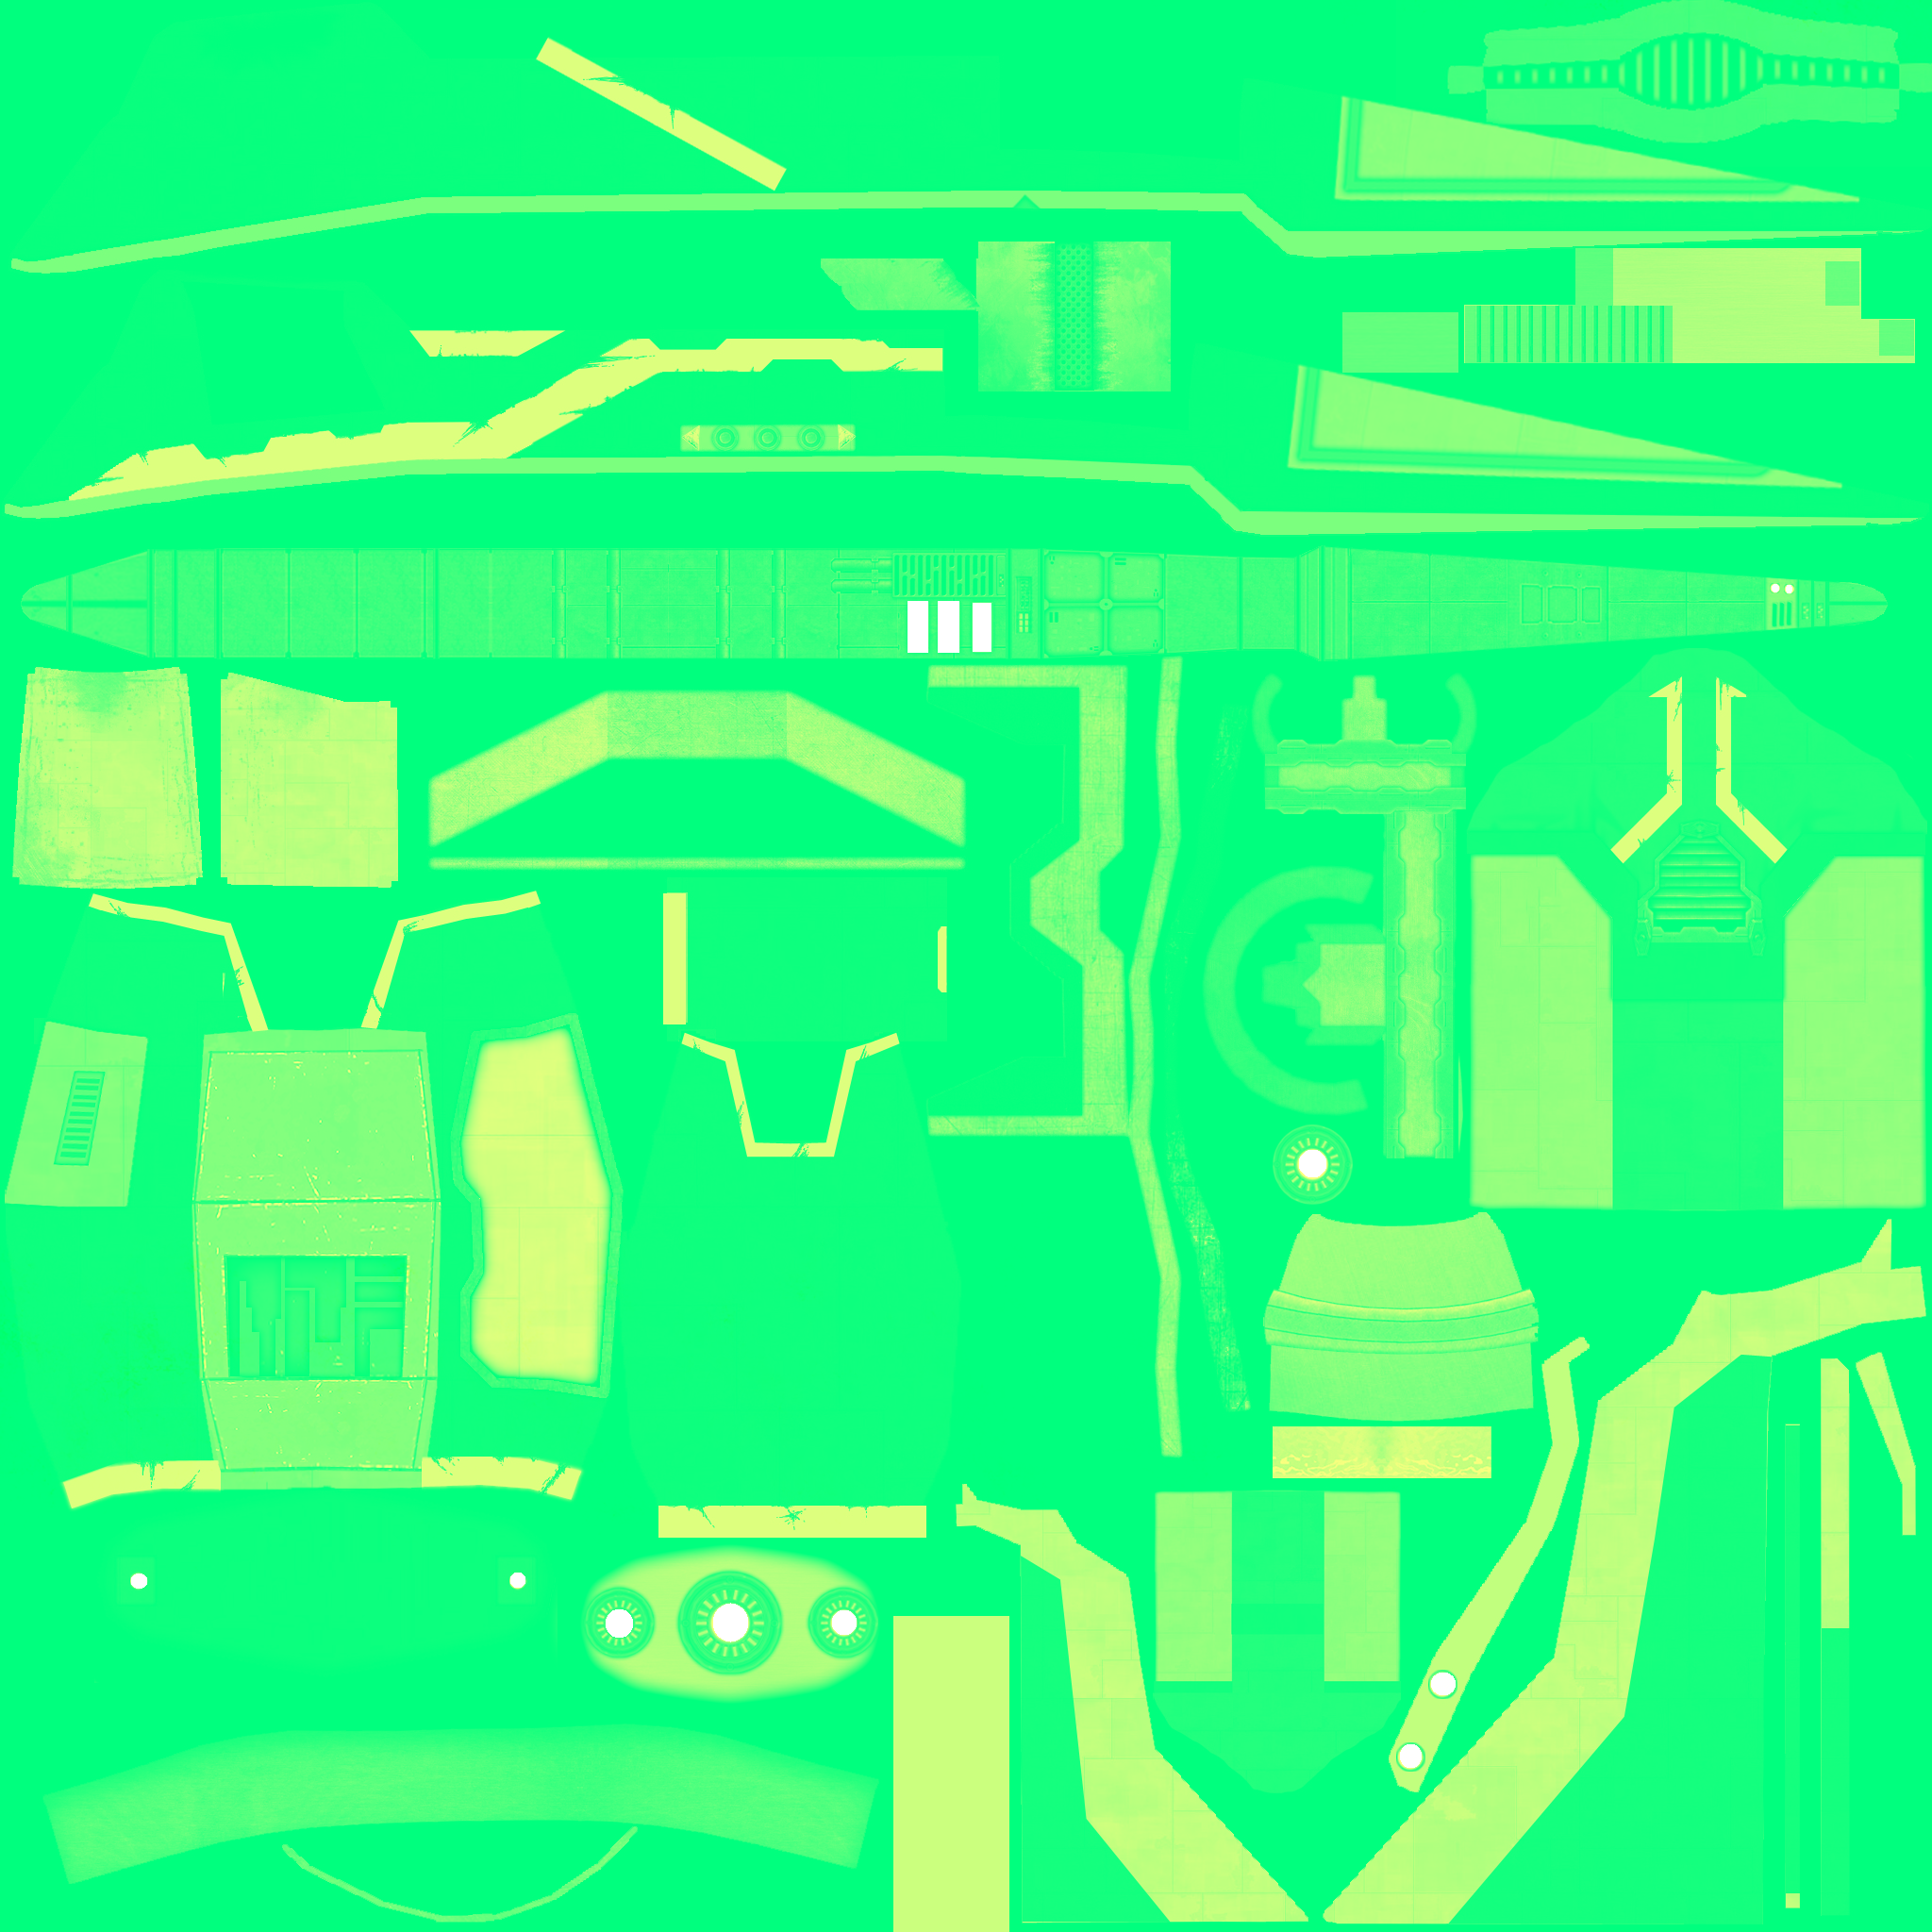
The SOF map is a custom layer texture implemented in the XEN Graphics API. By definition SOF stands for Specular- Occlusion- Face Regions. Each of these attributes is represented by a color channel in the texture, red is for specular, green is for occlusion and blue is for face regions.

In our case we modified the implementation of the SOF map. We’re not using the green channel which should represent the ambient occlusion because we pre- bake the occlusion on the diffuse map. In any case we’ve decided to keep the green channel empty in case we need it for a different function in the future.
We also changed the function of the blue channel, it no longer represents face regions but rather the reflection, or more precisely material, of the model. If the color value is between 0 – 127 the material is like metal (blin, phong) and it reflects the skybox, but if it’s above 127 the material is lambert, it disperses light in all directions equally so it doesn’t reflect.
The red channel is our specular map and it determines the shininess of objects. The greater value of the red channel, the shinier the surface of the object.
Additionally if we need some light bulbs or glowing windows on objects we add an alpha channel to the texture to represent these glowing surfaces. The glow intensity is regulated by the alpha value, for higher intensity glow the texture segment should be less opaque and vice versa. In some engines such as UDK or Unity this is known as an emissive map.
When we set the desired values to the aforementioned channels the final result for the SOF map should look something like this:

The following video shows the full asset import process, from the 3D mesh down to the SOF and normal maps. Note that we will talk about the Content Importer in- depth in a future blog post.
A video showing the required steps to import a complete asset into the game
This concludes a small arc dedicated to content creation in Excubitor, and game development in general. If you have any questions regarding this topic feel free to ask away, we will be glad to oblige.


