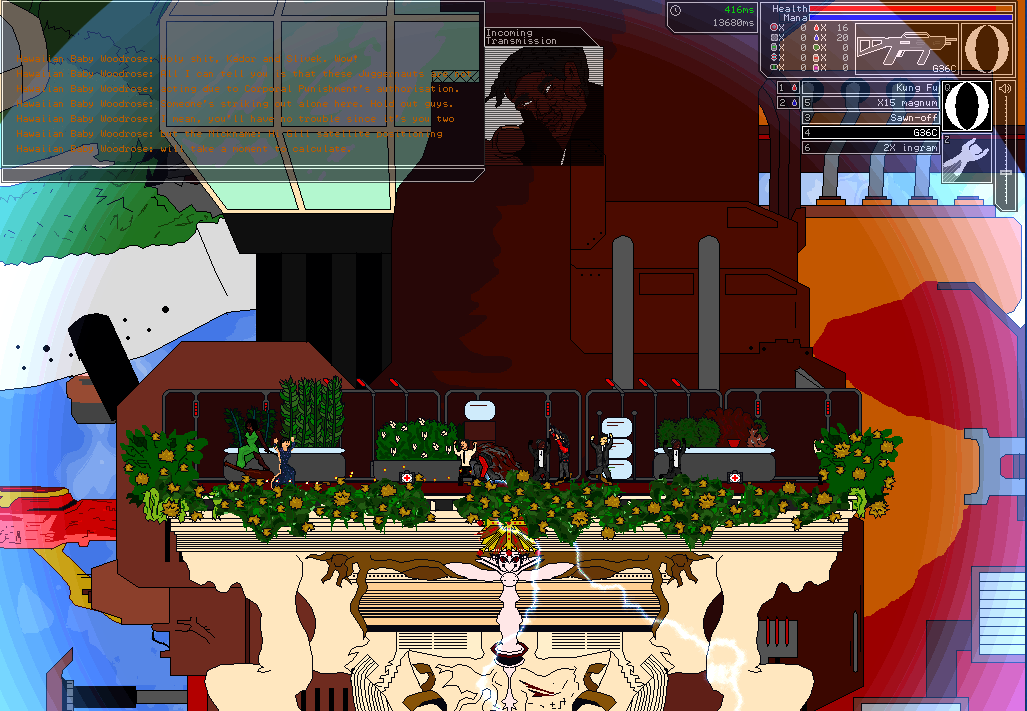
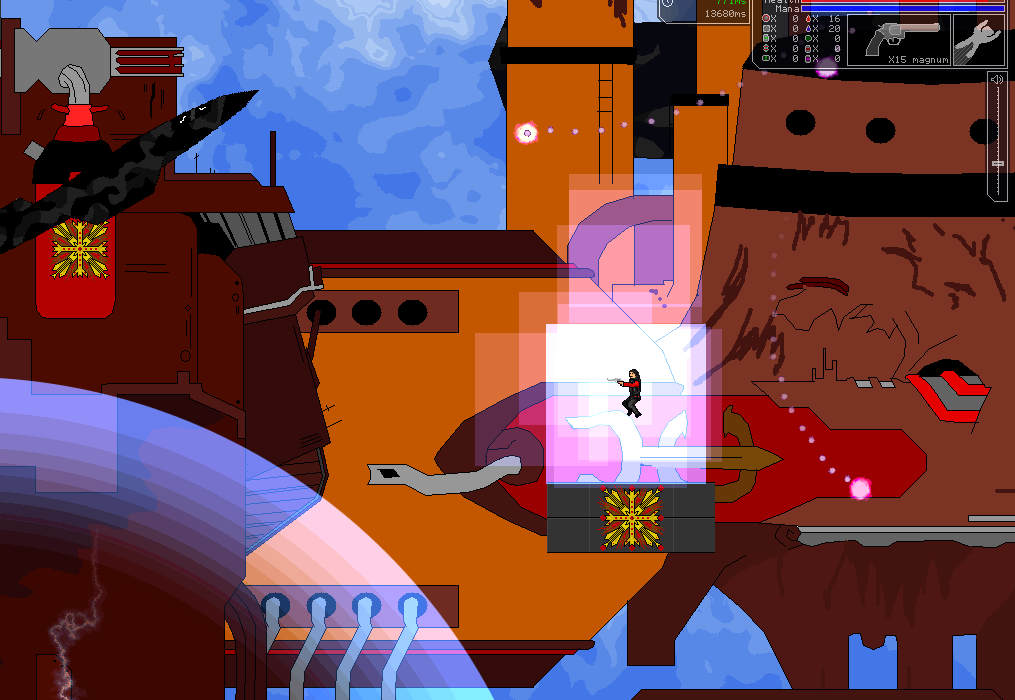
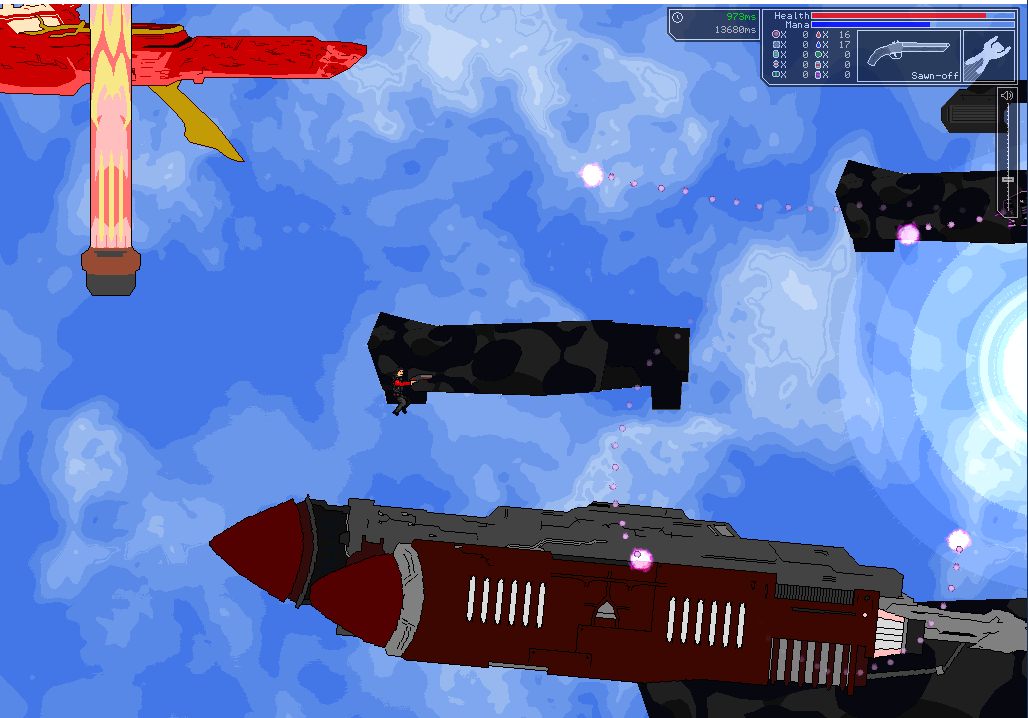
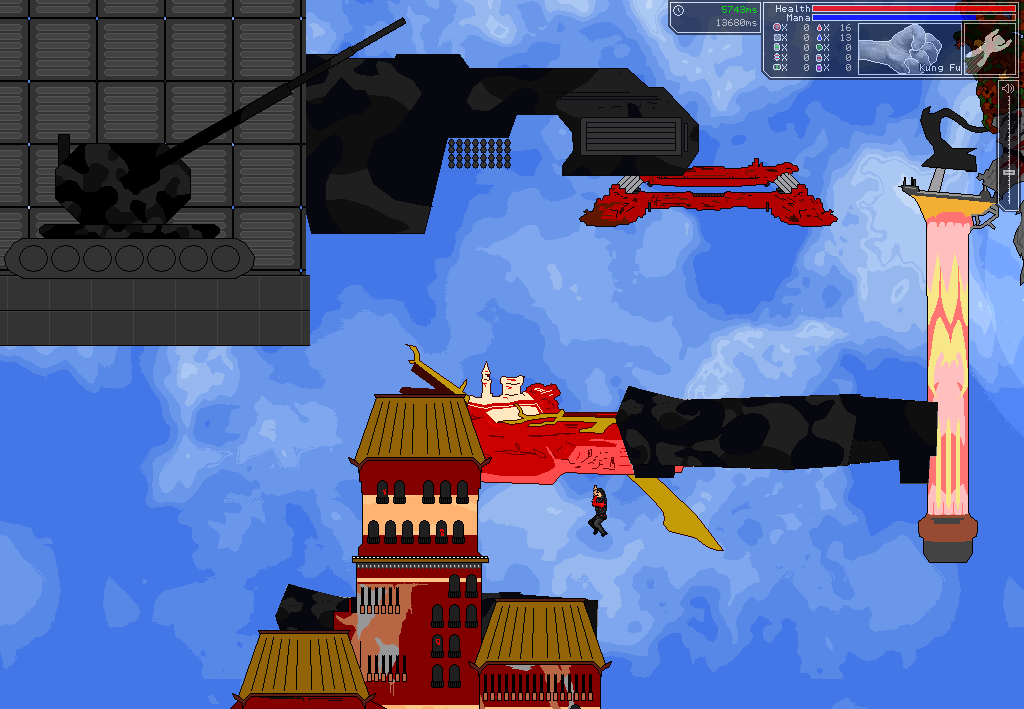
It’s been nice not having to think about this game for a few months now. But with more free time on my hands, I’ve been checking up on feedback. As far as the majority of people we’ve spoken to have mentioned, Gethsemane is the level that most have been stuck on. And to be honest, this should be the case. Gethsemane was sure meant to be a level where the learning curve would begin to rise to help accommodate the player to the higher difficulty of later levels. Besides, eventually a player should have no choice but to reattempt some levels along the way, right? That’s the challenge of a game. You surely don’t want to breeze through without any difficulty or feeling of ascension.
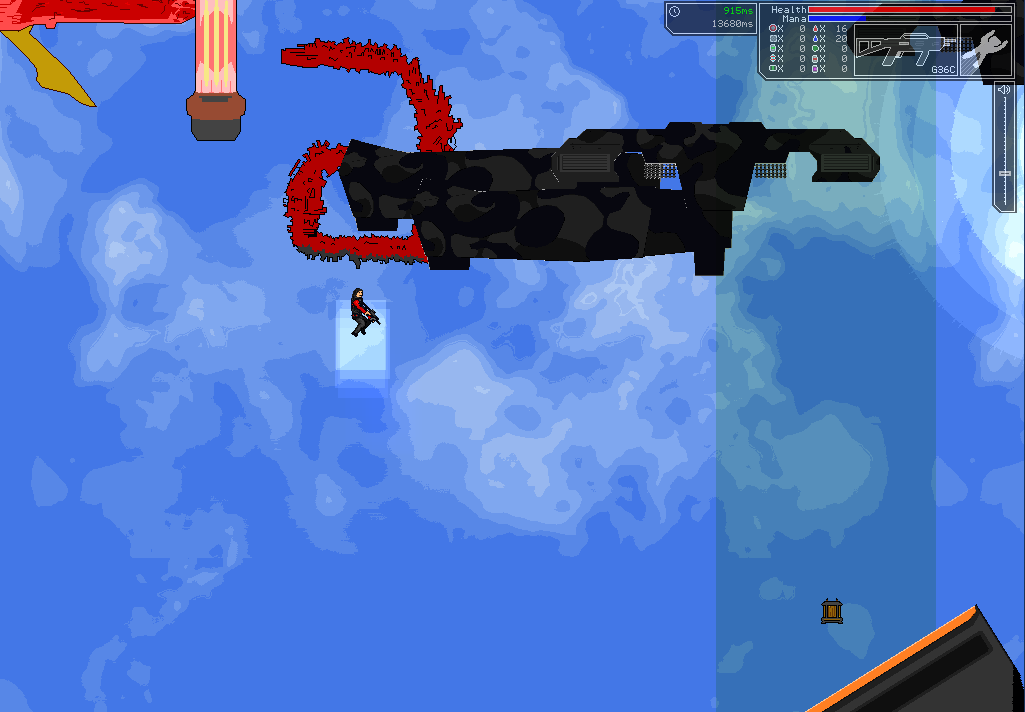
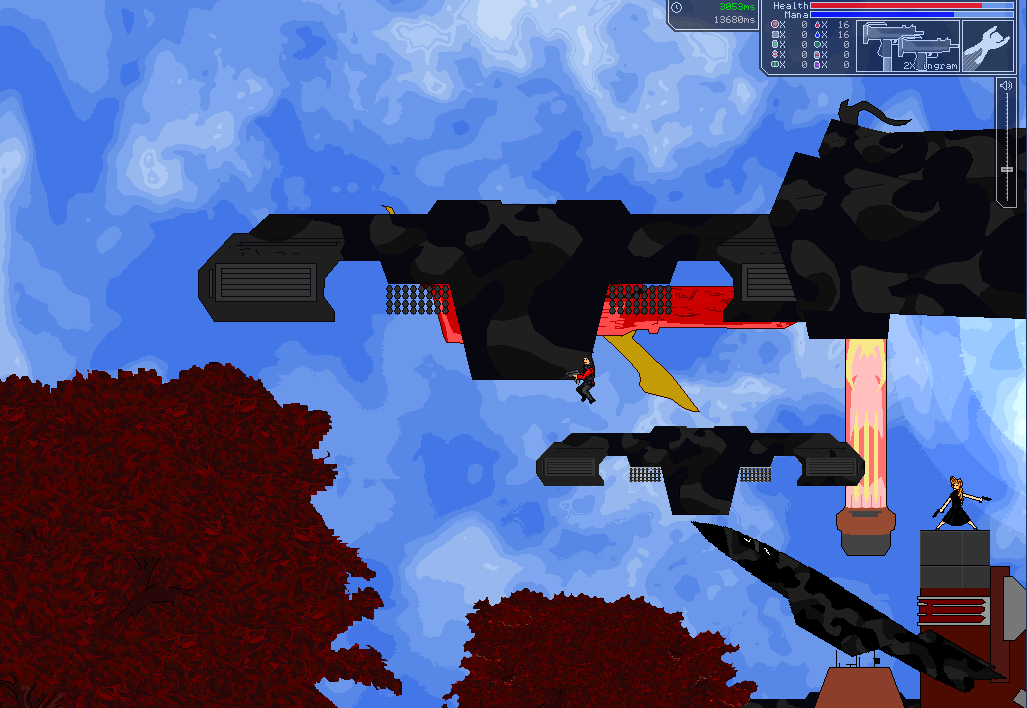
The feedback has proven valuable as it has illuminated a flaw in the level progression that we hadn’t already considered and acknowledged beforehand. Most players are thrown because this is the first level where you are actually required to use float, boost or other mana effects to traverse across to the sides of the level with no floor in order to complete the level. We developers had somehow overlooked the context - due to years of desensitising exposure - that for three of the first four levels, your default equipment is deprived of boosts and airborne spells (Despite the tutorials describing them as standard.). So by the time a new player arrives at the level which demands that they use some form of airborne mobilisation, they may have forgotten that it even exists. The directive, that you may need to cross over to the docking juggernauts to destroy the artillery may also be unclear. But if we ever do an updated version, we have four potential characters who could vocally prompt you. Nevertheless, if you were being bombarded from off-screen relentlessly, would you not eventually venture over to that side to investigate?
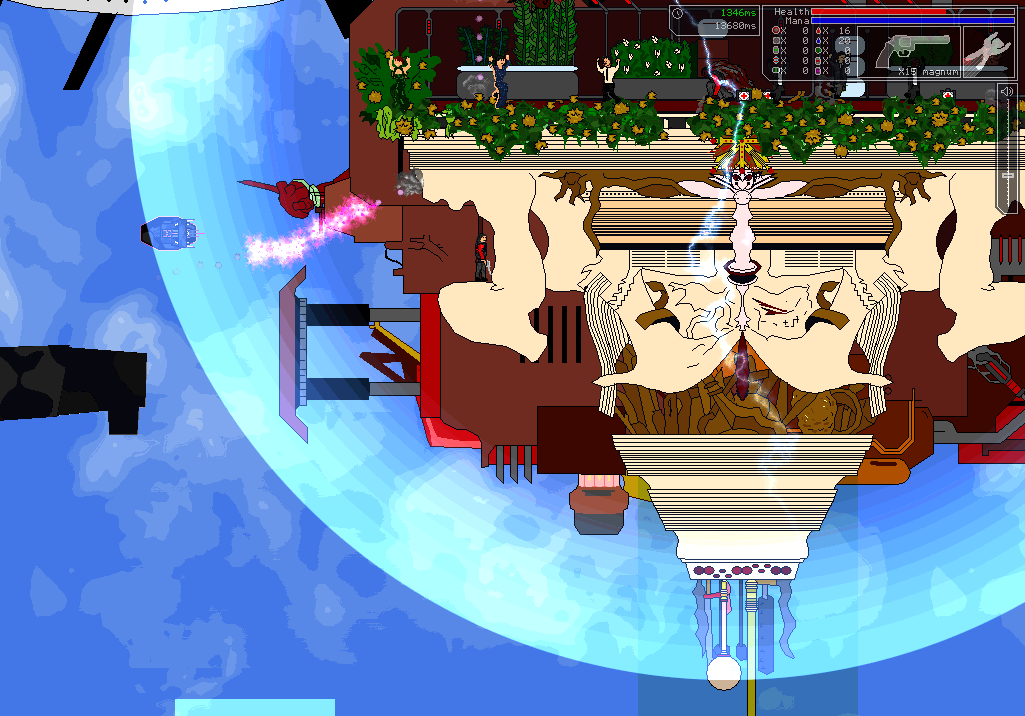
Gethsemane is a personal favourite of mine. Probably egocentrically in part to the illustrations I made for the level which I do genuinely consider to be ‘good’ to a widely accepted standard for MS paint art as it were. But also, the gameplay loop for this level is quite concise. A simple grasp of basic mechanics, especially the all-important flying mechanics, as well as resource management. Stages of attack which force you to cover different areas of the arena as well as signpost your comparative incremental progress along the way in case you ever die during an attempt and need to respawn. Greg’s well designed floatbots make a nice interactive addition to the enemy roster and a fresh introduction here. They are a dynamic enemy, much different to the simple patrolling First Regiment guards which you will mostly be fighting throughout the game. The default equipment was originally supposed to include all three submachines guns and the SP12, the latter we replaced with the sawn-off for reasons which we won’t spoil here. The main idea for including all sub machine guns was so that by the end of the level, in order to complete it, you would have to have had depleted the full ammunition for at least one of your default weapons. The float spell is level 2 at this stage and your mana potions aren’t filled to the maximum and here lies the main aspect of this level’s difficulty and an introduction to one of the main gameplay loops of Killing Machine Movement in general.
Level 2 float’s depletion of mana is so brutally harsh. A keen-eyed player may notice the effect that an initial burst of light right-click tapping may have upon the player’s manabar when using level 2 float compared to the amount of mana which gets drained when holding down the right-click button. Overall, level 2 float depletes mana quickly and constant observation of the state of your manabar is a good idea so that you may drink potions or return to a manafield before you need to make a large traversal. Even we seasoned players may find ourselves suddenly out of mana when across the chasm between floors of the level, suddenly plummeting to the southern edge of the screen. It was an eventual decision during the stage of finalising default equipment during development, that we agreed that after this level, the player would rarely ever have to suffer lower than level 3 float in their default equipment.
As you fall to the bottom of the screen, manaless, you may revert to one of the game’s most classic features, desperately spamming the closed bracket key to refill your mana with potions. This is a very frequently recurring moment in the game. I can’t say necessarily it’s a good feeling - for me personally lol. Everybody is different, but I would describe the emotion felt as akin to panic or a minor terror. Without a mirror in front of yourself to confirm, you could easily picture your teeth clenching and worry crossing across your face. It’s an engaging feeling for sure. It’s nice to know you care about the health of your character to the extent that you would so frantically spam the button. Don’t get me started on hitting the enter key, next to the closed bracket key, by accident. You might notice the occasional post in chat of “]]]]]]]]]]]]]]]]]]]]]”. But there is a slight frustration that accompanies the feeling. It isn’t that this is a tense application of skill, more that this is an unwarranted and obligatory application of an awkward design layout. You’re reluctantly having to remove your hand from one side of your control - either WASD or mouse - and arbitrary reposition it over what you hope are the correct keys without looking, and then upon hopeful success, reposition back. The relief is palpable at least but the whole experience could be fairly categorised under that of: ‘stressful.’ I’m too indoctrinated not to think of potions as the bracket keys, but you, fresh player, may want to accustom yourself to the 1 and 2 keys above WASD as the preferential default since they would be more proximate to one of your controlling hands. Remember, if the hotkeys are not already set, begin any level. In game, hold the shift key to open your menu. Mouse your cursor over the icon displayed in this menu of the potion or spell or weapon that you want to hotkey, and then press the key which you wish to be linked to that potion, spell or weapon.
Hilariously enough, the southern edge of the level used to be even higher than it is now, so the time which you would have had available to return to ascension was a lot lower. It is only recently that we lowered the space below you, allowing the player more chance to survive. In addition, more manafields, the central bouncer and an anti-gravity field were also included for the sake of aiding those in danger. Greg did one of the most significant bugfixes of the game for this level, where a LUA extension used to operate Danielle’s rotating arms would cause the game to crash whenever the player would either die or somehow exit or complete the level. For a level which would require frequent and constant retries - often transitioned into with feelings of frustration or a hunger for a reattempt - with an equal requirement for the retries to be instantly granted, a bug which forced the termination of gameplay would surely kill whatever little persistence had been used to progress to this point.
You may also be a little thrown as to what is suddenly happening in this level. It may indeed be apparent that we ended up skipping the inclusion of a cutscene here. The three characters surrounding you would have required new character models for the animated cutscenes and the effort would have been great. At this stage, we didn’t even know if any audience would be there for this game, so it was decided to omit this cutscene for the moment. Besides, there is some dialogue not yet recorded for it. That’s usually a good thing, since the opportunity would be there to rewrite lines between now and the interim of mental maturity up until the point that recording is required. That red cone nosed ship flying around you which you can’t kill that may indeed coincidentally save you from falling, or else mess up your day is being piloted by Hawaiian Baby Woodrose as he helps calibrate the satellite positioning for the Nickname: Hi Gill cannons to rain destruction down upon the juggernauts. His ship was supposed to be on the parallax layer behind you and hence was supposed to be a lot bigger in scale. Due to misinterpretation and very sporadic communication between developers hundreds of miles away from each other, he ended up being placed upon the same layer as you. Fortunately, this is actually a circumstance where the result turned out to be a positive development and addition overall. Each level needs a secret area to discover by the way, and this level’s secret area is perhaps the strangest to the point where it almost doesn’t count as one. Challenge set.
Tips!
Every area where you can stand serves as a perfectly advantageous and safe place to play this level from. However, you must remember, though the damage output of the floatbots may seem benign, do not underestimate them. Once two or three of them group around you together, your health can drop within seconds. If you see this beginning to happen, make sure to boost away and relocate to health or potion safety immediately. The bottom ground starting section is a nice, safe location. Keep in mind though, that if Keliss is busy attacking floatbots dragged over to the area, then she won’t be free to craft medikits. In addition, if you are aiming for an all innocents survive run, bringing floatbots closer may be dangerous for them. The wings of gethsemane, both industrial and natural, are very good for mana absorption. The downside is that you will eventually be in the line of fire for both jets and artillery, not to mention being the first in line for a floatbot assault. Up with Danielle is also a good place to chill but again, the same warning against being overwhelmed by swarms does also apply. Taking out the artillery does not require too much ammo expenditure, and this is all the more reason to be wary. Shoot the tanks from a short distance. You don’t want an explosion from their destroyed exteriors to blast you off to the edge of the screen. Keep an eye on your ammo and mana and expect that they both will eventually run out. Refill often and ahead of time. Boost around the map and float to precision landing. Eventually, you’ll get the call that the assault is subsiding. Don’t forget to the return to the center of Gethsemane to talk to Slivek to finish the level and then watch the cutscene which involves some of Greg’s favourite voice acting from the game. Have fun!
www.killingmachinemovement.com
