A big part of Proof is the atmosphere, it's something we've been working very hard on (and we aren't completely happy with it still). There are a few steps that make the game a more interesting to look at than this:
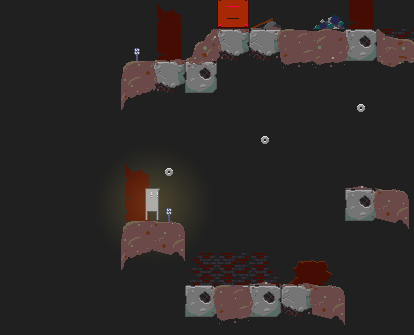
No Lighting Here!
Here, you can still see the aura the player has. This is a good time to talk about the layering in the game. It's not too complicated, there are three visual layers to a room (and one collision layer, not pictured); background, ground and foreground. The player's aura is between the background layer and the ground layer, so it doesn't light the floor at all. Its purpose is to make background elements pop out when you pass near them.
All lighting is accomplished using alpha gradients with an Additive blend mode. In FlashPunk this is really easy to accomplish.
graphic = A.GlowImage;
graphic.blend = BlendMode.ADD;
graphic.originX = g.originY = 100;
I'll go into depth later about how our asset handling system works (there are some hoops to jump through with ActionScript). The player lights are a different colour to our main lights, but we are going to have many different colours in many areas.
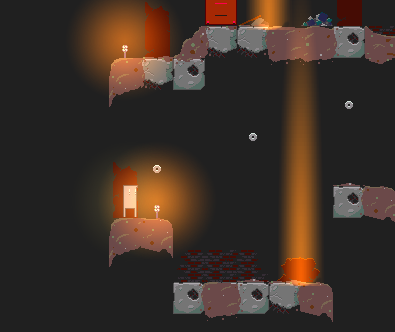
Lights added... Still not great though.
The part that actually makes the game look any good, is a fullscreen overlay effect. This has a Subtract blend mode and makes all the colours much darker. This also makes the contrast of all the graphics much higher, which explains their washed out look in the raw format.
private function createDarknessOverlay():void
{
darknessOverlay = Image.createRect(Main.WIDTH, Main.HEIGHT, 0x777777);
darknessOverlay.blend = BlendMode.SUBTRACT;
darknessOverlay.scrollX = darknessOverlay.scrollY = 0;
darknessOverlay.alpha = 0.7;
addGraphic(darknessOverlay, -5);
}
This hovers over everything in the game, apart from the HUD, and things end up like this:
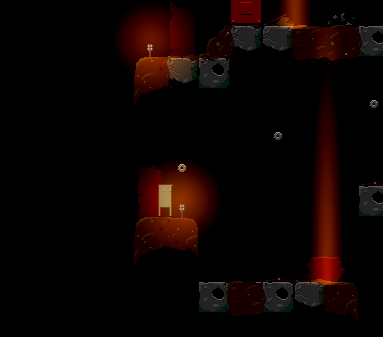
There we go!
Proof is all about darkness, so this is a pretty important part. It does make it a pain to draw the graphics since I can't fully anticipate how the colours will look in game. I have to make changes, run the game and look etc. over and over again.
The last part of the overall lighting system is the interaction between lights. Normal static lights have nothing special going on but, the player's aura and the player himself do. As the player approaches a light, his aura disappears and his sprite becomes fully opaque. This is partially to prevent unwanted adding of the lights and partially to do with the story (no spoilers here..!).
So, there you have it. A quick breakdown of the lighting system in Proof! In the coming weeks (and months) I'll have more posts giving an insight into our development process, there are a lot of tools involved.

I just love how pixel games lighting are broken down.Just rather interesting.