When I last worked in the controller we had cut wood, layout, what was missing is really assemble everything using glue.The aluminium bar I mentioned previously, was dropped, we figured the thing was not flimsy as we were thinking, thus it would be not necessary and hard to implement anyway.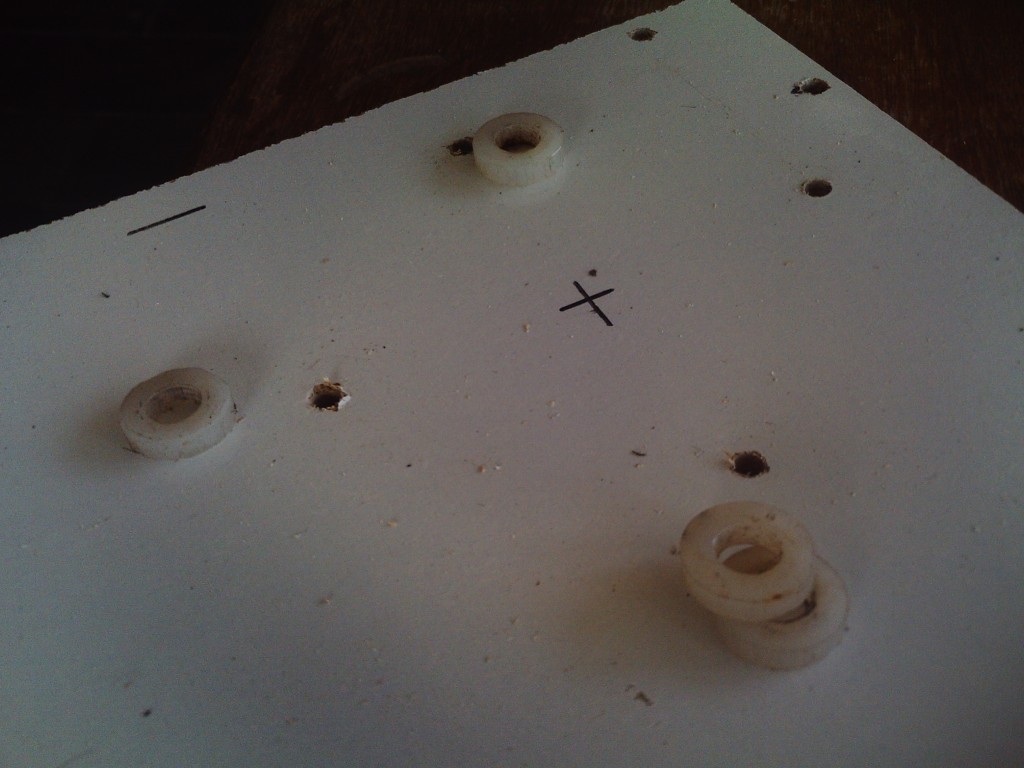 Those are the plastic washers I mentioned in part 2, that have the purpose of making the trackball stay some millimeters above the board below.Now on the actual assembly, more than gluing it was decided to use screws too, just to make sure the thing would stay in place. Since this wood is of a rather mediocre quality (it is not bad, but not great either) and screwing directly would risk breaking the board, we made holes in the board using a manual drill (that drill was old when my father got it form his stepfather... now it can be considered "ancient" but it is one of the most reliable tools I ever saw, and can withstand a amazing amount of normal use and abuse).
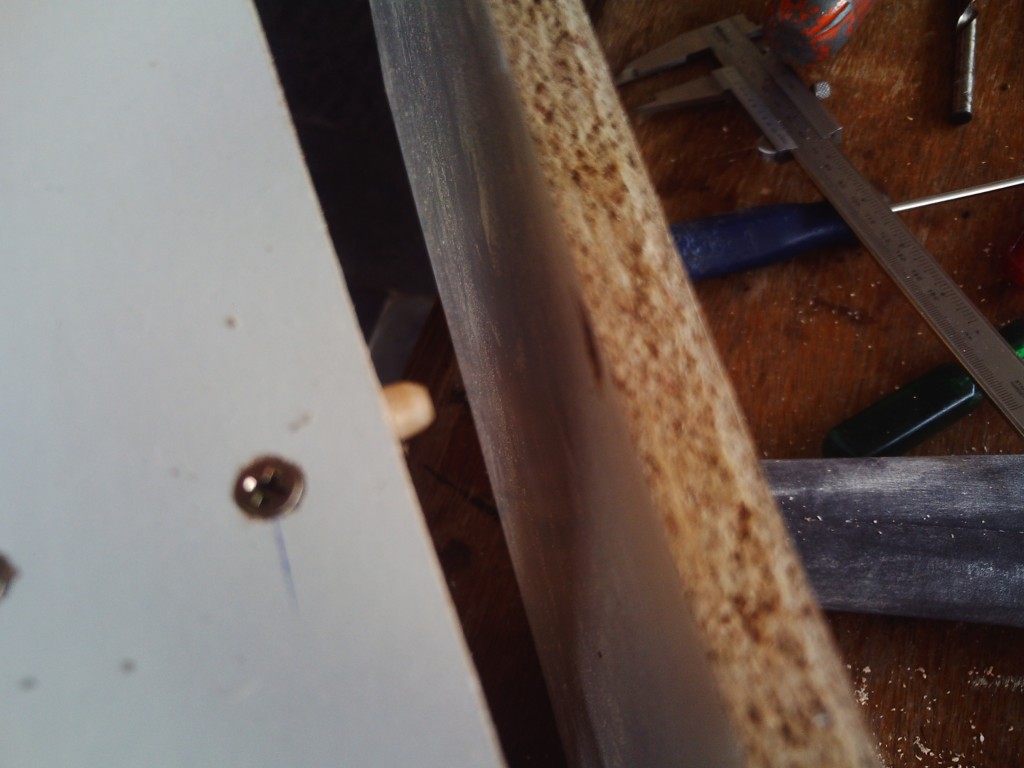
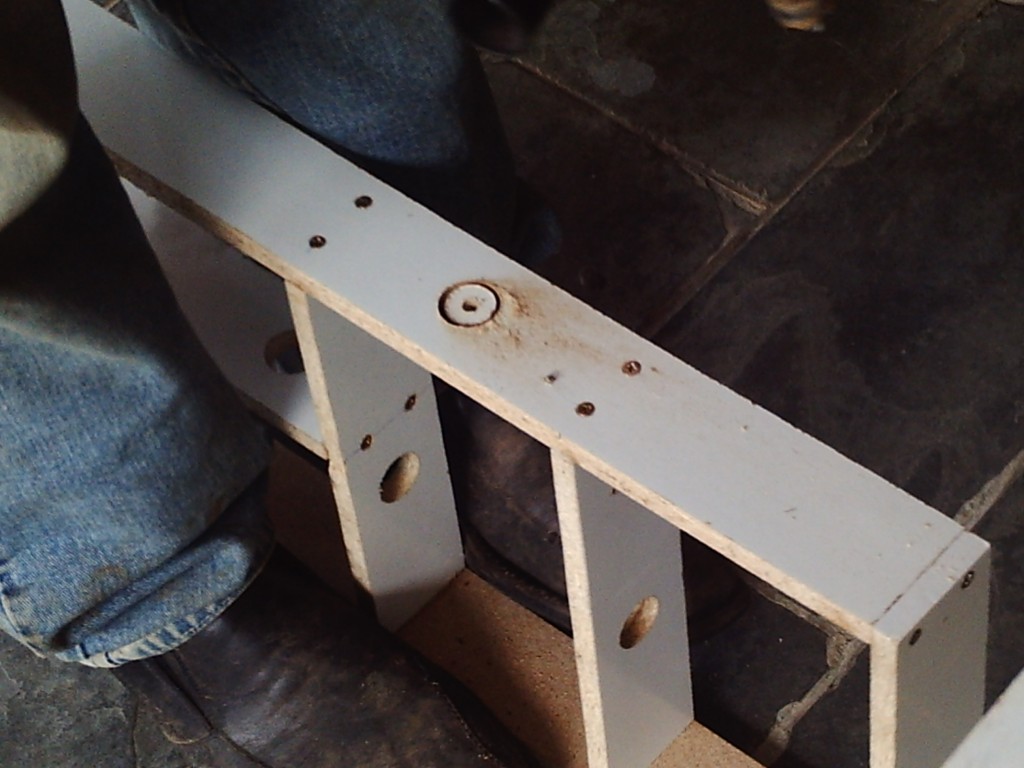
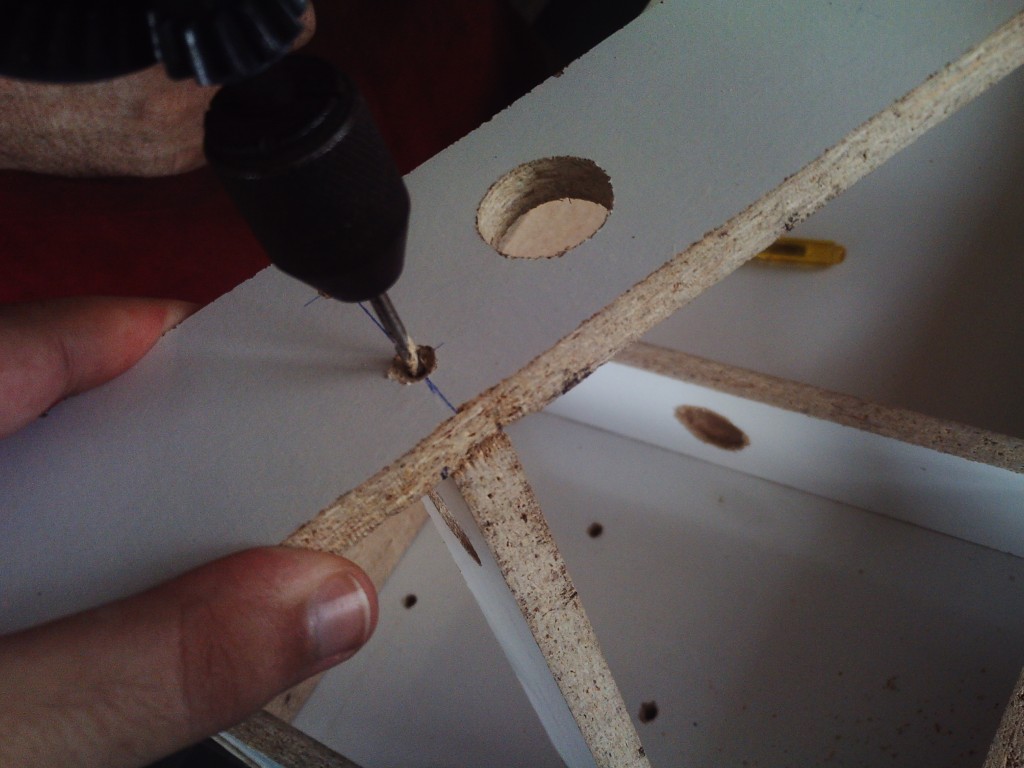 Then we used a larger drill bit to make a hole for the screw heard, and then we screwed the screw in the hole (oh, and before all that we put glue there).The board below is possible to remove, so I can do maintenance (like previously explained), I this time took a photo of the wooden pin that hold the board in place.
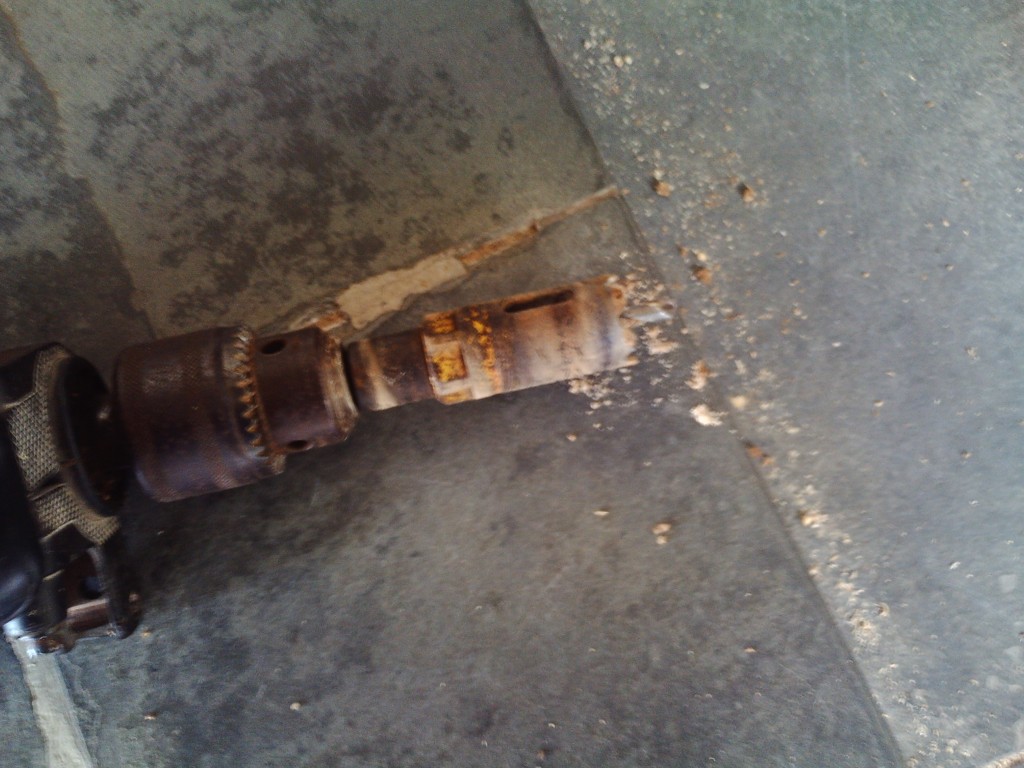
 After the assembling was done, I figured I forgot to make a hole to put the cable of the machine outside it.. So, I made a hole, this time I remembered to take photos of it, so you can see. The first photo is the tool (it is a drill bit with a steel sawblade in shape of a cup around it). The second photo is the result of using that tool (with a electrical drill... the manual drill would require superhuman strength).
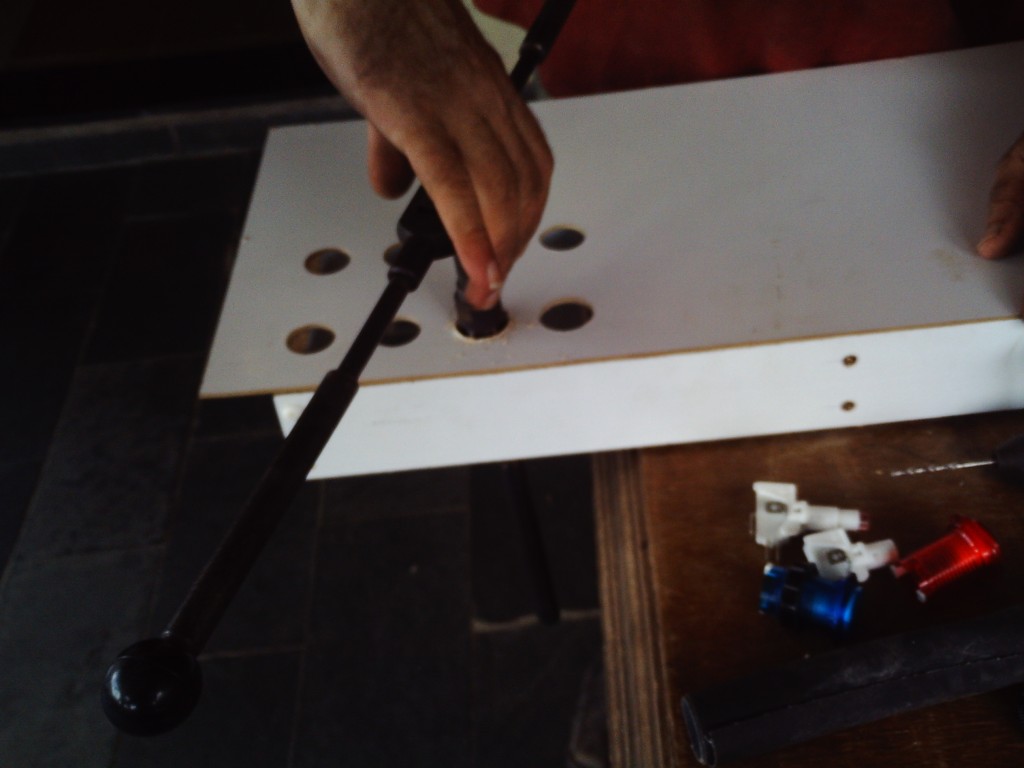
 Now it was time to work on assembling the actual parts, as you noticed from earlier photos, the buttons did not fit properly the holes, thus hole enlargement was needed, I used a tool that is actually to work on steel... But it worked here anyway, the tool is a set of blades arranged in a conic shape, you twist them and slowly insert the tool forward, eventually the hole is on the size of the largest end of the cone.
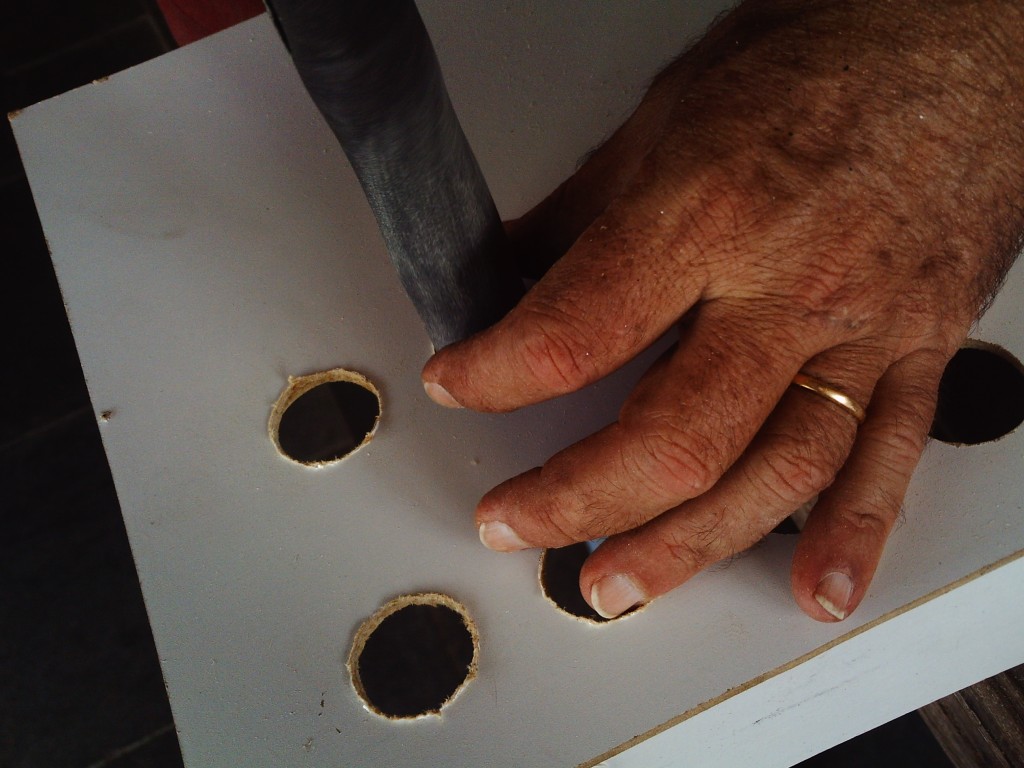
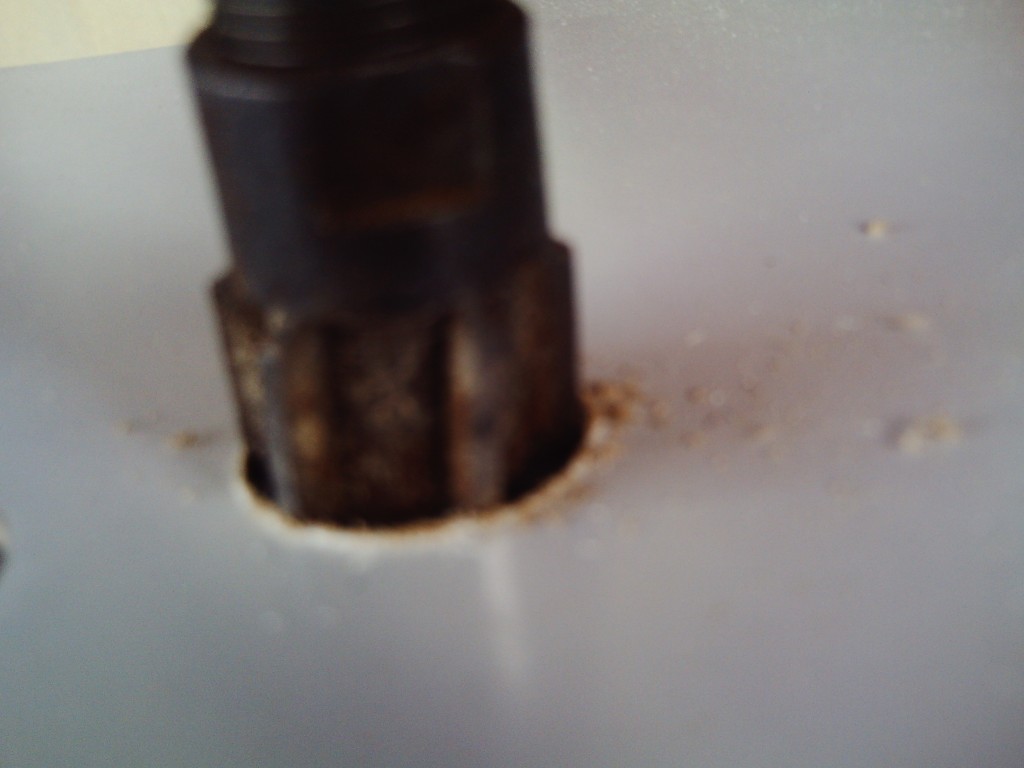 Later some sandpaper was needed for a finishing.
 Since the top part is made of cardboard, to attach it nothing better than glue and some small nails.
 The actual woodwork of the controls are done now.
Final part of making the arcade controller woodwork.
Posted by Original_Speeder on


Nice:)