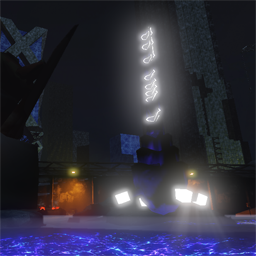
The Pounder
 The Pounder is an artillery piece that brings the fury of the heavens down upon your foes. Through high-explosives and searing plasma, it brings untold destruction to the battlefield. It laughs at your concepts of ‘maximum range', ‘damage output', and ‘area of effect', then turns them all up to eleven. However, it also turns up its nose at the concepts of ‘accuracy' and ‘fire rate'. Surely such concepts shouldn't apply to such a destructive machine of terror?
Due to its massive range, Pounder Turrets are effective when placed anywhere in the open, though it's generally a smart idea to keep them out of the way of enemy paths, as they can't defend themselves effectively. While powerful, basic Pounder Turrets are quite inaccurate, and often their shots will fall woefully behind their targets, so it's necessary to have other, more accurate defences up and running to back them up.
Barrel Upgrades
The Pounder's upgrades tend to take its primary role, dealing heavy damage over an area of effect, and either improve or modify how this is delivered, giving some variety into how the turret is used.
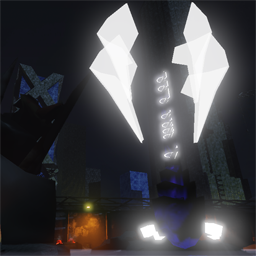
Merve
Working under the assumption that ‘more is better', the theory behind the Merve reasoned that shooting dozens of explosives at the same time was superior to trying to hit the target efficiently, because it was. The result of this work was a bulky projectile that exploded in mid-air above the target, raining explosive shrapnel down in a large area.
The Merve is a great default upgrade to the Pounder, as it's essentially a more destructive version of the original. The smaller explosions are still damaging enough to kill most enemies, and the wider area of effect increases the amount that can be killed with them. While it still remains inaccurate, there's rarely an instant where it's not going to kill something.
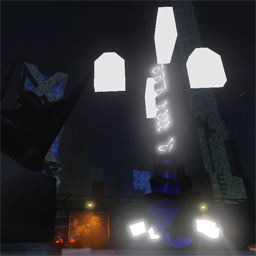
Cruiser
Dialling itself back a bit from its Merve uncle, the Cruiser sacrifices explosive power in an attempt to address the Pounder's horrific accuracy. By dedicating more of the projectile's bulk to tracking equipment, the Cruiser defines itself as the only ‘homing' variant of the artillery piece. While the small explosive radius lessens its potential damage output, the Cruiser will almost always hit its target, obliterating it and anything nearby.
The Cruiser earns its keep when faced with large numbers of faster enemies, which could theoretically be long gone before the base Pounder's round even got there. By sticking with its target, it provides a bit more consistent damage output, as almost no round is wasted.
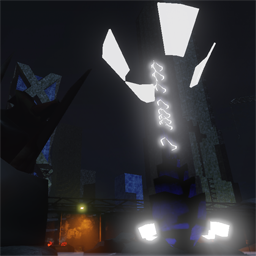
Goop
A tightly congealed ball of radiation, the Goop round doesn't explode in the same way as its cousins. Rather, it ‘pops', spilling out hugely volatile radioactive goo in a respectable area around it, doing heavy damage to any hapless beings that run into it afterwards. The ball's ‘explosion' doesn't do much upfront damage, but the damage over time that the radiation provides afterwards can be astronomical.
The Goop Shot is an interesting upgrade that can completely shut down a route with a well-placed round. Because of this, it synergises extremely well with the Manual Control upgrade and Designator. While it maintains the inaccuracy of the base Pounder, one shot from it can take out the same amount that three shots would've taken otherwise. All it needs is intelligent placement.


