Today we’re going to describe a bit of our workflow, on how we get a character in the game.
Pretty much all the meshes in the game started as a very high poly mesh.
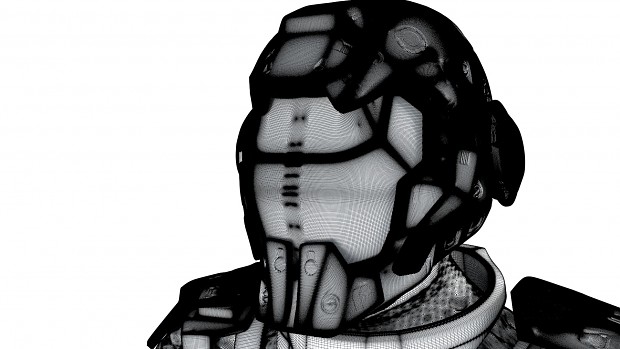
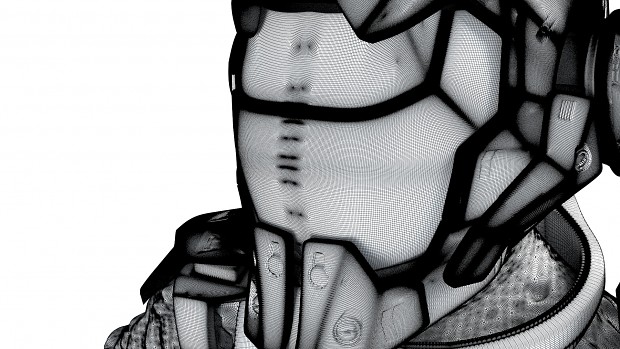
Just to give you an idea, this character has 49 million polys.
You can see the mesh in wireframe below:
Why do we do it this way?
Because with this amount of polygons we can get an amazing amount of detail, which we then bake into normal maps.
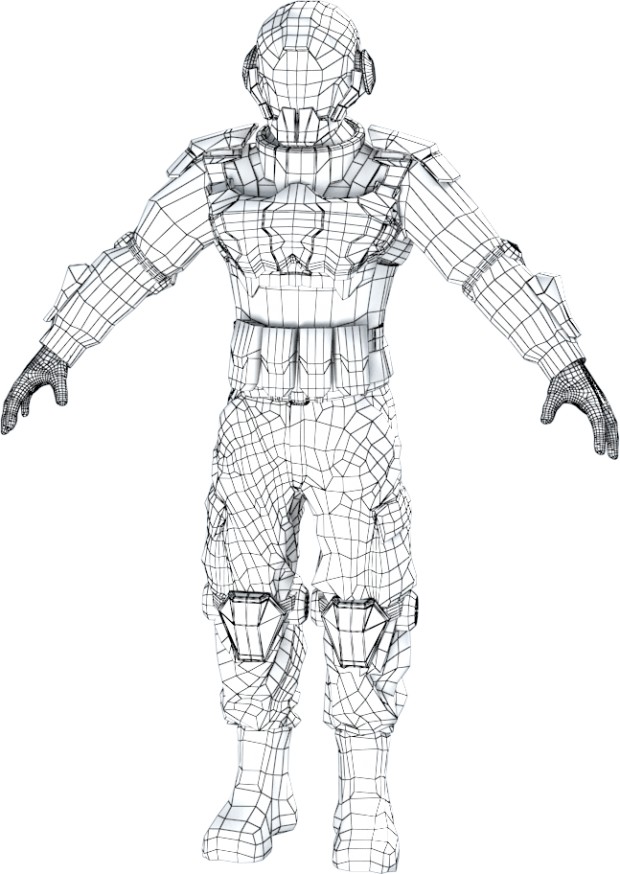
The next step is lowering the polycount of the mesh into something that can be used in realtime.
Once the mesh has a lower polycount, we create uvmaps on the lower polygon asset to project the high poly count mesh onto it, and generate normal maps, occlusion maps and cavity maps.
By doing this, all combined with real time lighting, allows us to have the same detail in a lower mesh as we would in a high polycount mesh.
This is where the classic type of character / asset ends and the modern type of asset begins (remember Doom 3).
Now when we create this super high poly mesh with all these little details, and then generate textures from it, we end up needing 3 textures so that we can make all these details visible: a normal map, an occlusion texture and a cavity texture.
You’re probably thinking that we will combine these textures into a single diffuse texture, but that’s not how physical based shading works.
The new next-gen physical based shaders work in a different way; basically you apply all these textures into the Unity 5 based shader.
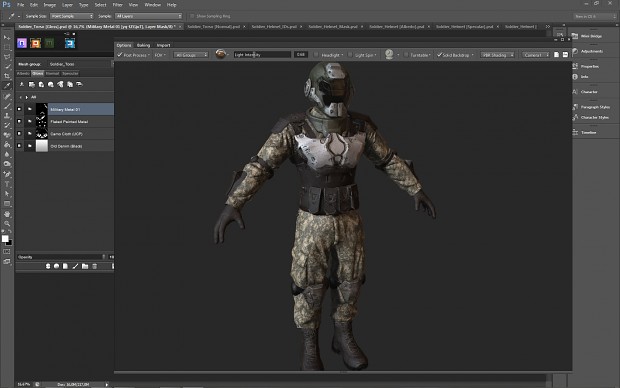
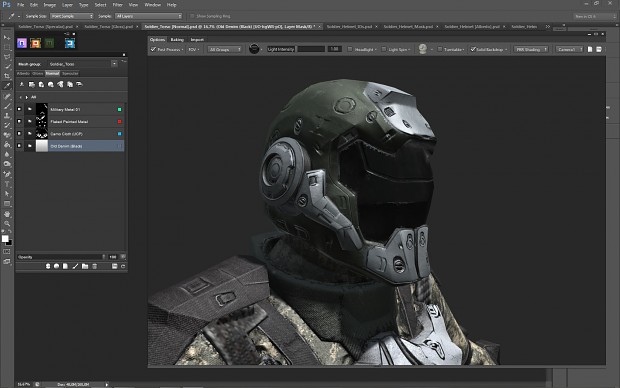
Using Substance Painter and Quixel 3d, we then paint complex final textures and export them directly to the engine. The tool generates 4 textures which must then be applied to the final shader.
So in the end this character is using normal texture, occlusion texture, diffuse or color texture and a special texture which combines two textures – metalness.
We try to achieve the best realism as possible, with materials reacting like real life and accurate lighting.
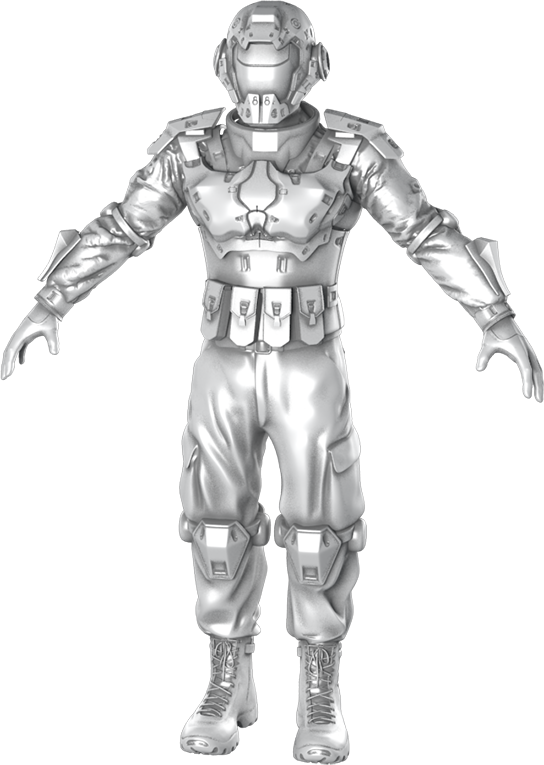
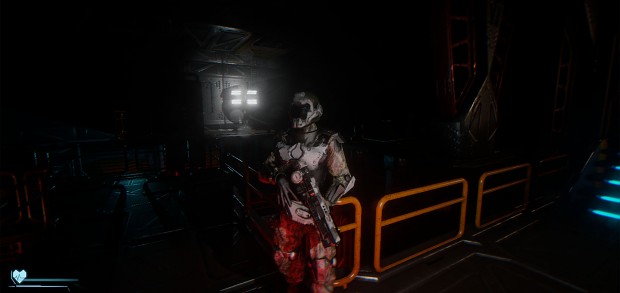
You can see this character below in an ingame screenshot:


Nice, Kinda like a Mix of Master Chief & Doomguy.
Nice comparisons. It does have some of their looks :)
Super neat! I love it :D
Thanks :) We're putting a lot of love in the character creation
This is really interesting. Currently I'am studying game developers workflows as I have been modelling for years, but now with the self-taught acquired skills, I'm finally going to be putting these into practice starting a-fresh with new human models. I have never created a model, baked normals from high poly e.t.c. from scratch before, and as I intend to create a large repository of models for a game, I need to make sure my workflow is sound.
I was wondering, as I plan on using 3dsmax, Zbrush, 3dcoat and Xnormal, whether creating low-poly, 5000 poly models for an RTS game would be best sought after by following this workflow:
Workflow: Create low poly base mesh in 3dsmax (simple editing of polys), and minor details like belt, pocket flaps, collars and sleeve cuffs. Uvunwrap Uvmap in 3dsmax then export to Zbrush (.obj), create high poly geometry by subdividing. Then sculp detail into this model. Finally export high-poly model to 3dsmax (obj). Using the cage method, bake textures into low-poly model that I initially started with. Then, after rendering UVmap wireframe layout and layering the normal and occlusion maps generated by 3dsmax in photoshop. Export model to 3dcoat and poly paint basic colour map onto the model to create a base map layer for photoshop. Then overlay the normal and occlusion onto this colour map in photoshop and continue to apply detail to the diffuse texture.
Then export, rig and animate.
Question: I've tried creating normal maps and occlusion maps in Xnormal by linking the high-poly and low-poly meshes, but the Uv's never seem to match up correct, so I found 3dsmax's cage method alot cleaner. Perhaps I am doing something wrong? Obviously pocket seams e.t.c need to match up perfect on the low-res model.
Does this sound like a workable way to create assets for an RTS game? I've creaed human models for years, but as my experience and knowledge expanded yearly, and creating such a vast number of models for a mod, I was never able to update all models using my new skills, thus I just updated these with cleaner UVs and a better texture, but now I want to create truly clean, professional models from the get-go.
Any help would be appreciate.
Thanks in advanced,
Sturm.
Our artist (Boris) usually starts by creating a high poly mesh. Then on top a very accurate low poly shell to project the high poly model on it.
If you create a model that is too far away from the high poly model, you'll get weird things and the normal maps will be awful. He mostly uses xnormal and never had any bugs with it, although from what he could see, xnormal only seemed to work with OBJs from Zbrush.
You are definitely on the right track, are you using any PBR based texturing programs? like 3D coat or Substance or DDO? that helps and eliminated the need for perfect uv's and are quite efficceint at baking out curviture, ao maps and so on not so much normal but just use the program you are doing the hi-res in to to the normal map. hope this helps.
roan
Hi Roan, yes I do plan on incorporating 3dcoat as mentioned above in my workflow, however I've never used this method before, but I'am guessing its how games with UV's in odd positions seem to get 'seamless' textures? You see with my old models, I spent more time on the texture as updating all models to higher standards was time consuming, however adding detail and shadows e.t.c in photoshop means that areas like shoulders where the UV of the arm and torso combined often experienced un-matched texturing as the texture just simply didn't align. I would like to not have to deal with that this time. However with better UV methods, I'm going to seperate the arm UVs and add a seam where the arm connects to the torso so I can create an 'artificial' barrier so to speak.
Also regarding detail, I usually use an overlay texture for the wool or cotton fabric, however its hard finding such textures at the resolution I need and this often looks a bit hazy or if overlayed with a higher %, just looks white as the sharpest bits of the detail map show up the most. I'll probably just have to look for better textures, but Im wondering if I should bake this into the normal map by using Zbrush and using a tool with the detail on it to engrave it in?
Thanks,
Sturm.
Some guys prefer to put surface detail in zbrush and then later add diffuse, but if you are doing fabric it's difficult to get the sculpted detail to align with your diffuse texture later, best to get a seamless tileable texture and use something like NDO Quixel to generate a normal map from that same texture (if you need a normal map).
It is Generally good to create uv seams where they would be in real life like the seams on a t- shirt. Texturing is a lot of work and takes a lot of time and it can be frustrating sometimes but if it was easy everyone would do it.
Yes that sounds like the simplest route. I remember before I understood the baking of textures I used to try and create creases in photoshop that is problematic when trying to locate where on the mesh these where going. I still am perplexed how people can create such clean weapon textures though, with gun metal parts that have smooth textures for barrels and edges highlighted with scratch brushes to creates a worn effect. I always think these look great.
Sturm.
The way these are done is with substance painter, using generators that seed from curvature maps watch this video Youtube.com
about 7:00 minutes in
Thankyou for giving me the heads up. Just bought Substance painter! Painting textures never looked soo easy. Wish me luck ;)
Sturm.