Hey, what's up! September has been quite busy for me. Myriavora now has eight additional maps and some new features. Let's have a closer look.
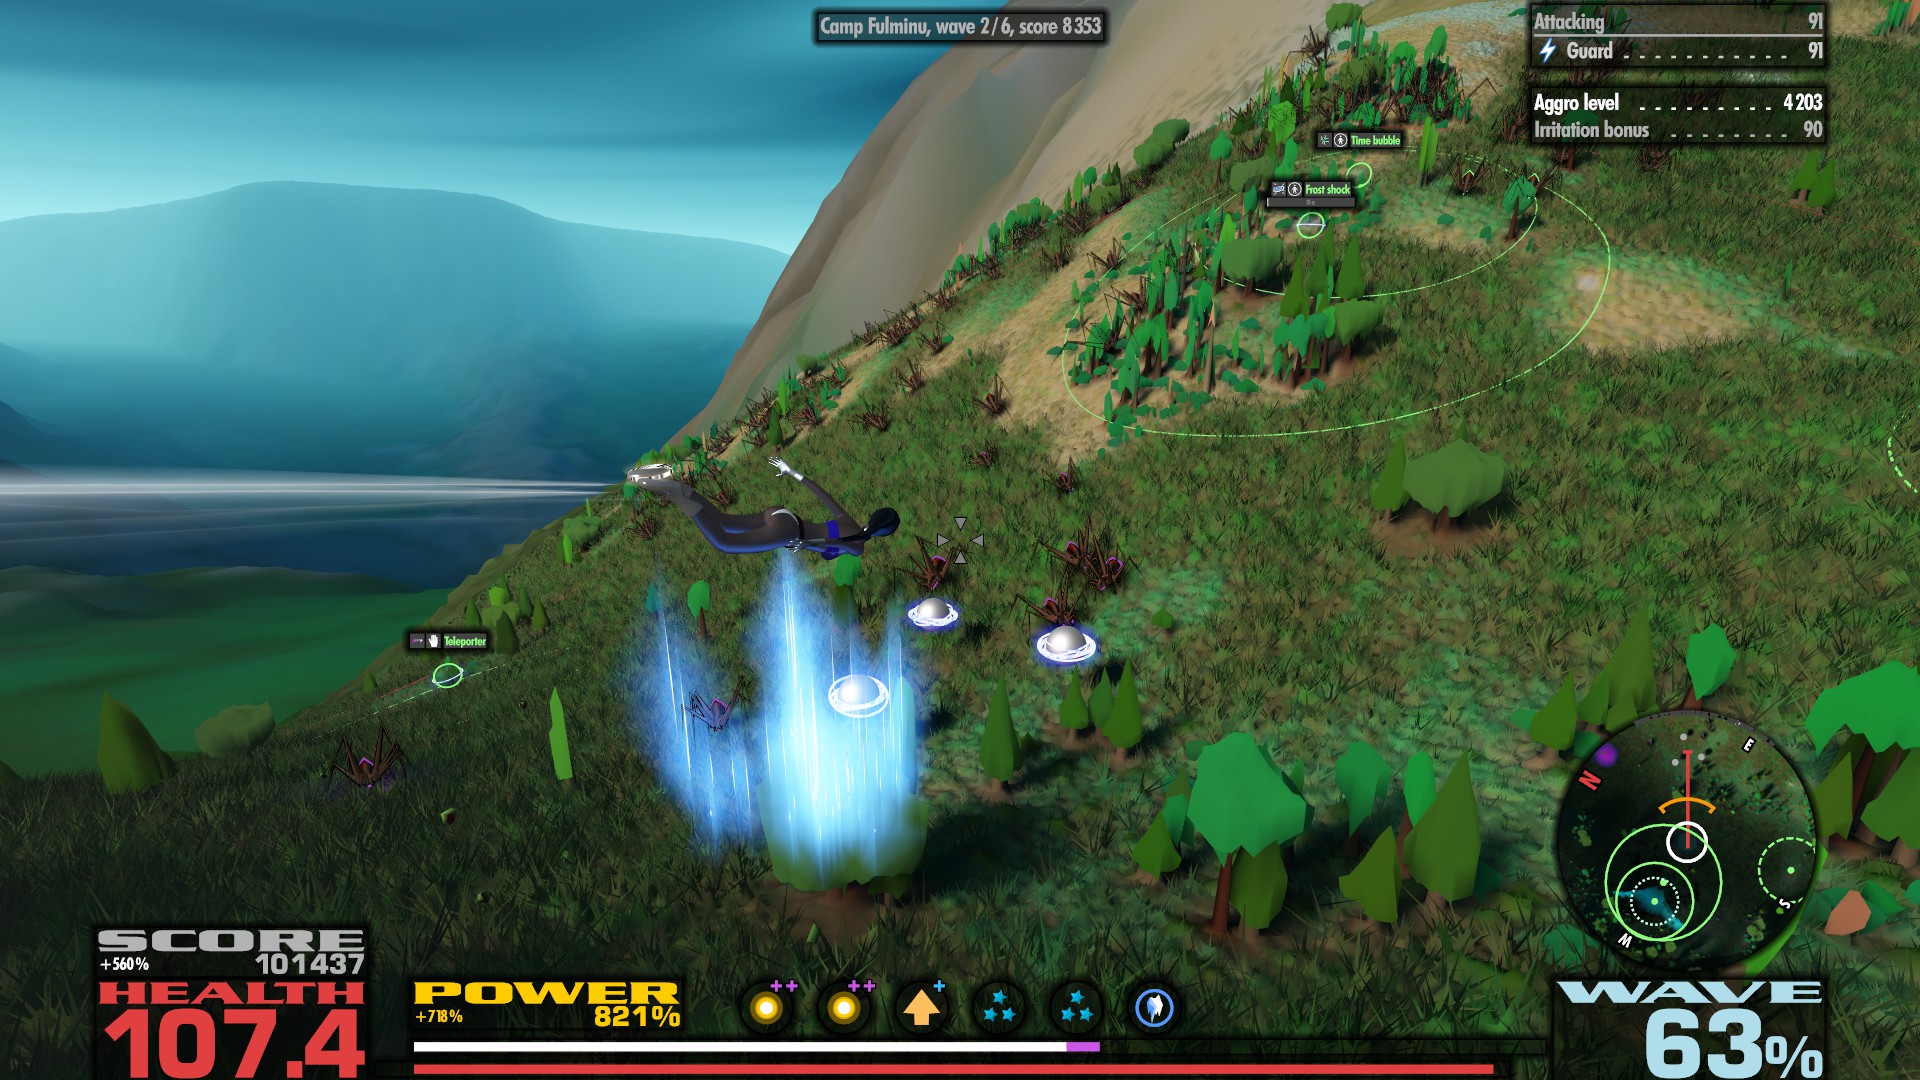
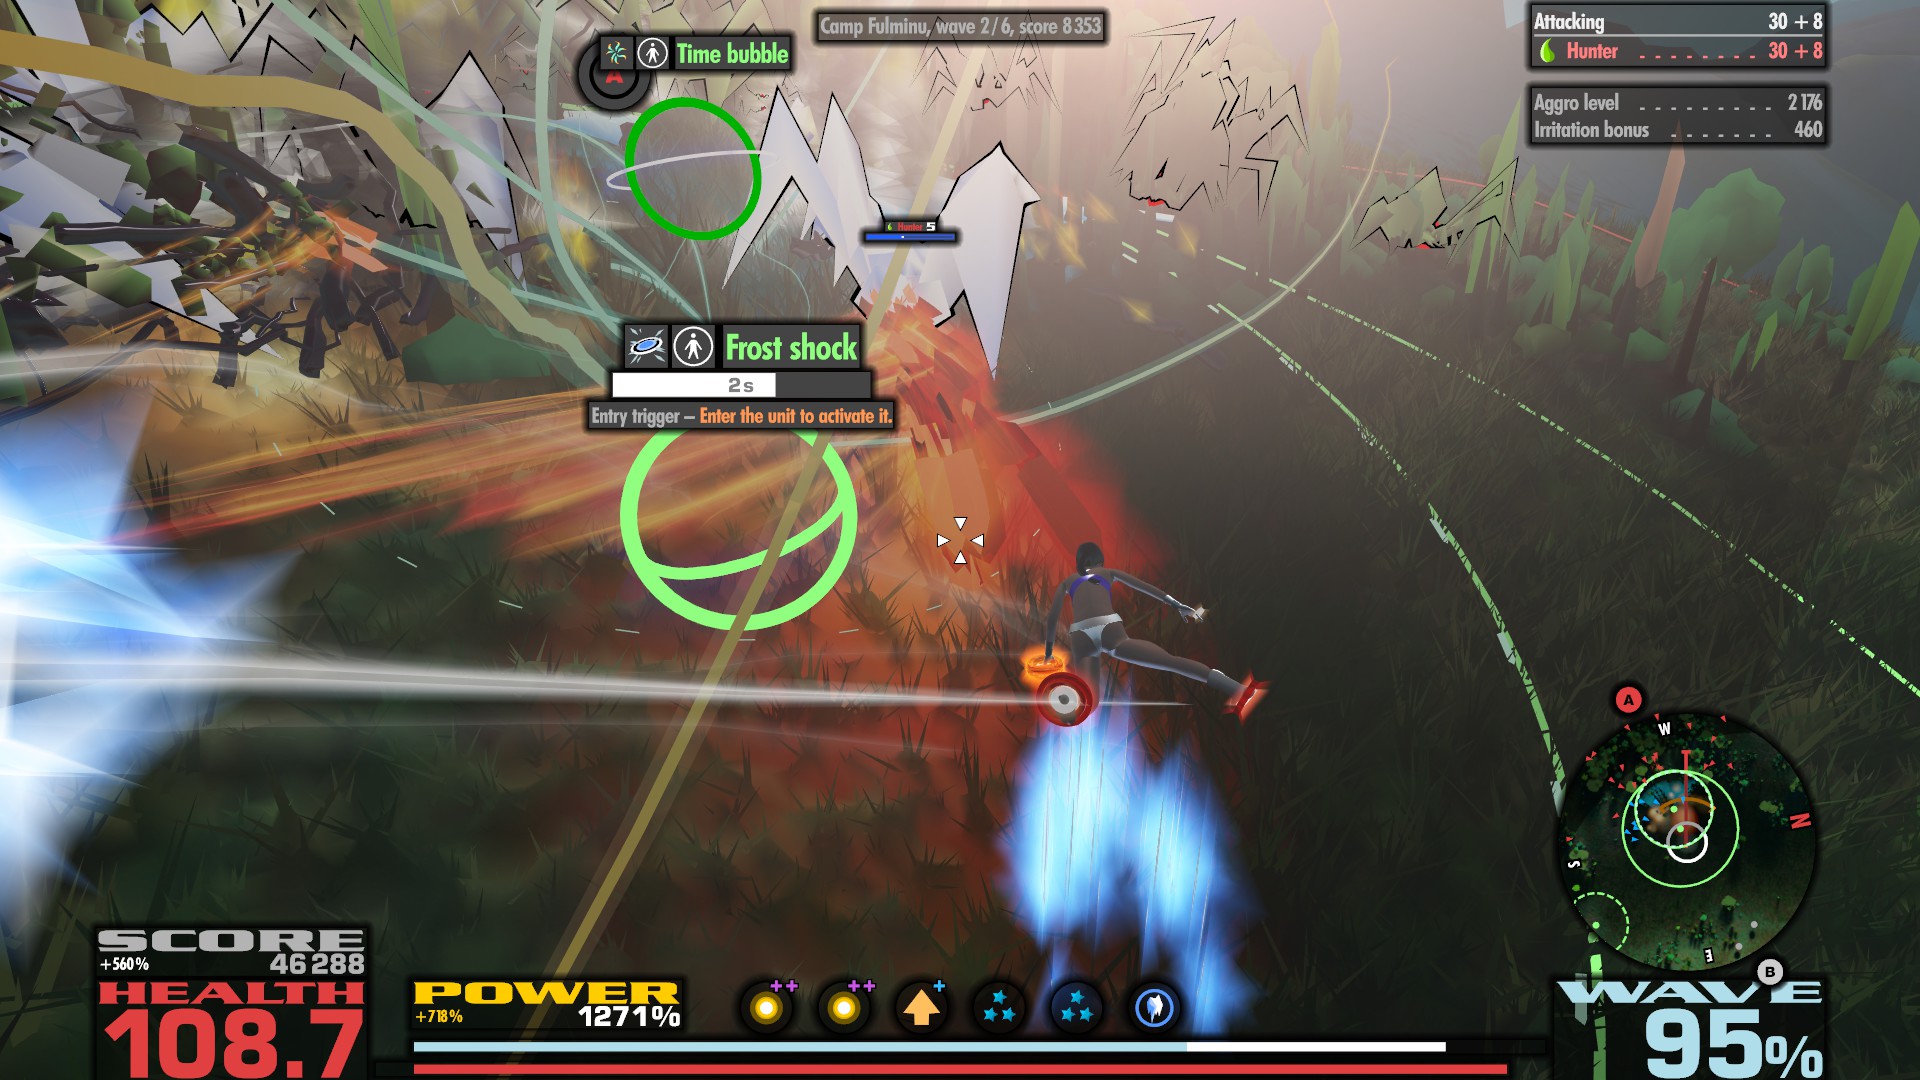
Camp Fulminu is located in a small ravine. There is a time bubble embedded in a frost shock unit on each of the two slopes. They are all activated by entering. The Frost Shock will then fire automatically every 5 seconds. This is a strong combination that can be used very well for defense, as long as you don't slip out of the facility due to the steep terrain.
Fortunately, there are also three teleporters, which can be used both defensively and offensively due to their tactically convenient location.
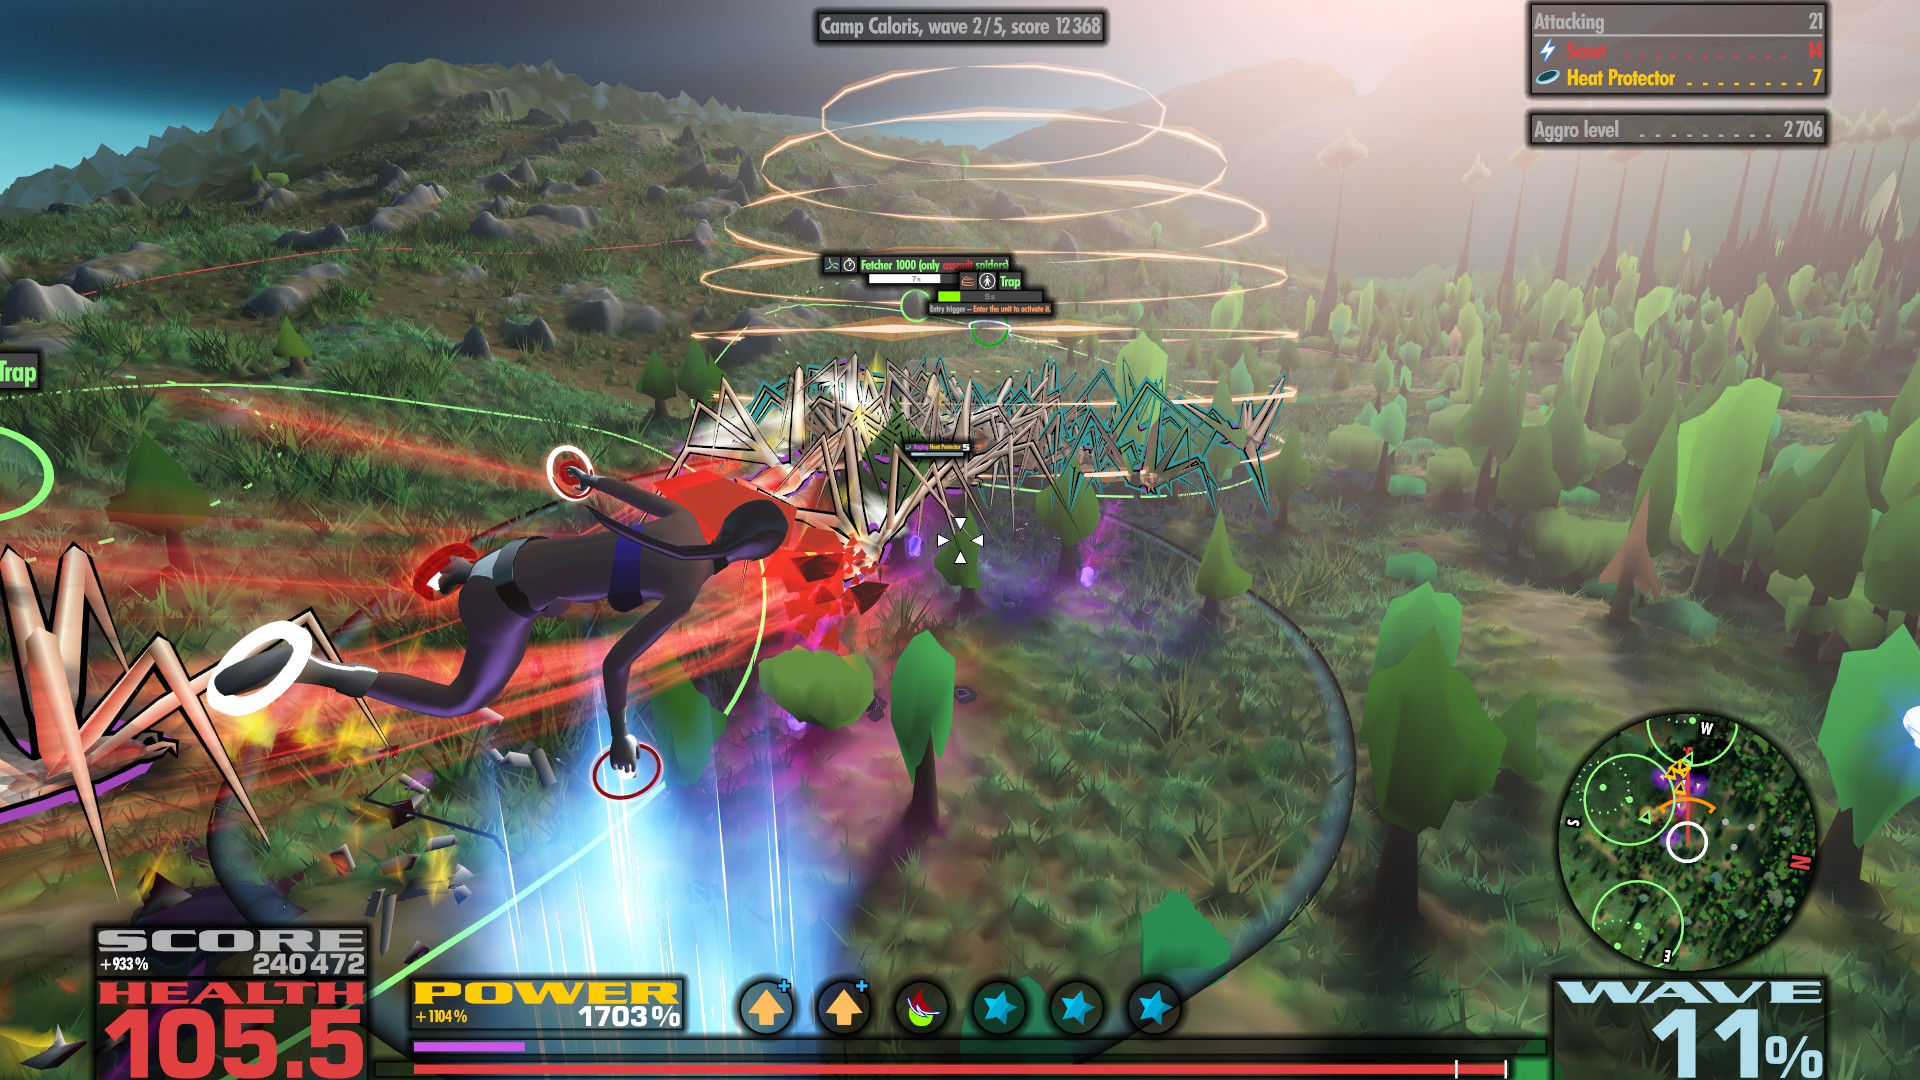
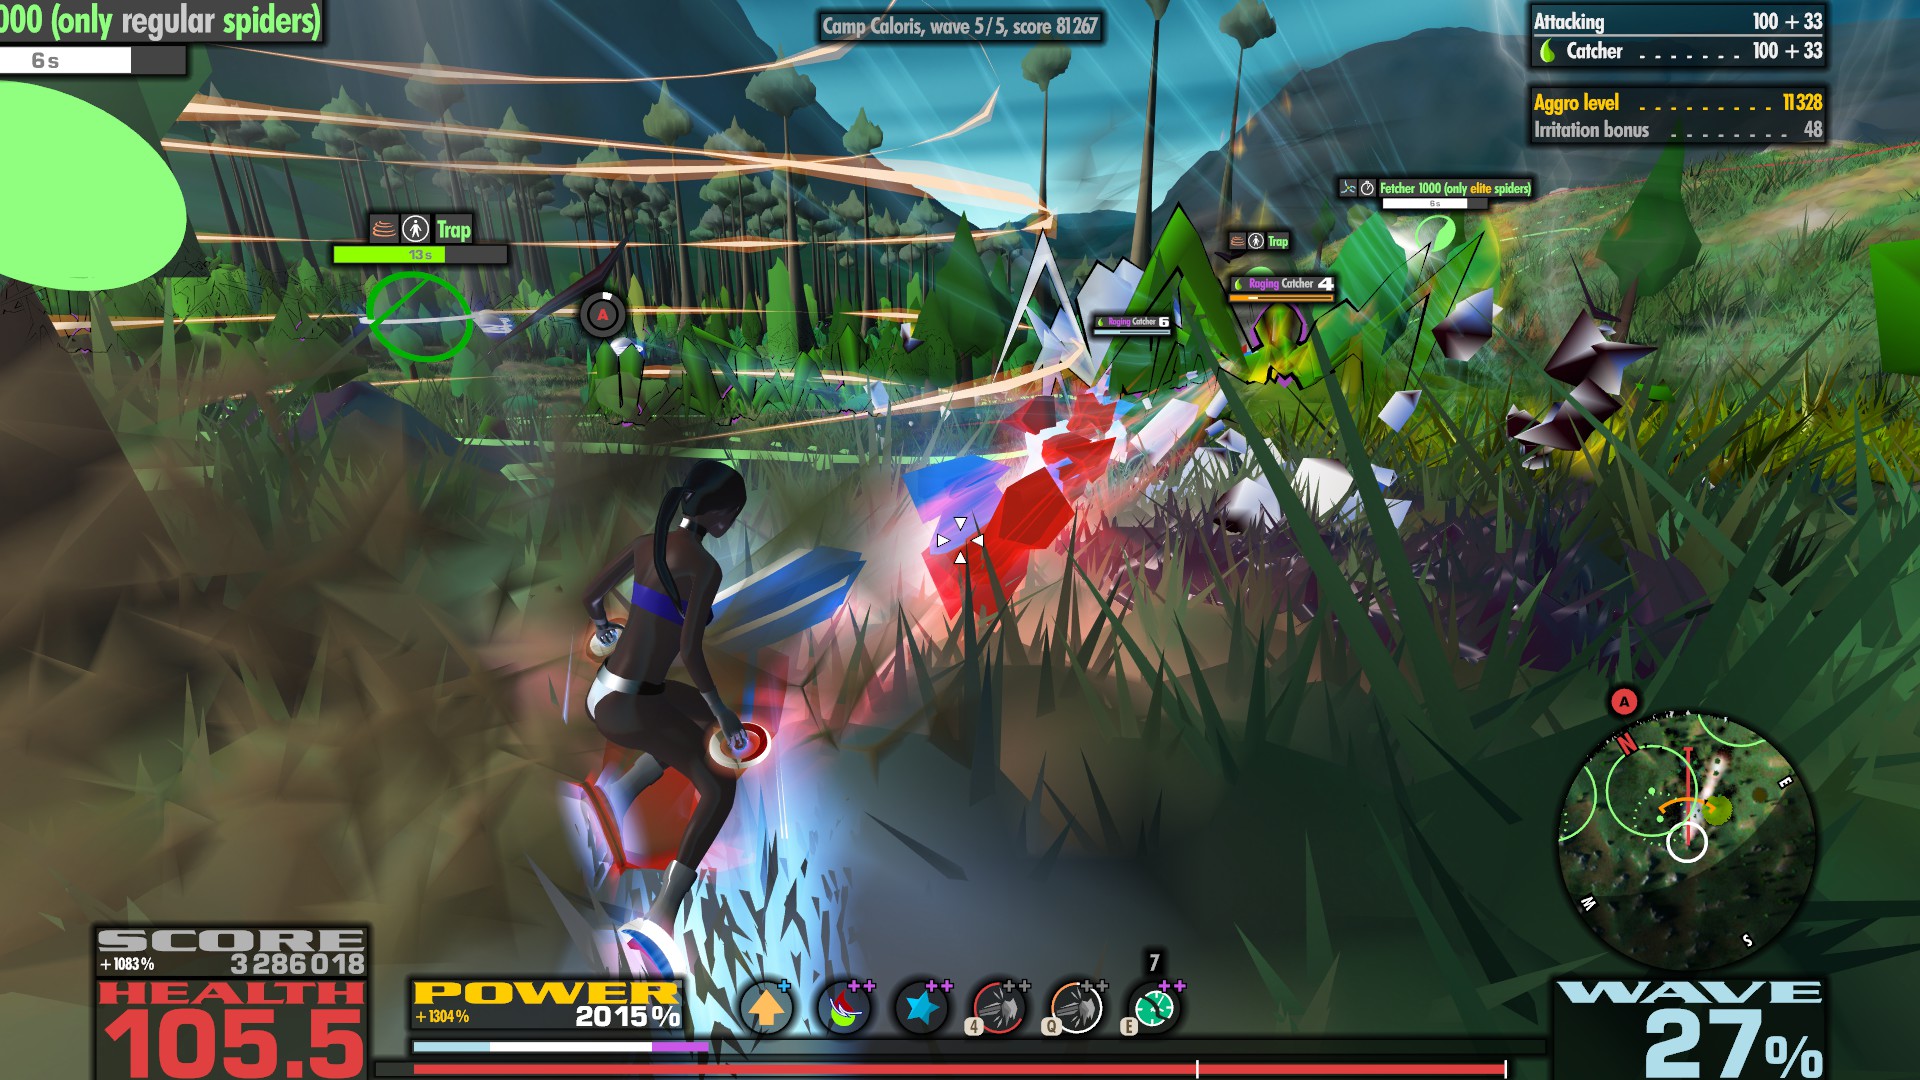
The open, slightly rocky terrain around Camp Caloris proves to be quite manageable in combat. That's fortunate, because the timed defenses can keep you pretty busy.
There are three fetchers that activate simultaneously every 30 seconds. Each teleports a different type of spider, which has enormous tactical consequences. I've improved the tooltips and I recommend reading them before the fight so as not to be caught off guard.
Each fetcher is assigned a trap that is activated as soon as you enter it. It switches off automatically 20 seconds after leaving.
The traps encircle the fetchers, but leave out a small part each. This means that even if you keep all the traps active all the time, a few spiders will always escape when the fetchers fire. I recommend setting priorities in advance, but dropping the plan and improvising when you realize things are going wrong.
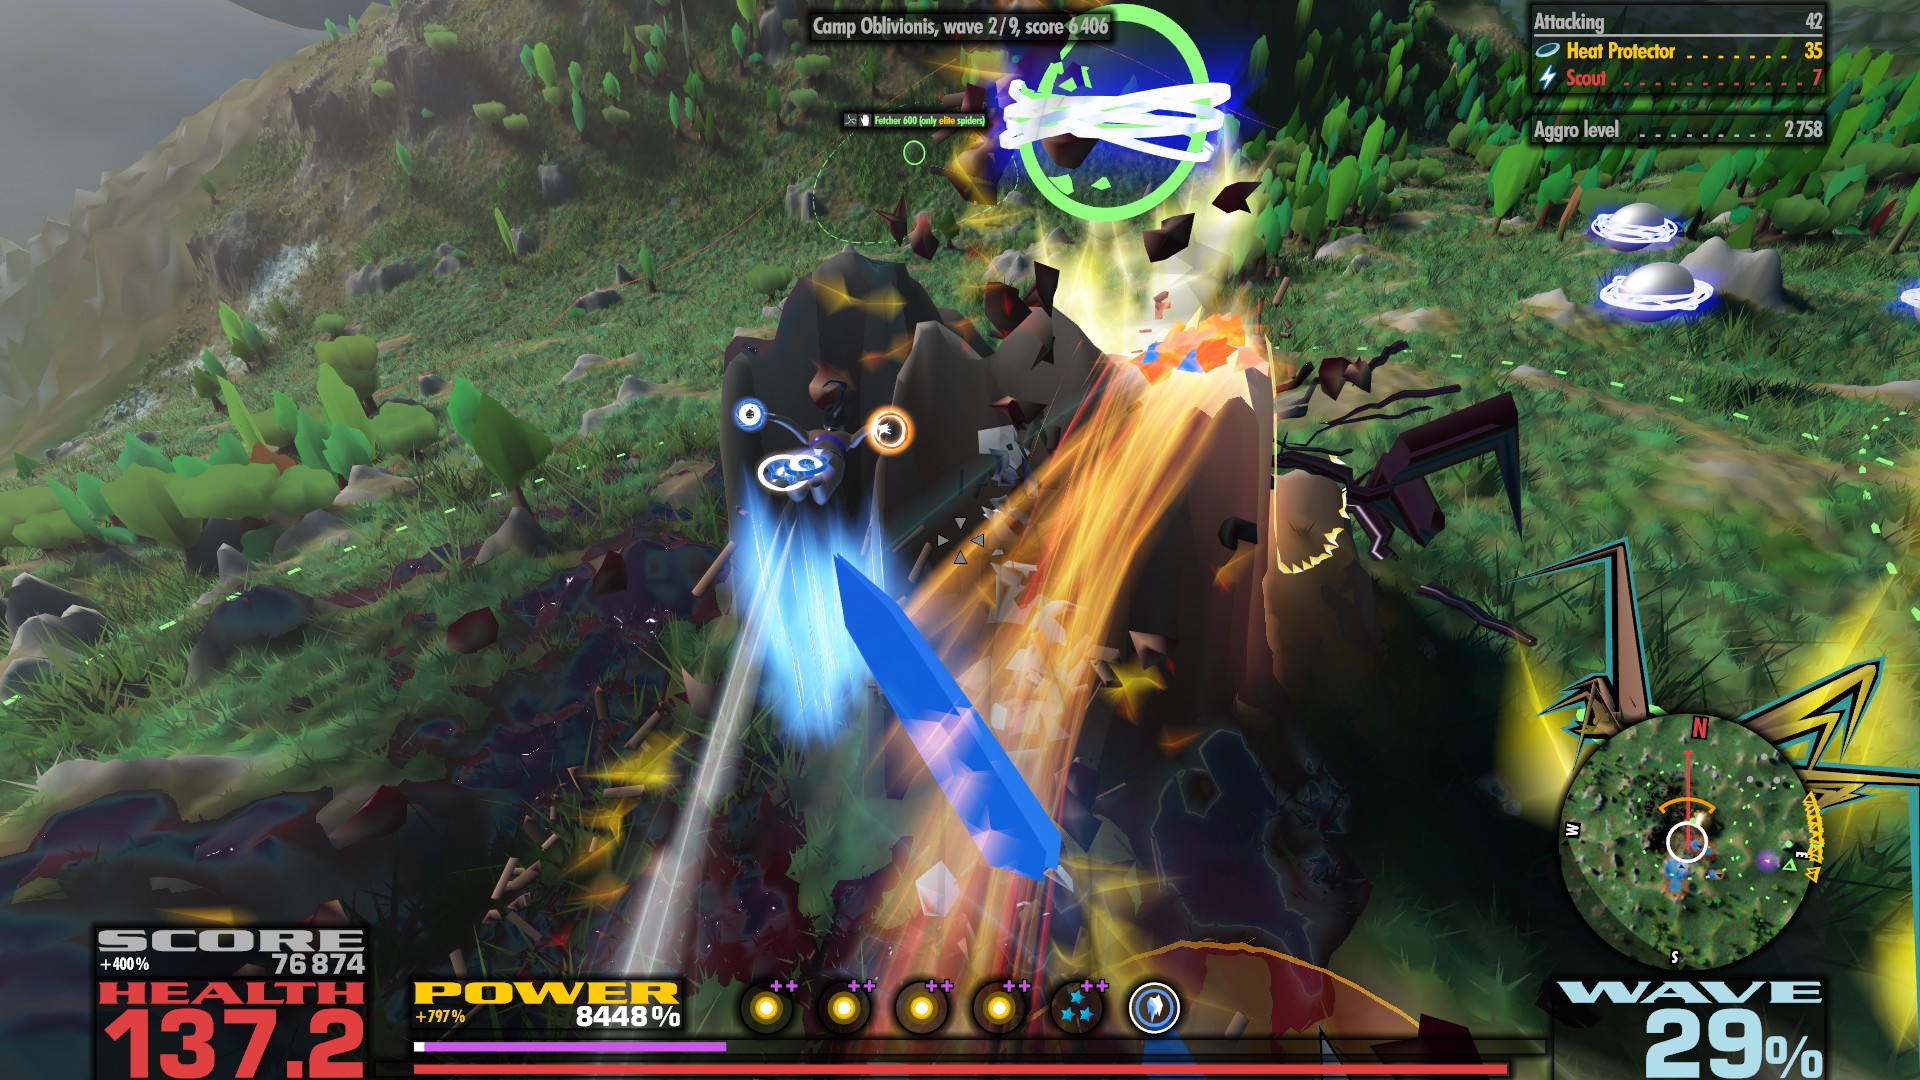
Camp Oblivionis has two powerful transformers (300% power per kill!) that can prove extremely helpful in combat. However, one specializes in regular, the other in assault spiders. The challenge is to separate the swarms as cleanly as possible and to distribute them accordingly to the transformers.
A manually operated fetcher is available for elite opponents. It has a relatively long cooldown of 30 seconds, so it should be used judiciously.
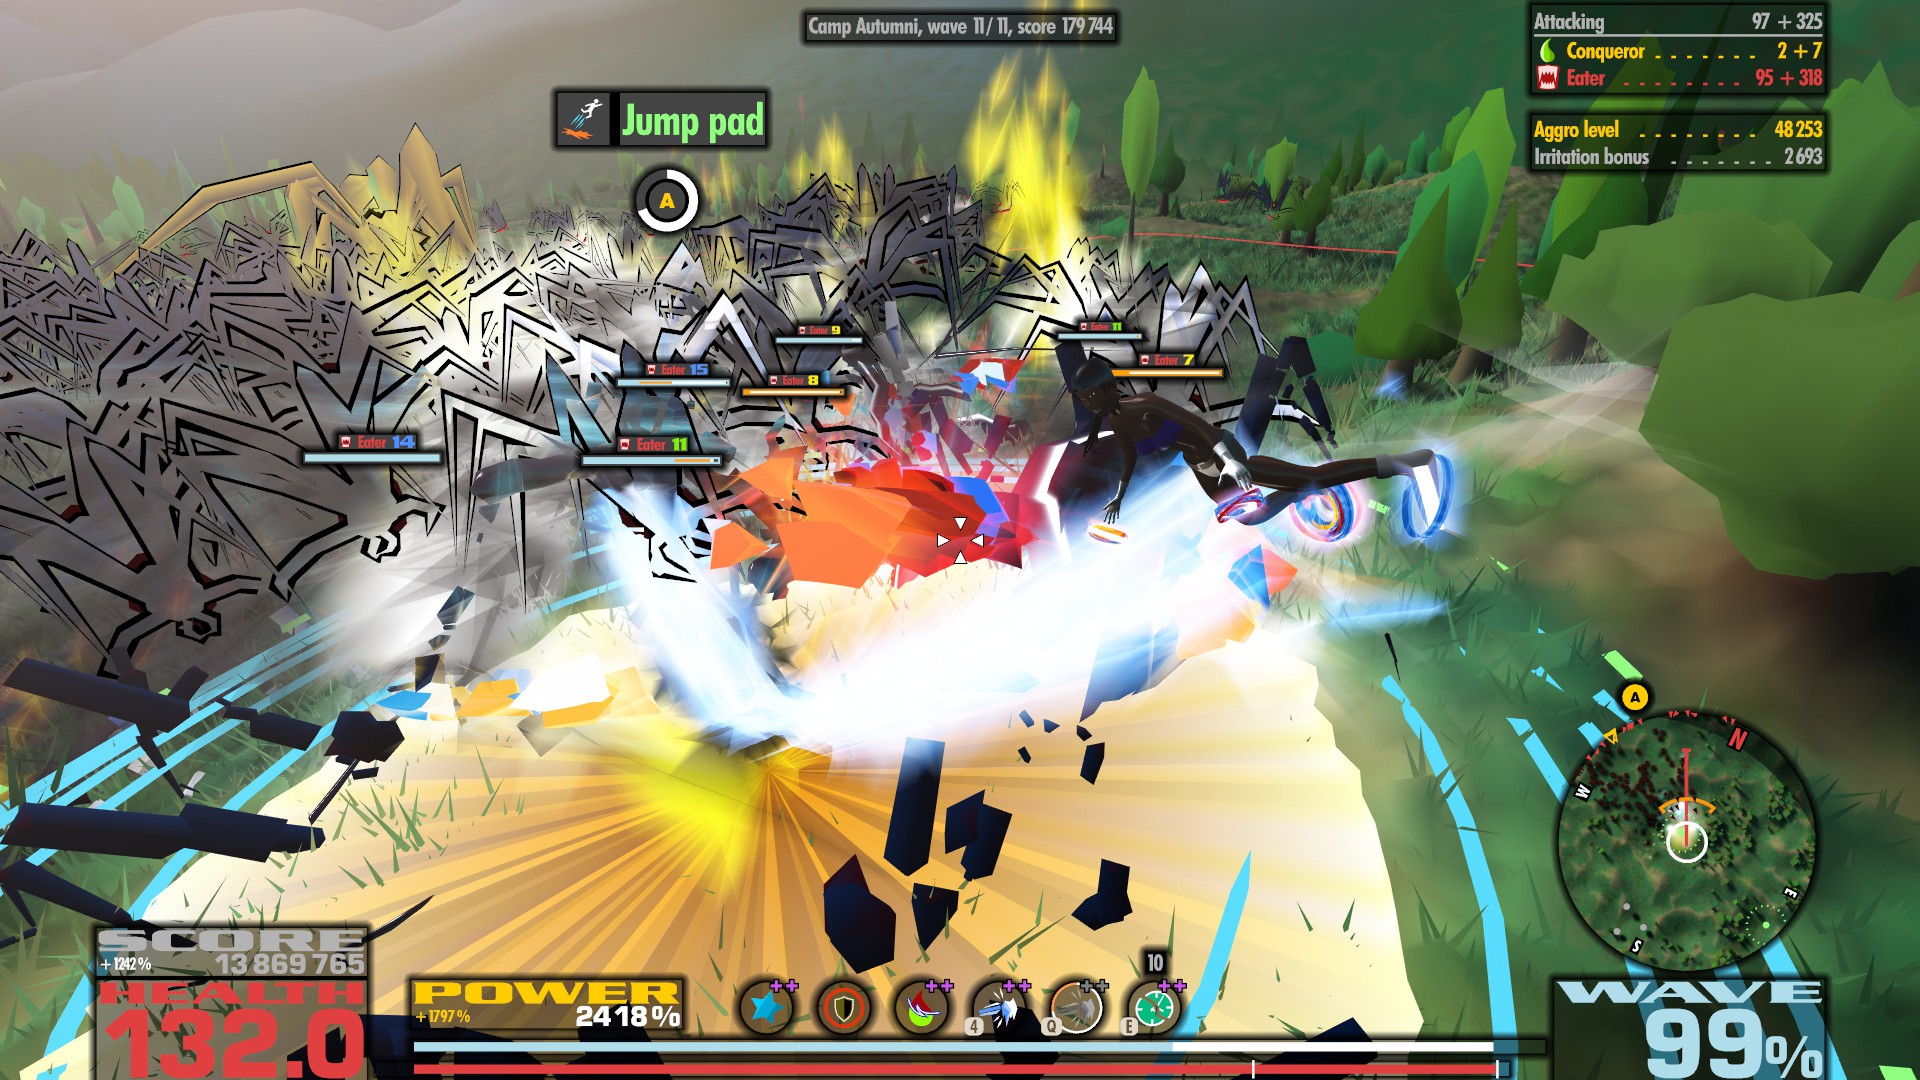
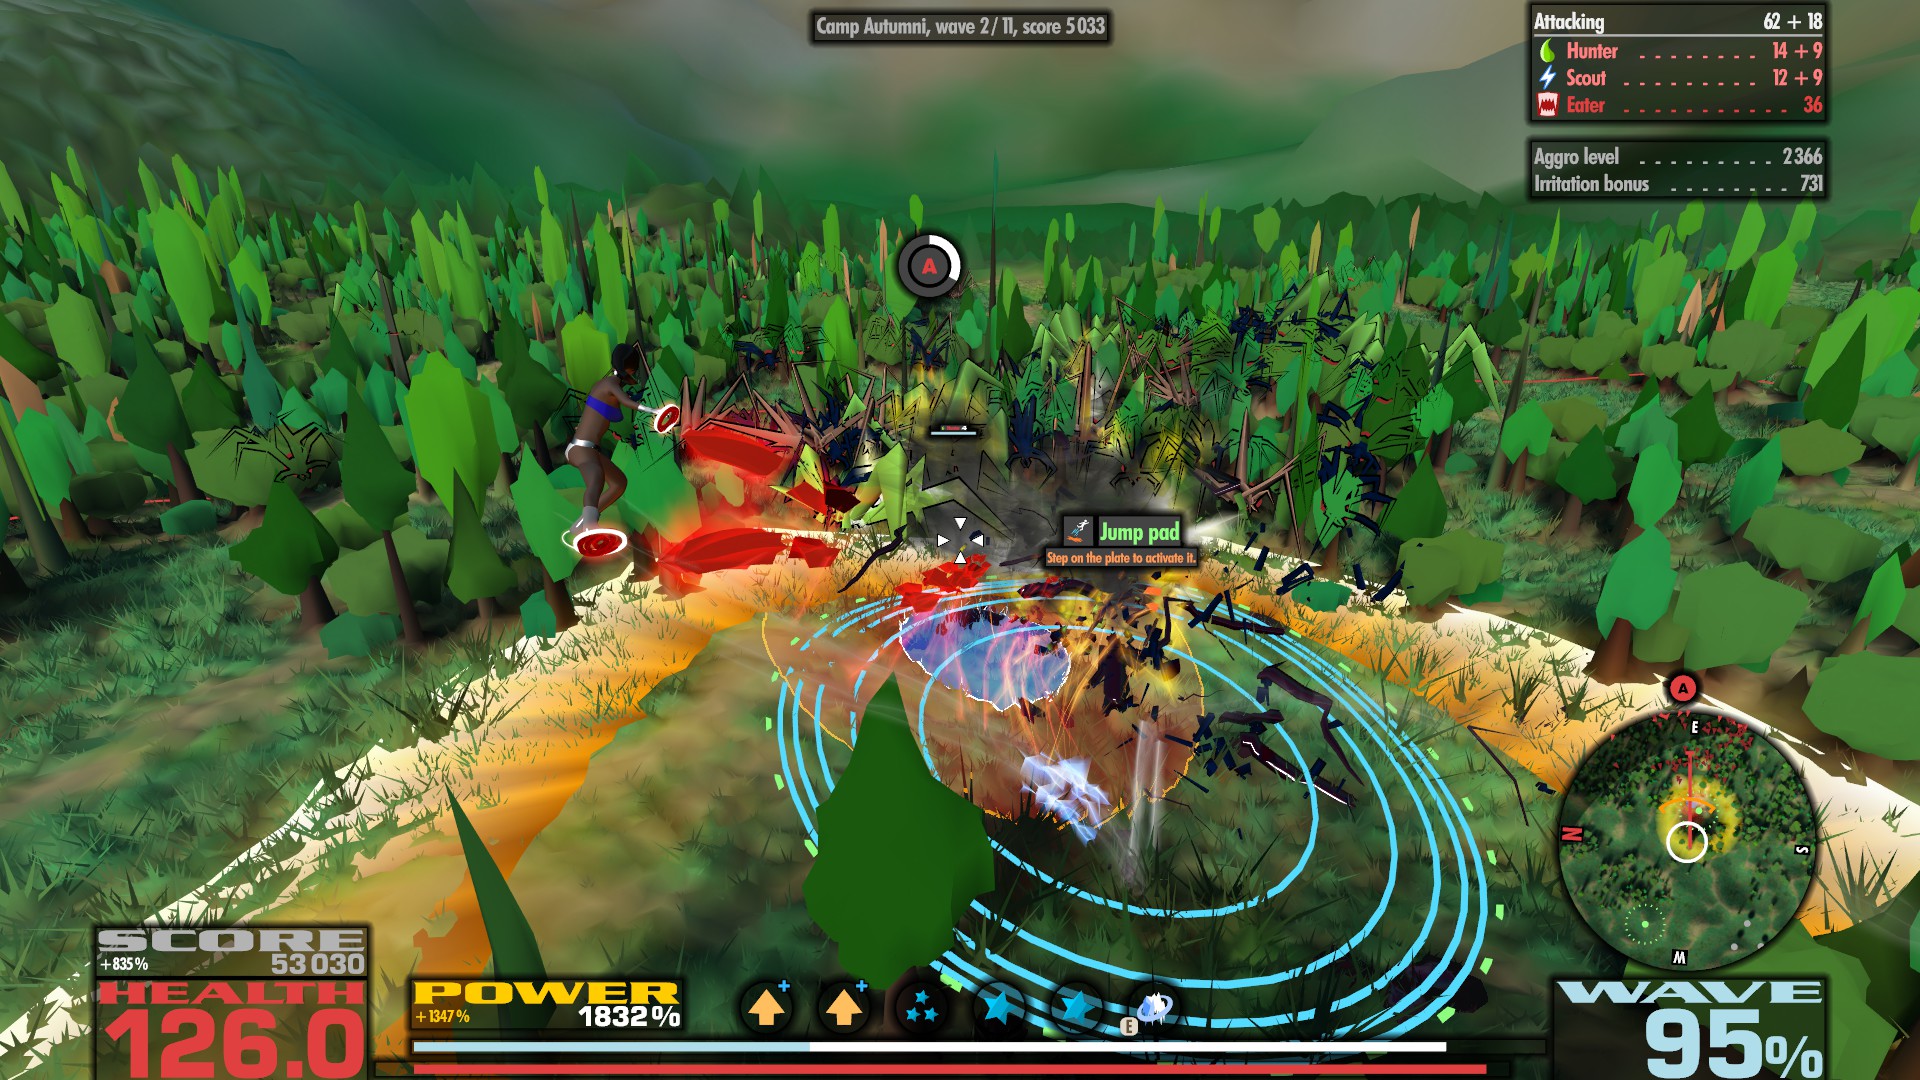
Camp Autumni introduces a new defense unit: the jump pad. Simply step or land on the indicated area to use it. The pad creates a shock wave that sends you high into the air and burns nearby spiders!
It's the combination of a defensive and an offensive component that make jump pads a lot of fun. I like to lure large groups of spiders to a pad. Once they're in place, I plummet down, bounce off the pad, and watch the group burst into flames while I fly to safety. It's hilarious when it works! But there are two things to watch out for.
First, when you land on the pad, you get ground contact and are therefore vulnerable for a brief moment. Poison puddles in particular can spoil the fun.
Second, you also receive a horizontal push in the direction of movement. So, when entering the pad, make sure you're heading towards an area you actually want to be
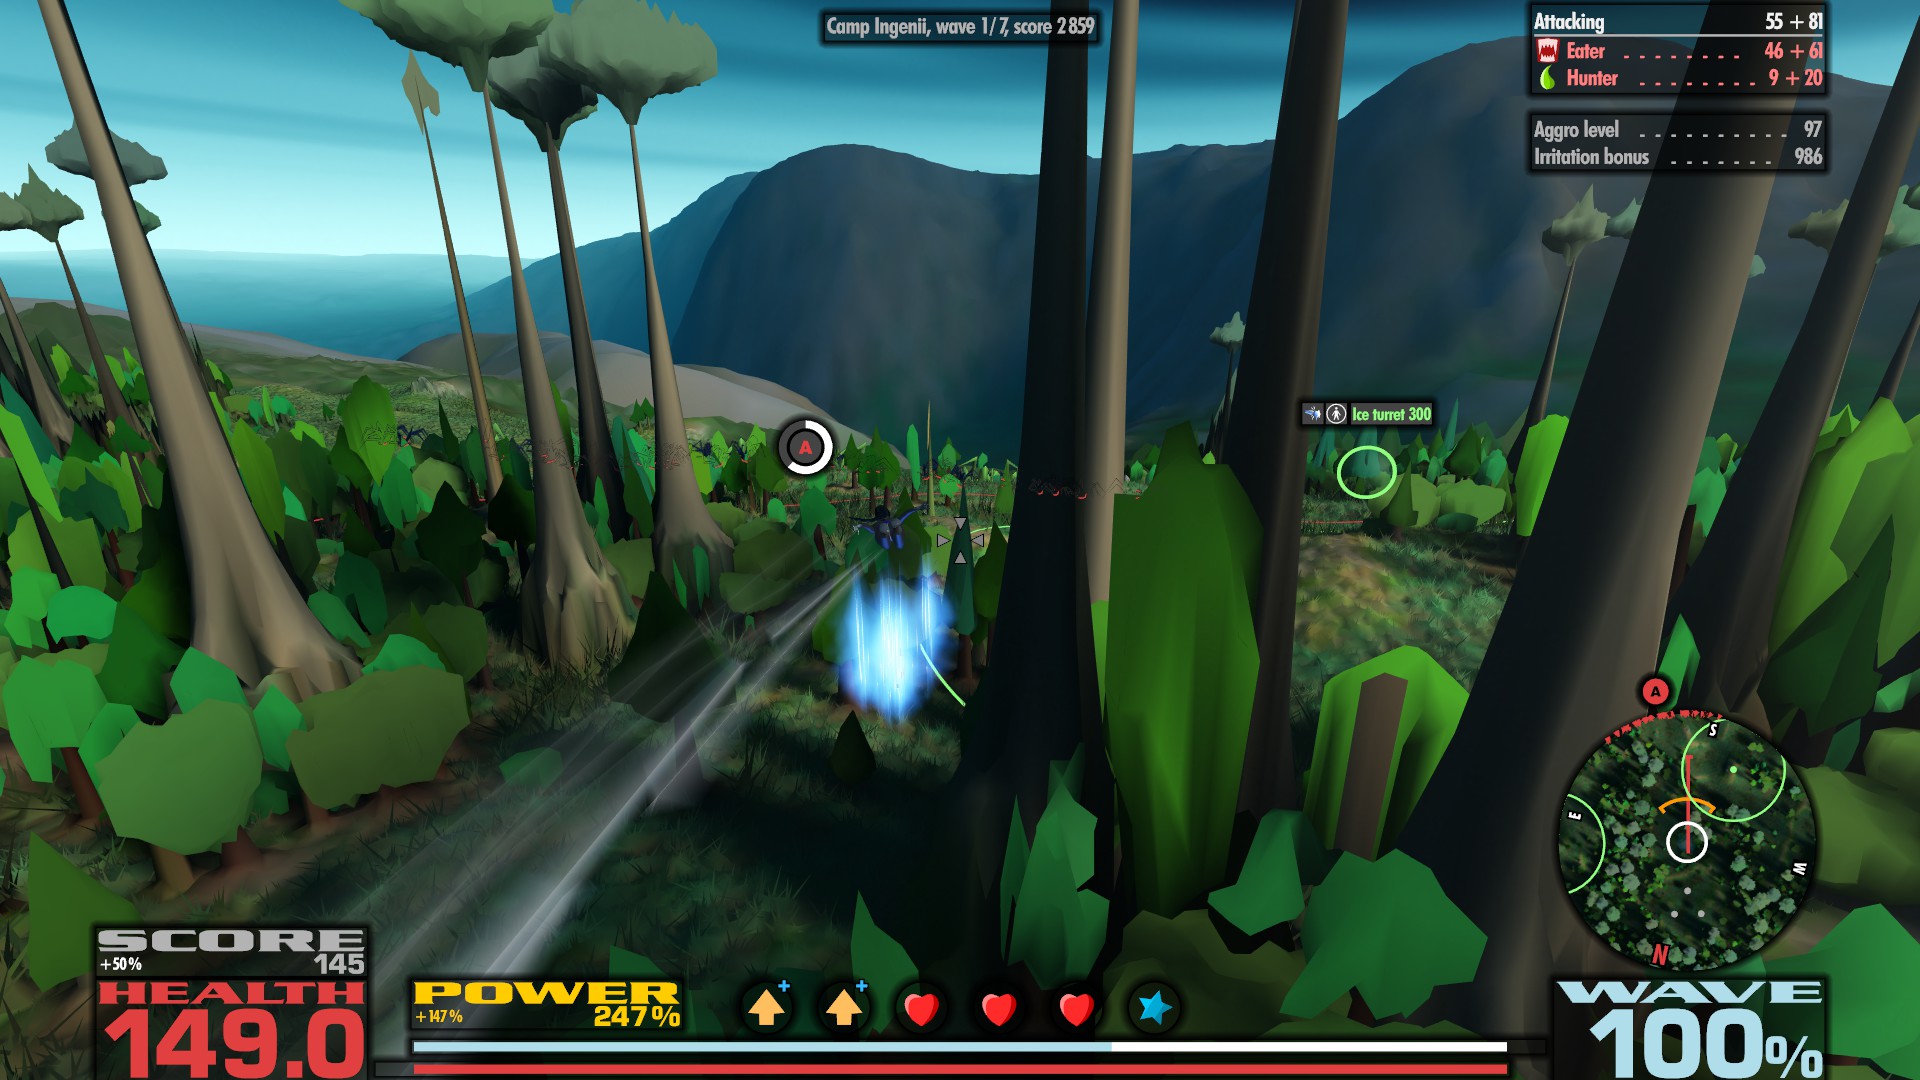
Camp Ingenii is surrounded by dense forest that provides ample natural cover. You will likely need it as the defense is rather mediocre. It mainly consists of two ice turrets, which are located in small clearings on the edge of the camp. They are quite usable, but the exposed location rarely allows you to stay there for long.
When you have to retreat into the forest, you will find a dialysis unit deep in the thicket. It is activated by entering and remains active for 30 seconds after leaving.
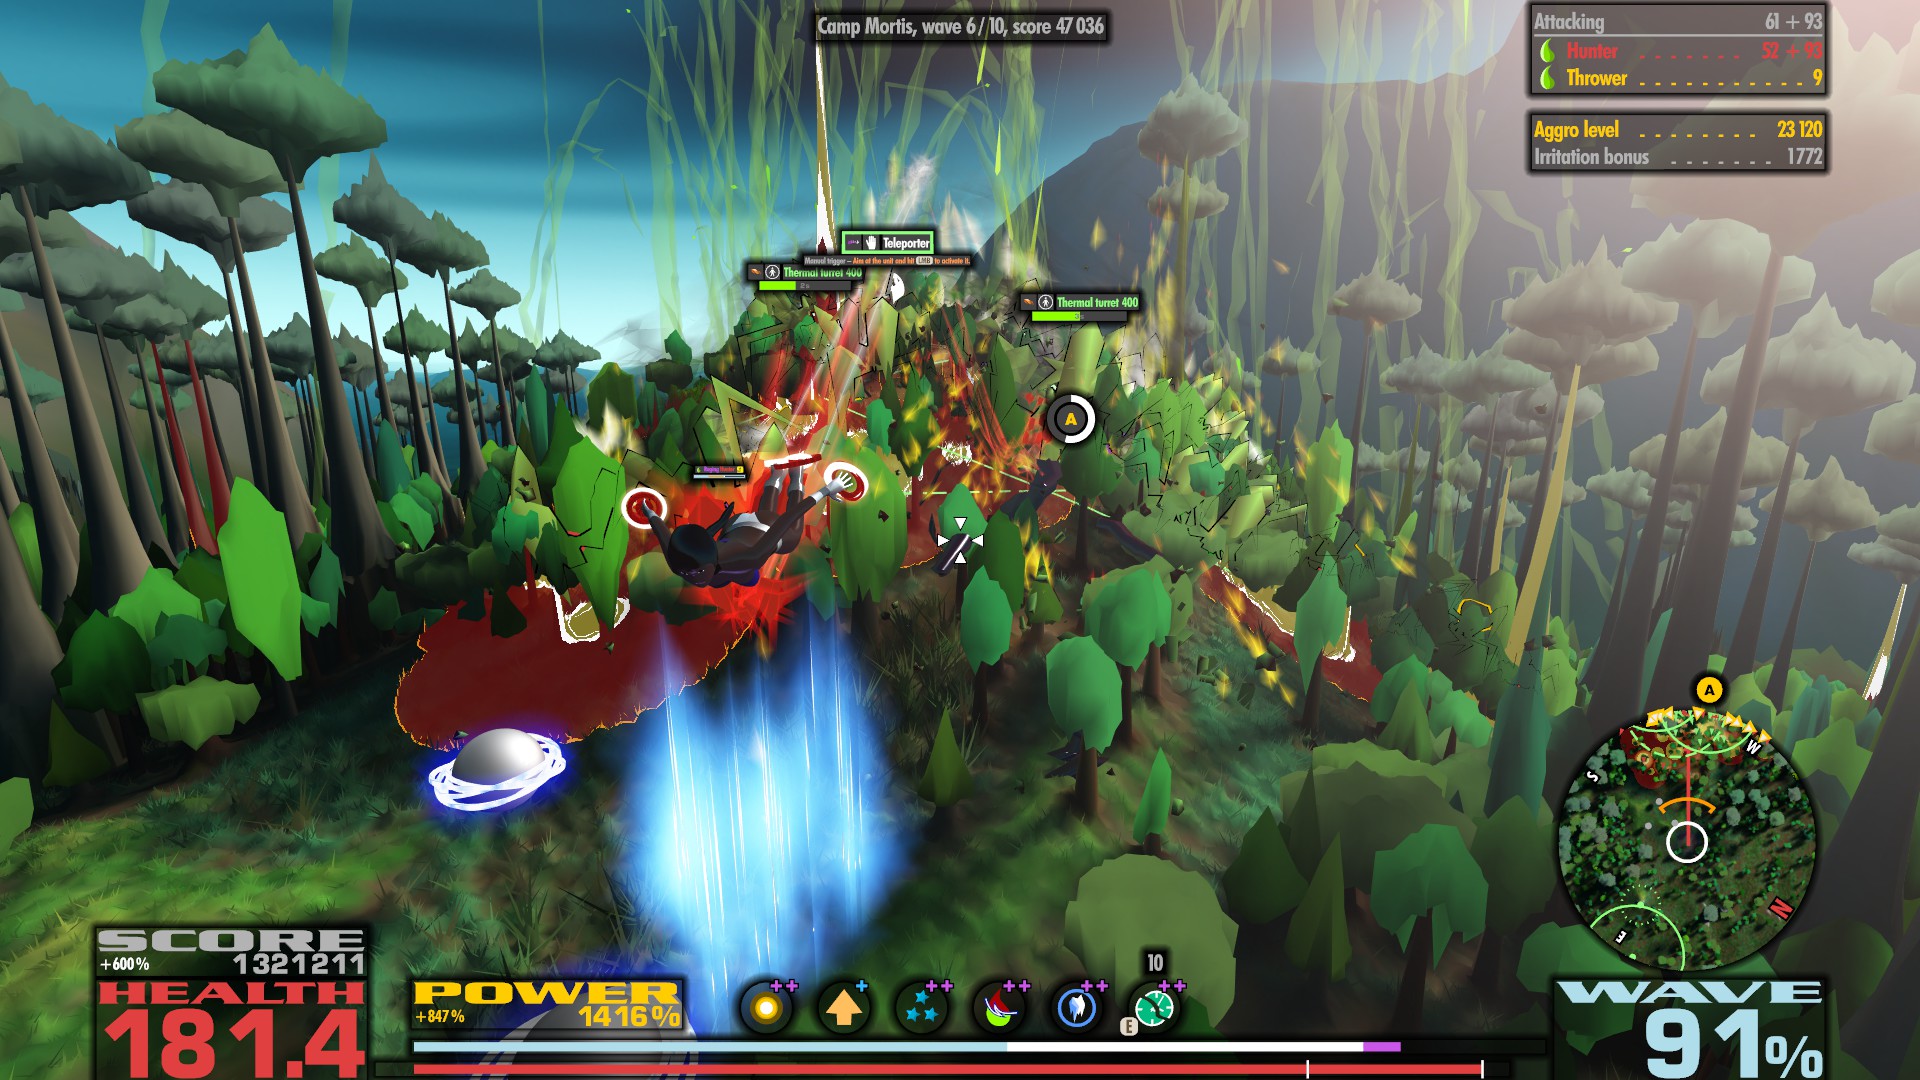
A small gorge runs through Camp Mortis. The terrain consists of both open spaces and dense forest, which enables different tactical approaches.
That is reflected in the defense. On the eastern edge there is a Frost Shock unit that fires every three seconds when you stay in it. If the situation becomes too dicey, you can say goodbye via a conveniently placed jump pad and end the party with a bang.
Then it's best to head for a hill at the west end. There you will find two overlapping thermal turrets and a teleporter, surrounded by thick undergrowth. This spot can be defended perfectly! Remember that the teleporter can be used offensively as it kills any enemy within range. However, if throwers approach, I definitely recommend retreating. There's just not enough room on the hill to dodge their attacks.

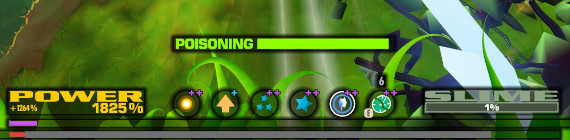
I've added an option that makes the game show poison puddles in purple. You can find it in the Game section of the options menu. Thank you to drcaustic for suggesting this feature!
Poison puddles darken over time to provide a visual representation for the poison getting weaker. I've tweaked the algorithm that does that to ensure that poison puddles never look like blood puddles.
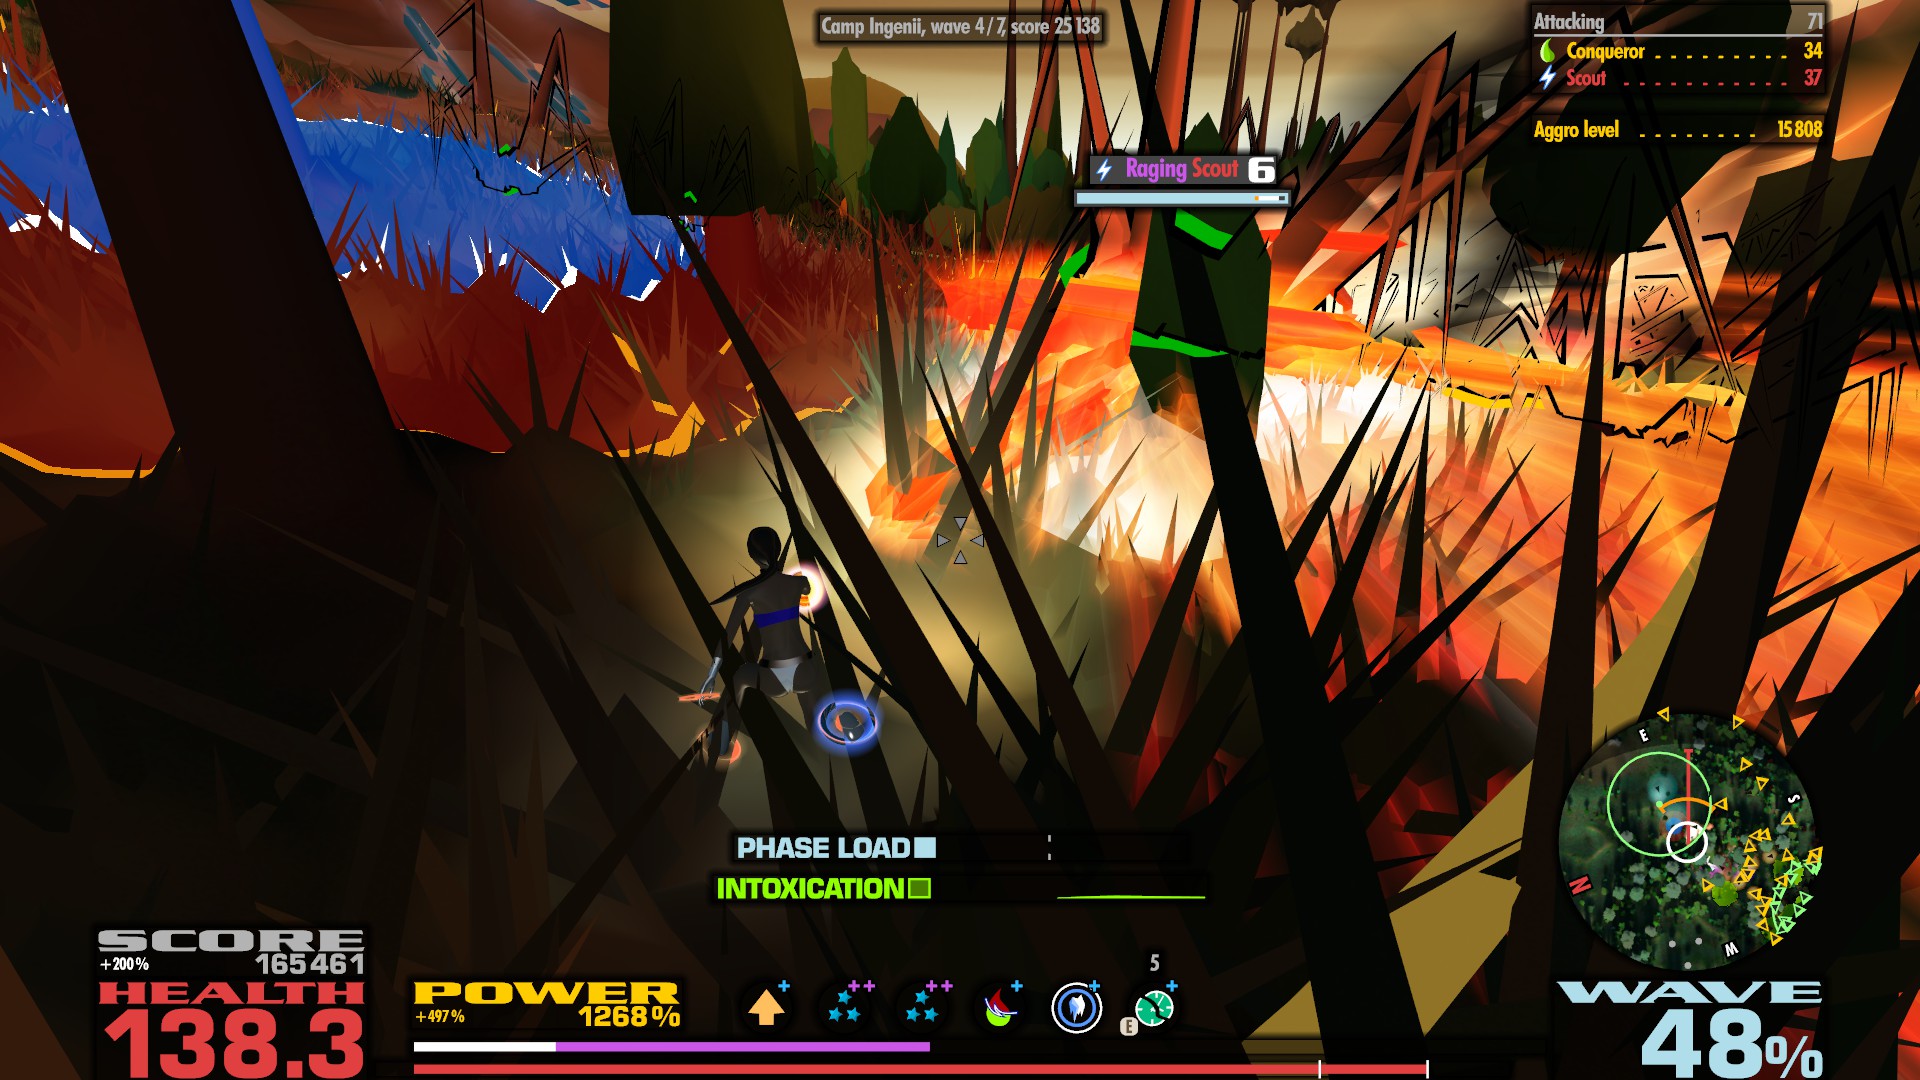
Watching some gameplay footage on YouTube made me realize that poison causing intoxication (slowing down movement) made the learning curve way too steep. When you're struggling with the controls, it doesn't take long for you to step into a poison puddle. The intoxication effect makes movement harder, so you'll inevitably end up in another poison puddle. It's a negative feedback loop and pretty much the worst first impression you can have in a game. I needed to fix this.
I decided to drastically change the way the game handles poison. I got rid of the intoxication effect completely and replaced it with a new system that causes temporary damage. There's a poison meter that shows how much of your health has been consumed. Additionally, your health bar indicates this amount in grey. Slowly but surely you'll get all of it back—unless you die, of course. When you suffer a staggering poison attack, you may need to carefully avoid any further damage for a while, but that's much easier now.
When you finish a wave, you'll get back the greyed out health instantly. Using a dialysis unit (where available) does the same. However, the nanocure skill no longer removes poisoning, since it made the skill way too OP with the new system. I've adjusted its icon and tooltip infos to refelect this change.
Also, to make it easier for players to figure out these mechanics, I've made the health bar show changes (losing or gaining health) in a much more obvious way.
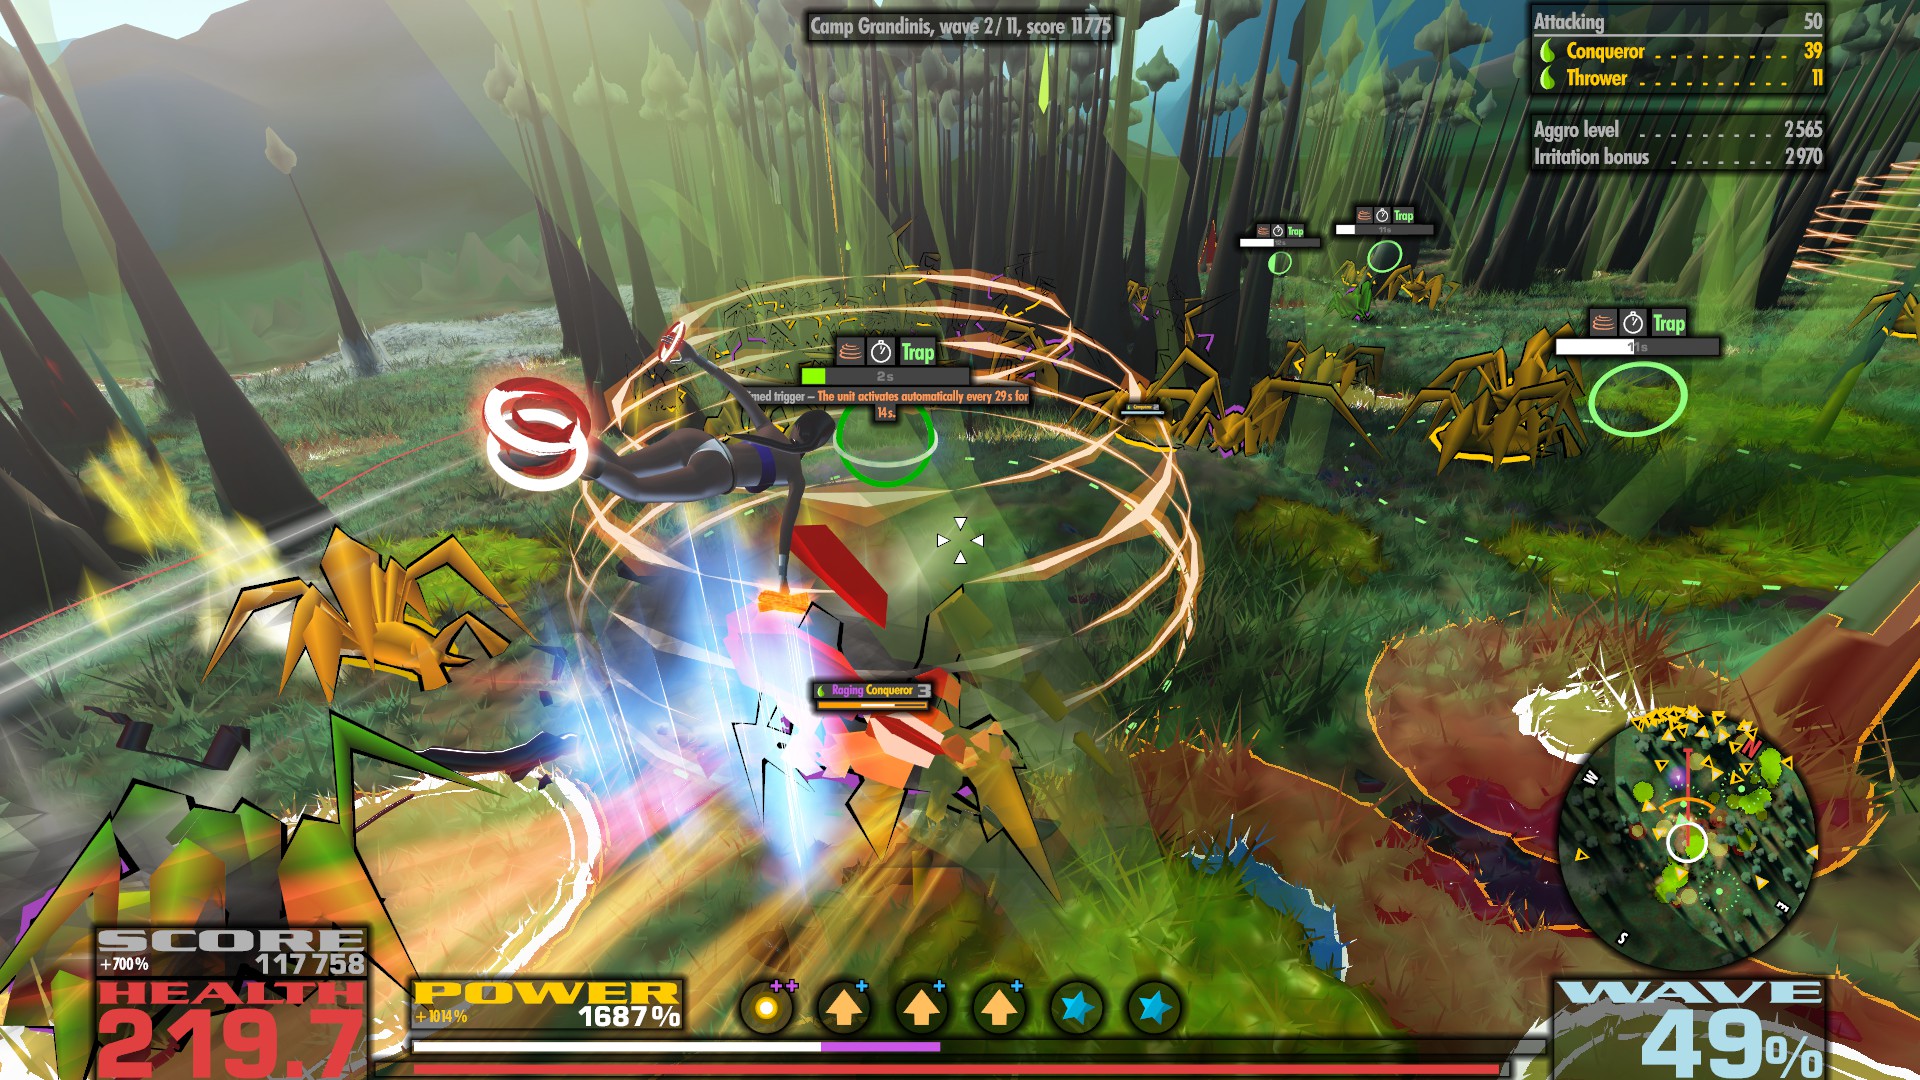
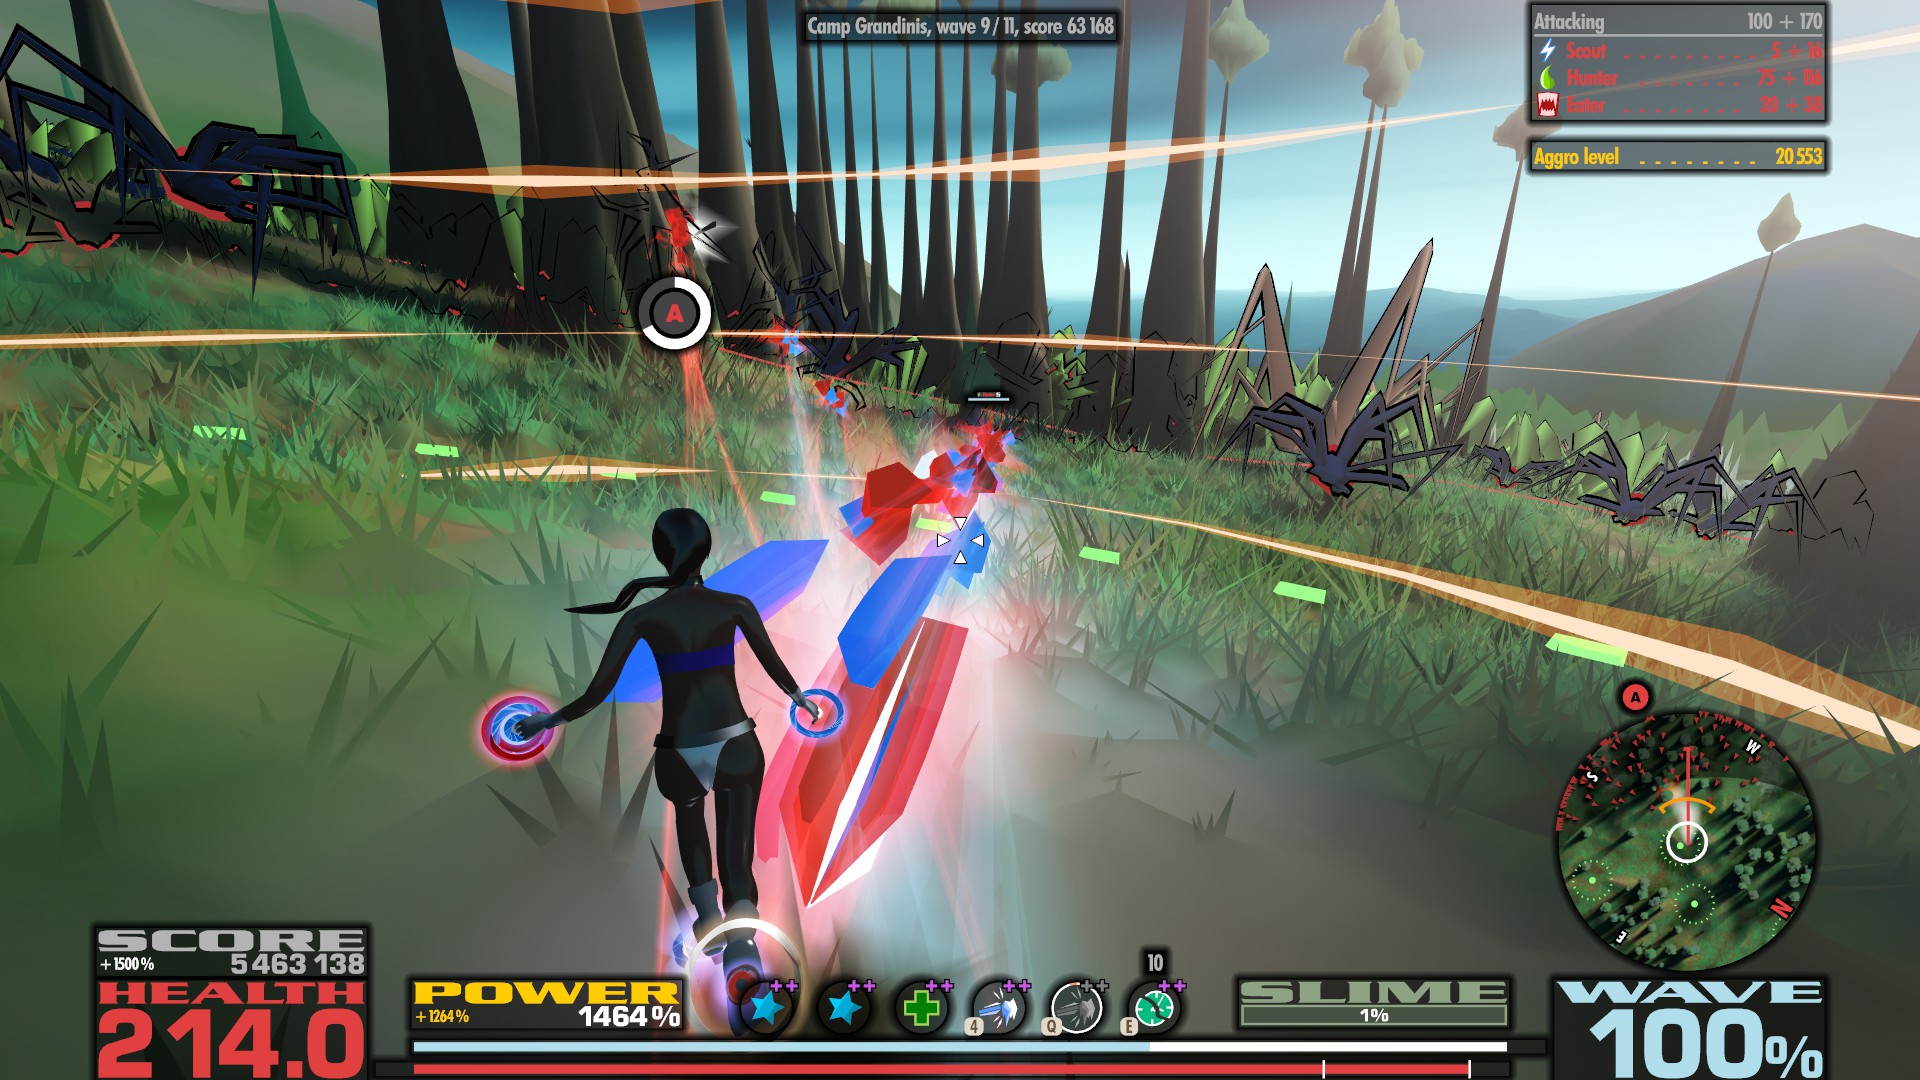
Camp Grandinis is surrounded by light Sequoia forest. The sparse vegetation causes hardly any problems in combat, yet is still dense enough to noticeably slow down the onslaught of spiders. I decided to focus entirely on this property and litter the area with traps.
They're triggered by timers based on prime numbers to ensure a chaotic activation pattern. The pattern is deterministic though and resets each time a new wave starts, so in theory you could learn it by heart. However, that's not how I recommend this camp to be played.
Rather, it's best to just go with the flow, taking advantage of opportunities wherever they emerge, constantly improvising plans and adjusting tactics. It's much easier and more fun that way.
Camp Iridum introduced a new mechanic: linked defense units. There're three frost shocks, all paired up with a jump pad. To trigger the frost shocks, you need to use the adjacent jump pad. Since the frost shocks have a cooldown of 20 seconds, the best tactic is to collect a couple of enemies in the frost shock area, then leave via the jump pad. This way, the blast from the pad hits the ice from the frost shock with devastating effect.
Also, the jump pads are conveniently placed such that, when you enter them from the frost shock, you'll be catapulted in the direction of another frost shock.


These were all the major updates I did in September. I'm quite happy with what I've achieved so far and am confident that I can maintain this pace in October.

