Weapons in 101 Ways To Die - Part 1
One of the key features of gameplay in 101 Ways To Die is the arsenal of weapons we give to players. We've already got a sizable number of these devious tools and weapons working in the game (too many to talk about in a single post). We're working on adding more weapons into the mix to make things even more interesting, so this is by no means a definitive list - just a little something to whet your appetites.
As the game is still in development, some of these weapons and mechanics may change between now and the release of the game (if we feel that there is room for improvement). We want this game to be the best it can possibly be - listening to your feedback and making adjustments where necessary is an important step towards achieving this goal, so let us know what you think.
The Inventory Wheel
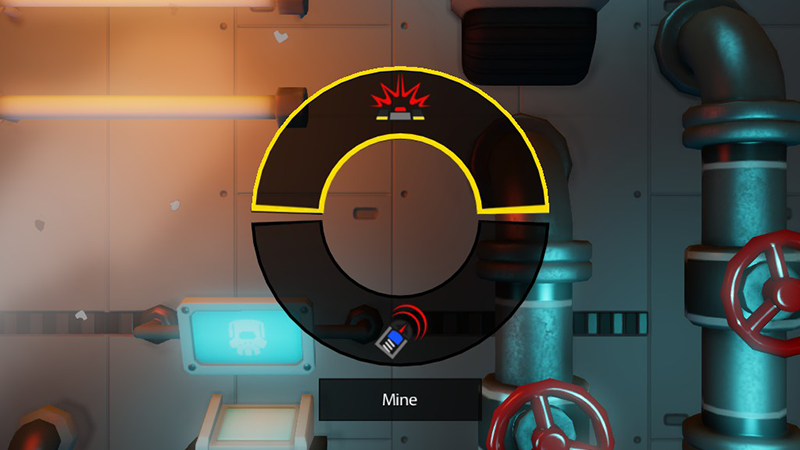
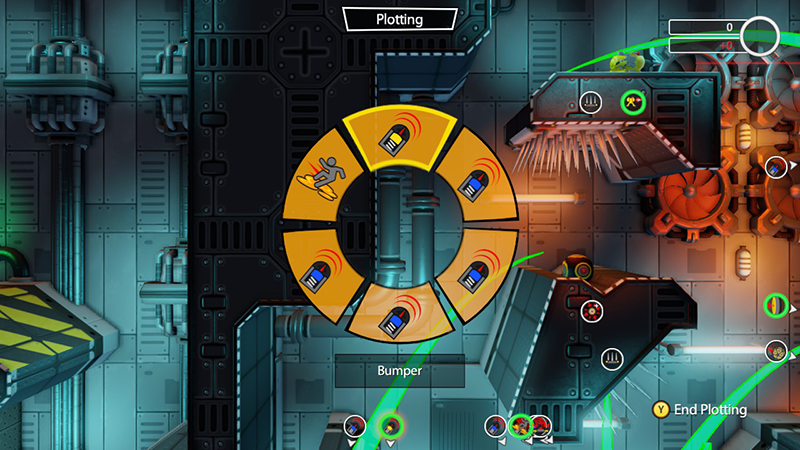
This is where you will find your arsenal of weapons, select a tool from the Inventory to place it in the environment and lay out your traps. You can also use the Inventory Wheel to manually trigger or detonate any weapons such as Bombs or Cannons which have manual fire abilities. A yellow highlight in the Inventory Wheel indicates that the tool has been placed in the level.
The Inventory Wheel can hold between 1 and 6 tools. We find that having more than 6 tools in the Inventory Wheel at a time makes things too crowded, and is also unnecessary since levels can contain any number of pre-placed tools. This means that it is still possible to combine long chains of tools and weapons to create the most elaborate and spectacular deaths, even when limiting the player to 6 place-able tools per level.
Bomb
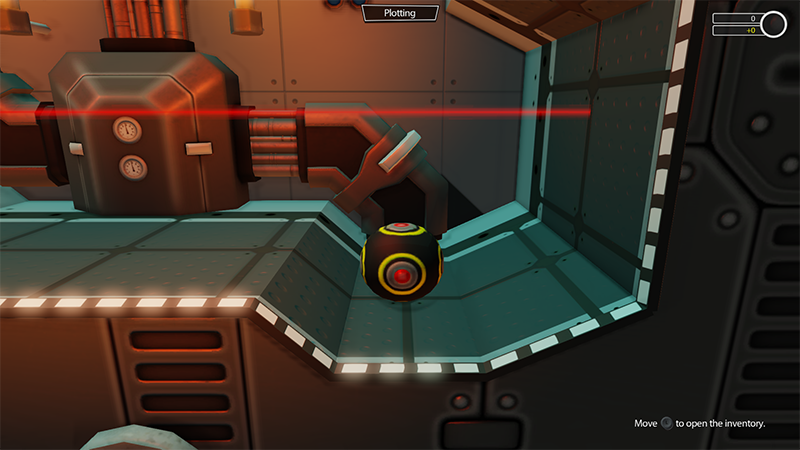
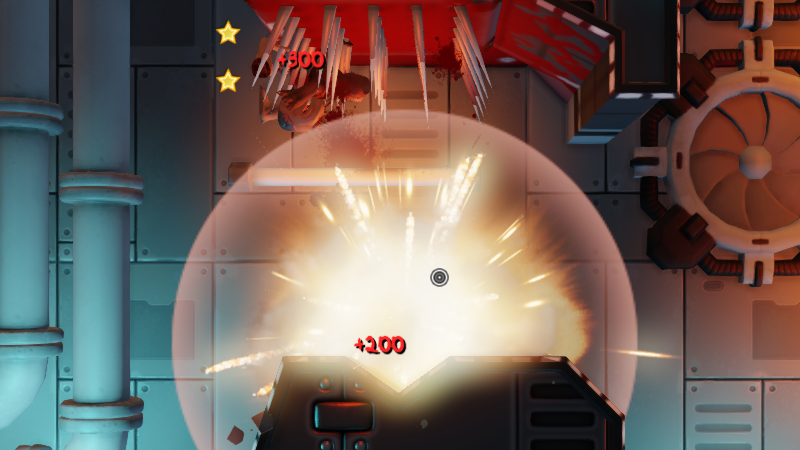
The Bomb does exactly what you would expect it to do - explode! It will automatically detonate when it comes into contact with Fodder, props, or other tools. It can also be manually detonated to explode at exactly the right moment to cause maximum destruction.
To enable weapon combos to work, a single Bomb explosion by itself will not deal enough damage to kill a Fodder. Therefore Bombs must be used in combination with other tools, creating more elaborate Ways To Die. Bombs will roll in the direction of gravity unless placed on a flat surface. This can work to your advantage, strategies involving rolling Bombs down slopes may be useful in some levels, however this can also work against you if you aren't careful!
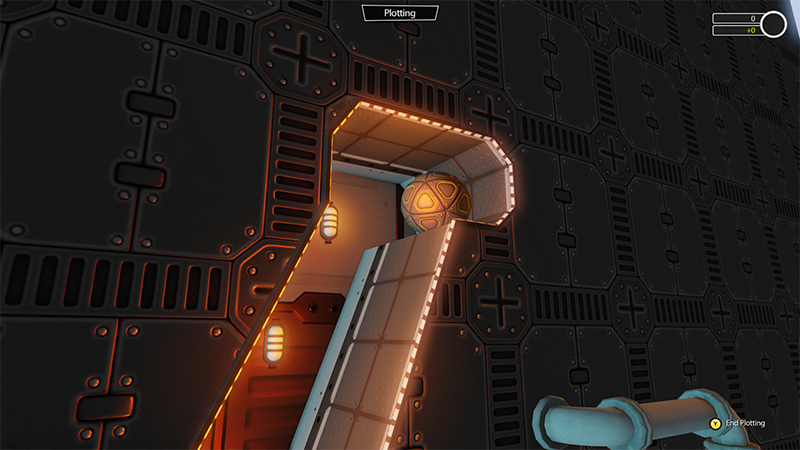
Boulder
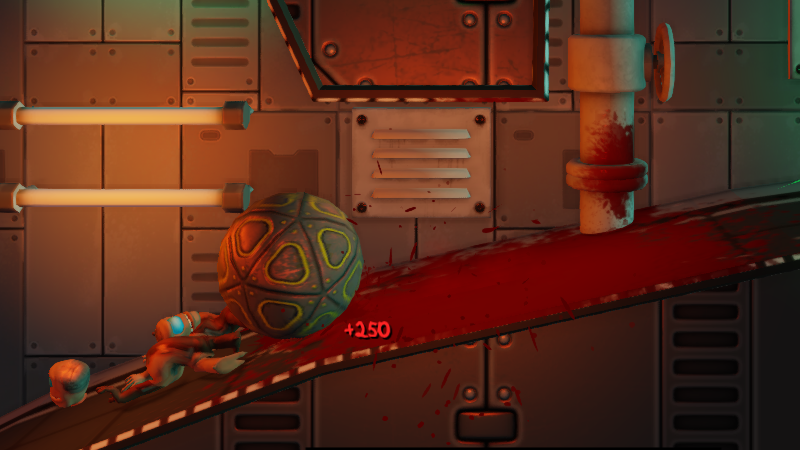
When initially placed in the environment, Boulders are not affected by gravity due to an ‘anti-gravity field'. This allows you to place Boulders on ceilings and walls, manually triggering them to fall at an opportunistic moment. Once set in motion the Boulder will crush any Fodder in its path, leaving a puddle of blood and Fodder gore in its wake.
When rolling down a slope or falling from a higher platform, Boulders will gain momentum the same way you would expect with real-world objects, so placing them high up in a level can make them particularly deadly - and even more fun to watch.
Spikes
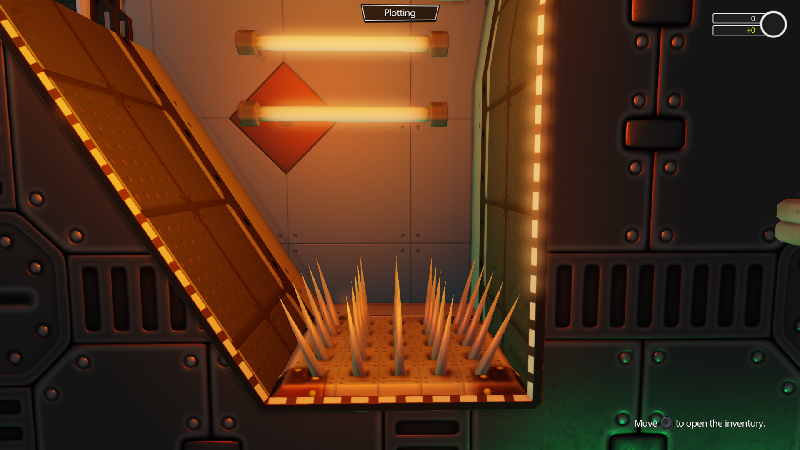
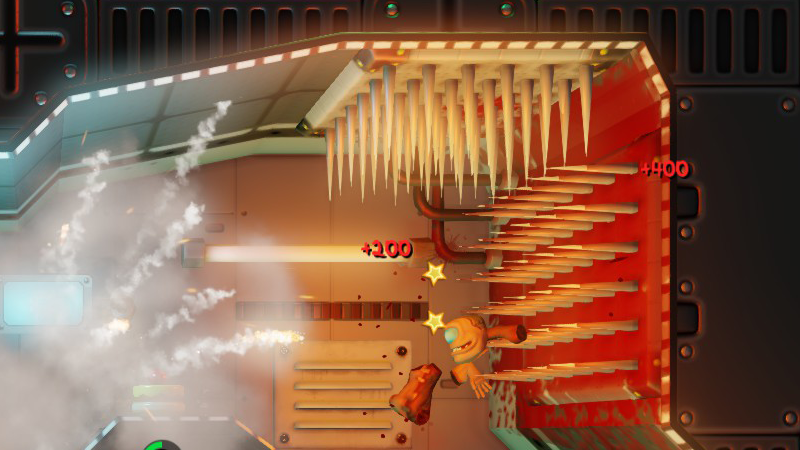
Spikes are sharp, pointy and lethal. When Fodder are pushed, thrown or impaled upon these cold, metal teeth it is game over for them. You won't find spikes in your Inventory Wheel, instead these jaws of destruction can be found scattered across the laboratory in many levels.
As one of the few tools which deal 100% damage, Spikes can only be the final stage of any combo or recipe. Any weapons or tools used on a Fodder after they touch the Spikes will not count towards a combo or Recipe, as the Fodder is already dead.
As this post is getting quite long, I'll save the descriptions of the rest of our weapons and tools for another day - so stay tuned for Part 2!
If you'd like to find out more about 101 Ways To Die's weapons and tools we have a number of screenshots and animated GIFs showing them in action on our website and social media:
- 101waystodiegame.com
- @101waystodie
- facebook.com/101waystodie
