We're so very close to finishing Mandagon - From a visual stand point the game is nearly all there, Audio and sound fx are well under way. The majority of remaining work lies in the hands of our programmer. So lots of back end work, balancing how obscure/mysterious we can be with exploration and story prompts before the game becomes unplayable!
So while programmers program, artists will art -
We've been toying with the idea of releasing an art book and sound track as DLC for a couple of £$£'s while still keeping Mandagon a free game. What do you reckon?
________________________________________________________
In the meantime I thought it might be fun to break down my level design process -
Apologies if any of this is rudimentary to any of you. I was pretty new to this when I started on Mandagon, so I thought I'd share what I was able to learn along the way!
So it goes without saying Mandagon is built mainly from tile based pixel art. Very early on I was playing around to figure out what resolution to work in - After a lot of mucking about I settled on 32 X 32px for my tile size. I personally found it to be a good balance between detail and representation (if that makes sense?).
Pyxel Edit Was my work horse at this stage, and still is. Can't recommend it more strongly, it's still in its beta stages right now so it has its little quirks here and there, but it has served me well throughout!
Next step was actually figuring out how to build levels from tiles - Mandagon is like the second or third game I've worked on, and I'd never worked with tiles before, so every day's a school day!
My googling brought me to a little program simply and aptly named Tiled Map Editor.
So I had my first tiles and my tiled map editor, well equipped to begin mucking about! I was also teaching myself a bit of C# at the time, so with my 32px scale locked in I was able to play around with the relationship between level size and player movement speed - I had one test with a smaller map and slower movement speed, another with a massive map and a speedy player.
Once this became a full project for me and the rest of us, we had a bit of an internal discussion and landed somewhere in the middle, not too fast, not too slow, not too big, not too small.
I then began to build the level you can see in our Greenlight trailer
After a modest but mostly positive reception on the Greenlights we were keen to deliver. Discussions led us to add new ways to traverse level and bump up the exploration side of things. So to compliment this I decided to scrap our original level and rebuild from scratch at double the size - que countless sleepless nights.
All that left me with a map that needed to be 187 tiles by 248. Throughout all this I realised classic pen and paper wasn't gunna be much use to me and my work process - I wanted a way for my layout sketches to feed directly into the final build. Also working at full scale in Tiled was just too daunting. So here's what I did -
I already knew the exact size of my map, that was locked in. So I just made a Pyxel Edit canvas that was set so one pixel equaled one tile, 187px by 248px. I had a colour pallet to represent my main tile sets. This gave me freedom to sketch chunks of the level as I would on paper and then zoom in to work on specific sections with more focus. 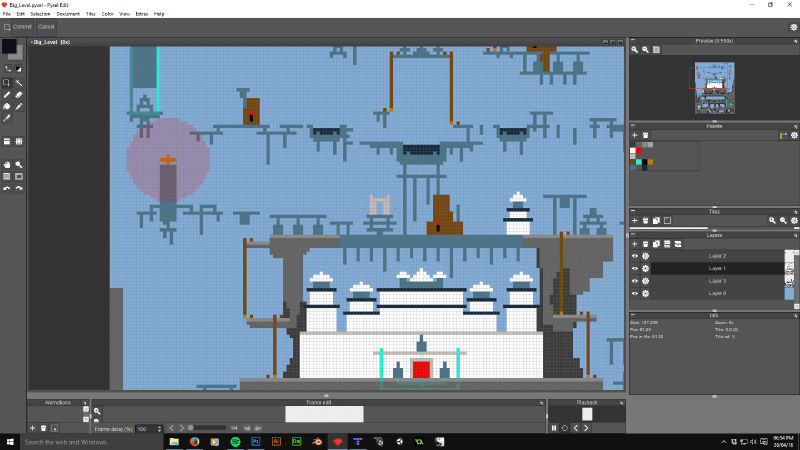
Then zoom back out, paint in joining sections and larger chunks. Zero back and fourth between sketchbook and computer. And then, knowing the players max jump height/distance, I could run my cursor through the map to see if there were any dead ends or sticking points.
Once I was as happy as could be with the layout, I saved myself a PNG, brought it into Photoshop, then, since my final tiles are 32 by 32, I just multiplied the resolution by 32 to get my full sized map.
I could just drop this full sized image into Tiled as a base and start layering up the final tiles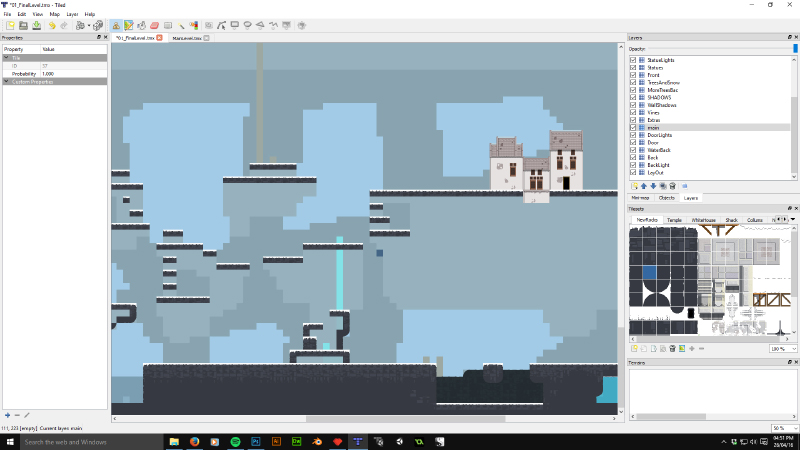
Once I'd got the basics in I could test the level for real and iron out a few creases 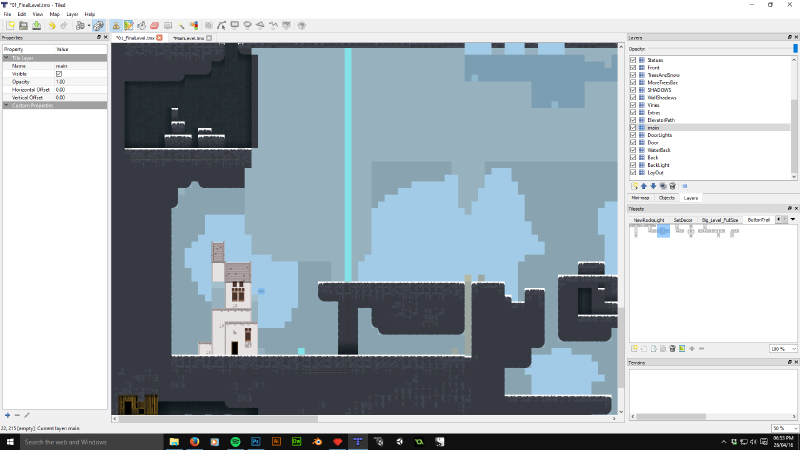
And finally, after a bit of back and fourth between building and testing I felt safe enough to start getting my detail and polish in.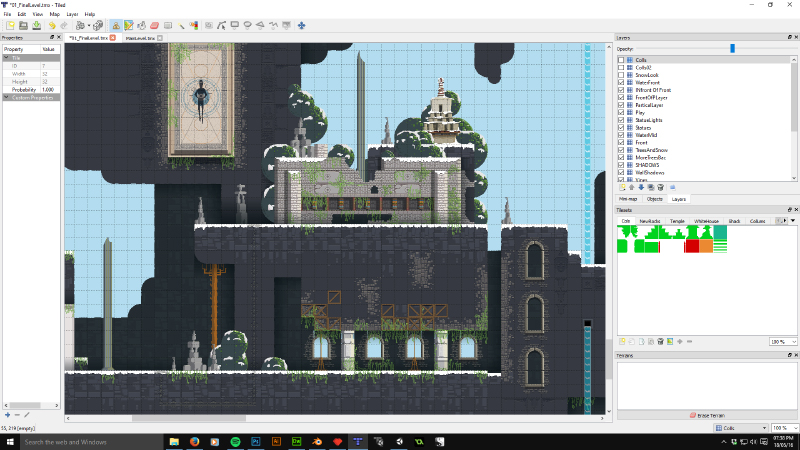
This is the stage I'm at now, adding new tile sets when needed, and still optimizing sections of the level as I go. Although it's mostly the aesthetics that I'm working on now.
So Mandagon is only a matter of weeks away now and it's mostly polish and shine left to do. We're super excited to get it out and see what ya'll think of it!


I'm hard now.