Concept art is (rightly) very popular as it lets the artists really express themselves while helping to give the game designers/developers a good direction to work.
But what is regularly overlooked is just how a concept art starts out - so join us on this unique journey as we look at how our artist Fyodor Buldakov spent two weeks of his time!
Scene 1 - A Strange Beginning
Look at the scene above and the first thing that you’ll probably say is “hang on a minute, that’s not concept art” and you’d be right! However, this is the foundation of the final art piece..
We started out by creating the scene as a blockout in Blender. If you’re not sure what a blockout is, it’s very simple to understand. You take basic models that tend to be low-poly and ‘blocky’ (hence the name) and create a scene with just that. This is used for very early testing and is regularly the foundation of games - and in our case - the concept art as well!
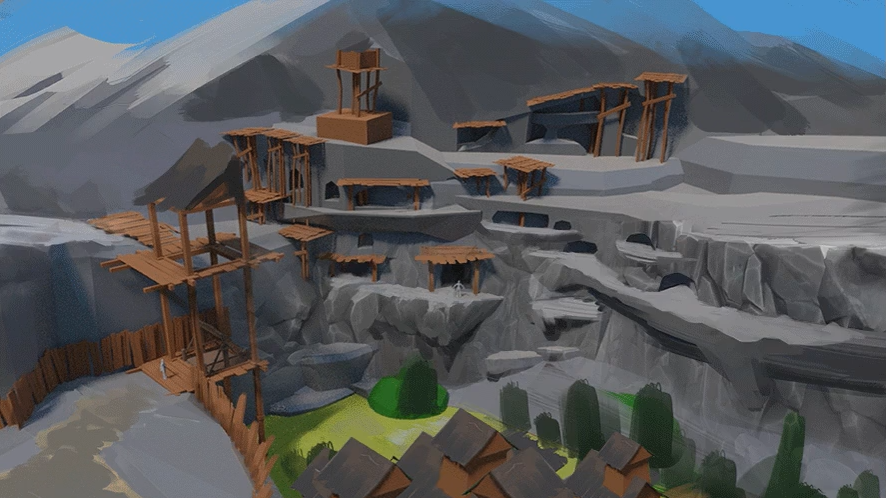
Scene 2 - The Artist Begins
If you didn’t believe us that the Blender render formed the foundation of the concept art, you’ll probably start now! Jumping forward a bit, you can see that our artist has already put pen to digital paper and has begun drawing over the rendered scene.
At this stage, the drawing is still quite simple and he focused on highlighting the important parts of the scene - the quarry - in preparation for the later stages.
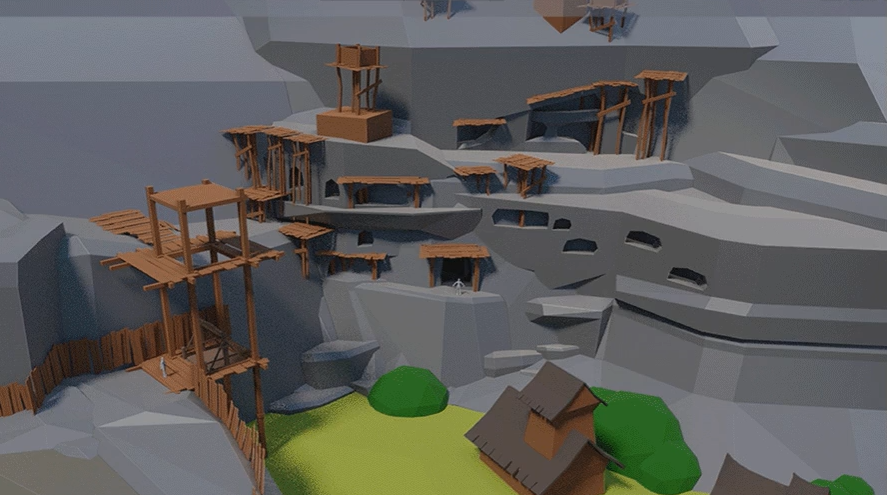
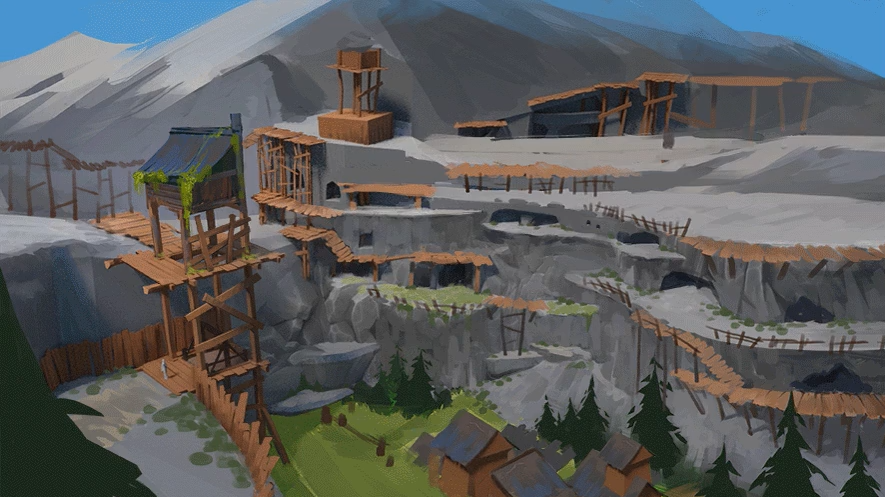
Scene 3 - Atmosphere and Environment
Bring on the detail! From here on, you can really see how the scene is transforming. This stage is an excellent mid-way point as you can already see the connection to the completed piece, and still see the render foundations.
Of all the work here, the most important parts were the addition of the sky and the start of the shadow effects in the lowland regions. Together they gave the scene a much better depth perspective.
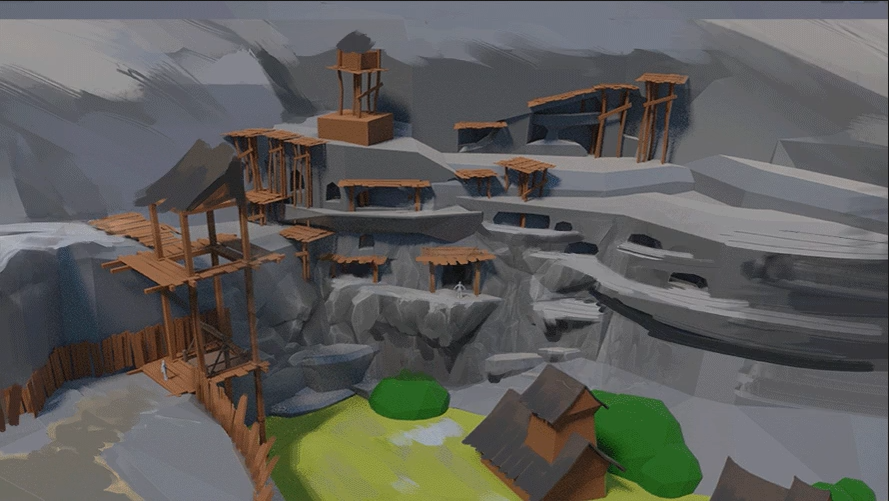
Scene 4 - Populating the Quarry
Now the scene looks more like concept art and not a render (though there are still some hints of it here). The build up to this stage involved experimenting with the positioning of the buildings, wooden walkways, and the trees, though elements were still being removed or added in. One such example is the tree on the bottom left of the image.
With the locations of each element made to work, the artist went on to the hardest part, putting it all together. Remember that up to now, most of this was trial and error (based on experience) to get the elements, sizes, and positions right.
And here is the final result!
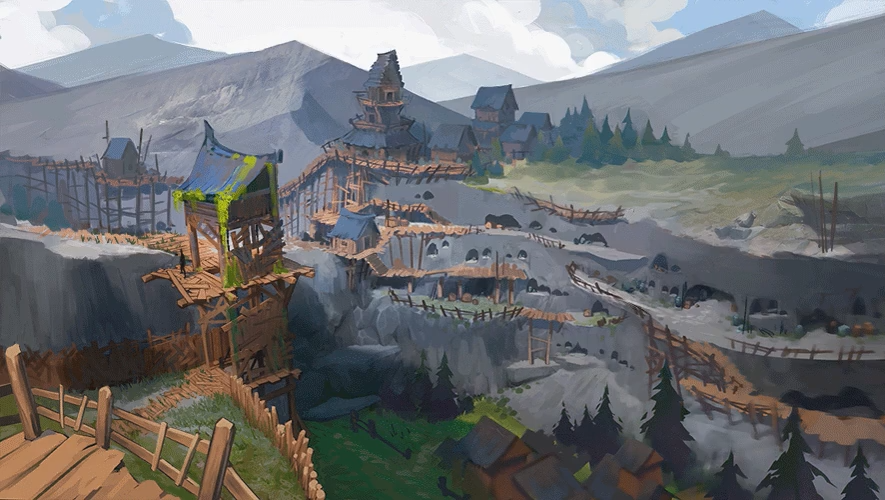
You can easily see that this is a direct evolution of the previous scene - but it’s come a long way since the very first rendered scene.
We’ll end this with a question, honestly speaking, would you think that the final image was based on a render or not? If so, what gives it away?
—
Do you like what you see?
Be sure to visit our website and follow us on Twitter, Facebook, Discord and Steam!