.: Intro :.
In this tutorial I'm going to show you how to create an ambient occlusion map and a normal map from a height map by just using photoshop and a simple plugin. No 3rd party software is needed!
Most often you want to bake (render) your AO and normal from a highpoly model, but sometimes there is no need for making a highpoly version in the first place. For example, when working with small models and/or models that will be far away from the camera (player). But even if you are not working on these kind of models, there will still be situations where you can find this info useful.For example: You've already baked your normal and AO maps from your highpoly. And later on you want to add more detail to it. Then, instead of just modelling these details and do a new normal and AO -bake (which will take time) you create a heightmap instead - which you then in turn use to create a normal and AO map inside Photoshop. It's almost always smarter to "heightmap" minor details rather than model and bake them. Cracks, chinks (narrow openings), small holes, text on a weapon, scratches on metal, etc - heightmaps are good for many things.
.: Needed :.
In order to create normal maps inside of Photoshop, you first need to download the nVidia normal map -plugin. Don't worry if you have an ATI Radeon card - this plugin isn't nVidia-specific as the name suggests. The plugin can be downloaded here:
Developer.nvidia.com
After you've installed the plugin, launch Photoshop.
.: The heightmap :.
I'm going to create a simple heightmap for this tutorial. You can chose to do the same, or to use one HM you've made before. If you are going with the latter option though you should adjust your HM so that the level color is 127 127 127 or 128 128 128 (neutral grey).
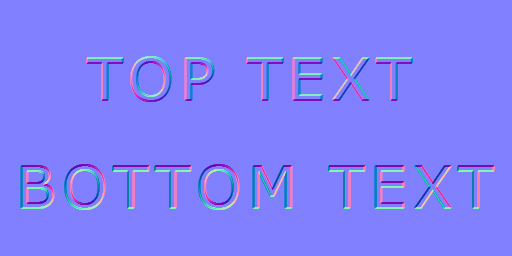
This is what my HM looks like:
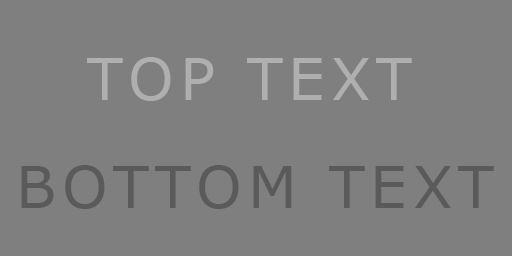
I started out with a neutral grey background (127 127 127) - image size 512x256 px - and then I used the text tool to write my text. The top text has the color 175 175 175, and the bottom text has the color 90 90 90. I've merged all layers into one (flatten image in the layer window, or select all and press Ctrl+E). Once this is done I'm going to duplicate this merged layer. I'm calling one of the layers "AO map" and the other one "normal map".
.: The AO map :.
Select the AO map layer and go to Filter -> Other -> High Pass...
Set the range quite low - I used a radius of 3 pixels in my example. What you want to look for is a small shadow outside the light colors (top text) and a small shadow inside the dark colors (bottom text). If you set this value too high, these shadows are blurred out - which is BAD. If this value is set too low, your shadows will be too small.
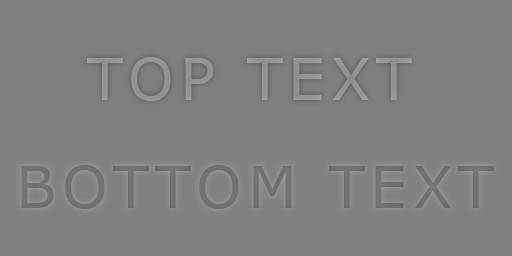
Next up I'll create a LEVELS adjustment layer on top of the AO map layer. Now drag down the input levels from 0 1 255 to 0 1 128. You will immediatly see that the previously grey background turns white - which is the neutral color on an AO. The shadows you created from the high pass filter will also appear. Now most of the time this is the only adjustment you need to do, but when working with smaller details you might want to adjust the middle pointer on your adjustment layer. If you drag it a little bit to the right you will see that the shadow will stand out a lot more. In this example, my input levels are 0 0,5 128. The result can be seen below:
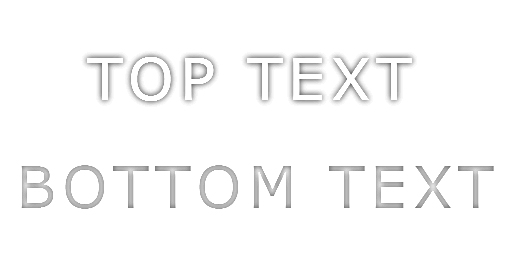
If you want your grey shades to be a bit darker, add a "Selective color" adjustment layer on top of the Levels layer. Under "Colors" you select "Neutrals" in the drop-down menu. Then drag up the "Black" meter a little. I increased it by 20%. Now when done, select all three layers and merge them together (or even better, group them together with Ctrl+G). Your ambient occlusion map is now ready to be used. Save it to a separate file or add it to your Diffuse map by placing the layer (or group) as the top layer on your Diffuse, and then change the blend mode to "Multiply".
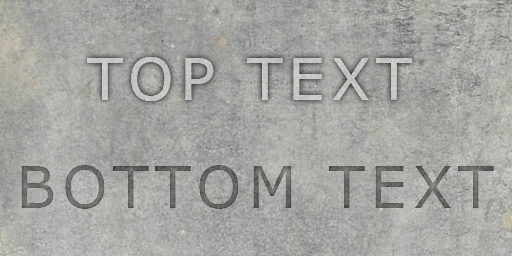
Here my layer order is as follows:
Diffuse texture (bottom)
Heightmap (middle) - blend mode "Overlay"
AO map (top) - blend mode "Multiply"
.: The normal map :.
As for the normal map, you just select your height map layer and go to Filter -> NVIDIA Tools -> NormalMapFilter...
These are my settings:
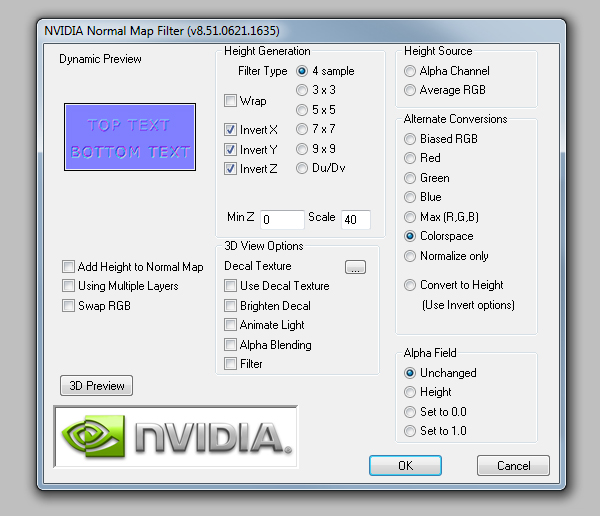
The scale value affects how "strong" your normal map will be. I suggest that you duplicate your heightmap several times over and try different scale values inside the plugin. If you are creating a normal map for UDK, you want to invert the Green channel - so uncheck the "Invert Y" checkbox and you are ready to go. Note that these checkboxes are a bit backwards. In order to get a convex (extruded towards you) normal surface, all boxes has to be checked - so leave them all on by default and only uncheck the "Invert Y" one if you make a normal map for UDK.
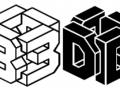
Also, height source: Average RGB or Color space, yields the same results. Here's my end result:
In my next tutorial, I'm going to show you how to merge together two or more normal maps inside of Photoshop - the proper way, channel by channel color addition and subtraction.
If you like this tutorial, then don't forget to track me so you don't miss any of my future tutorials.

Very good, thank you! :]
Nice alternative instead of Crazy Bump ;)
Crazybump is still nice - but this is faster if you make it into actions :)
True! thanks bro
Just try it out, the result looks very neat, I'll see how does it goes with unwrapped models.
Hell to the motha fuc....yes this is good.
I was achieving similar results but in a very inefficient manner which, in hindsight, was pretty stupid. Good, clear tutorial - thanks ;)
This comment is currently awaiting admin approval, join now to view.