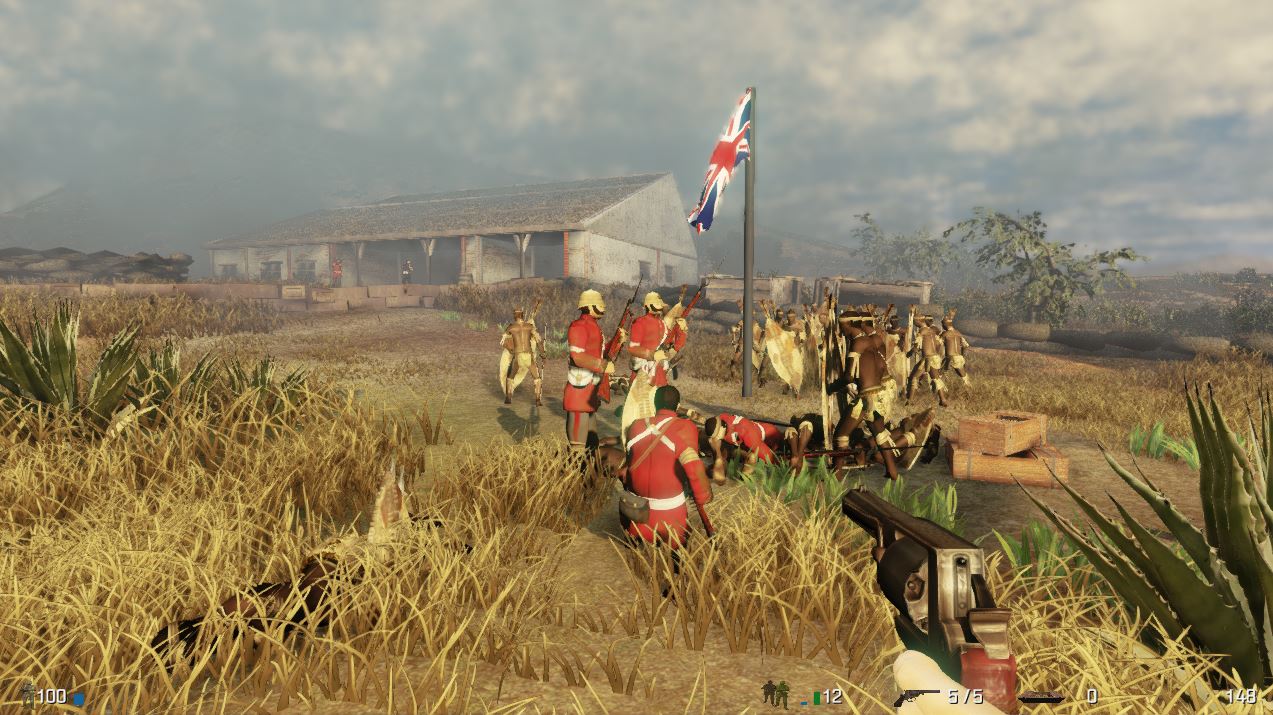
British Player Defends Flag
In our previous video we saw from a Zulu perspective as the Zulu attack and capture the South Wall at Rorkes Drift.
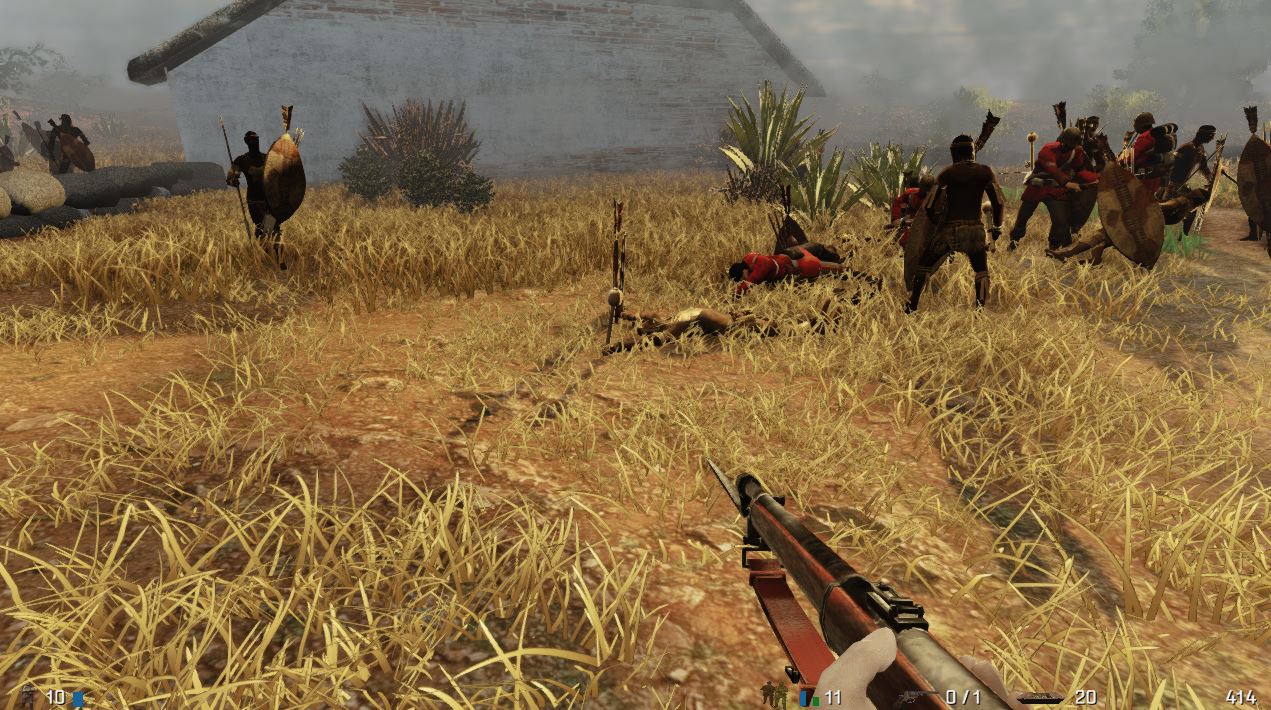
In today's video it's from the British perspective where we see in multiplayer the British player being attacked by a Zulu Impi and a Zulu player's squad as he tries to stop the Zulu from capturing the flag at Rorkes Drift.
Tiredness
The in game video shows the British player and his squad losing their fighting effectiveness as their tiredness levels rise. The British AI lose effectiveness as they fight either by being wounded or through constant action. The commanding player can withdraw those soldiers to get water or see the doctor.
Tiredness is one of a number of adjustable settings you can make at game startup.
AI
Both British and Zulu players command a squad of AI. They can be ordered individually, in smaller squads or as a whole.
British Option to Command AI
In the video the British player switches his AI between attacking independently and firing on his command. Each setting has their pros and cons depending on the state of the battle and proximity of the Zulu.
When the British form a line (standing and crouched) the player can assign a target area and command them to fire on his command (simulates a real world defensive tactic used by the British).
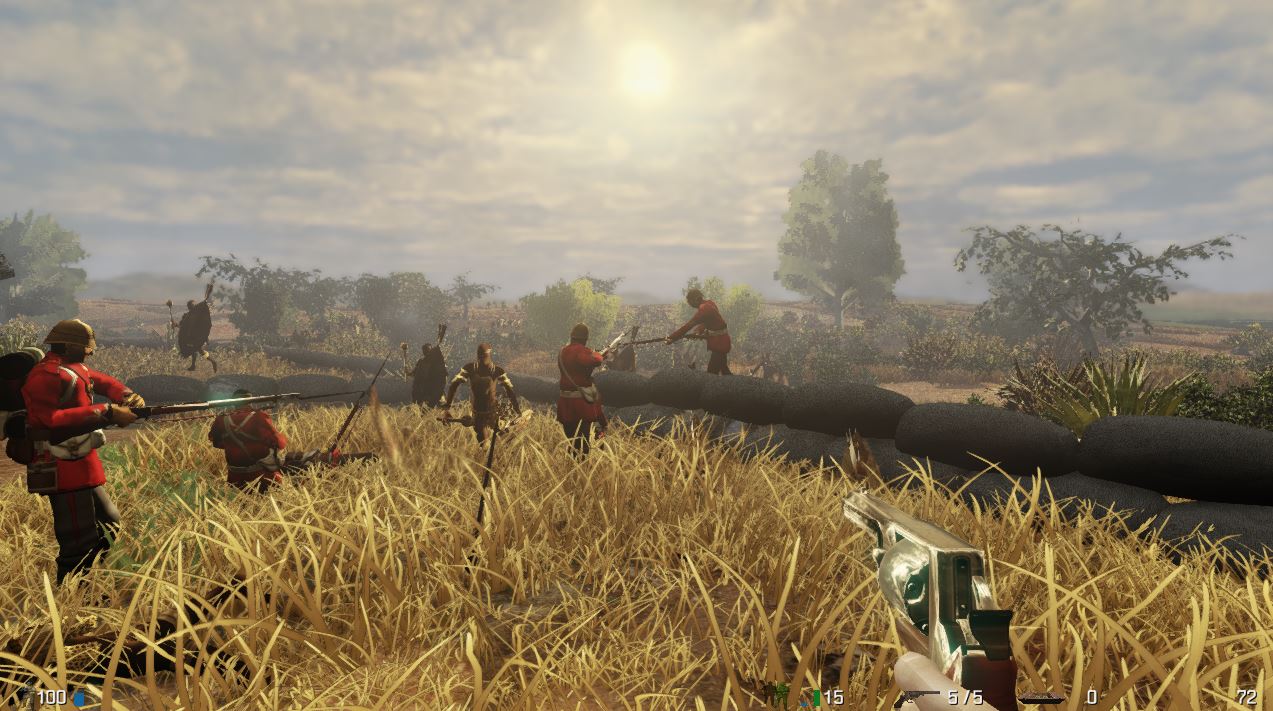
In game footage from Rorkes Drift:
Some stills from the battle:

love it. Though it doesn't show off very much, one can see a great deal of potential here. keep it up! :)