ccbytes
joined
Business owner, developer, game dev hobbyist
My Blogs (0 - 10 of 24)
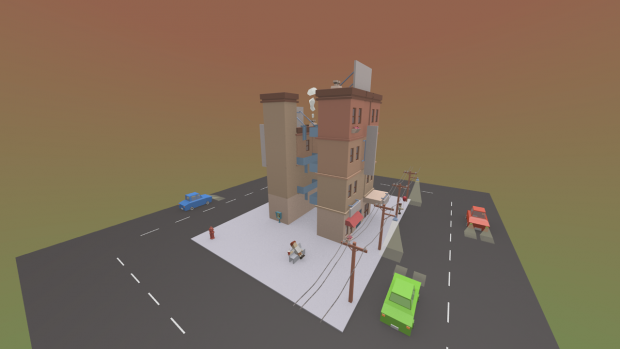
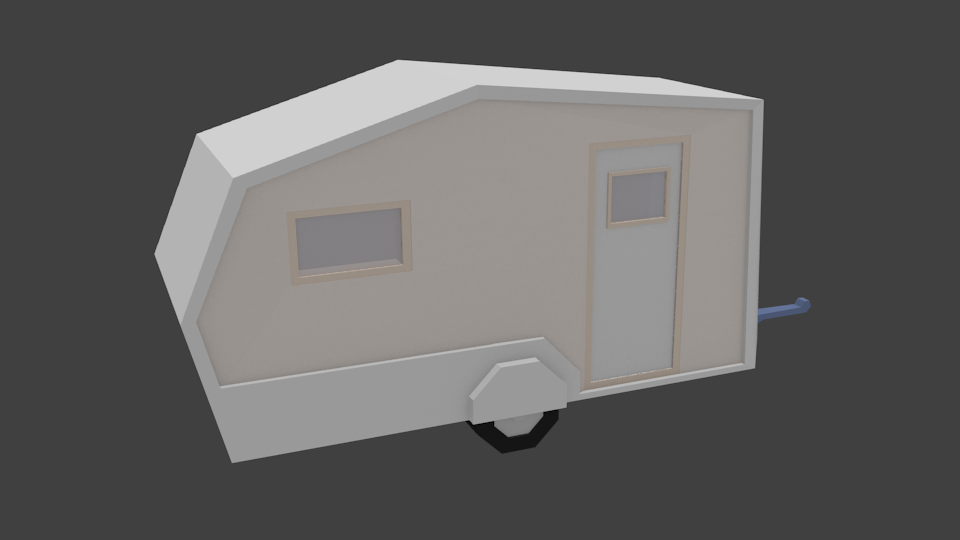
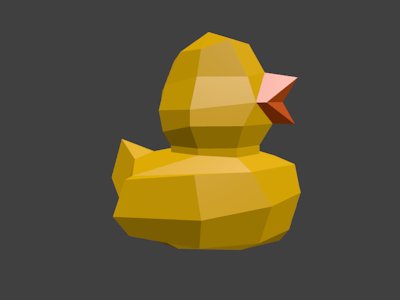
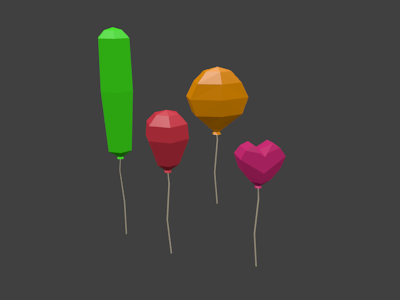
Below are some low poly models I've been working on.
Thing's are slowly coming together.
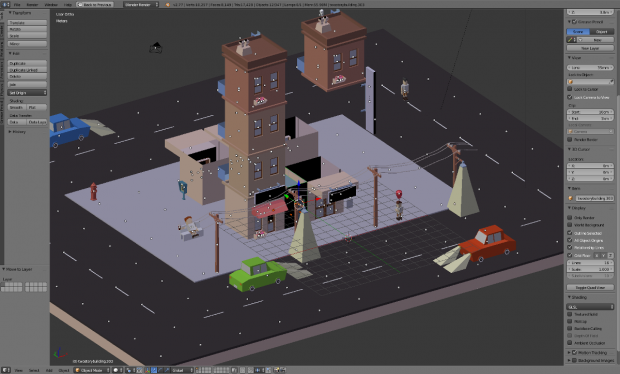
And now its time for a much less glamorous example of my work in progress.
Here's what it looks like when I'm making adjustments to the scene.
Toda'y I've been working on;
- making sure all the assets join together seamlessly.
- grouping objects into useful groups so it's easier to select and manipulate them.
- amending the scene so a player character can navigate it.
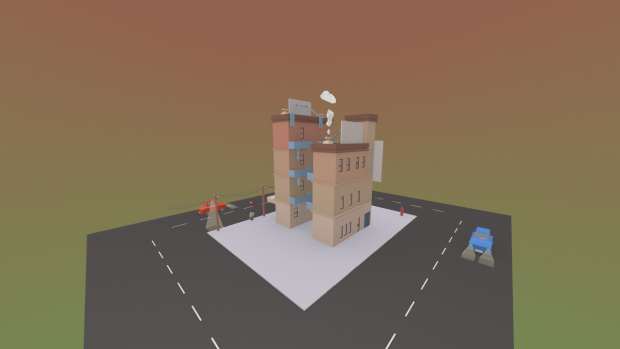
Finally parts are piced back together
You can download the blender assets here Github.com
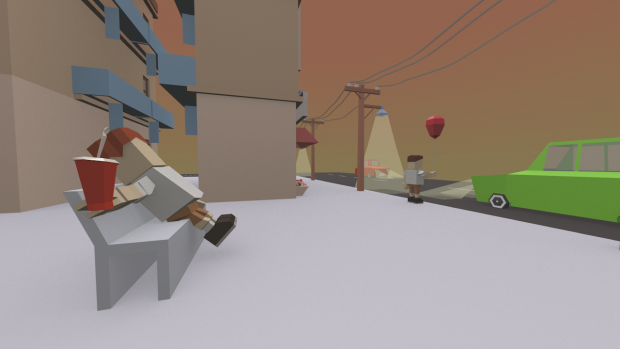
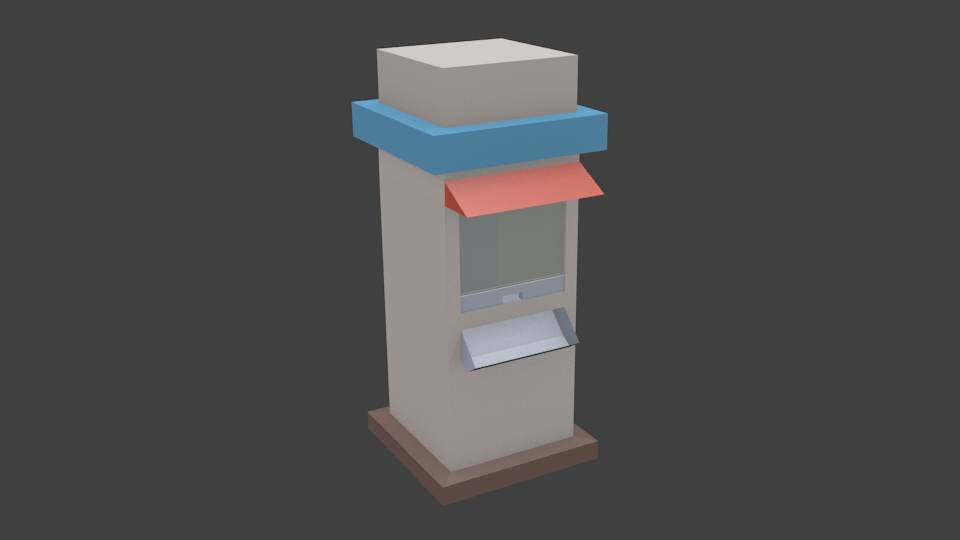
Having a go at building a kit for street scenes.
Buildings are broken down into interchangeable components such as;
- building fascia
- door frame
- window frame types
- signage
- footpath
- gutter
- road

When pieced together, it looks something like this.

2016/06/11 update
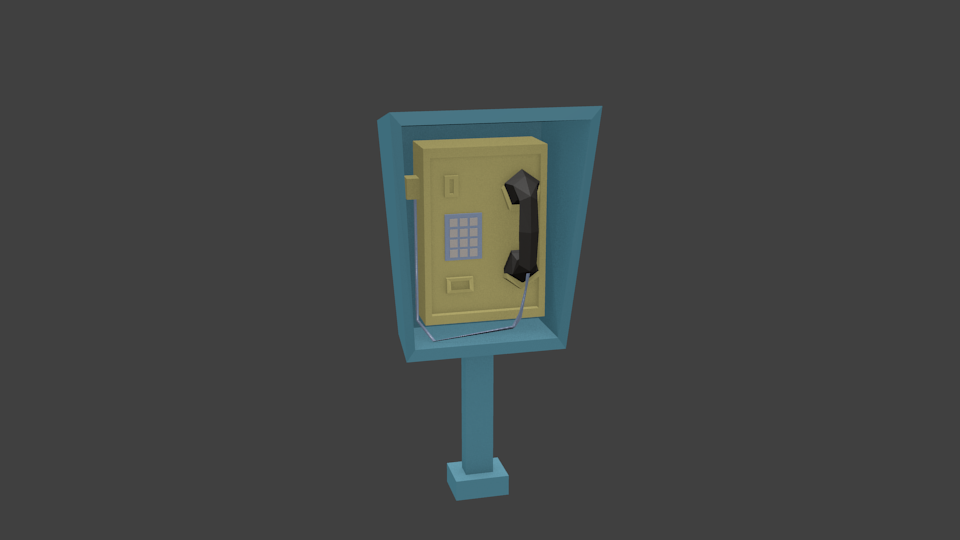
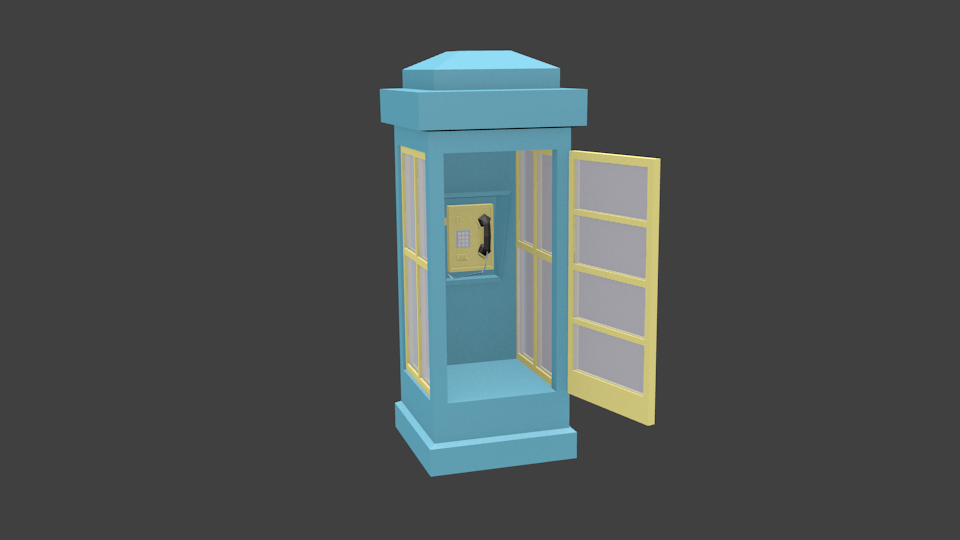
Added a handful of new models
A big thank you to everyone who has contribute to the mountains of tutorials and other learning materials online, they have been a great help.
In a small effort to pay it forward, here is a handful of Blender Game Engine assets I've made and am putting into the public domain to use as you see fit. Enjoy.
Download: Github.com
Not sure how to use GitHub? Read this guide
![]()
Sample


If you have any queries or questions or want to contribute, feel free to drop me a line.
Spent a little time experimenting with the Python Kivy framework over the festive holidays.

First step was to complete the basic Pong tutorial here Kivy.org
Then proceeded to the KivySpaceGame tutorial here Kivyspacegame.wordpress.com
Progress has been a bit slow, but that shouldn't be a surprise. Application UI development isn't something I've worked on before, so the concepts and terminology are new to me.
Still getting my head around how to create, manipulate and draw Widgets, interacting with the canvas and screens.
Here's what I've done so far;
Developed a simple but neat way to build levels quickly and easily.
That's about it so far.
Won't be long before I'm back at my day job, so finding time to spend on this will be harder. Wish me luck.
Managed to get some time to consolidate a bunch of my python scripts today, then was able to add some extra features to the practice game.
Things added
- Coin Animation/Effect
- Coin Collection
- Sound effect placeholders from opengameart.org
- Music placeholder from opengameart.org
- HUD Timer
- HUD Score Tally
Please excuse the screen size debug info.
To do
- Power ups
- A secret brick
- A way to combat enemies
- Improved player handling, inertia and variable jump heights etc.
It's starting to come together and has been really good practice so far.
Have a few spare moments today to spend with Blender Game Engine (BGE).
There's a bunch of things I would like to do, however first priority goes to discovering a way to make my Python code more manageable within Blender Game Engine.

Last week I discovered how to import external Python scripts into Blender Game Engine via the Python Module Controller, so today I will be spending some time aggregating my scripts into appropriate files and re-assigning and testing the BGE Logic Block Controllers.
This will result in a set of python files and hopefully classes that will produce a much smoother workflow.
Wish me luck.
In the spirit of my last blog post here Indiedb.com I'm getting back to basics with the Blender Game Engine.
I was having issues with object origins and pivot points which was causing some strange behavior with my CuteRobo project.
Instead of beating my head against the keyboard for hours on end, I decided to build a side project with the goal of practicing and overcoming issues I was experiencing with CuteRobo.
As a result, a much less glamorous project was born called "It's not Mario" which for obvious reasons is what the title says despite what you may think after watching the video below.
Upon first view you may be confused thinking that I've ditched Blender for some 2D sprites in pyGame, however don't be fooled!
Cell Shading Camera Filter
To get the cell shading effect, I used a combination of orthographic camera perspective to make it look flat, and a GLSL camera filter script for a basic cell shading effect.
There is an alternative method of achieving a cell shading effect. It involves creating a negative model around your existing model. You can view a youtube clip about it here.
The negative model approach seemed pretty clunky to me and extra polygons is not something I want in a game, so I kept on looking until I found another (more sensible) way to achieve a cell shading effect via Camera Filters.
You can get a copy of this GLSL script via pastebin here Pastebin.com
I found this script somewhere online after much digging around, so hopefully this will save you some time.
To use it in Blender, open the Blender Text Editor and copy/paste it from Pastebin so it looks something like this;

Make sure the file name has no extension, so you can call it something like "cell_shader" or "my_cellshader_filer"
Then you can use Logic Blocks to connect it to your camera. Rather than explain how to do this step by step, its probably easier and more helpful to include a screenshot, so here you go;

Next run your game and you will have some awesome Cell Shading effects.
Start Menu System
The start menu system was built using a separate Blender Scene. To learn how to build it, I watched this Youtube video.
It's a pretty good demo on how to build a menu system. If this is something you need to know, then the video above is a good place to start.
Player Input and Controls
You can use Logic Bricks to achieve some basic character controls which is neat for rapid prototyping, however its limited in its ability to customise the "feel" of the user input.
So instead I decided to use a Python Script for user controls. You can view a copy of my messy and clunky code on Pastebin here Pastebin.com
IMPORTANT SCRIPT DISCLAIMER: The scripts I link are for demonstration purposes. The scripts I demo here will often include variables and references to other assets and tasks for parts of my project. They are not designed to be simple copy/paste drop in code. Please review the code and make changes to meet for your projects own needs.
Then you can use a Logic Brick sensor to make Blender direct keyboard input to your script like this;

Respawn Checkpoint
I use cubes and set them to invisible and ghost to act as Respawn Checkpoints.

Ghost makes it so they wont collide or obstruct anything, and invisible makes it so you can't see it inside the game.
This way I can write a Python Script to get the location of the Check Point by using the Objects name.
Here's a small example Python script demonstrating how to get an objects location by using the objects name Pastebin.com
Detect Fall off Map
To try and cut down on the number of in game objects, I simply have blender checking the players position on the Z (up / down) axis. If the player is below a certain point, it will move the player object and cameras back to a set point. You can review the code I used on Pastebin here Pastebin.com
Brick Types
It's not Mario wouldn't be the same without bricks, so I added some Cubes, applied basic colored materials.
The next step was to make them interactive, for example, allow the player to stand on top of and run across the bricks, but make the bricks respond differently if the player headbutts them by jumping from under them.
At first I thought about approaching this by detecting collisions with object faces, however this would require a fair bit of messing around and I wanted a quick solution, so instead I chose to go with the Sensor object approach.
This is the same as what I did for the Respawn Checkpoint markers. I created an object and set it to Invisible and Ghost, and then attached the Brick to the Sensor object by making the Sensor the Parent object of the Brick. Its important that the sensor is the parent and the brick is the child for reasons we will explore later. You can learn more about parenting in Blender here Wiki.blender.org

Now that the Sensor object and Bricks were created and connected by a Parent/Child Relationship, I applied a collision sensor to the Sensor object and instructed it to disappear if it detected a collision.
To do this I had to add a Game Property to the Player object called "player" so that the collision would respond only to objects with the Game Property "player" and not other things.
You can learn more about Adding Properties to objects in this slighly outdated Blender information page here here Wiki.blender.org

Because the Sensor cube is the parent of the Brick, you don't have to apply this logic. Instead, the child brick will also be effected and become disabled along with its parent Sensor brick.
Coffee Break
This just about brings us to the end of this blog post and its time I had another coffee.

I've covered quite a bit of ground here, so hopefully it will come in useful for others using and learning the Blender Game Engine.
In closing, I'll leave you with this animated gif that I made a few months back. Enjoy!
After taking some time out and getting stuck with real world work stuff, I've recently managed to put aside some more time to play with the Blender Game Engine.
Some issues I was facing with the CuteRobo project was connected to not having a good understanding of how Blender manages object origins and pivot points.
For example, when you modify (aka Transform) an object by for example, rotating it 180 degrees, that object's XYZ axis can also rotate. Makes sense right? Yes, but how to intentionally control the direction of the axis was proving to be more difficult.
Its easy to get frustrated and feel like a bit of a noob, however I discovered even I can learn how to do this better via some focused learning experiments.

Long story short, I spent some time experimenting with this and have since got a much better understanding of how it works. Here is a useful video by a tuber demonstrating how to control object orientations.
Keep in mind that Blender Game Engine can get a bit weird when you have multiple objects in a parent/child hierarchy. I haven't worked out a way to control this effectively yet. However I'm sure with more time and practice I'll discover ways around this. Wish me luck!
Ok so I got a bit carried away today and ended up installing and testing the the Blend4Web SDK.

It's fraking awesome. Really excited about the prospect of exporting Blender works to the web. May even be able to find a way to apply it to my day job. Very cool stuff.
Will post more updates as I go.
Update: Completed a "hello world" in blend4web view it @ Ccbytes.com
Profile
Popular Blogs