Hello, ModDB! This is my first real tutorials here, so please forgive me for anything I do wrong. If any pictures are missing, please PM me, so I can fix it.
Anyways, the other day, I wanted to spice up my TFC experience, so I was looking to make it look better. On FPSBANANA.com, they had all kinds of skins, a lot of them cel-shaded, and on a lot of those, people asked how they do it. It's very simple, as I found out. That's what I'm gonna tell you today. Remember, it requires NO coding whatsoever. No special effects. Just editing the model a bit. If it doesn't work on a particular system, or a particular setting, tell me.
REQUIREMENTS:
-A modelling program, such as 3ds Max, g-max, or blender. I will only explain for 3ds Max, though the other programs should be quite similar.
-A basic knowledge of modelling
-Some cake. Trust me, it's not a lie
Anyways, let's start, shall we?
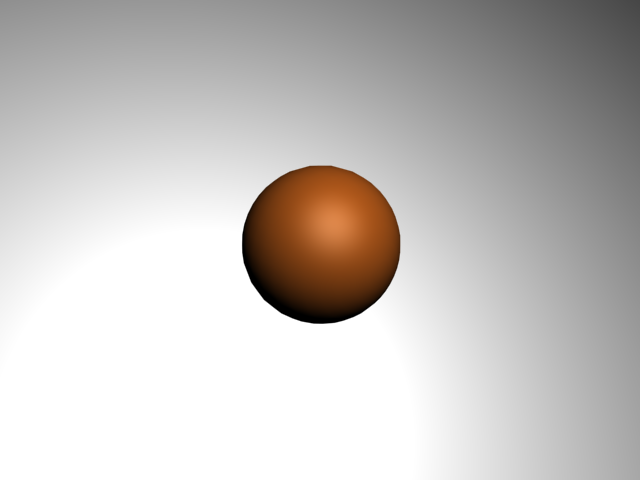
Step 1) Make your scene. I won't give information on doing this. What I've done, for the purpose of the tutorial, is make a simple sphere. You might want to add a background, such as a white plane, so you can see better - for render's sake. When you're done rendering, you can remove it.
Step 2) Copy the model, and put in the same place.
Step 3) Change the color to black. (If you are going to export this, make a 4x4 black texture, and apply it.

Step 4) Make it an Editable Poly (Right click->Convert to:->Convert to Editable Poly, or use the modifier "Edit Poly".
Step 5) Start making it a bit fatter, by select each poly, and moving it. For simple shapes, such as my sphere, or a box, you can just scale it.
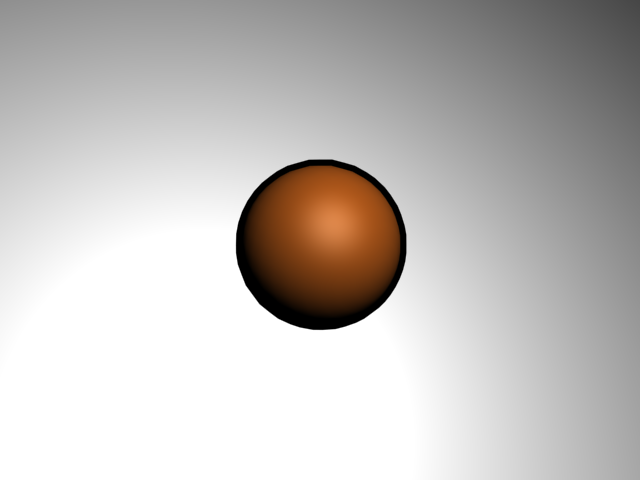
Step 6) While everything is still selected, search for the "Flip" button somewhere, and press it. Then, render it (F9 in 3ds Max), when the perspective view is selected.
Thank you for reading! Good luck with your projects!
UPDATE: Thanks to Cryrid's advice, it works in the viewport view. Just right click the object, and press Object Properties. Under Display Properties, make sure Backface Culling is checked. To do this permanently, for every object, go into customize (in the menu bar)->preferences->viewports. Under Viewport Parameters, make sure "Backface Culling on Object Creations" is checked. For the permanent option, you have to create the object after the option is changed for it to work.

I just found out there IS a tutorial about this, but only for blender users. If you use blender, check this tutorial out: Moddb.com
the key point here is...
"Flip"
XD
Inverting the normals will work in the viewport without having to render, just turn off backface-culling.
Yeah, but by default, that's not what the average user has. I'll add that to the bottom anyways. Thanks!
everybody who worked with a professional modeling program this !
I...don't understand.
neither do I...
Cool tutorial, I wouldn't know how to do this in Max but the basics apply to my 3d program as well ;)
Thanks! Good luck!
In 3ds max( don`t know how it is in other programs ) you can simply add a "Normal" modifier to flip the faces, and a "Push" modifier to make it bigger ;).