Today we have something for the “modeling pagans” like some programmers or designers, novice modelers or just curious people. We will try to keep it easy and simple to understand to everybody. Of course, we’d like to clarify that this is our own modeling process but each studio use their own different process.
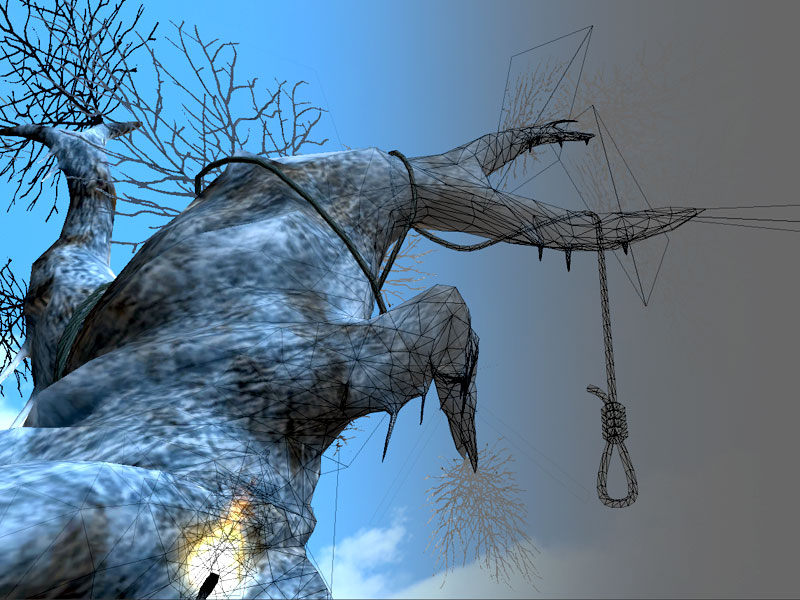
First we study the references like concept arts or other pictures to know how to do de model and make something easy to get moved by every computer.
After that, if necessary, we decide if the model should share the texture with other models in an atlas. (please see: Formulawincars.com ) We determine that according to their position in the scene or the approach to similar objects.
General process for hard surfaces
and some organic surfaces:
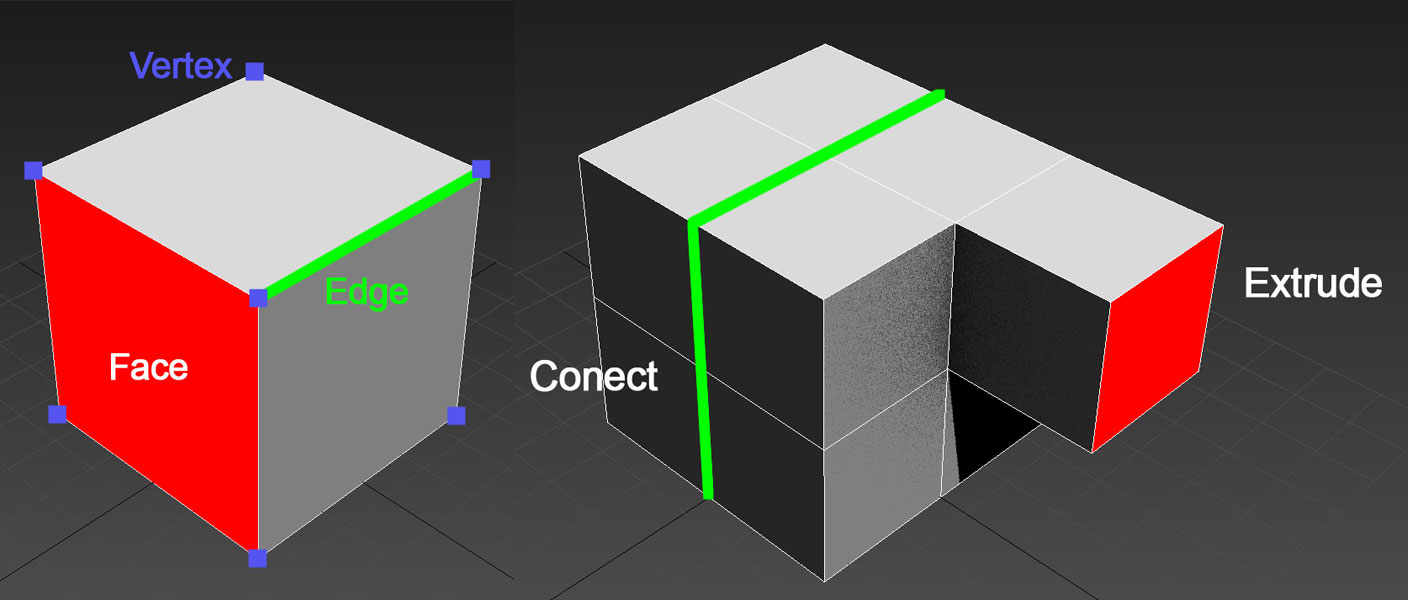
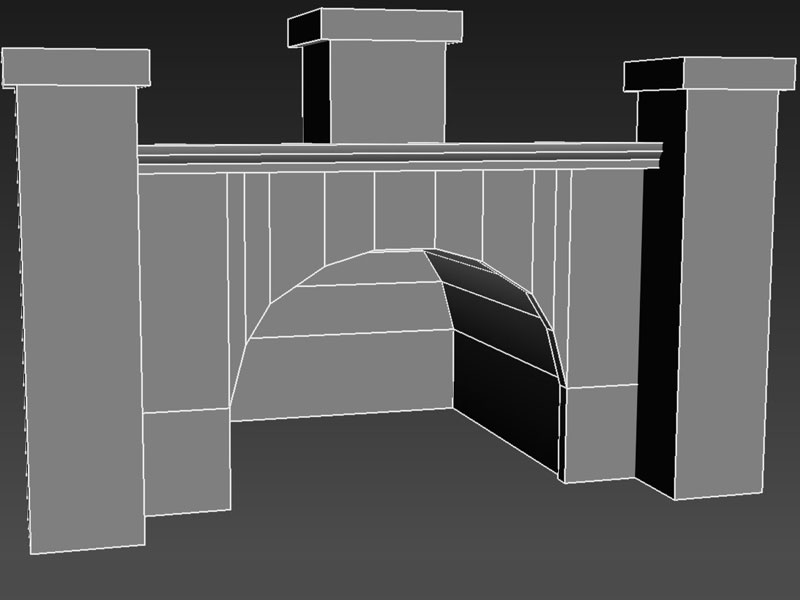
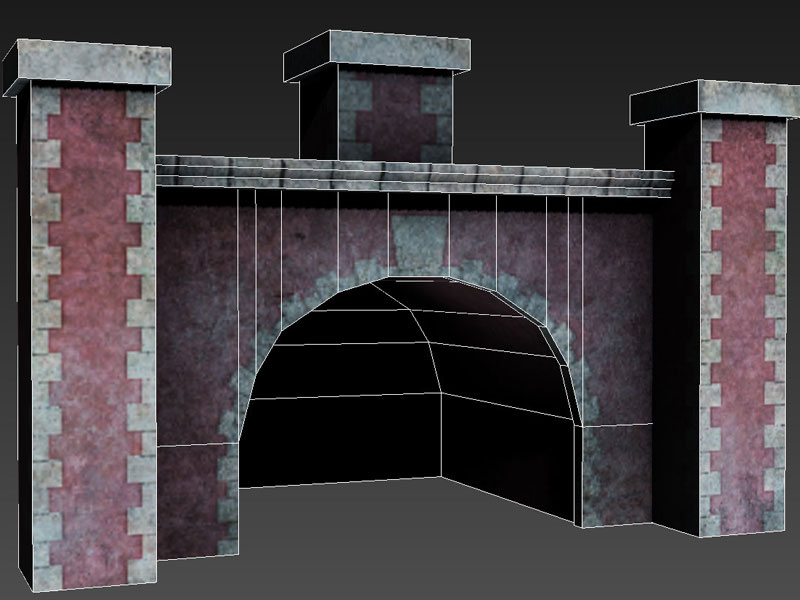
We begin the model in 3D Studio Max. We will start almost always with a cube and then modify its surface moving vertices, edges or faces. We also weld vertices, connect edges or extrude faces for example.
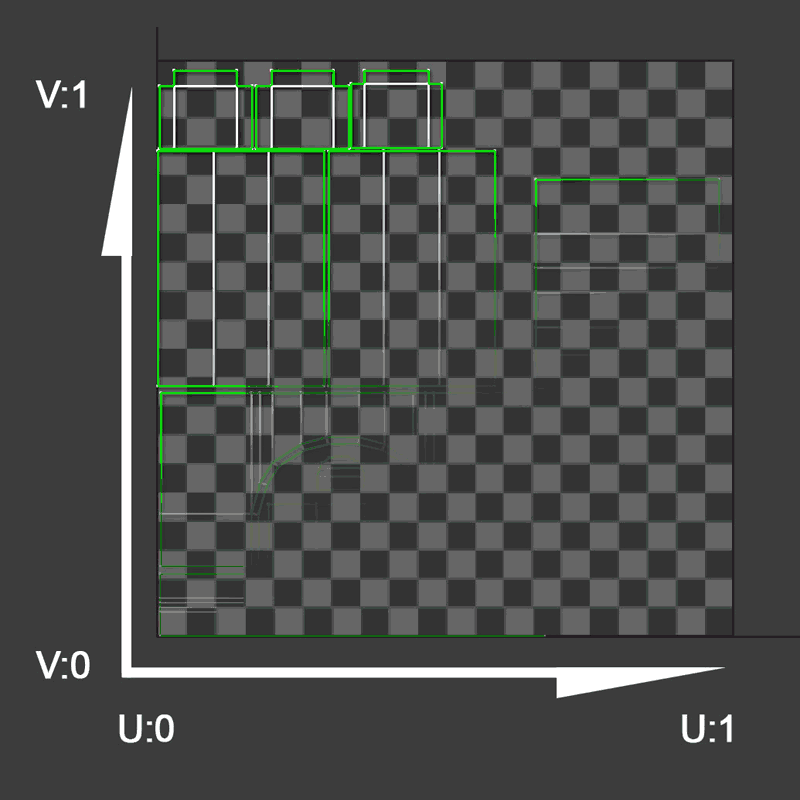
When we have the model done, we make the “Uvs”. That’s a process in which we unwrap the mesh and make a 2D template where we can paint the textures. The “Uvs” are the coordinates of the mesh in a plane with values between 0 and 1, where “U” is horizontal and “V” is vertical.
Sometimes we haven't ended the model yet and we have some textured meshes in order to copy or bend it and make the entire model easier.
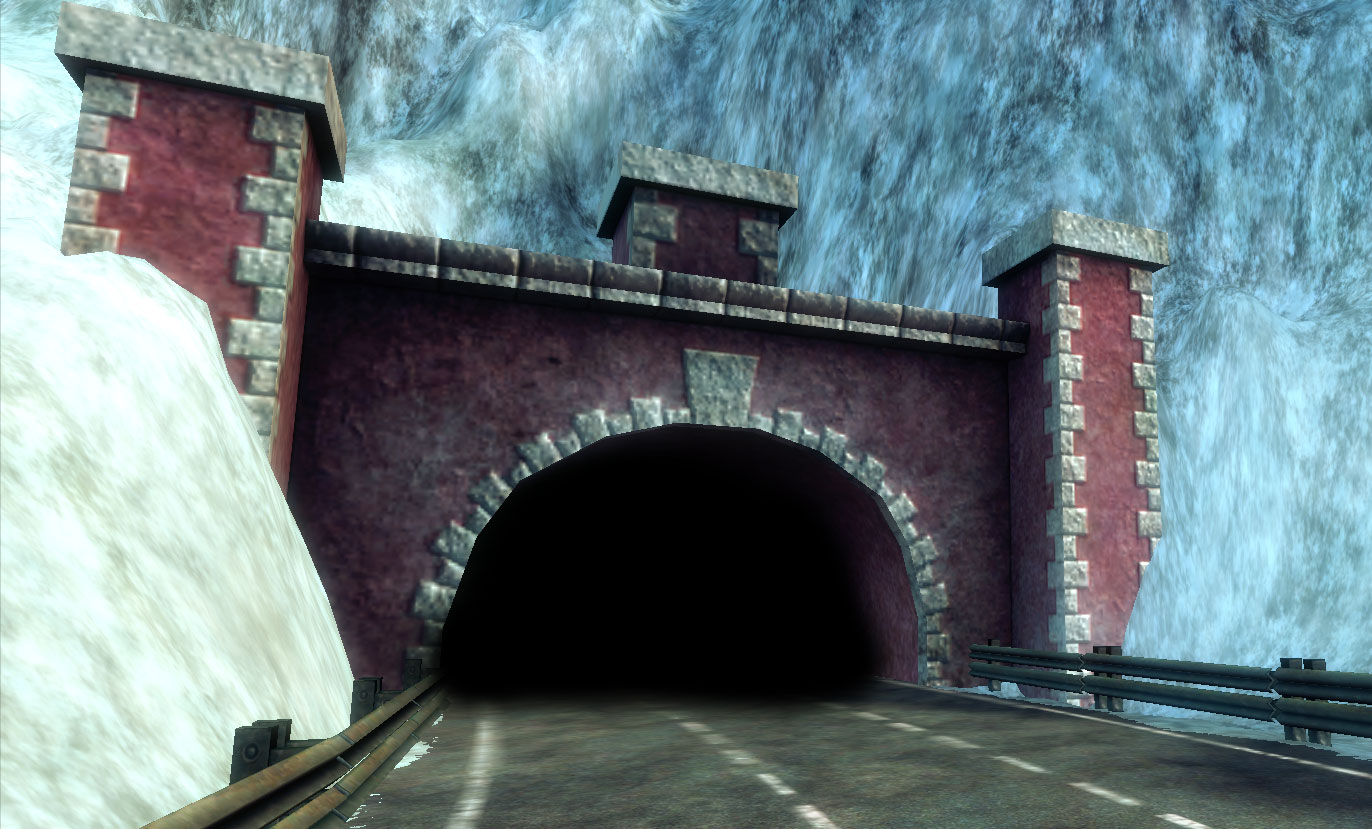
We use Photoshop for the texturing. We paint it with photos, filters or brushes using the template as a reference. We make the different maps like “diffuse”, “specular”, “normals” or even “height map”.
After making the textures and having checked that everything is okay, we import it into the game’s engine and make the materials and all the other things needed for the game.
Previously, we showed you something about maps and materials in the lava post, but we will make a new one more specific.
And now the process for organic or detailed surfaces:
We make a low poly mesh and we import it into Zbrush. In that program we can divide the geometry and model with billions of polygons. We sculpt it and texturize it directly on the model, then make the “Uvs” and export the low poly version of the mesh and the textures.
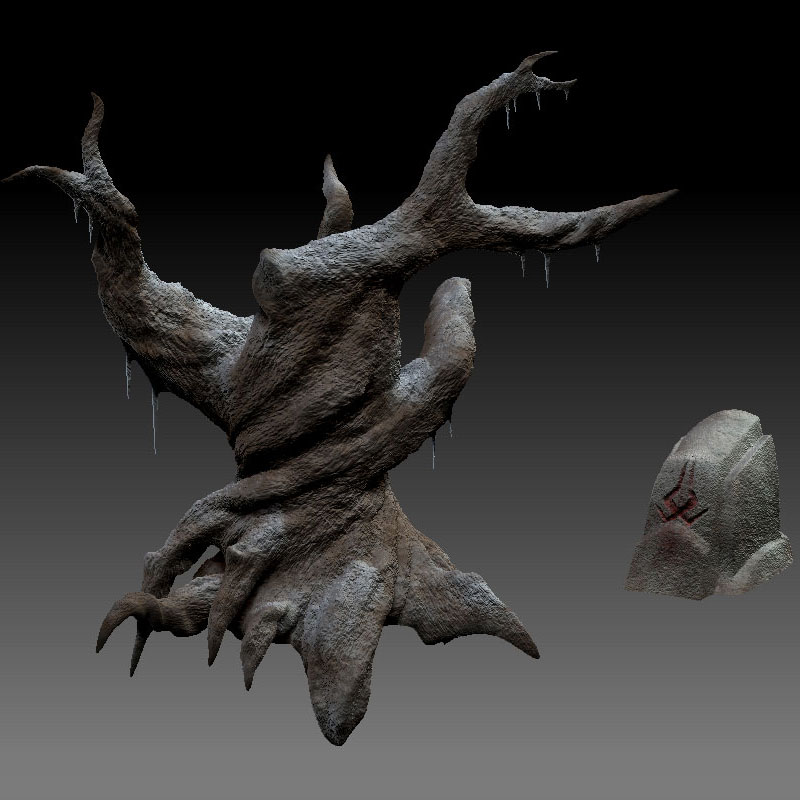
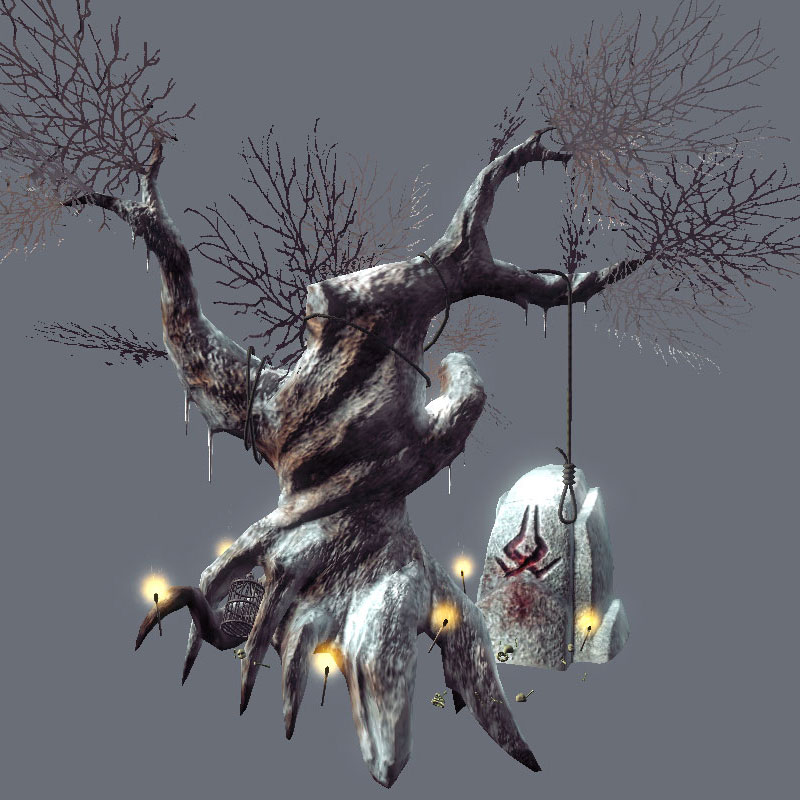
We adjust the model and the maps in 3DS Max and Photoshop and then it's ready to move it to the engine.
That's a very short and simple version of the process but we hope you've learned something valuable!