![]()
This tutorial is an extension of the [Tutorial 008: F-104 creation] and it will help by explaining in detail some of the more important steps.
![]()
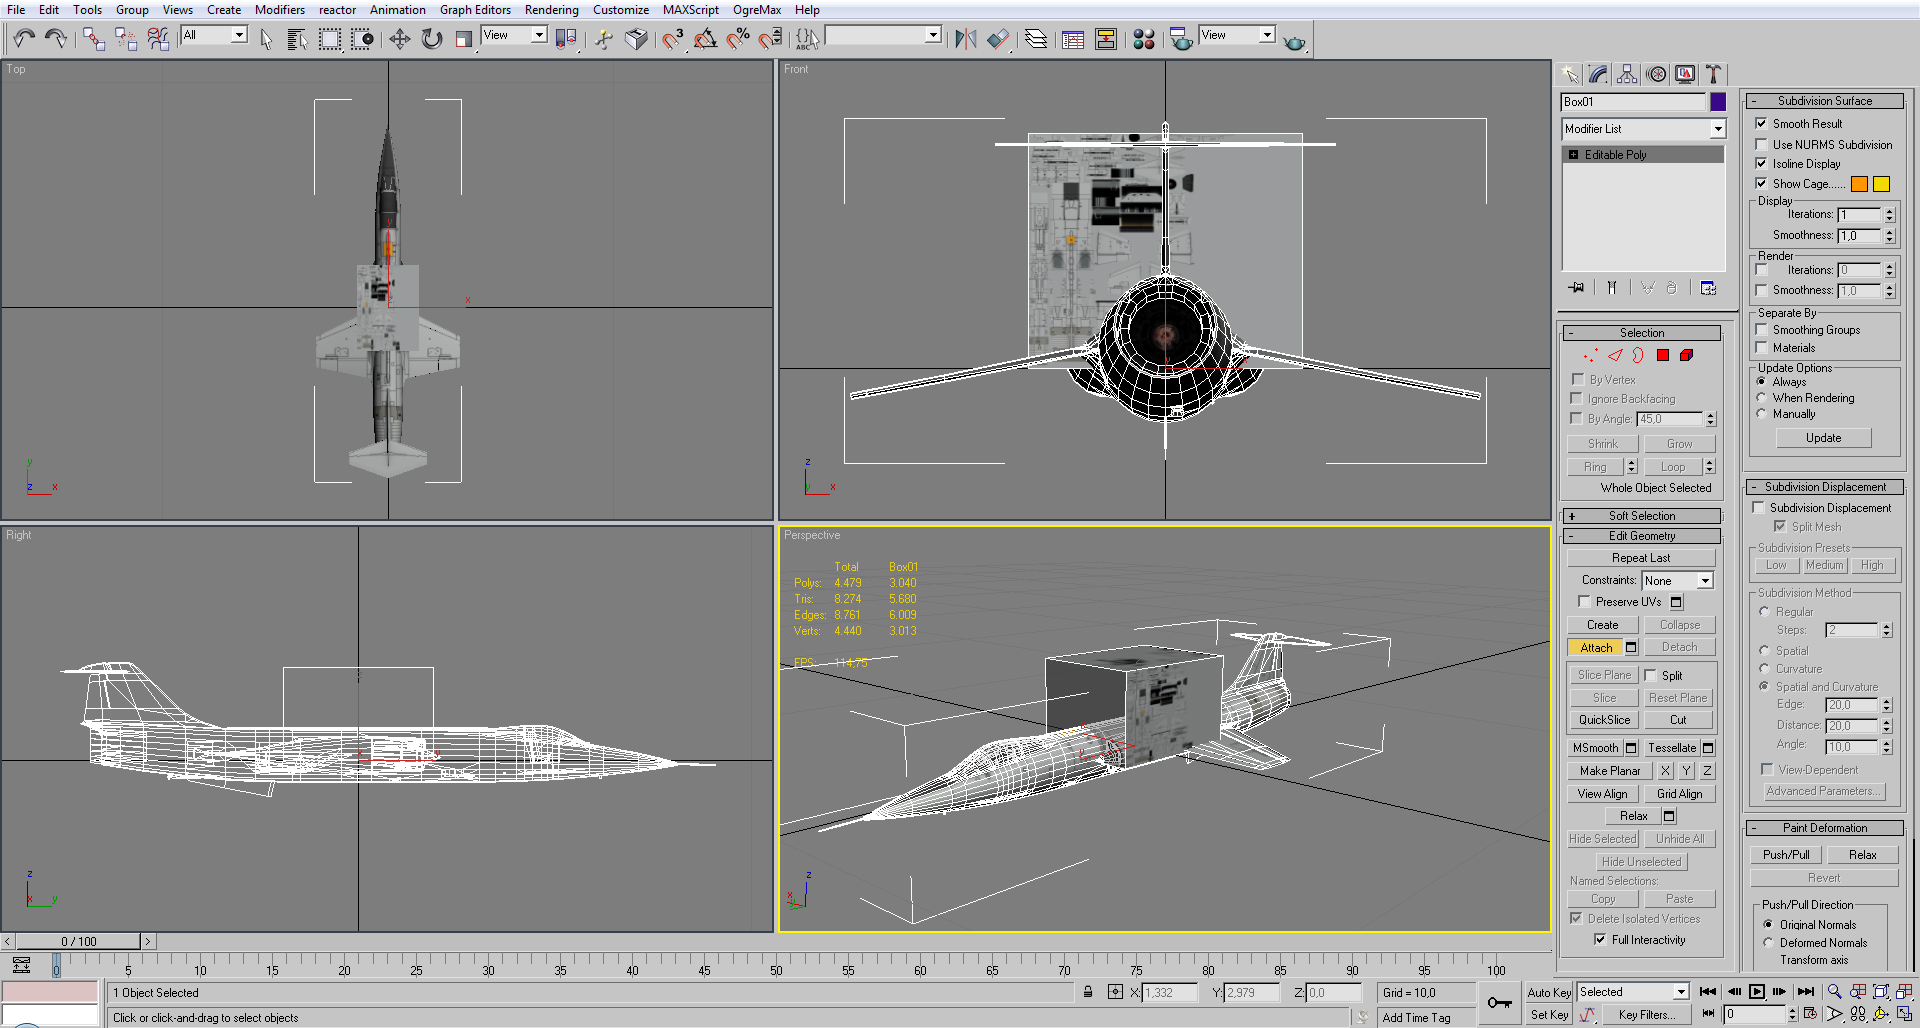
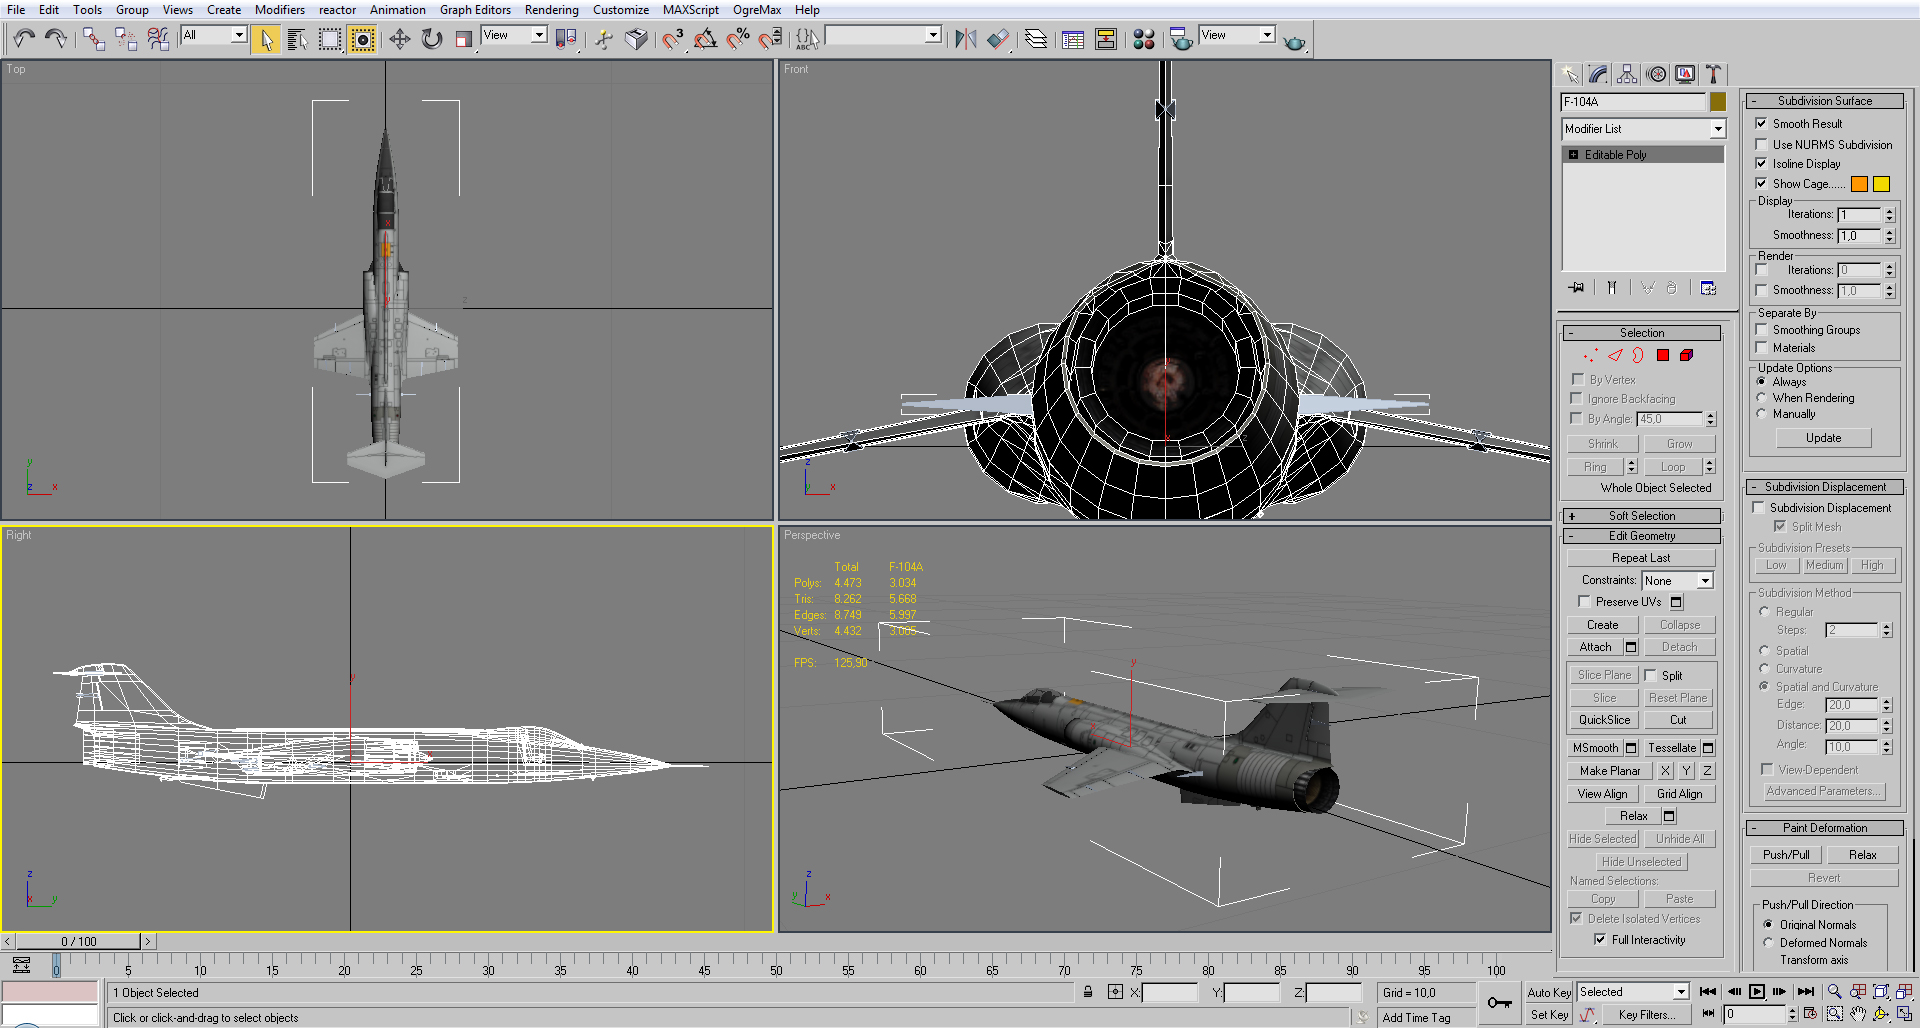
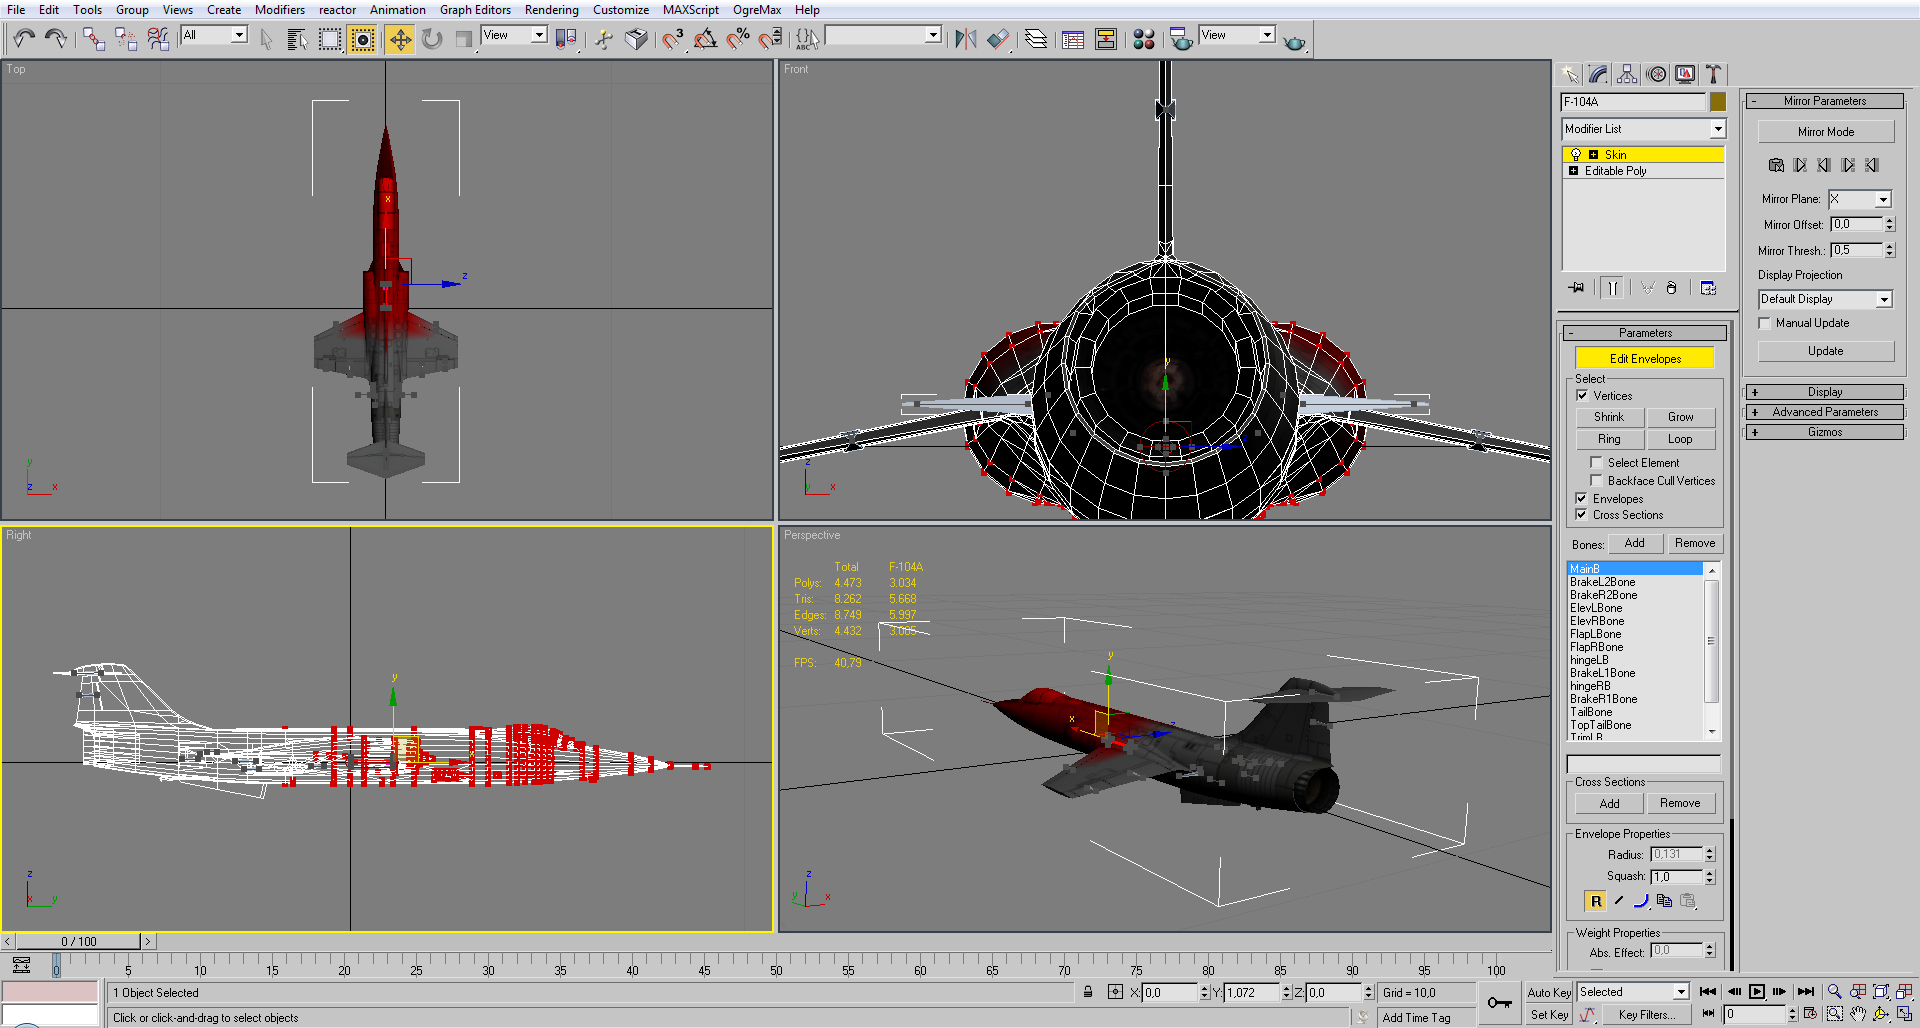
Let’s start with you to create moving parts, this is a simple but very effective technique.
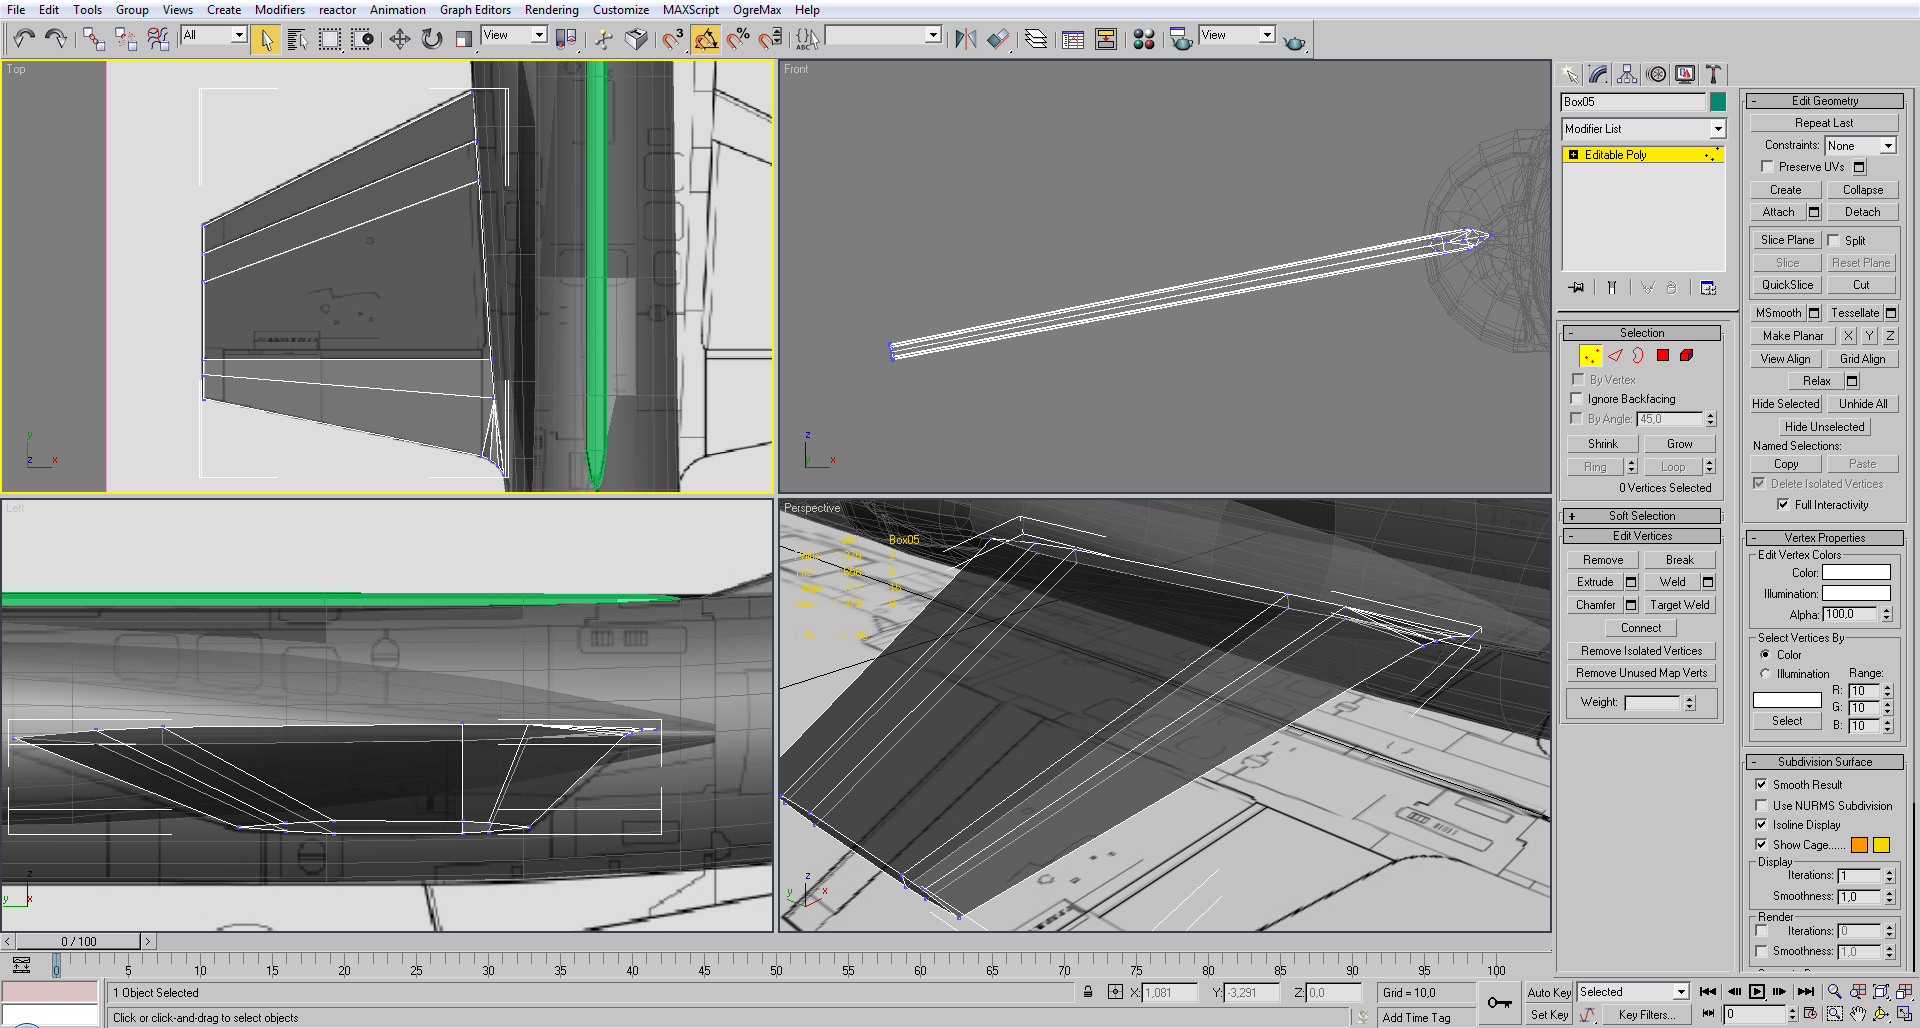
Continuing right after the wings creation, in the step where the wings only have the volume done.
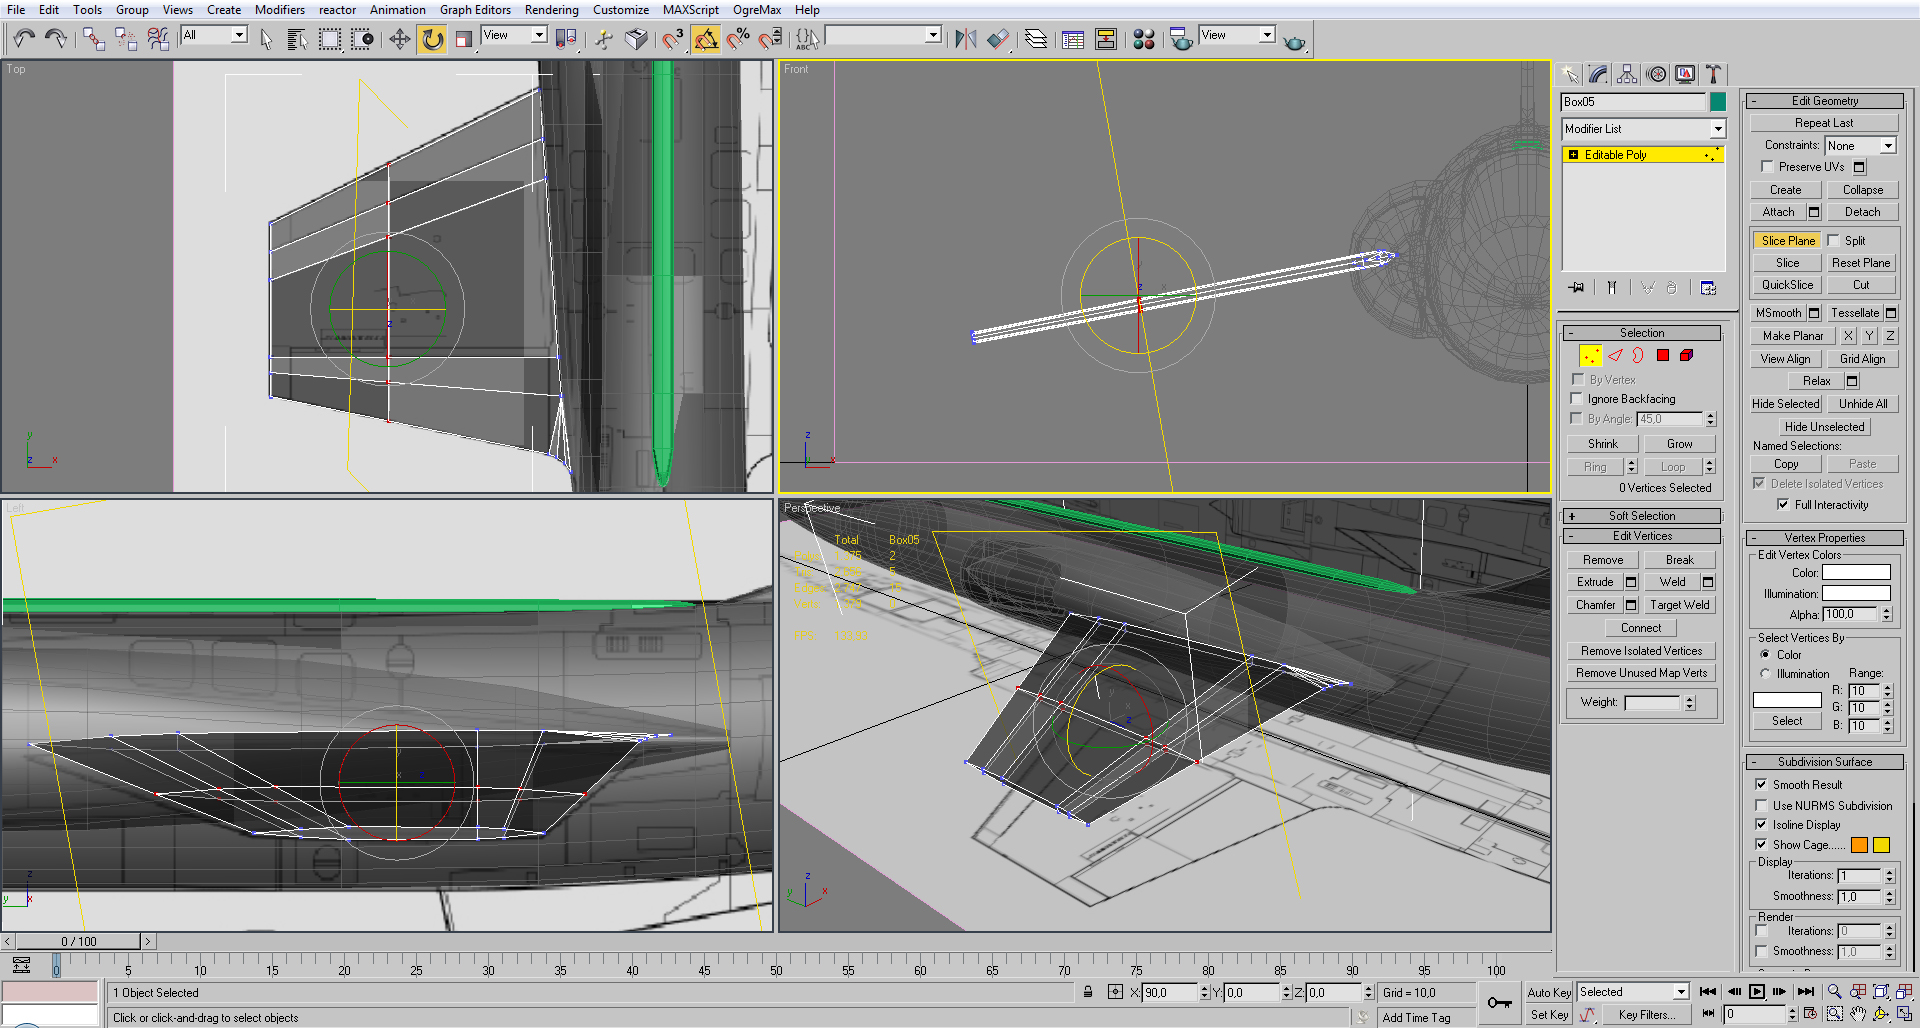
To create the moving parts, there are two ways so add the sub divisions; one is using [Cut] and other [Slice].
In this step we use the [Slice] since it will create a perfectly straight line.
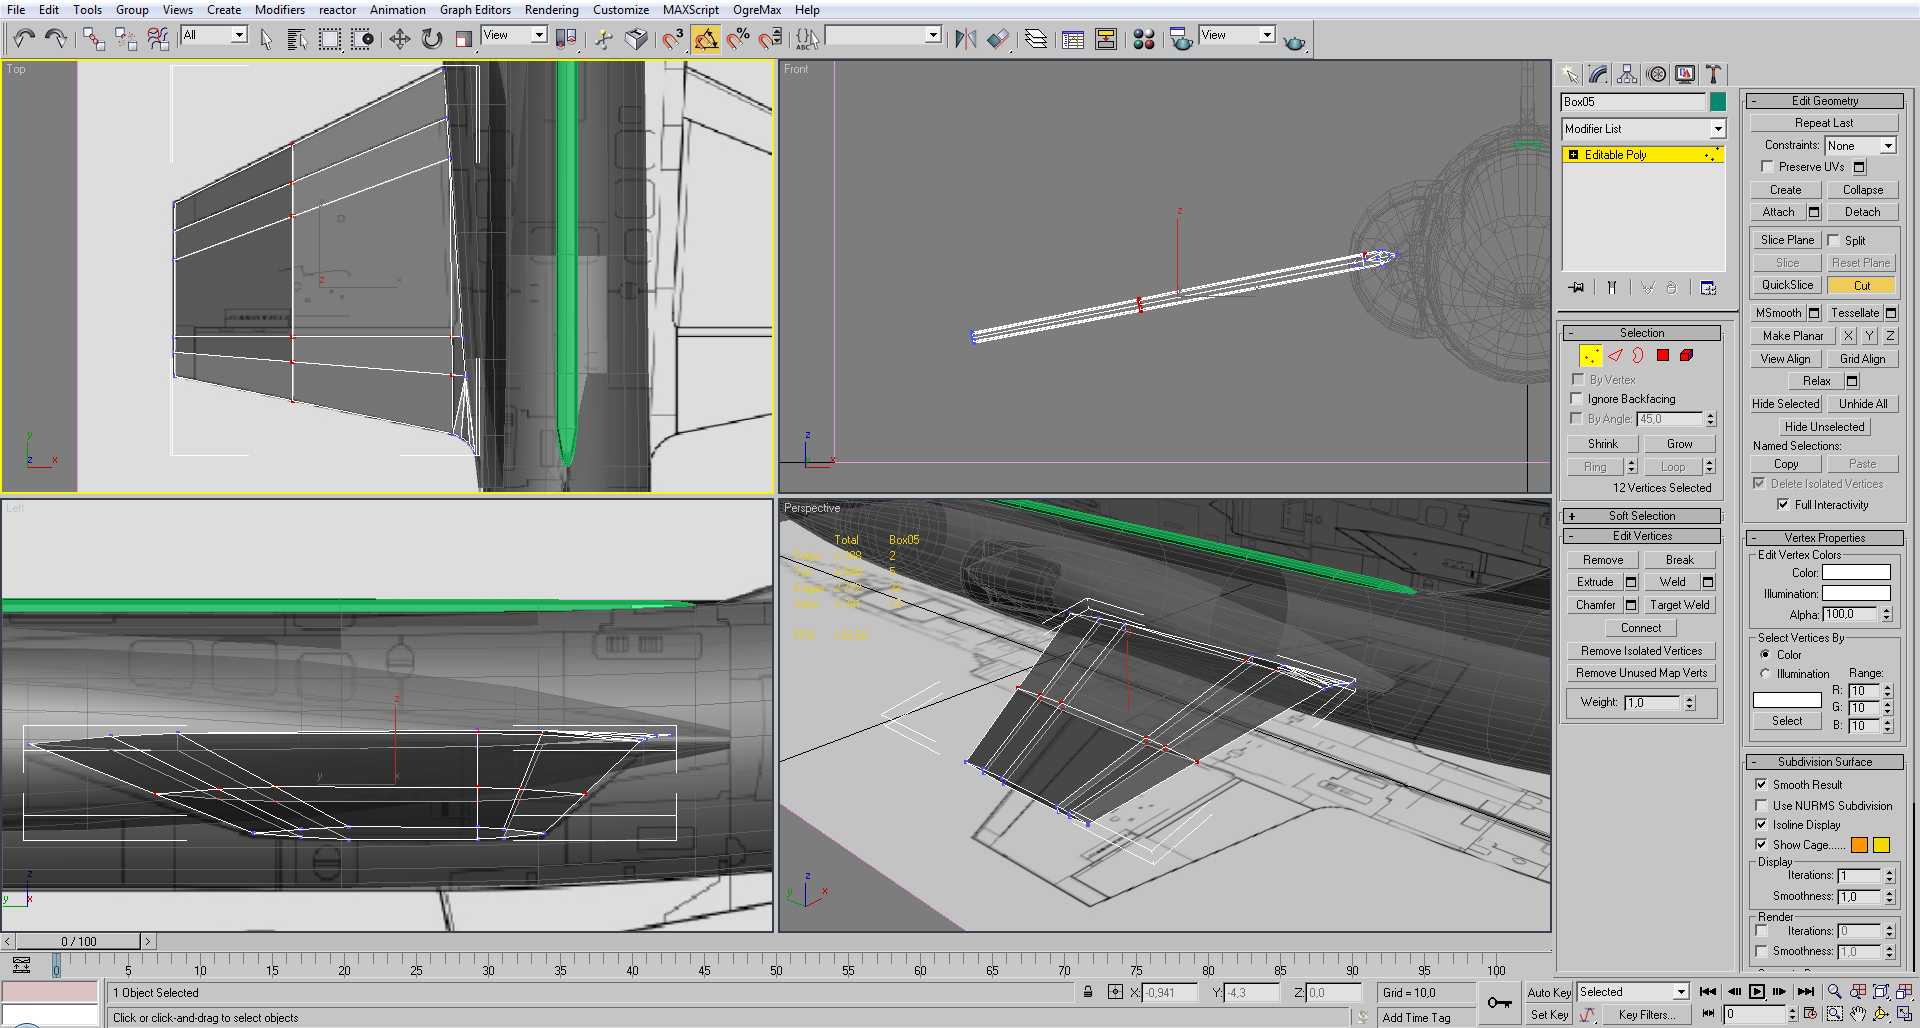
Then we use [Cut] to create a division between the to vertices.

After adding more sub divisions this is who the finished result looks like.

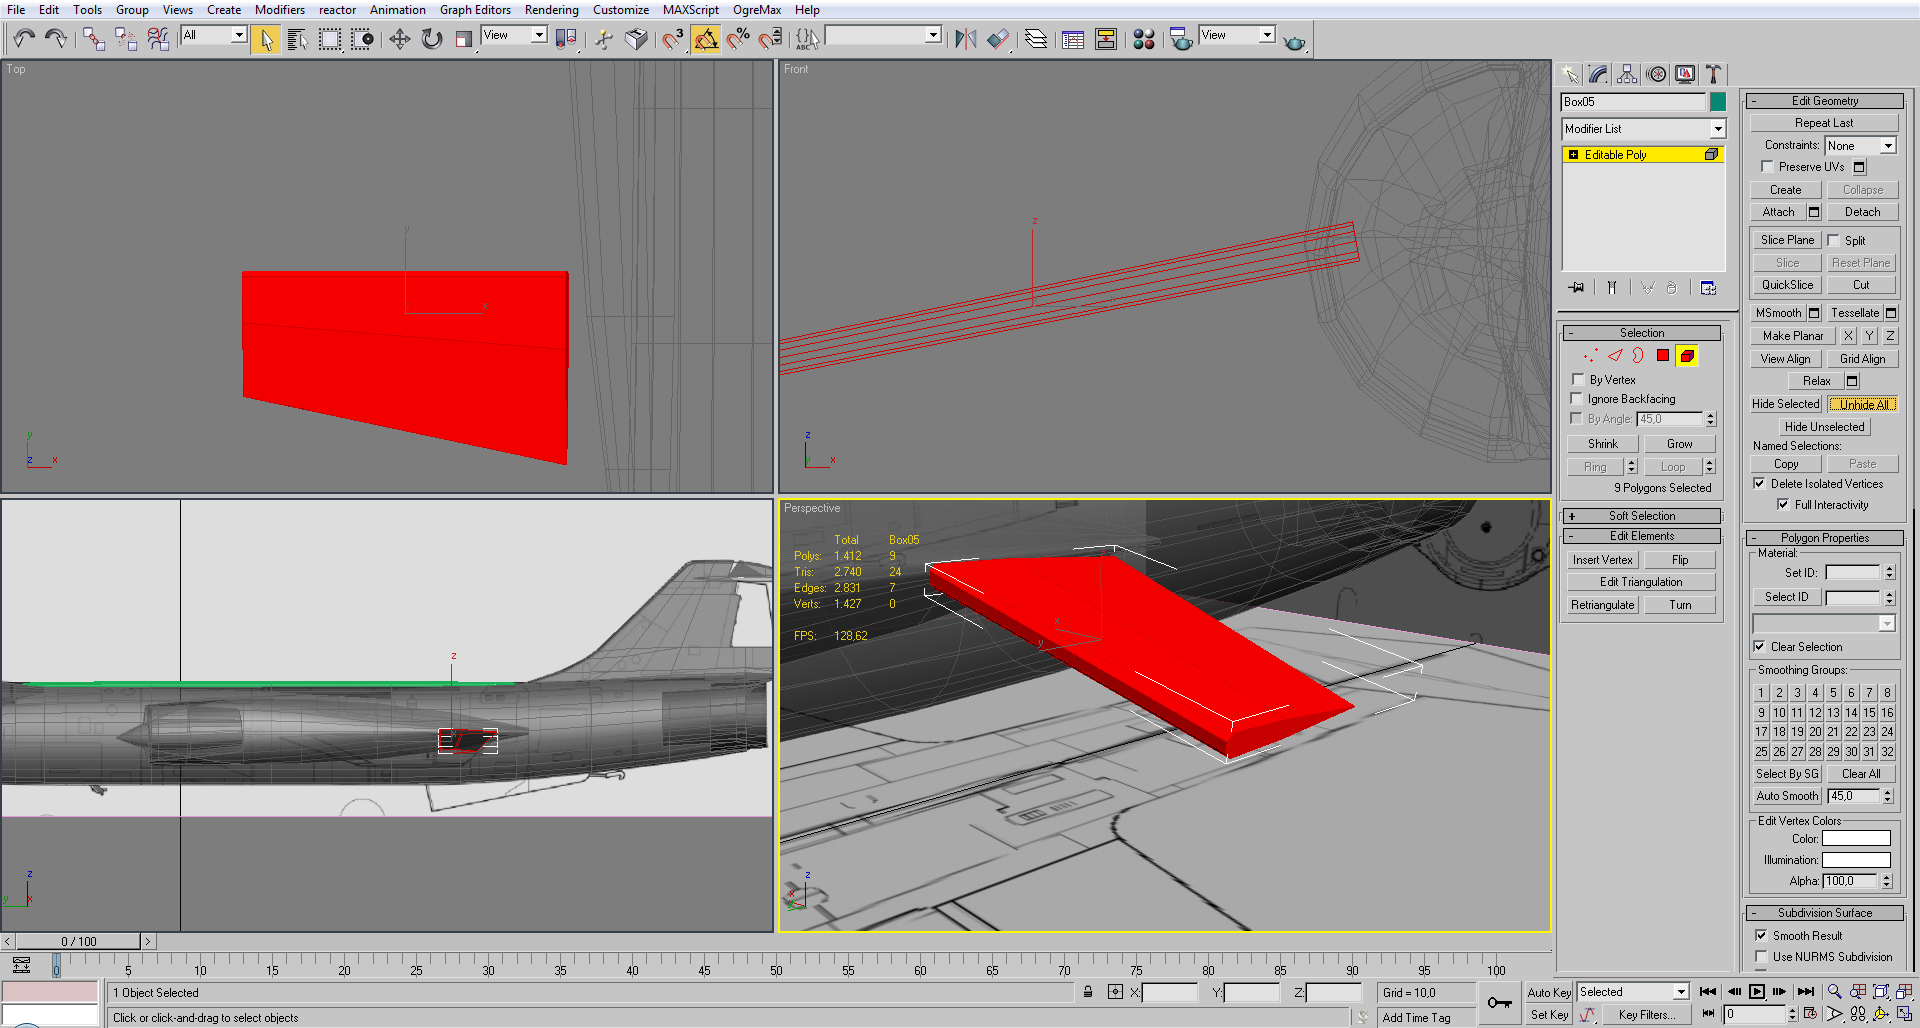
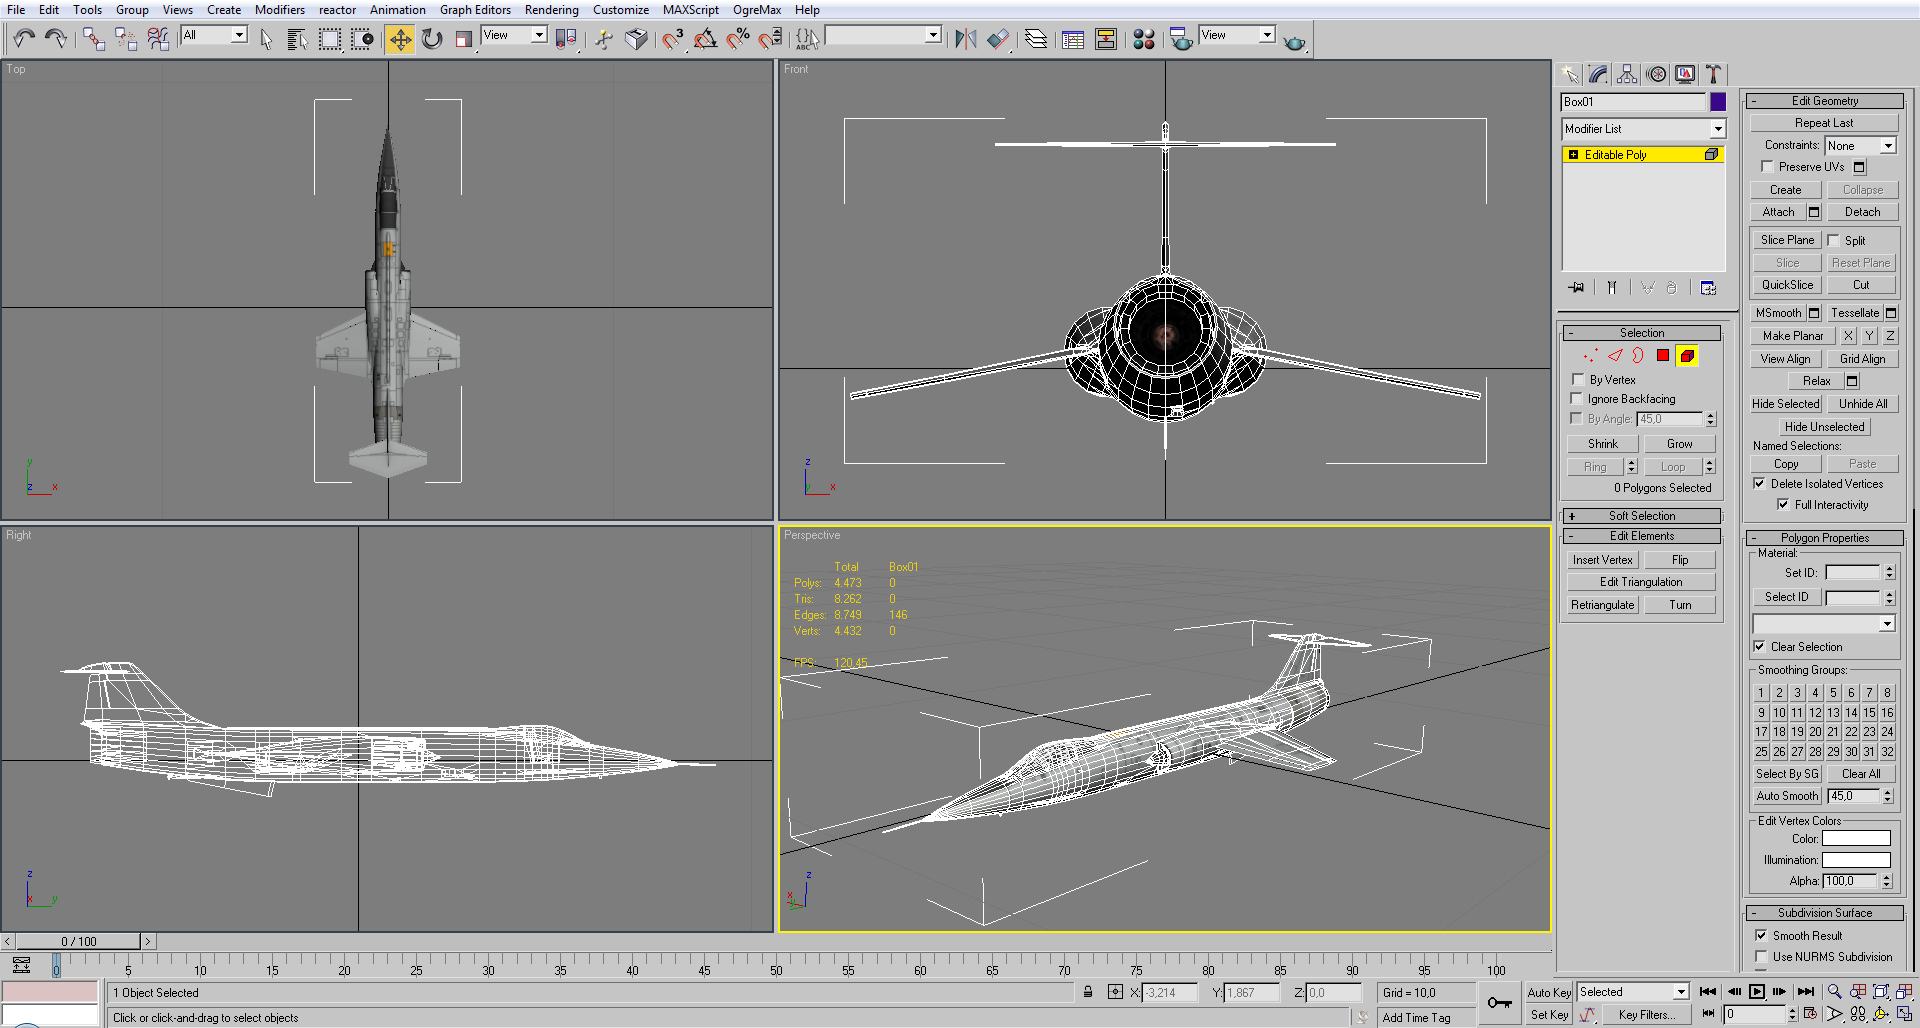
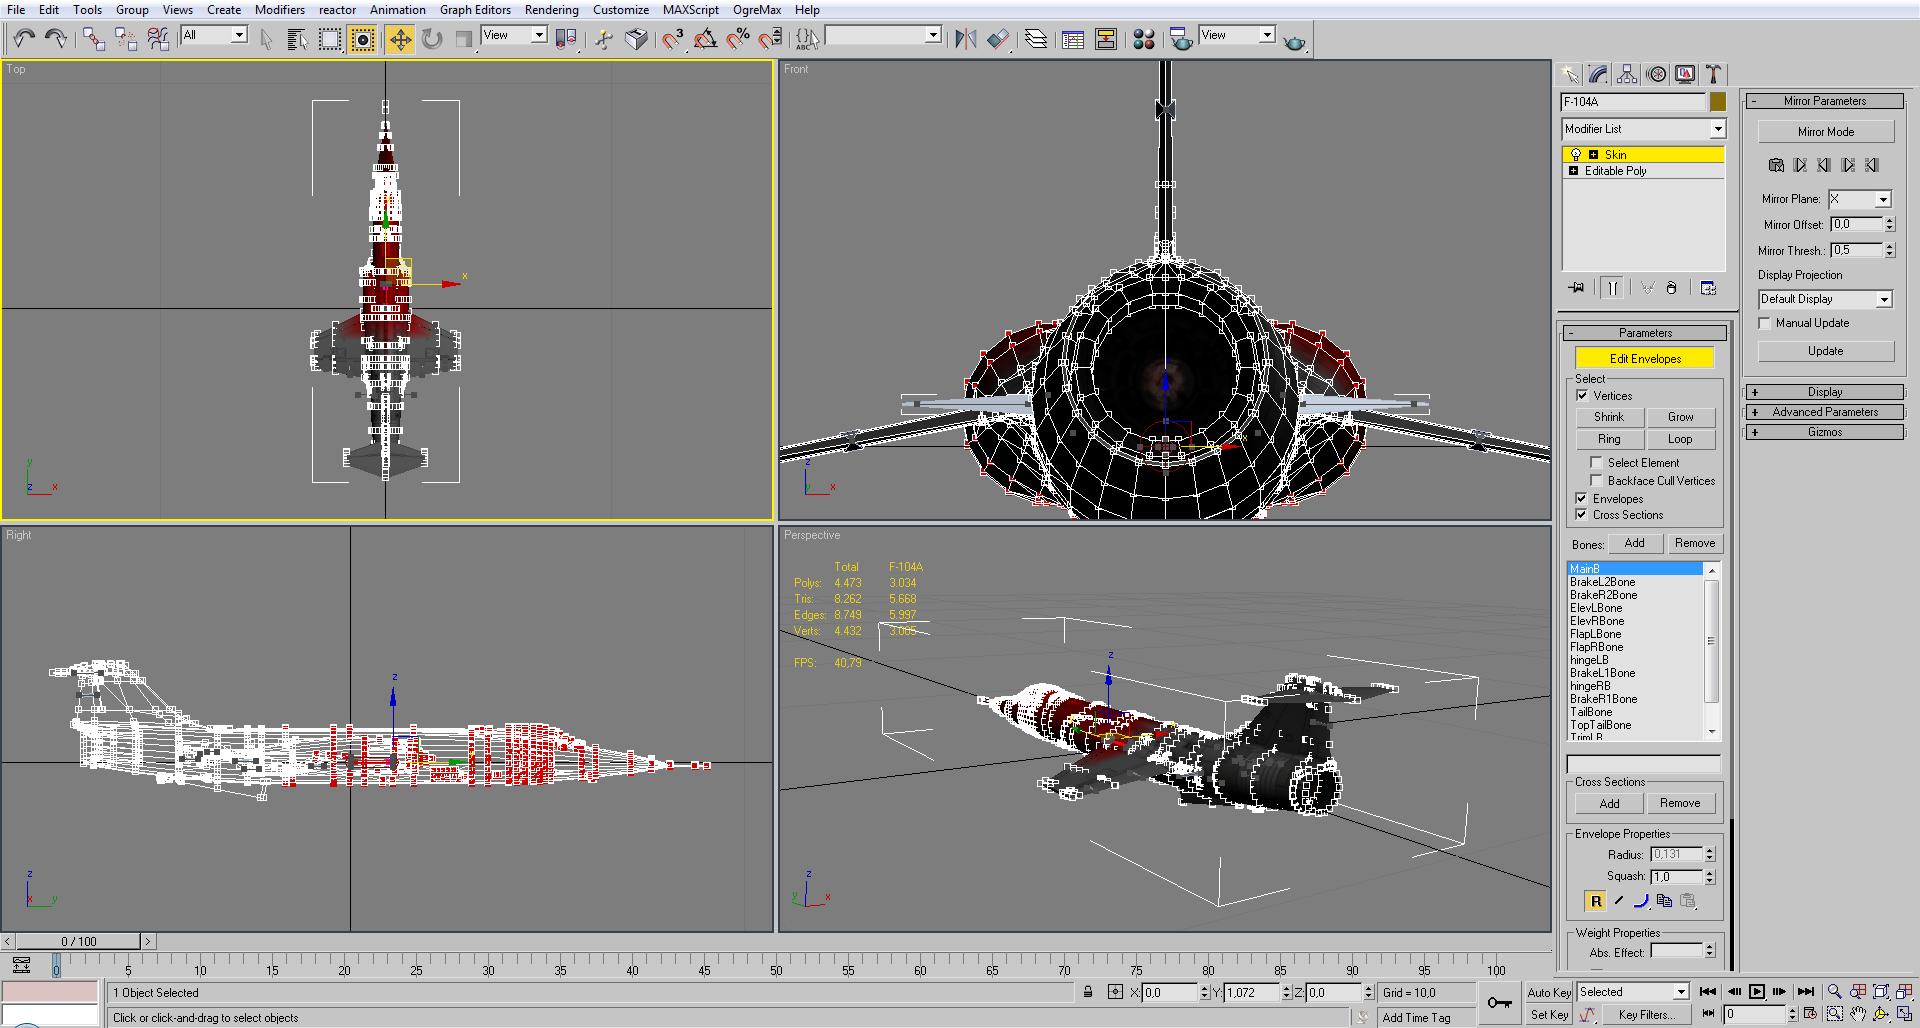
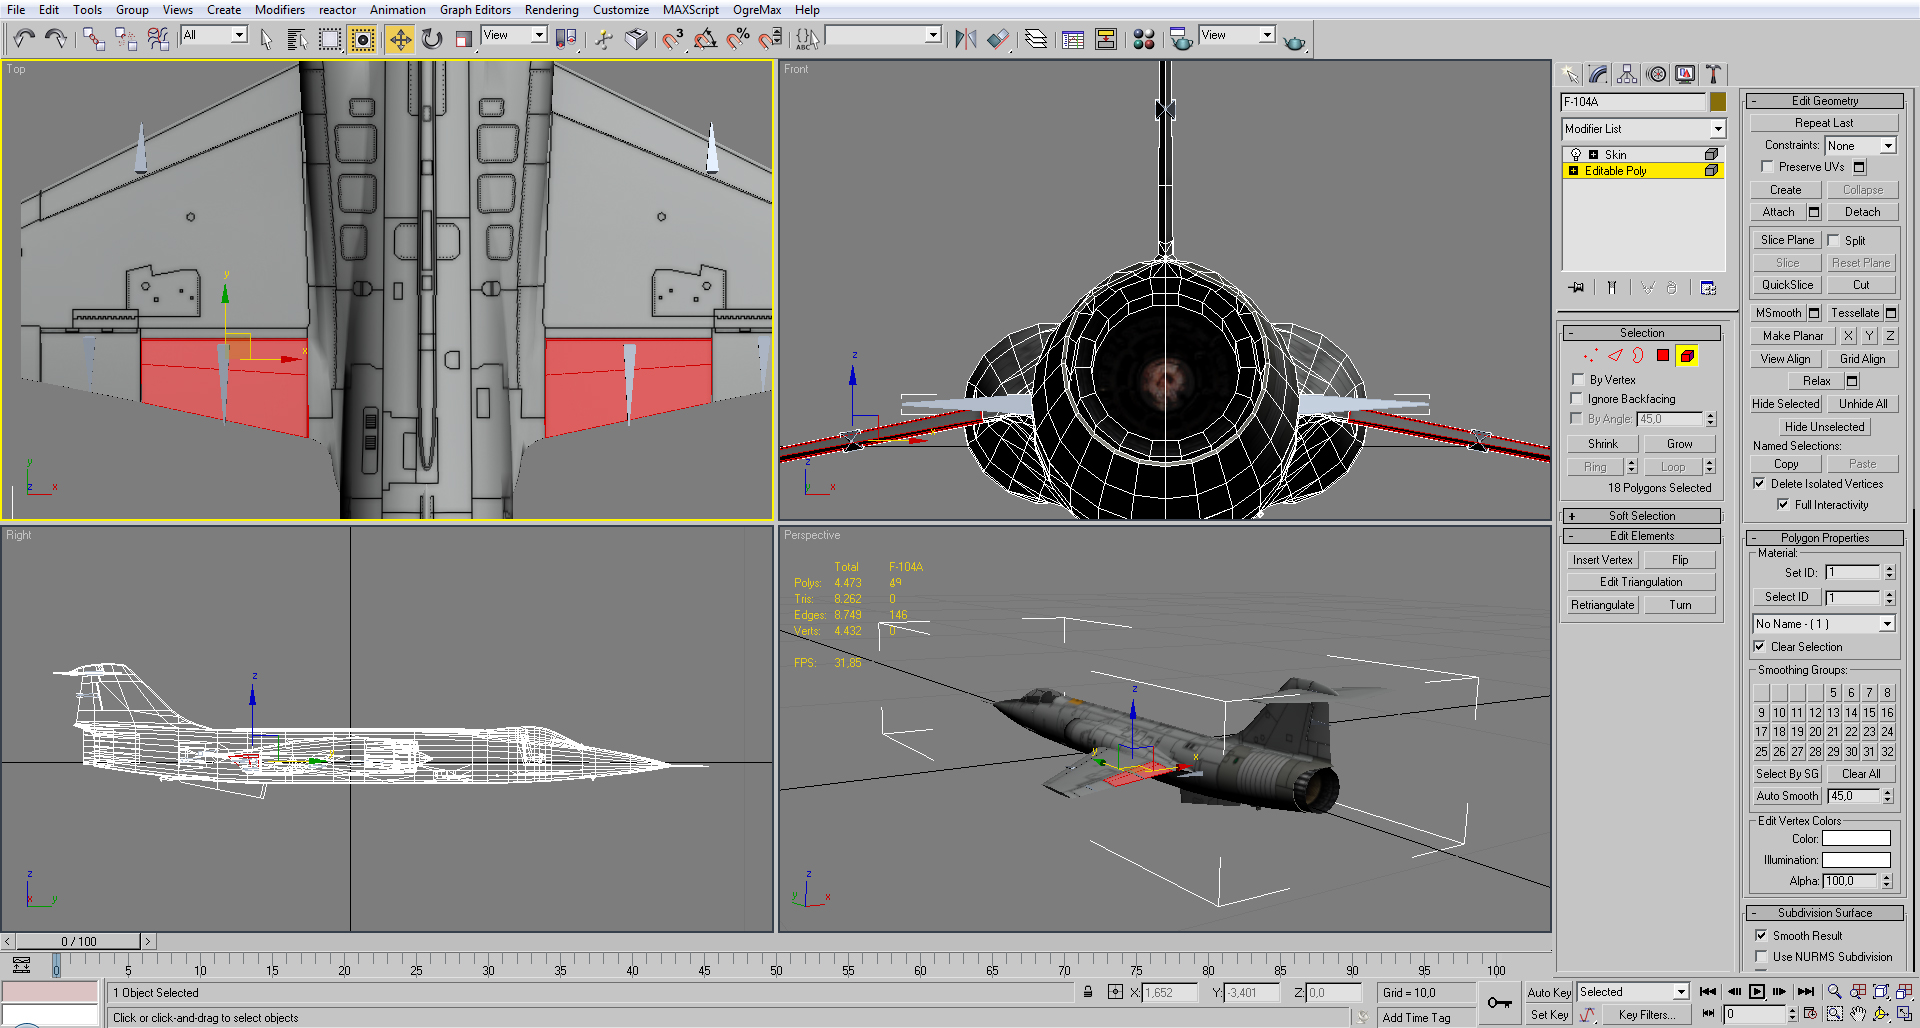
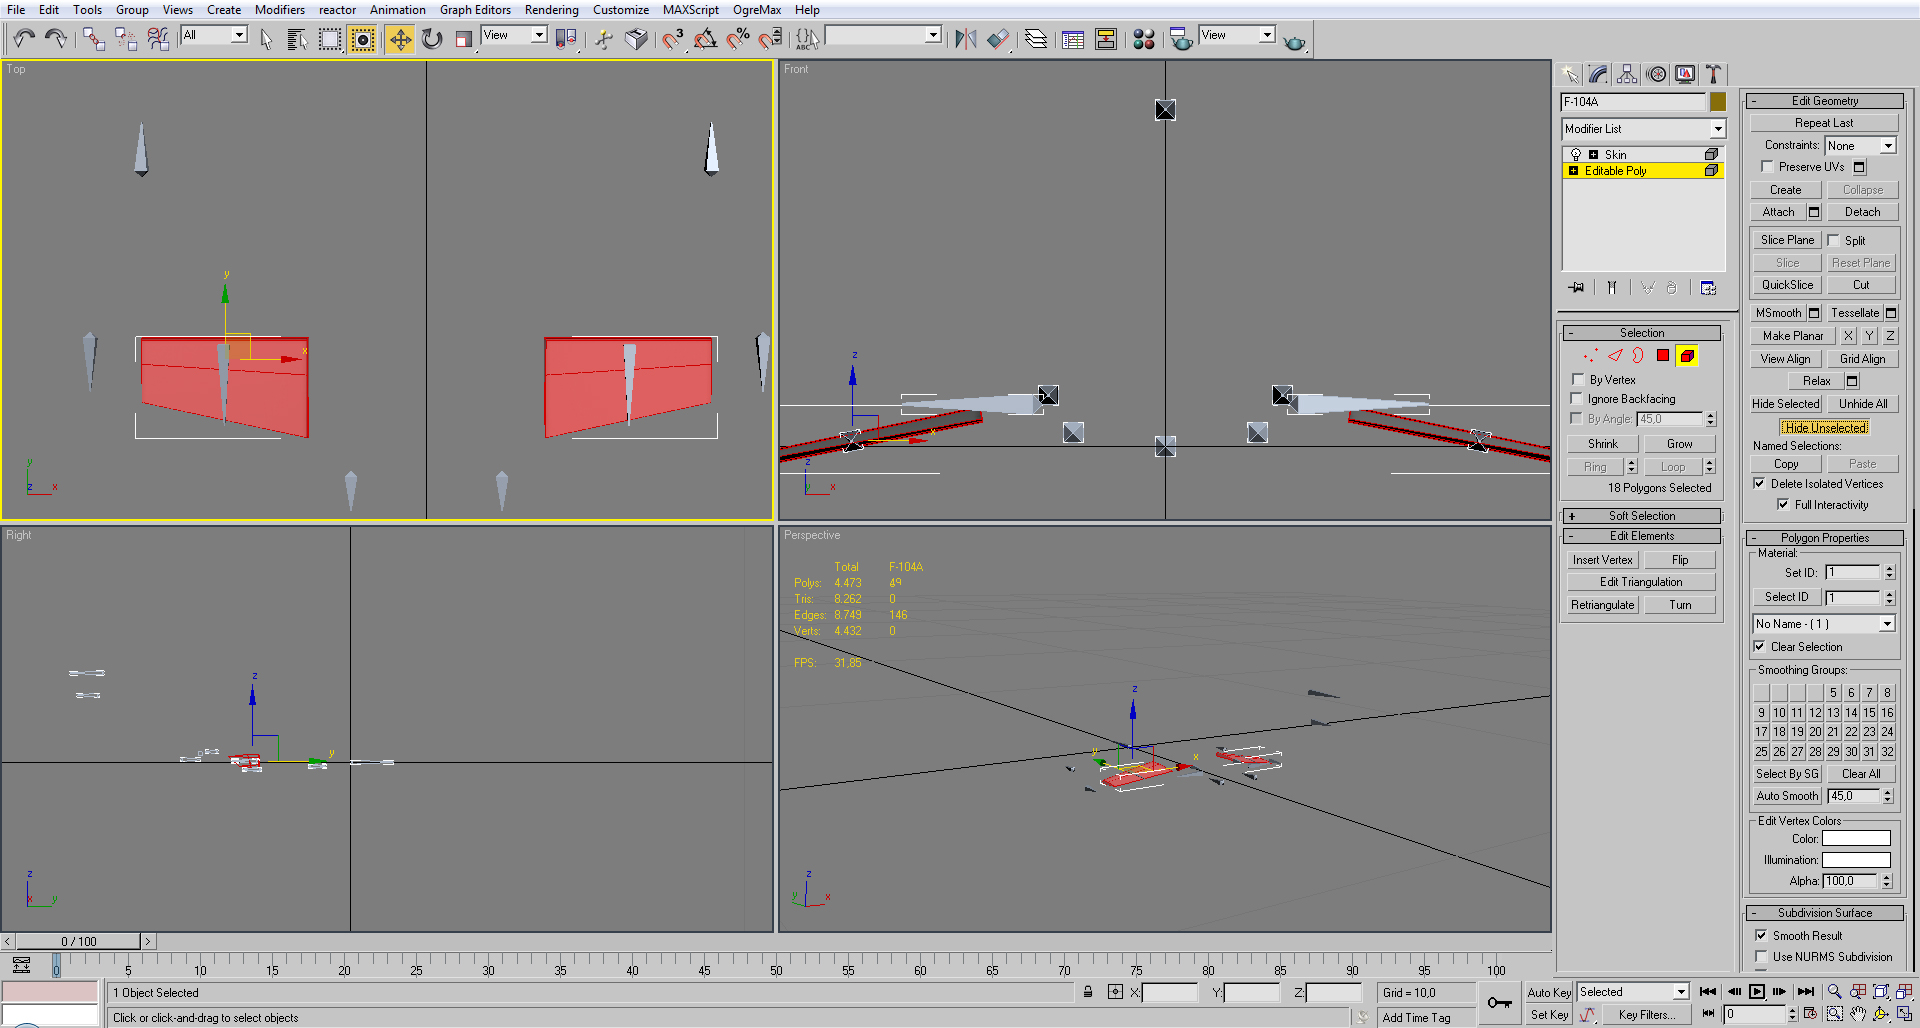
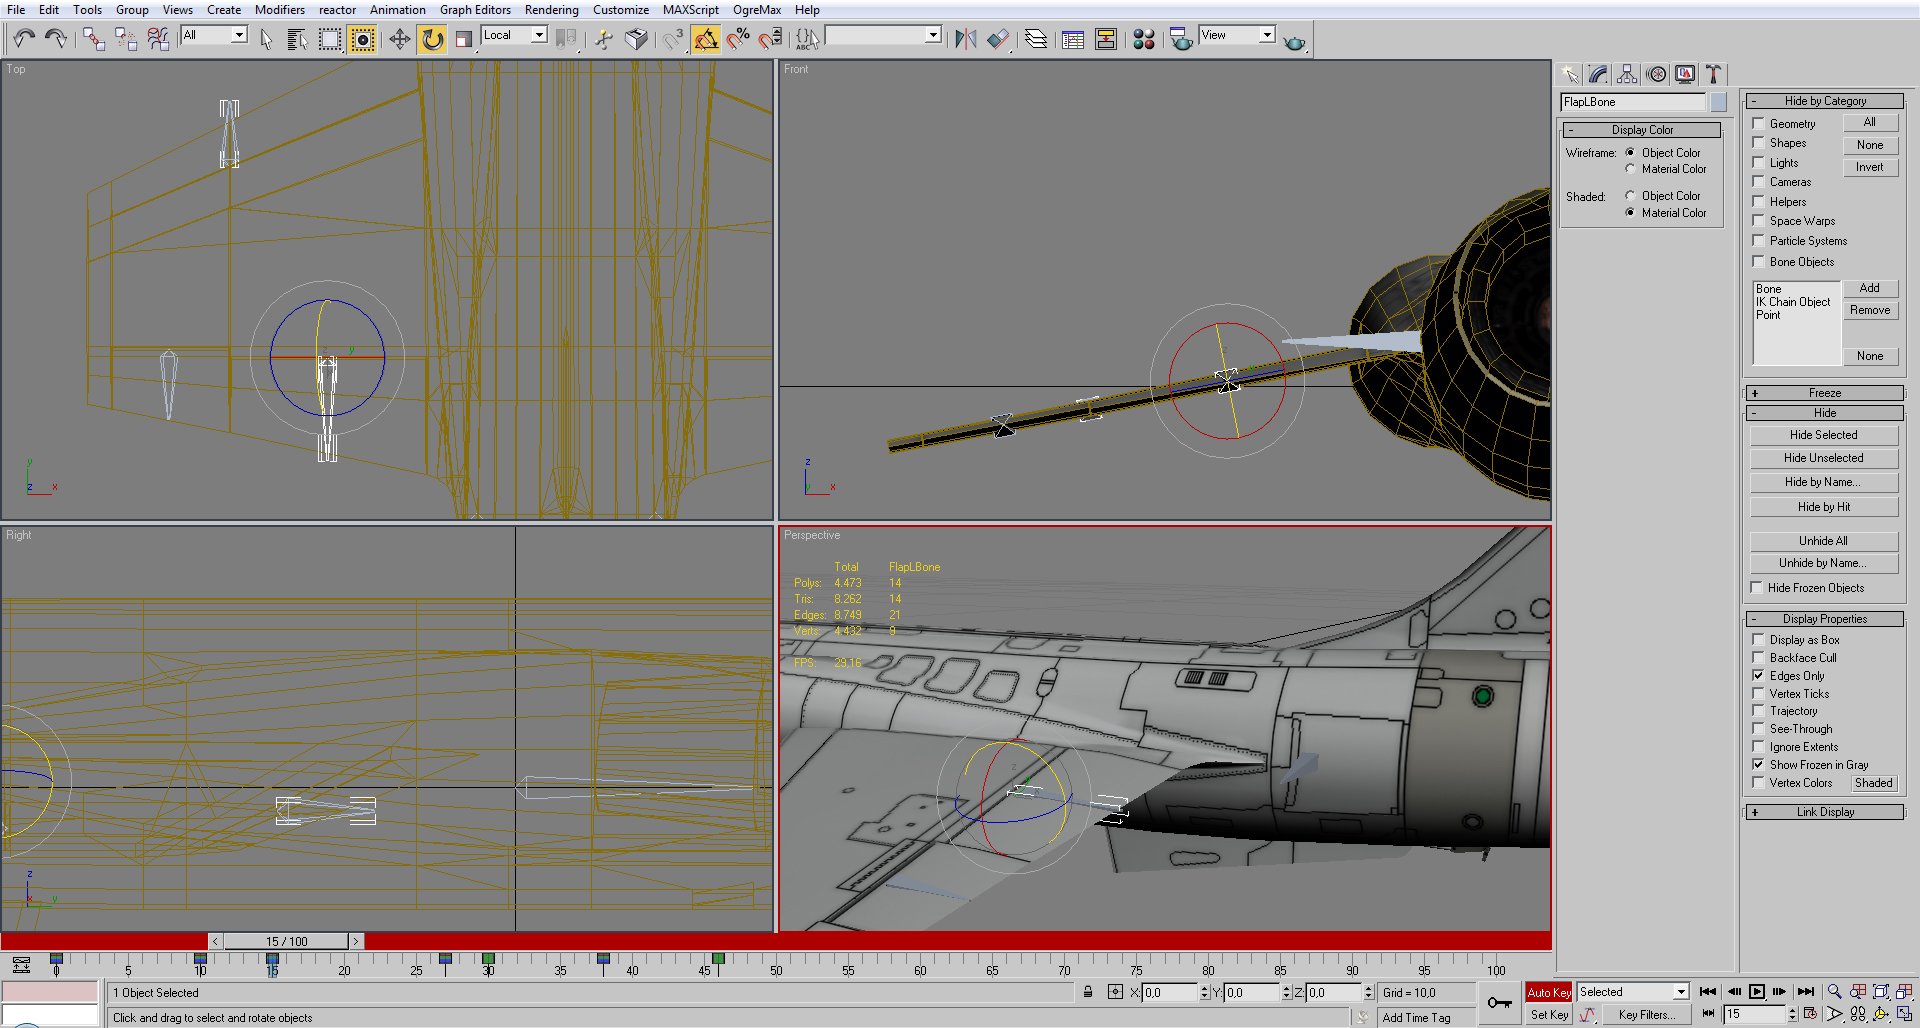
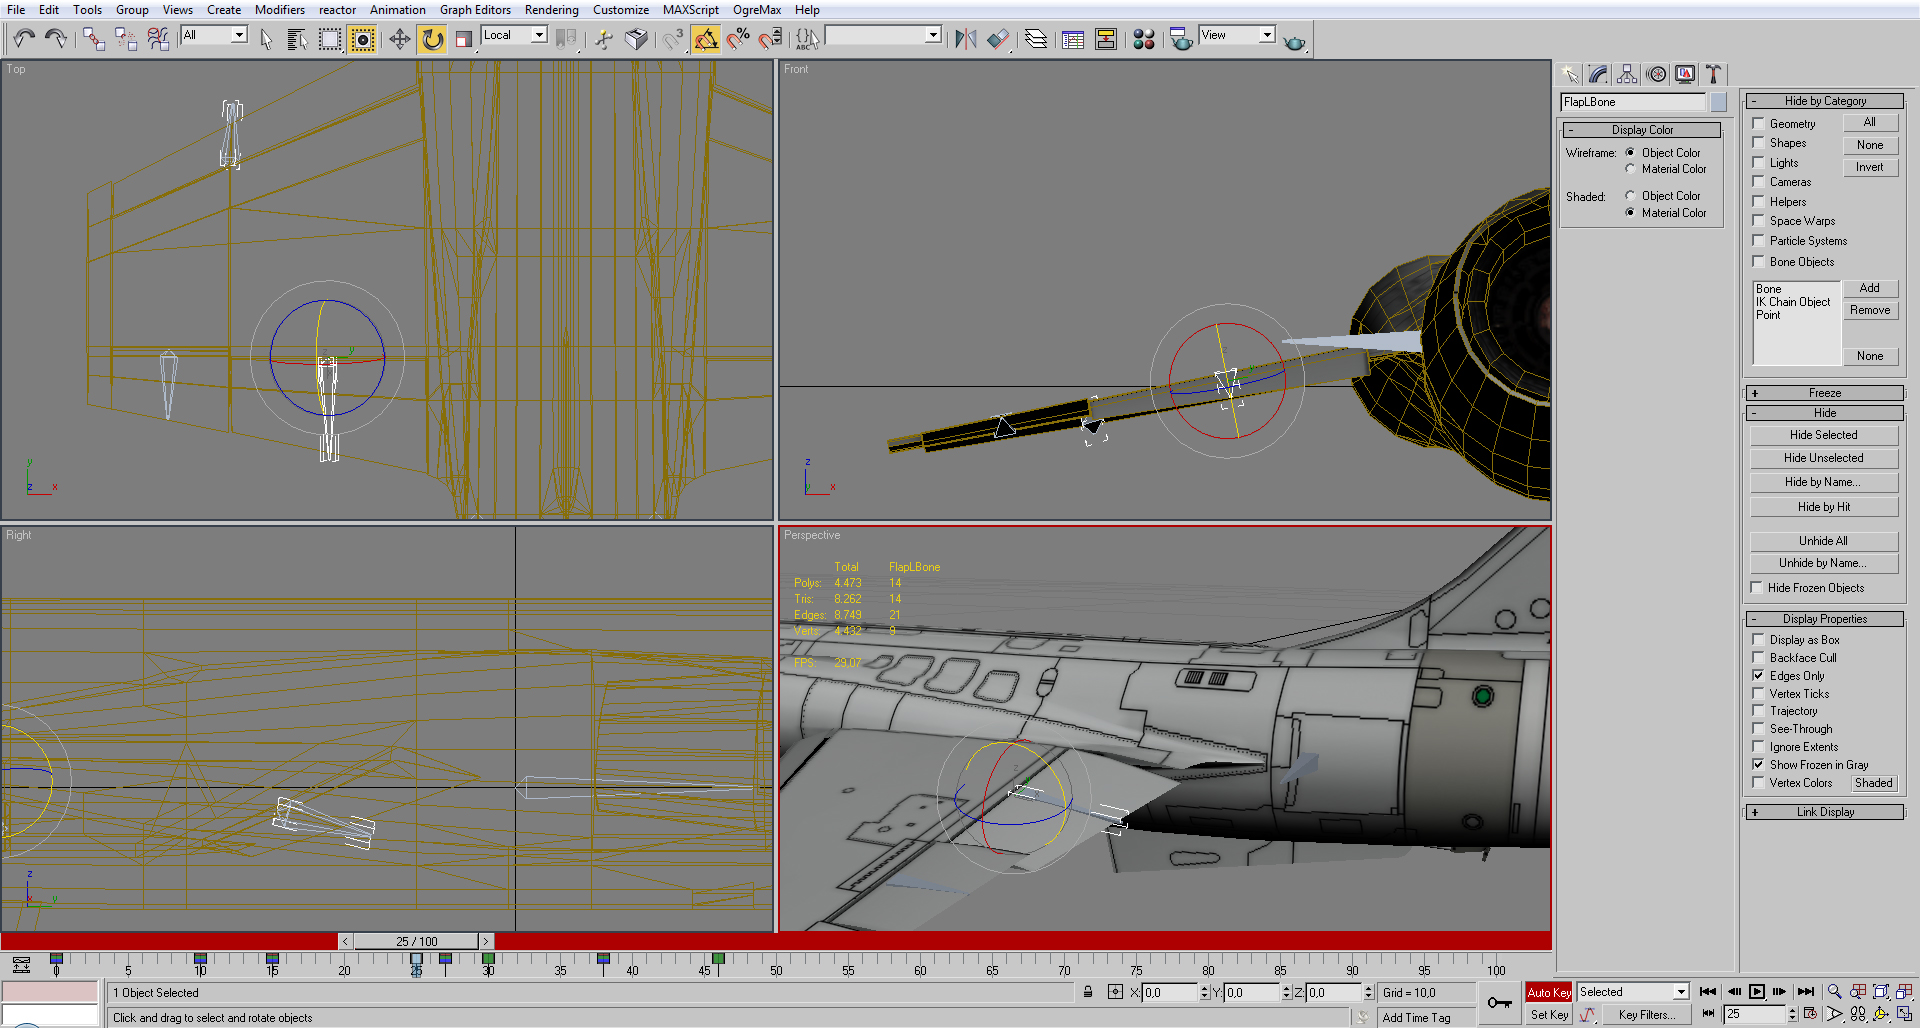
To create the first moving part select the corresponding faces (also include the faces below).
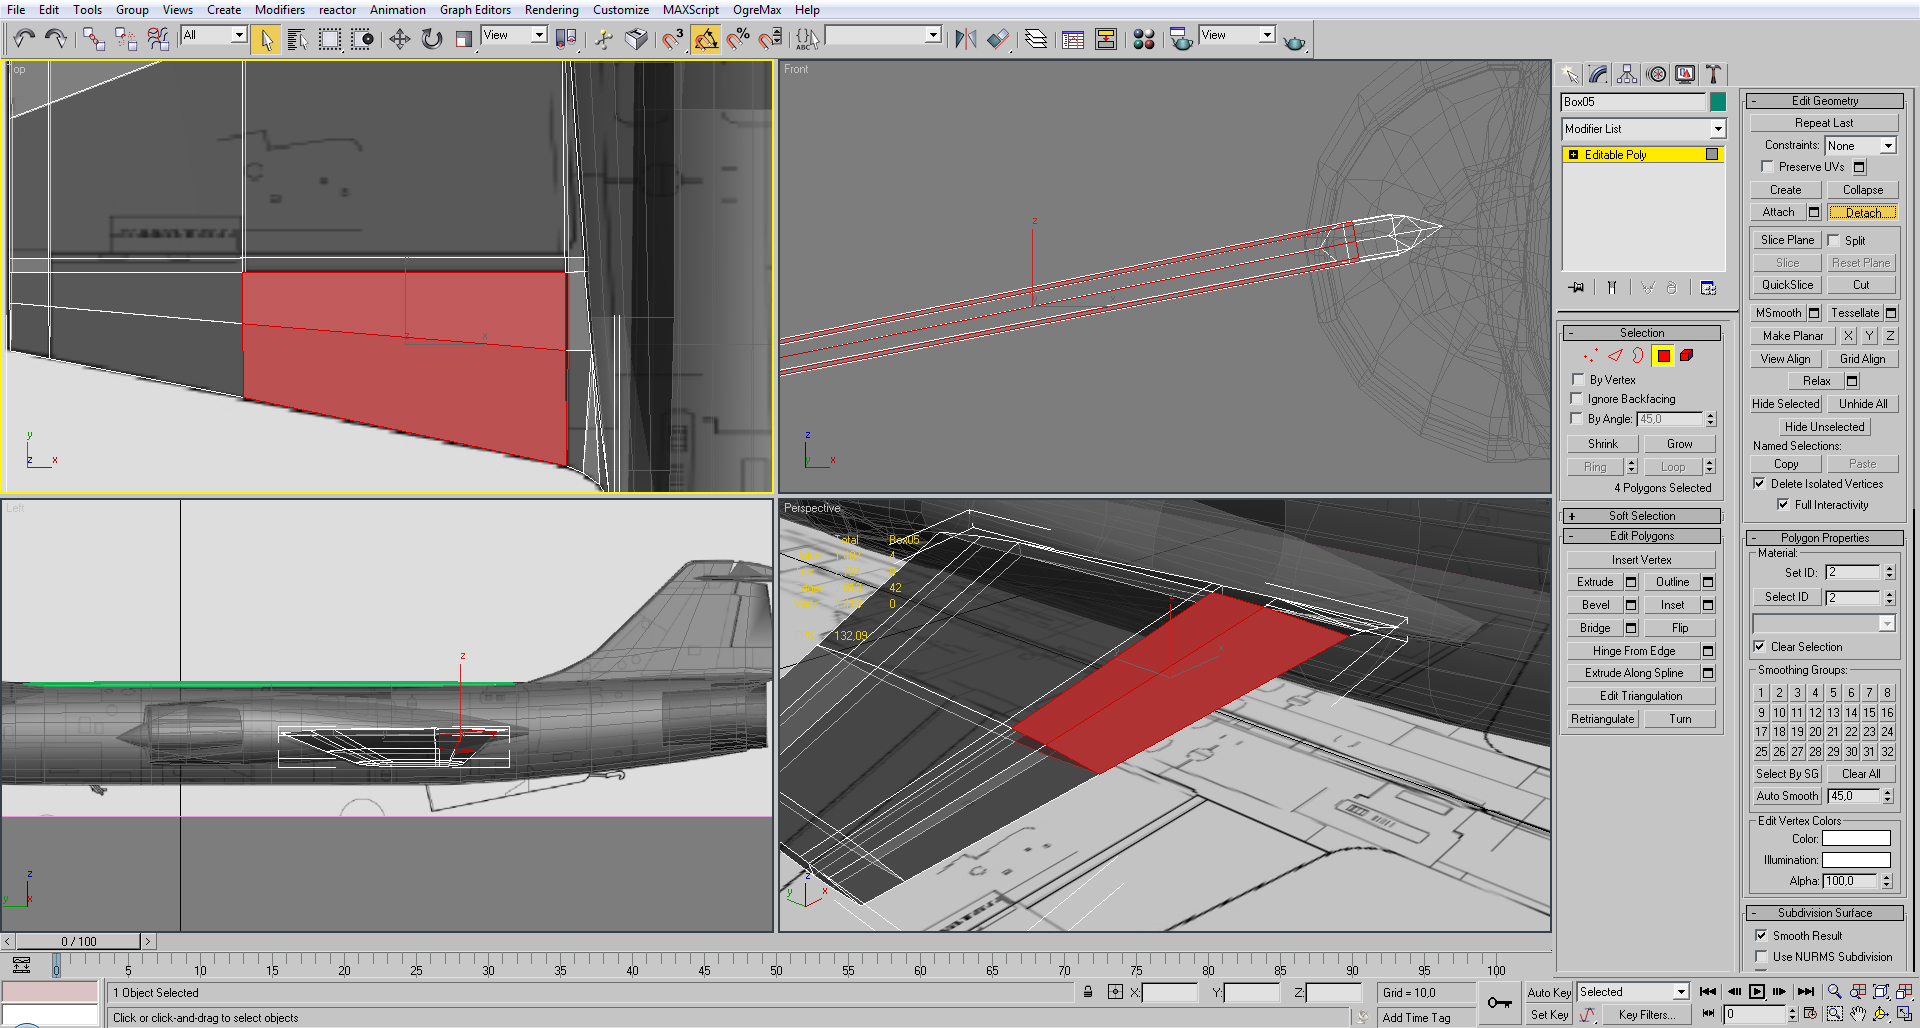
With those faces selected, hit [Deatach] to remove them from the model
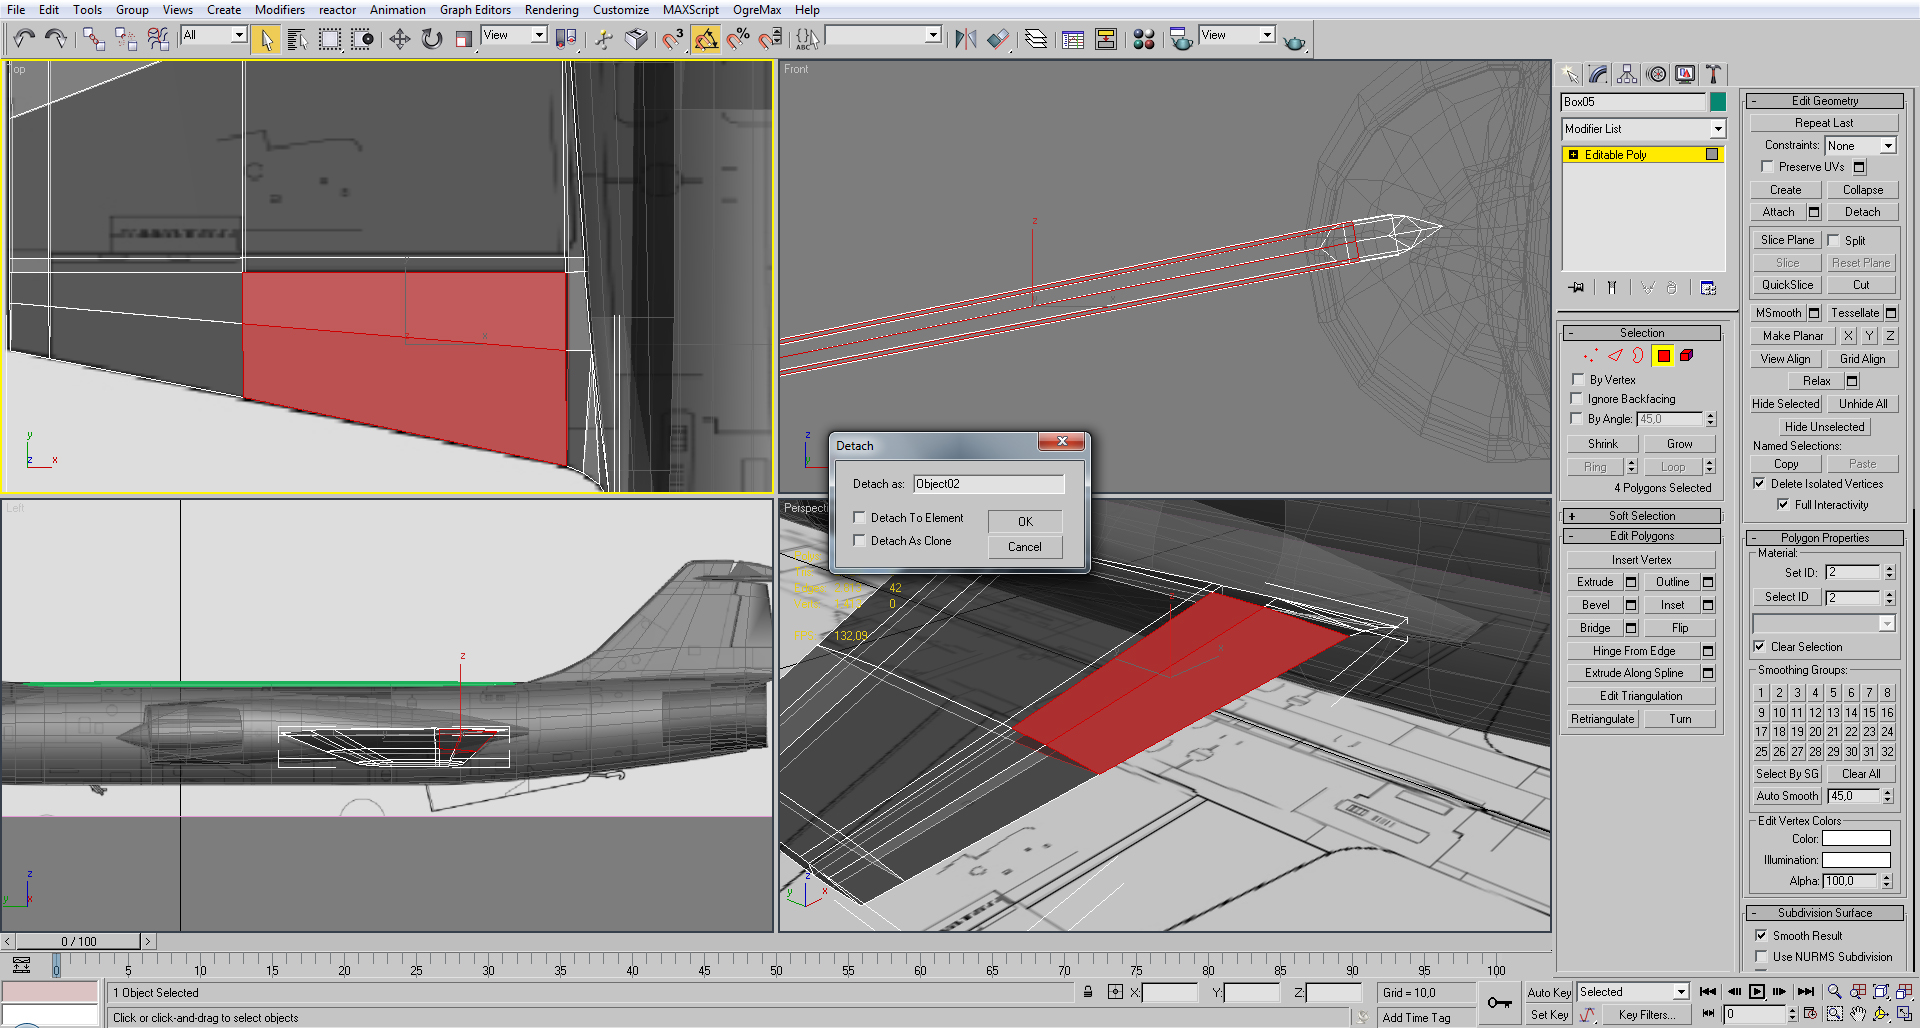
Detach it but not as a clone.

There are situations that are easier if we for with the moving part as a separate model, but not this time.
Selected [attach] and click on the moving part. We did this do brake the connections with the other faces. (There are other ways to do this)
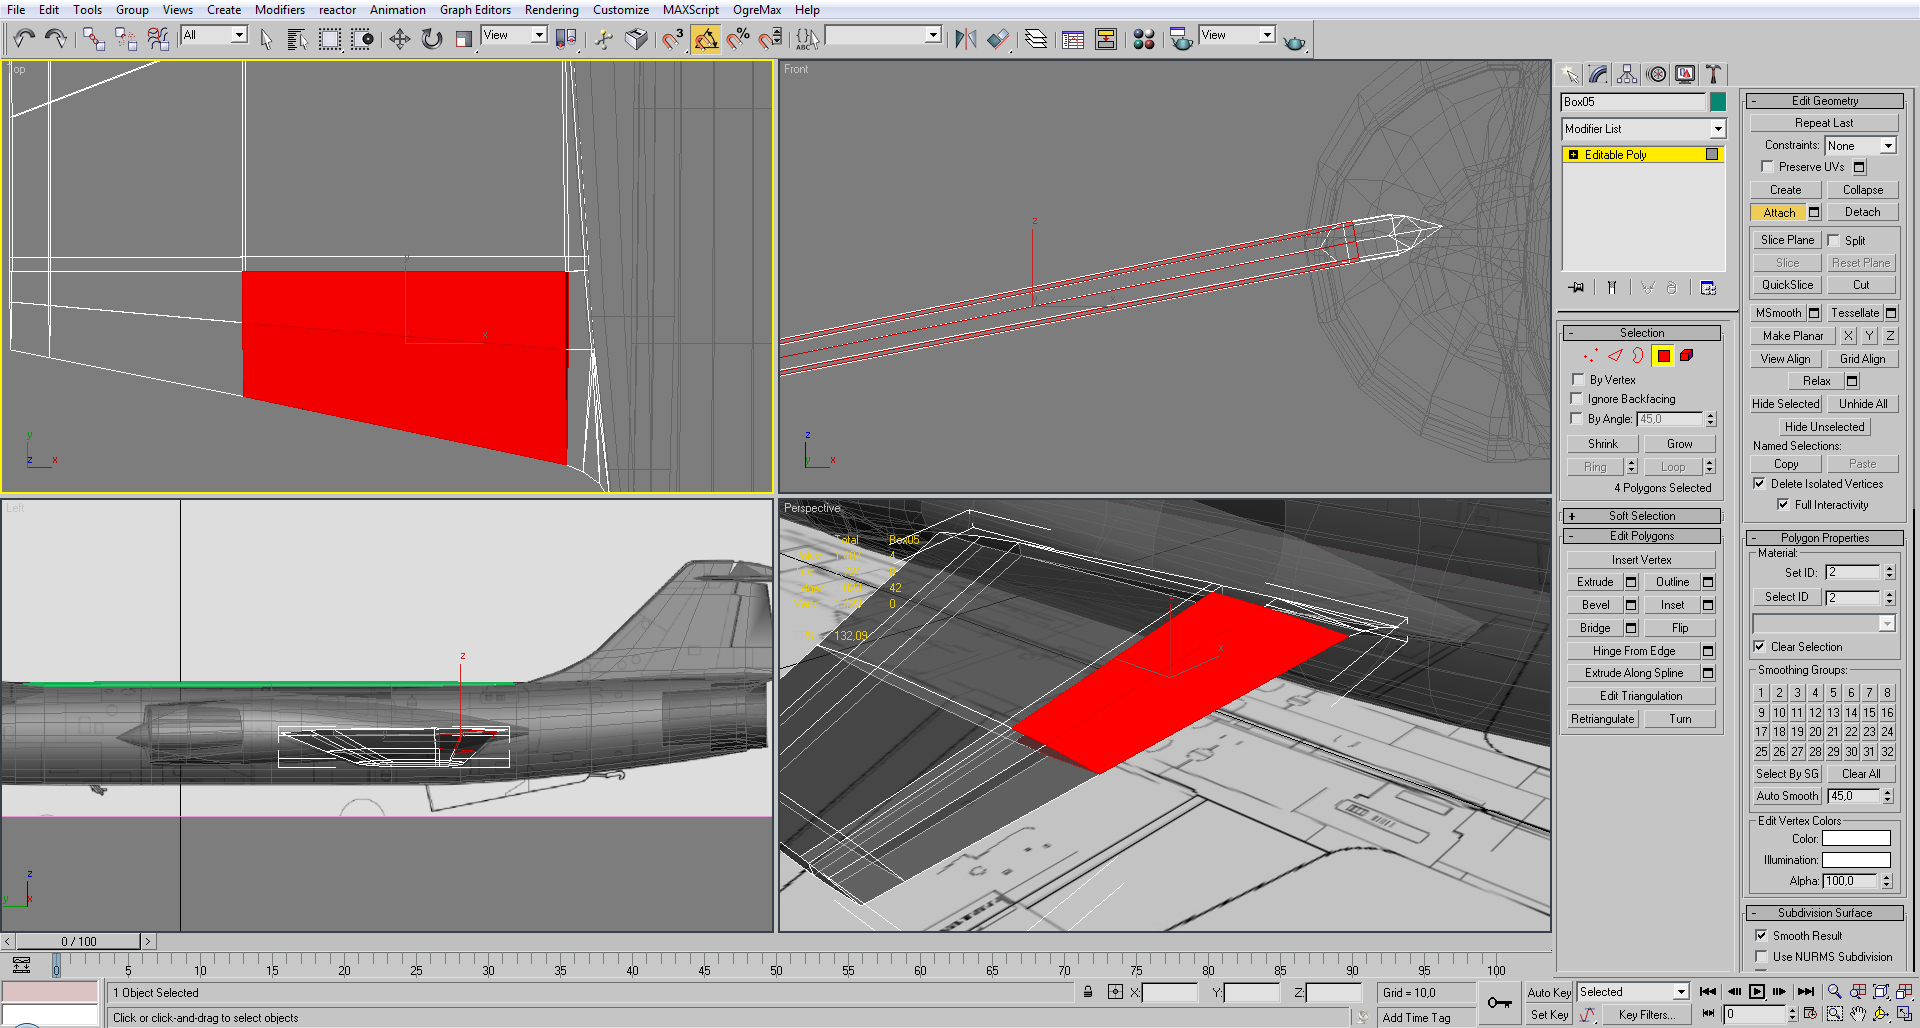
Now the moving part belongs again to the model.
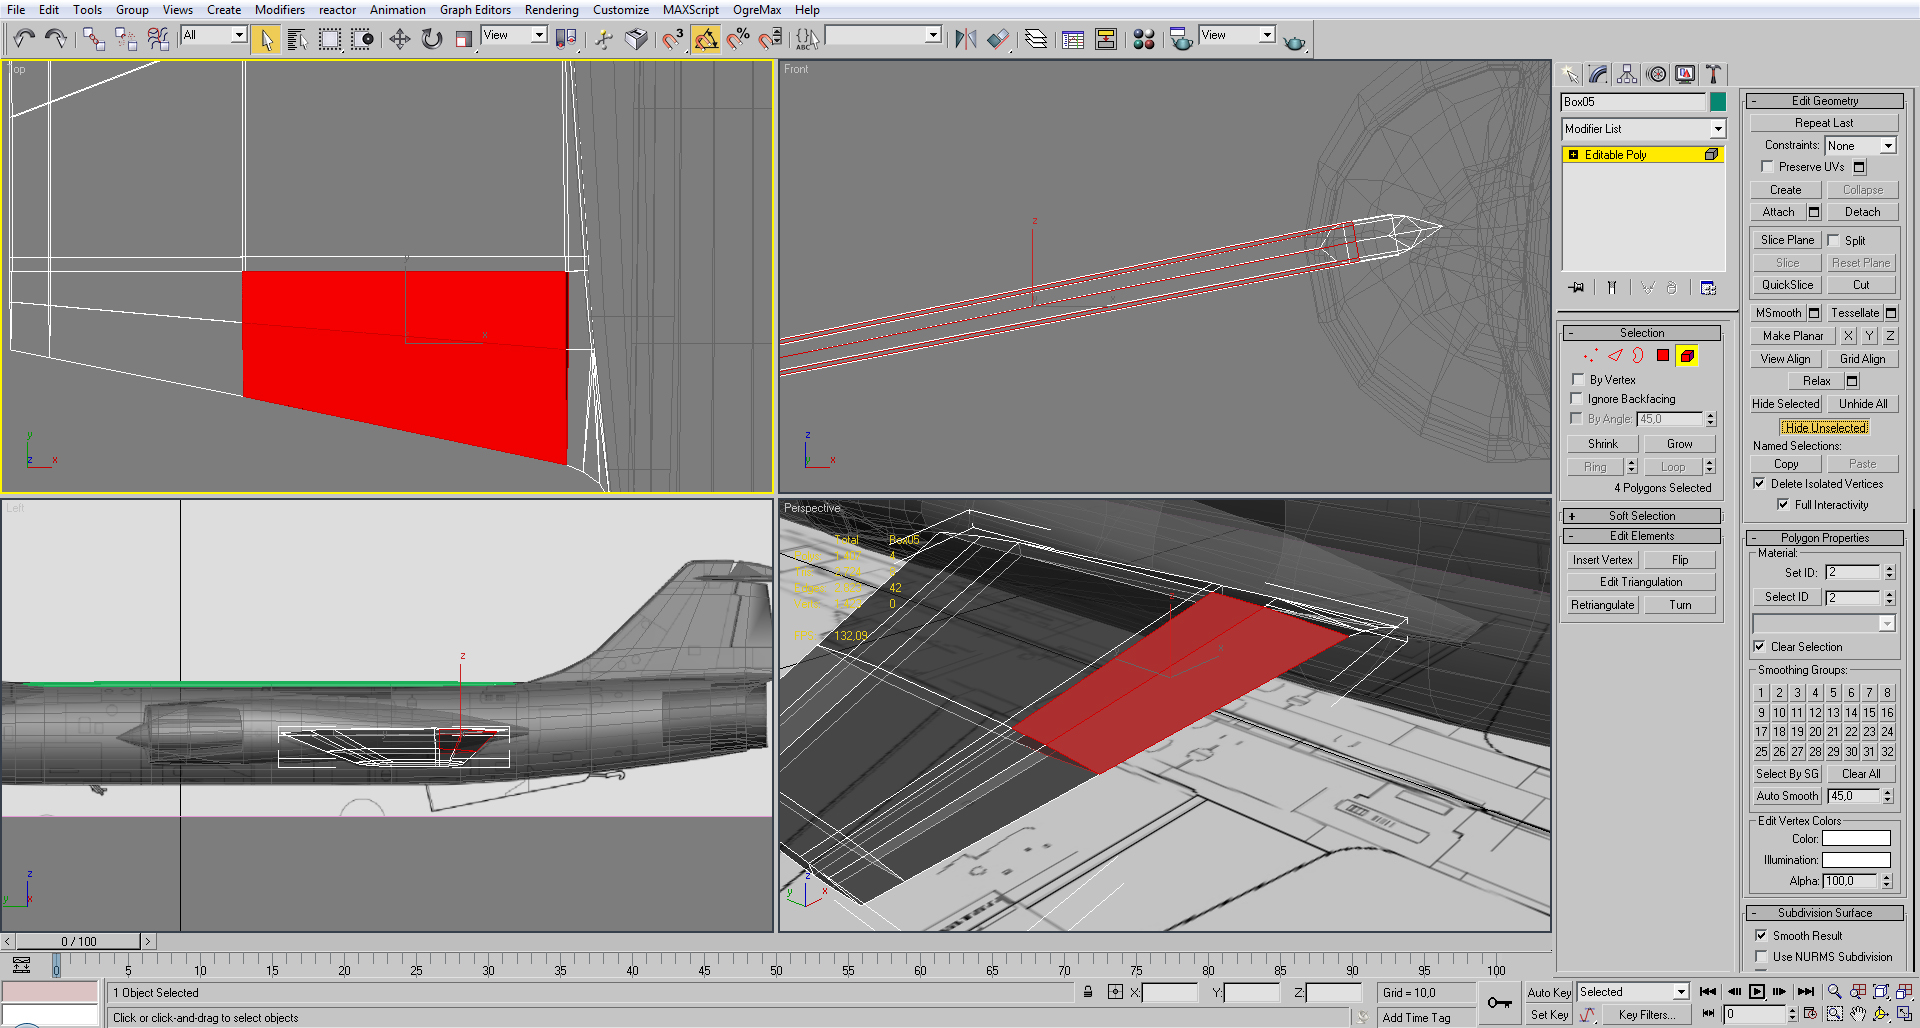
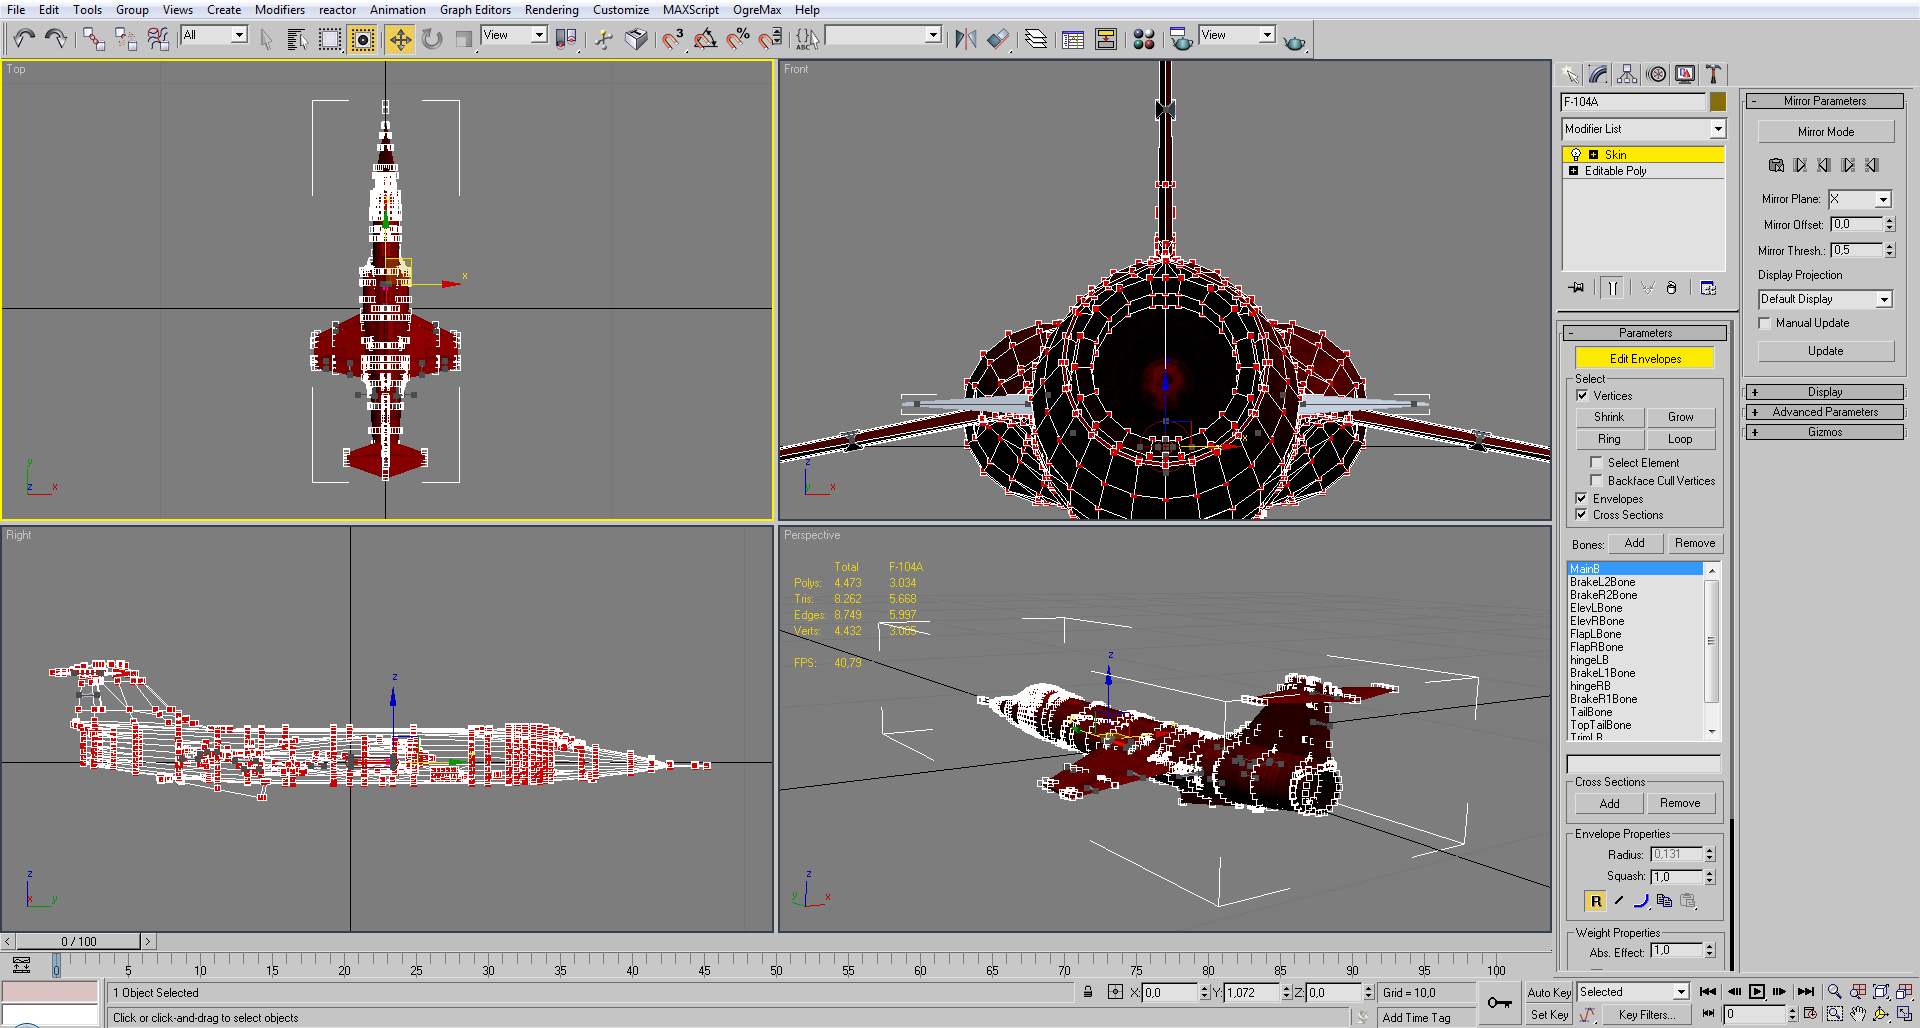
With that part selected, hit [Hide unselected]

With only that part visible, create the missing faces on the sides of the parte using [create]
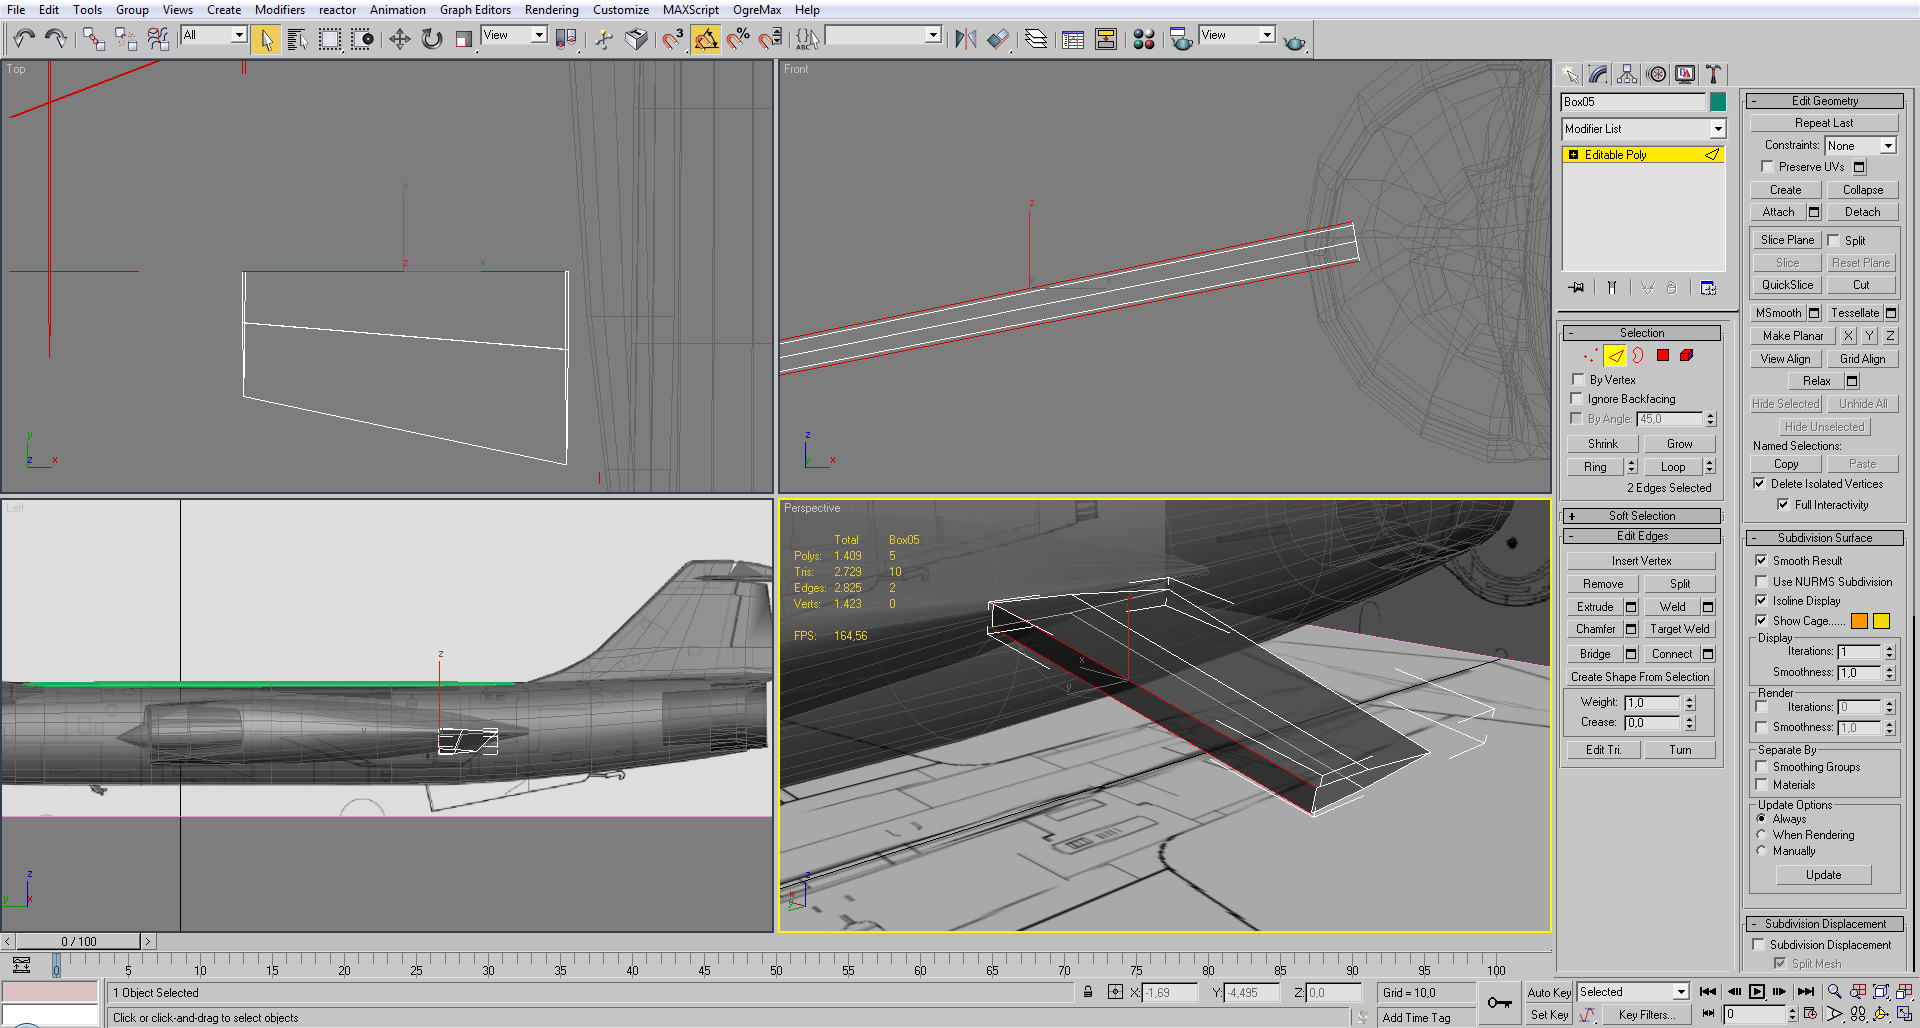
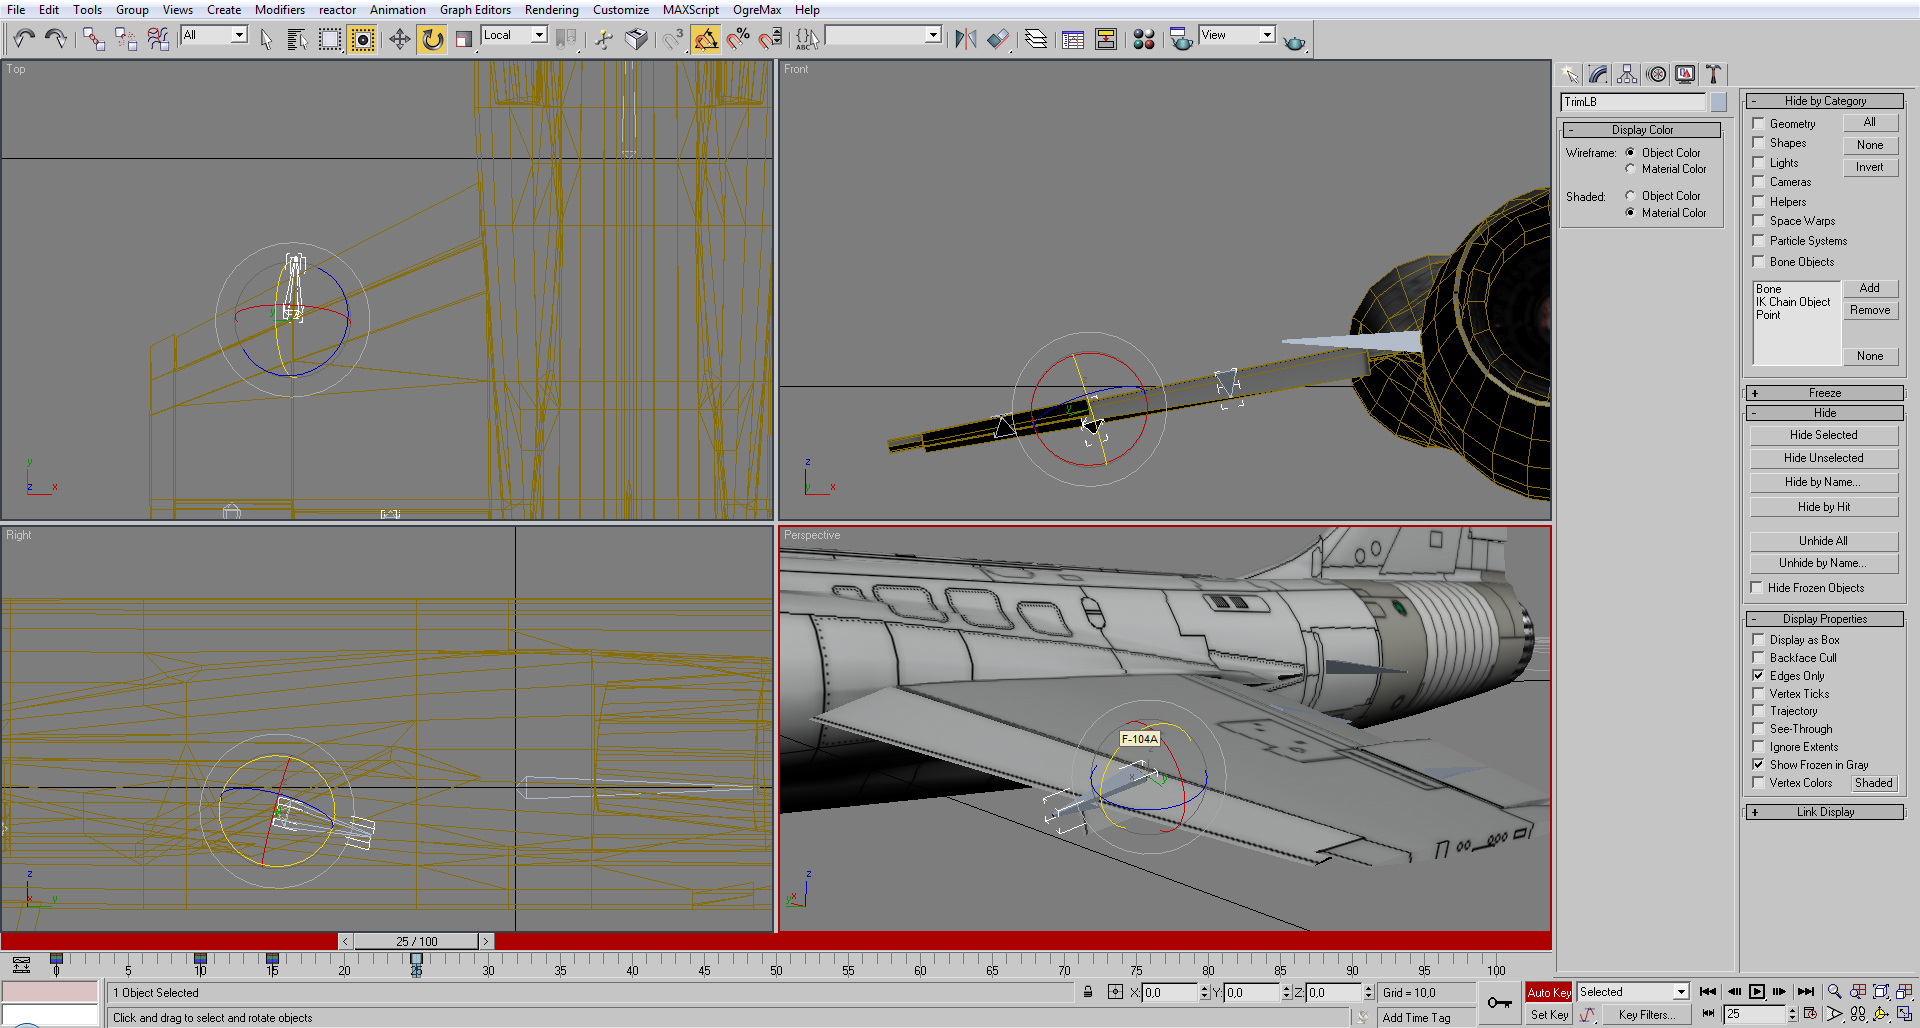
After creating the faces, select both edges were it should pivot.
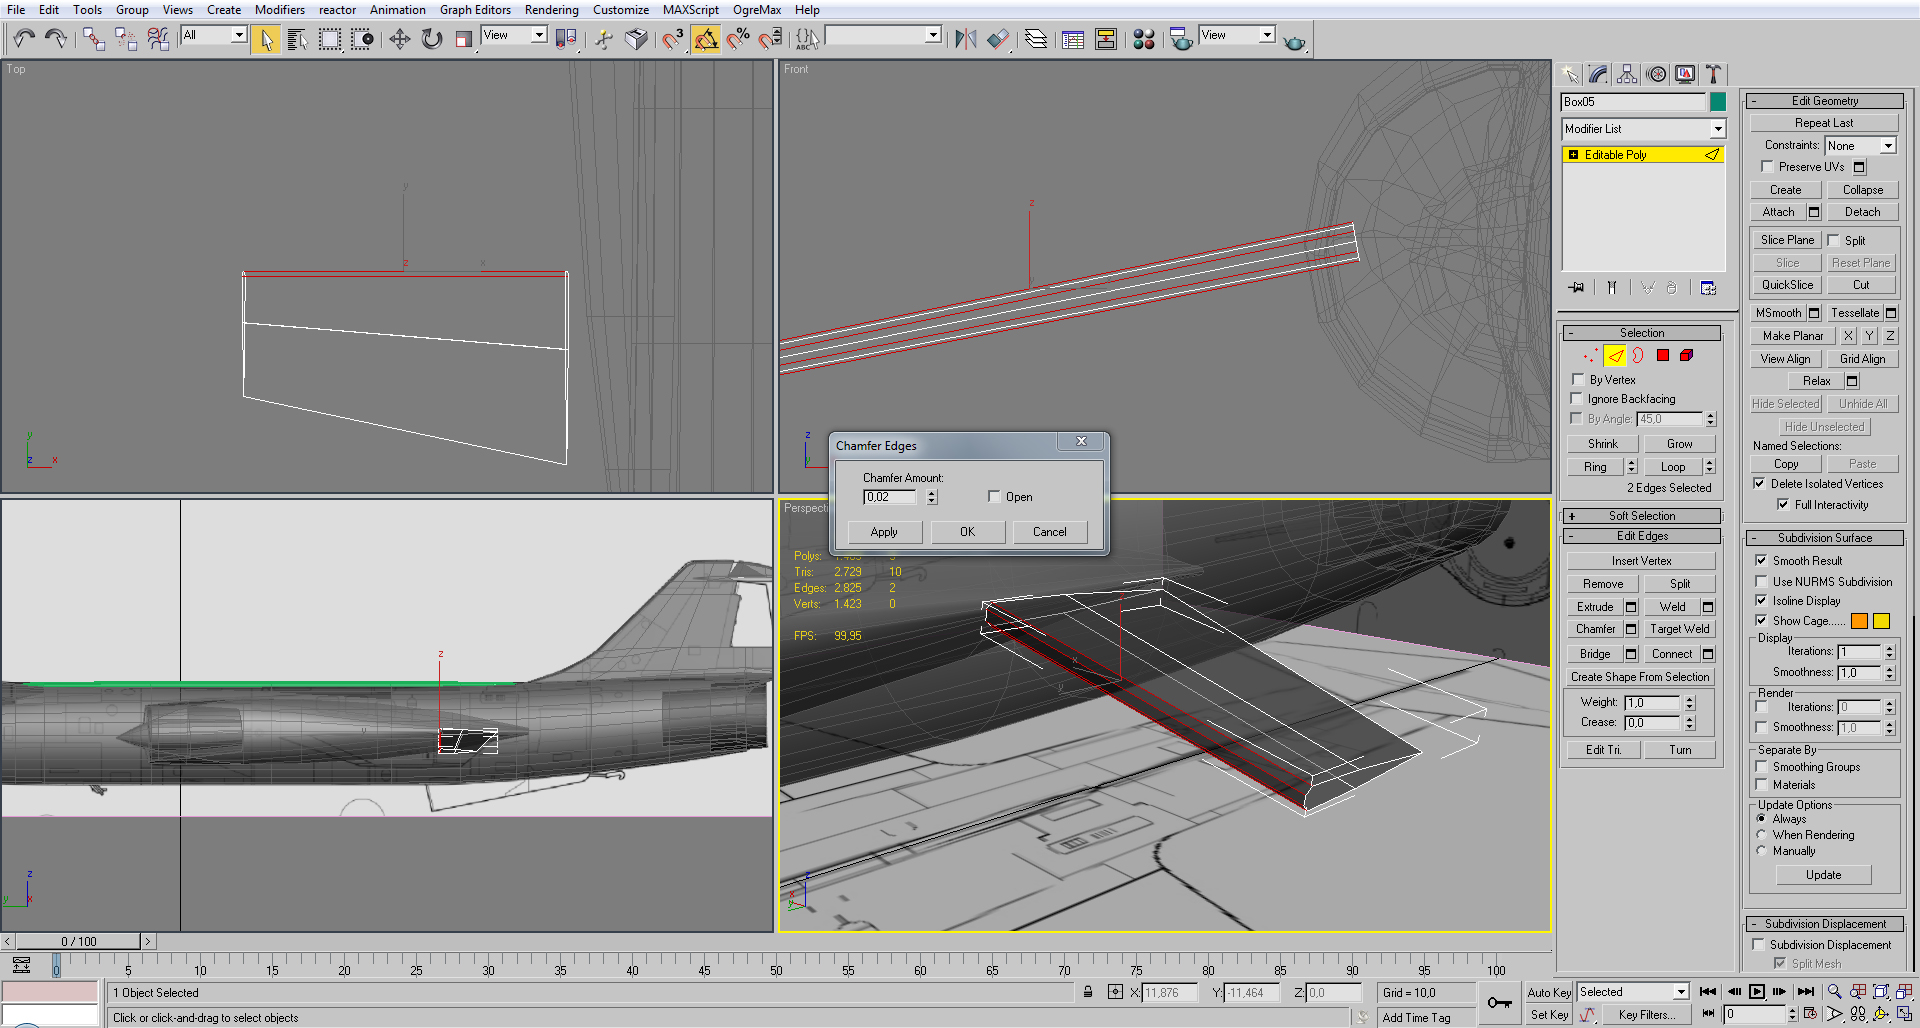
Apply a chamfer, the value depends greatly depends on the model, the intentions is to remove the sharp edges.
After the chamfer is done, press [Unhide all]

No with the wing selected, press [hide unselected].
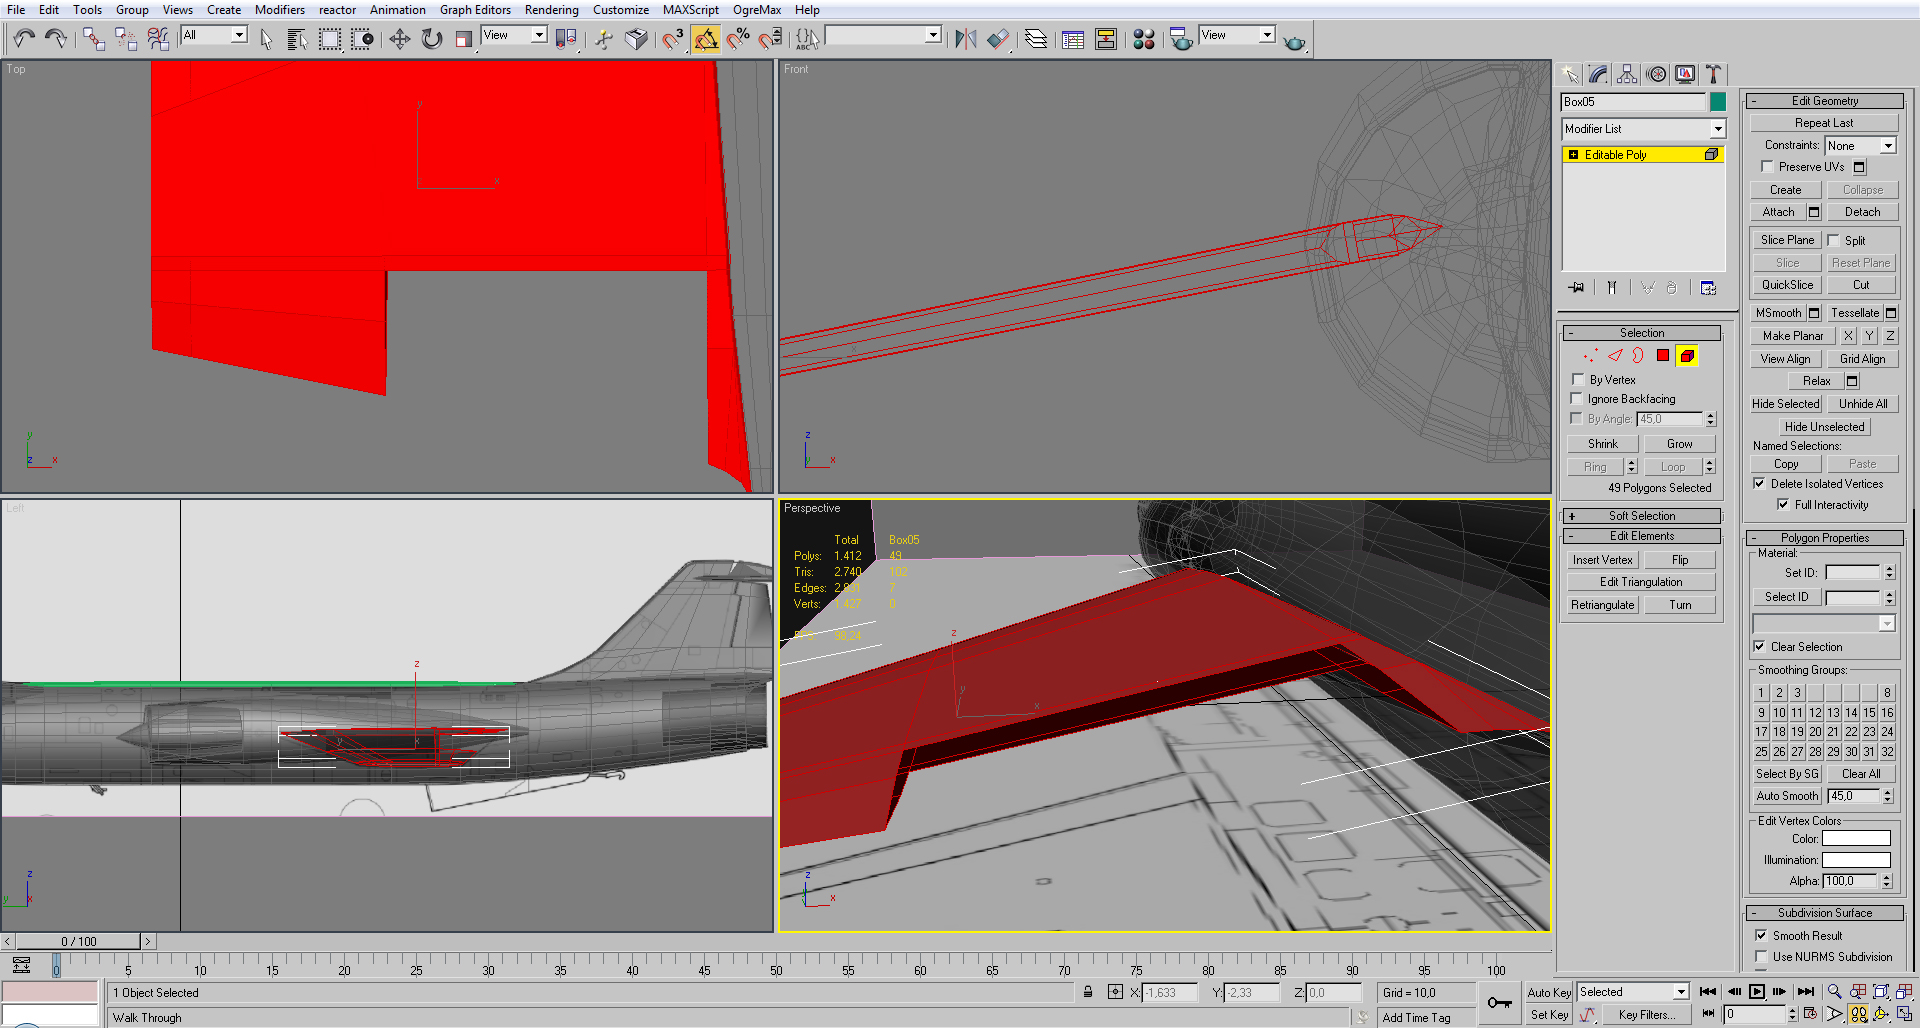
As you can see there is a hole in the wing, were it was the moving part before, fill it using [crate] in the faces option.
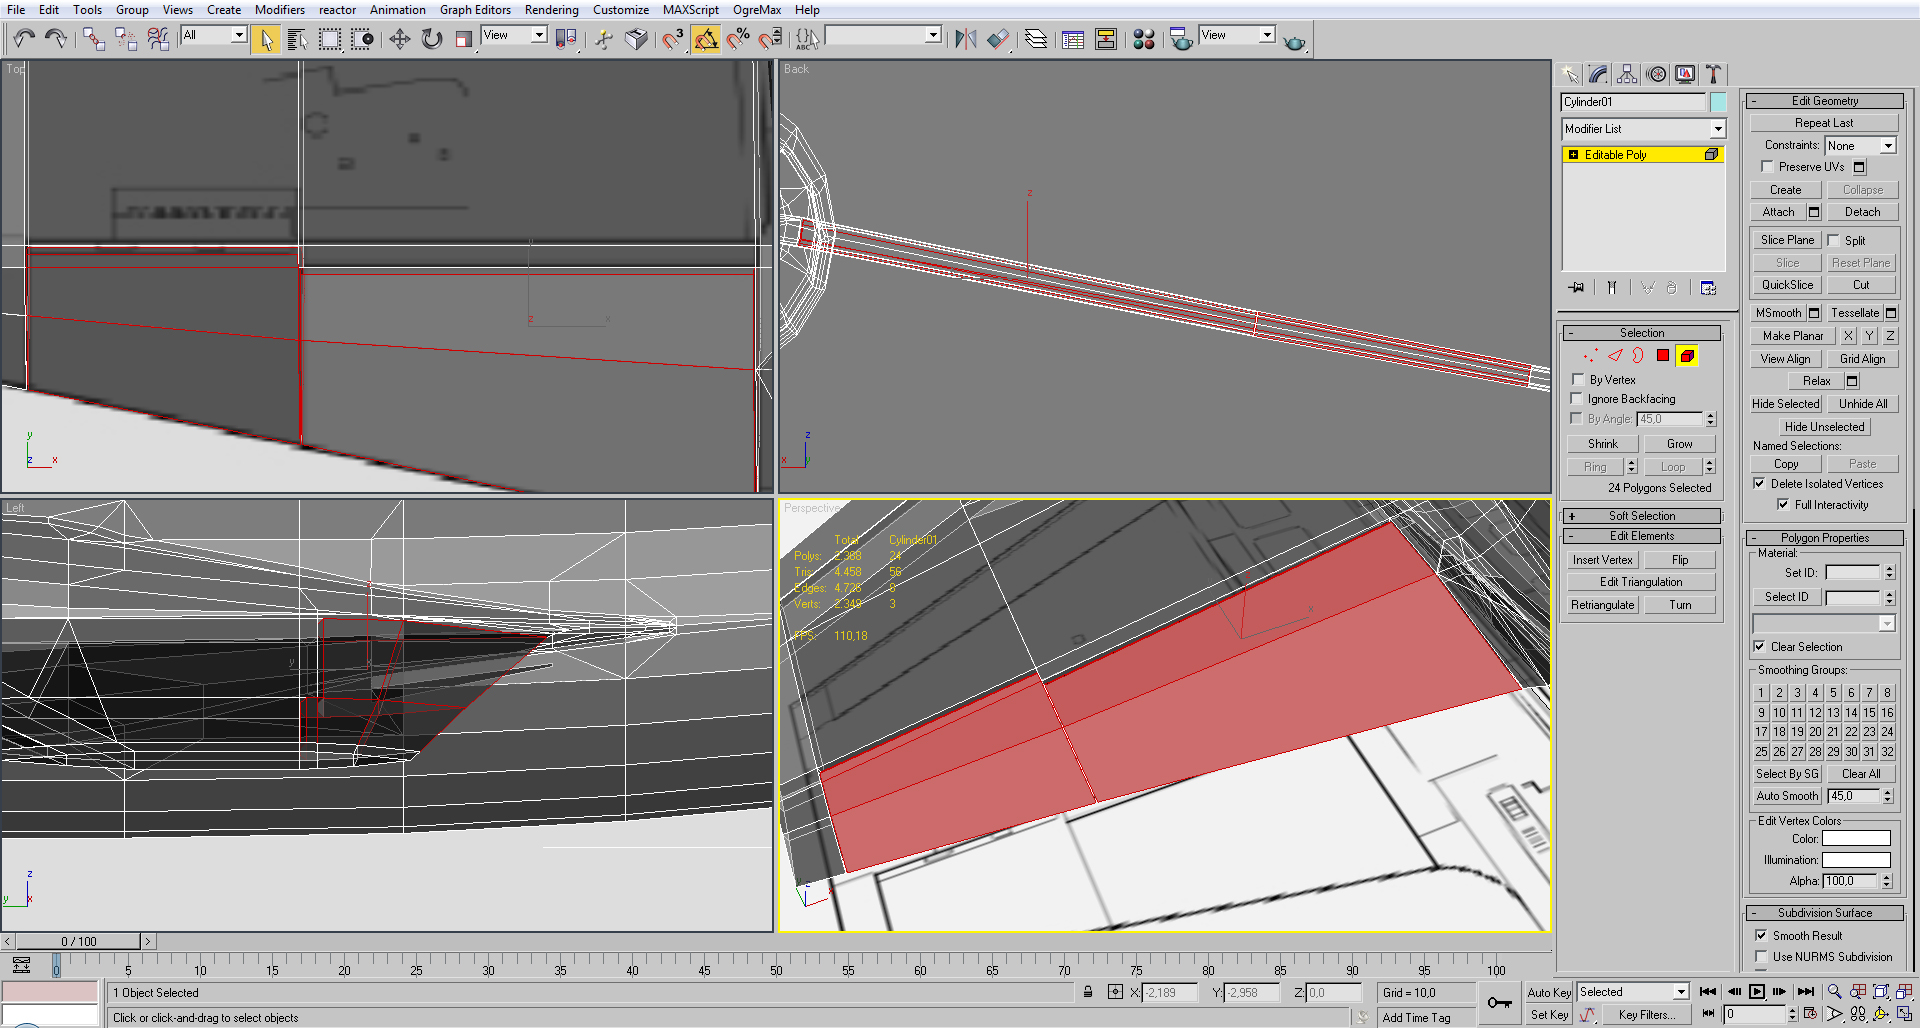
Do the same to all other moving parts.
(Note as an exception, do not apply the chamfer to the Leading edge)
![]()
This is a missing step in the other tutorial, is how should be named the materials.
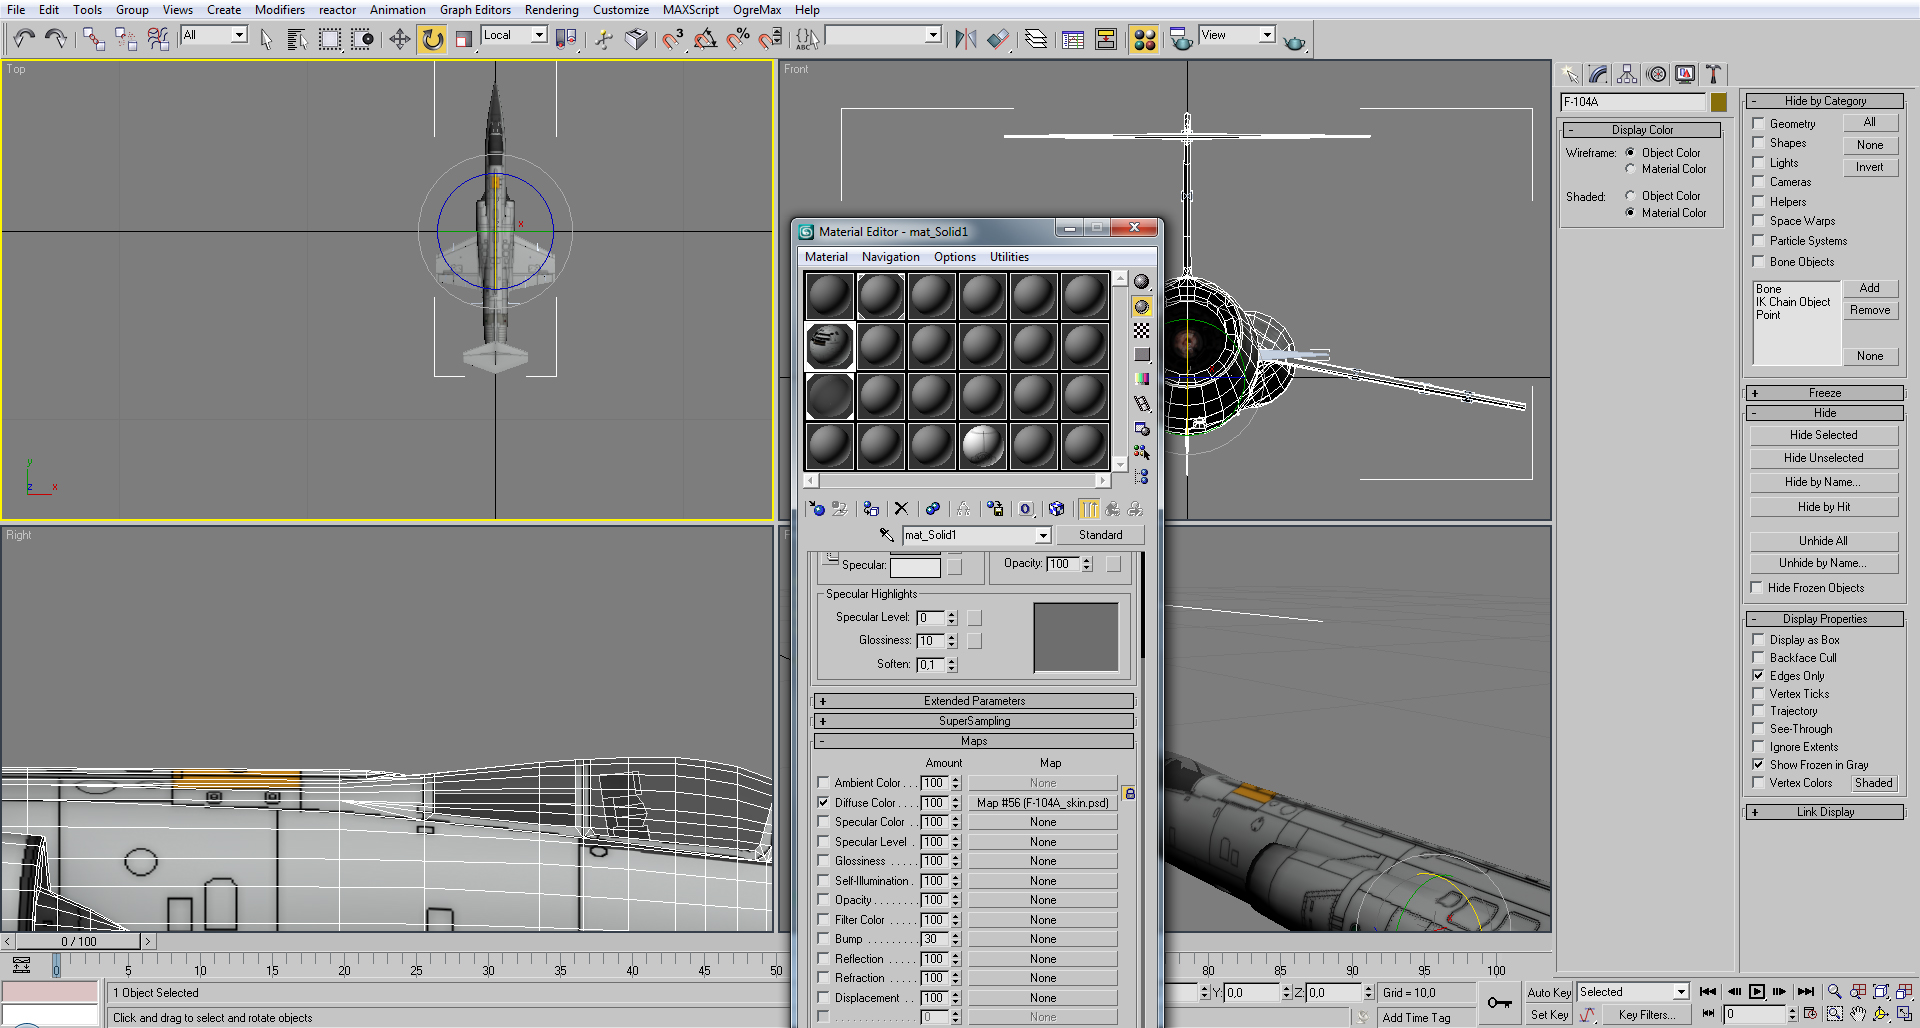
For the cel shaded solid material name them as [mat_Solid#] starting the number with 1.
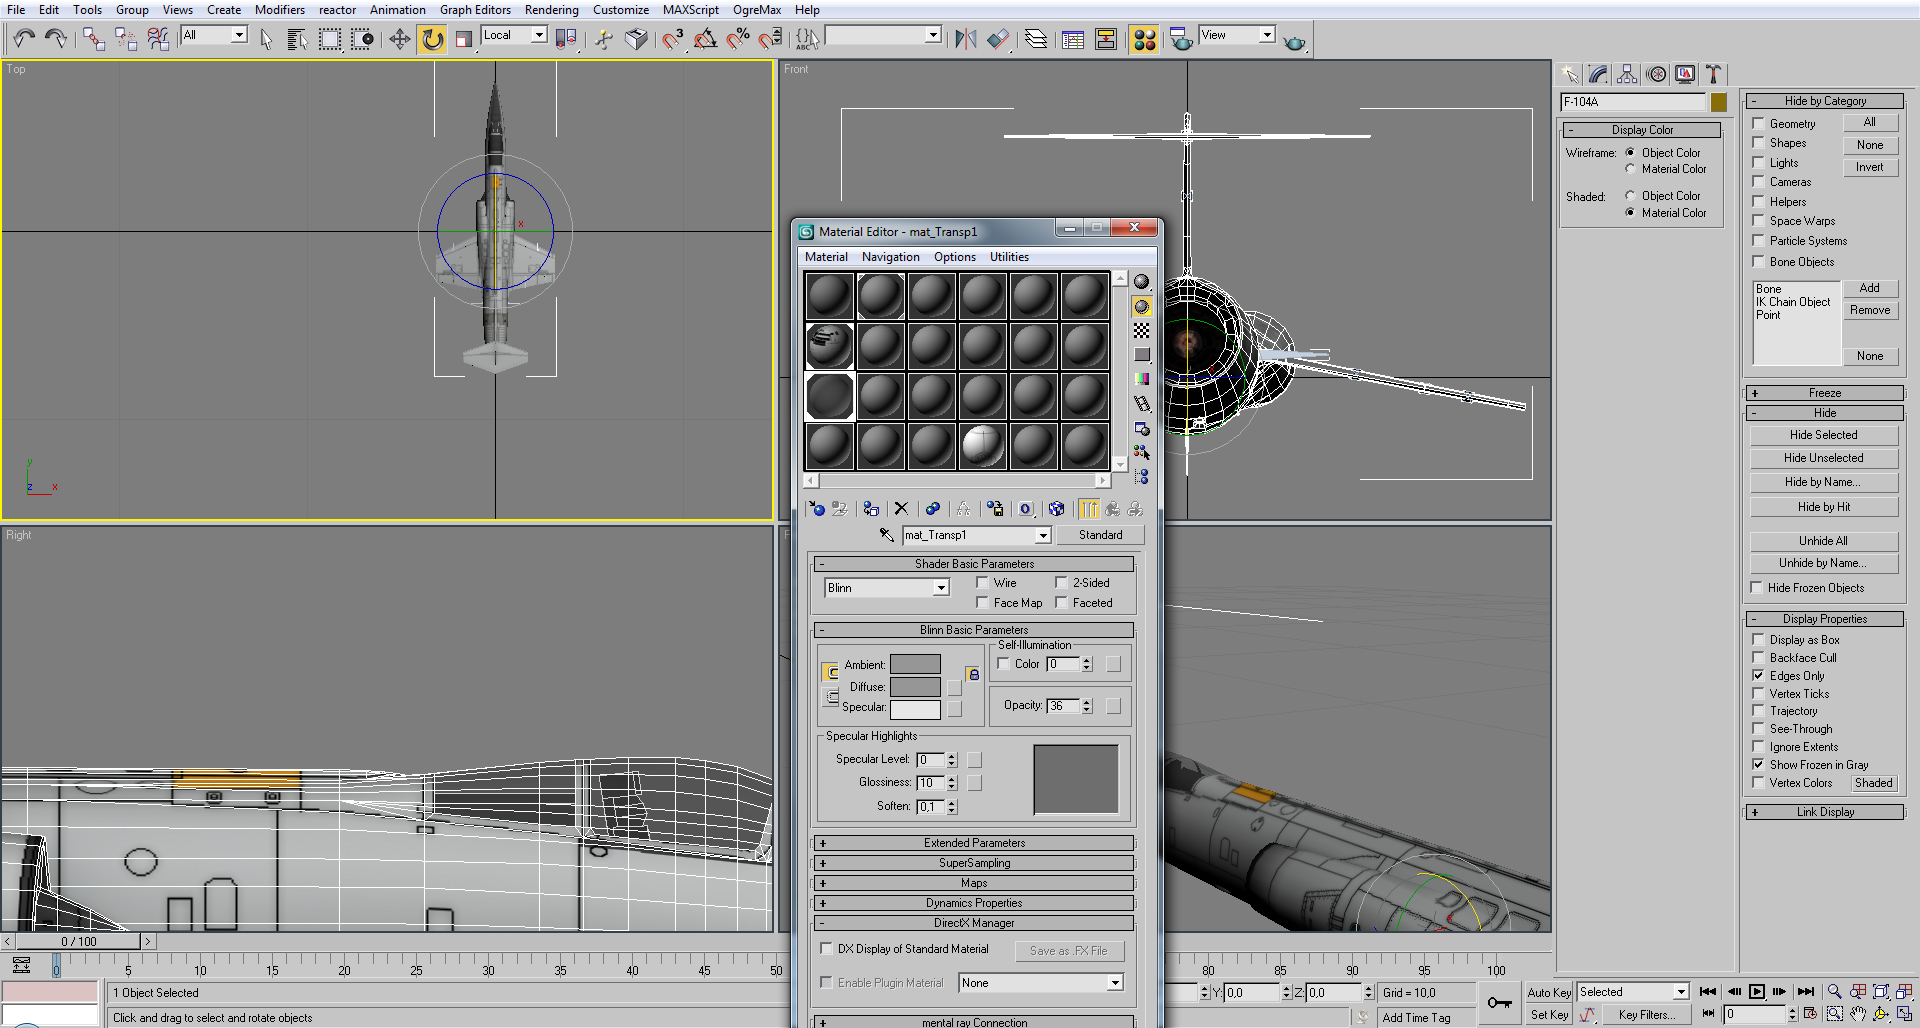
For windows or other materials with interpolated alpha name them as [mat_Transp#] starting the number with 1
For fences or other materials with binary alpha name them as [mat_Alpha #] starting the number with 1.
For interior texture or materials that are independent from the selected skin [mat_CpitTransp#] [mat_CpitAlpha #] [mat_CpitAlpha #] starting the number with 1
![]()
This part was briefly explained in the other tutorial, there is also some other tutorials that approach this subject, but this one will try to be even more detailed.
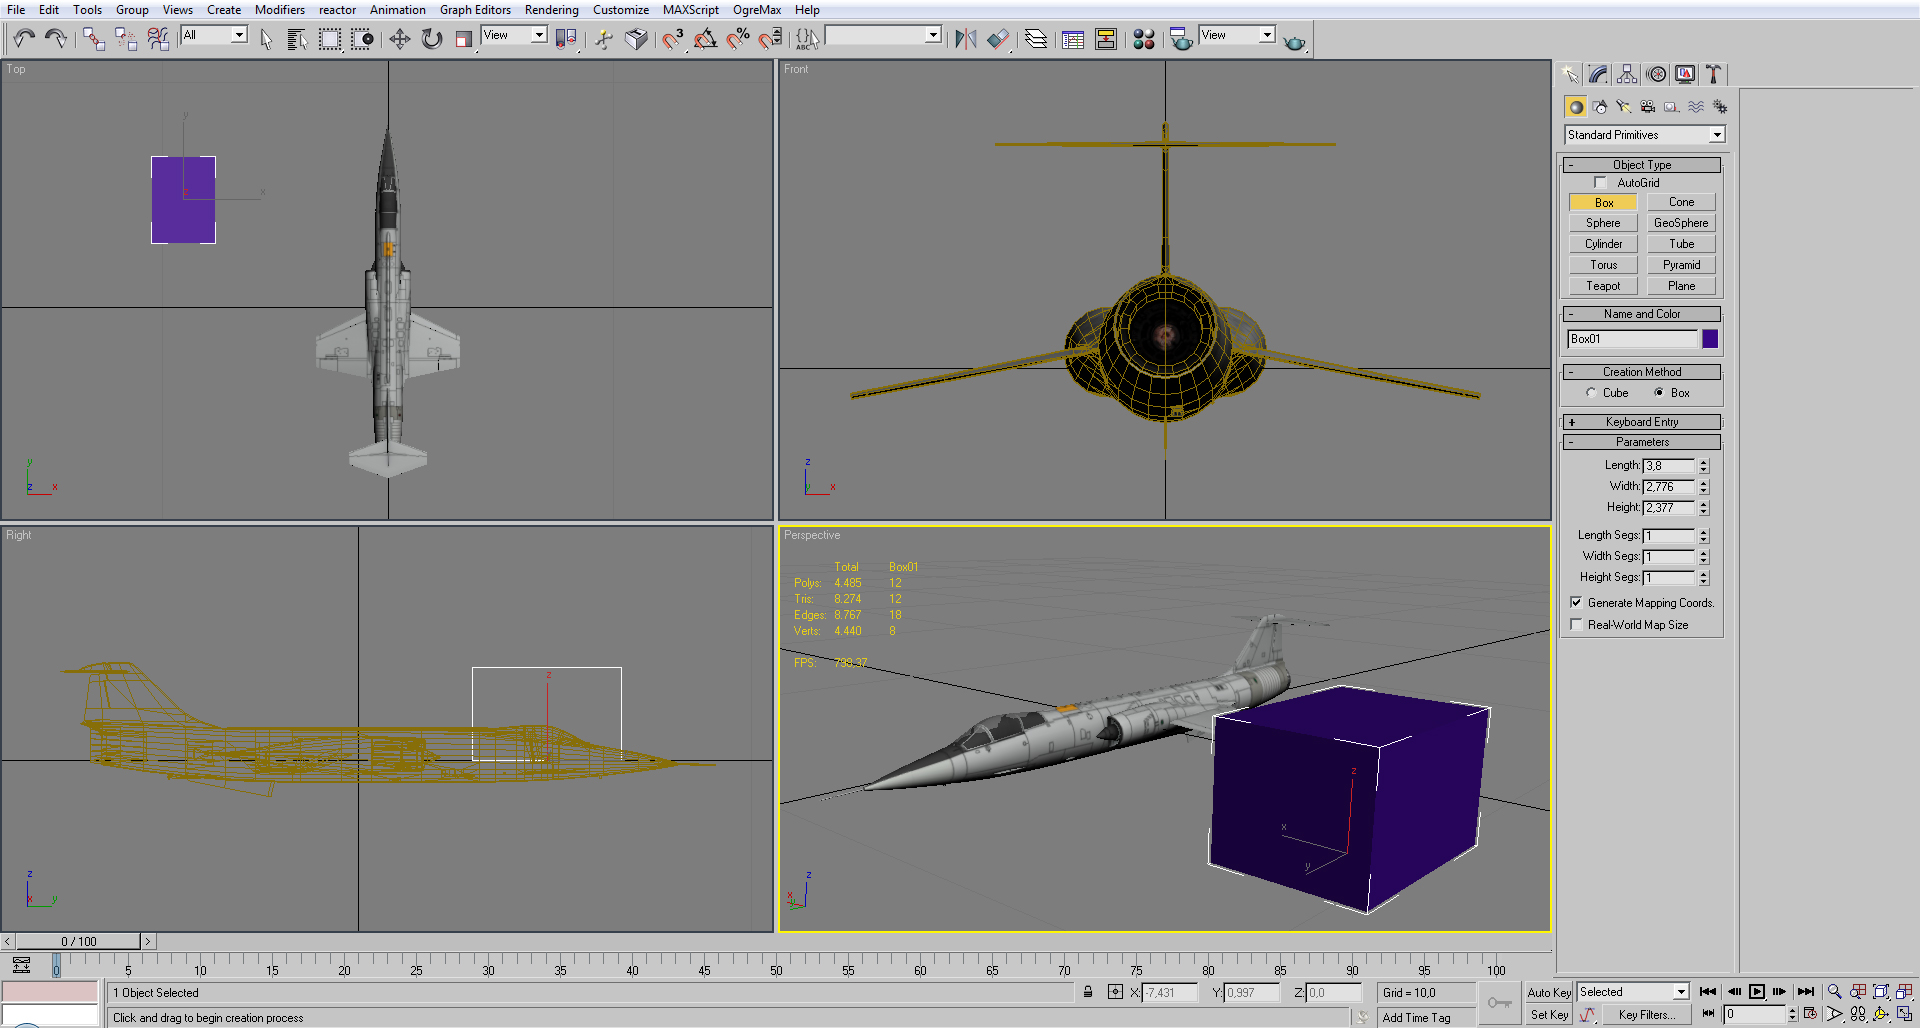
First let’s start with a procedure that I highly recommend.
Create a box on the viewport.
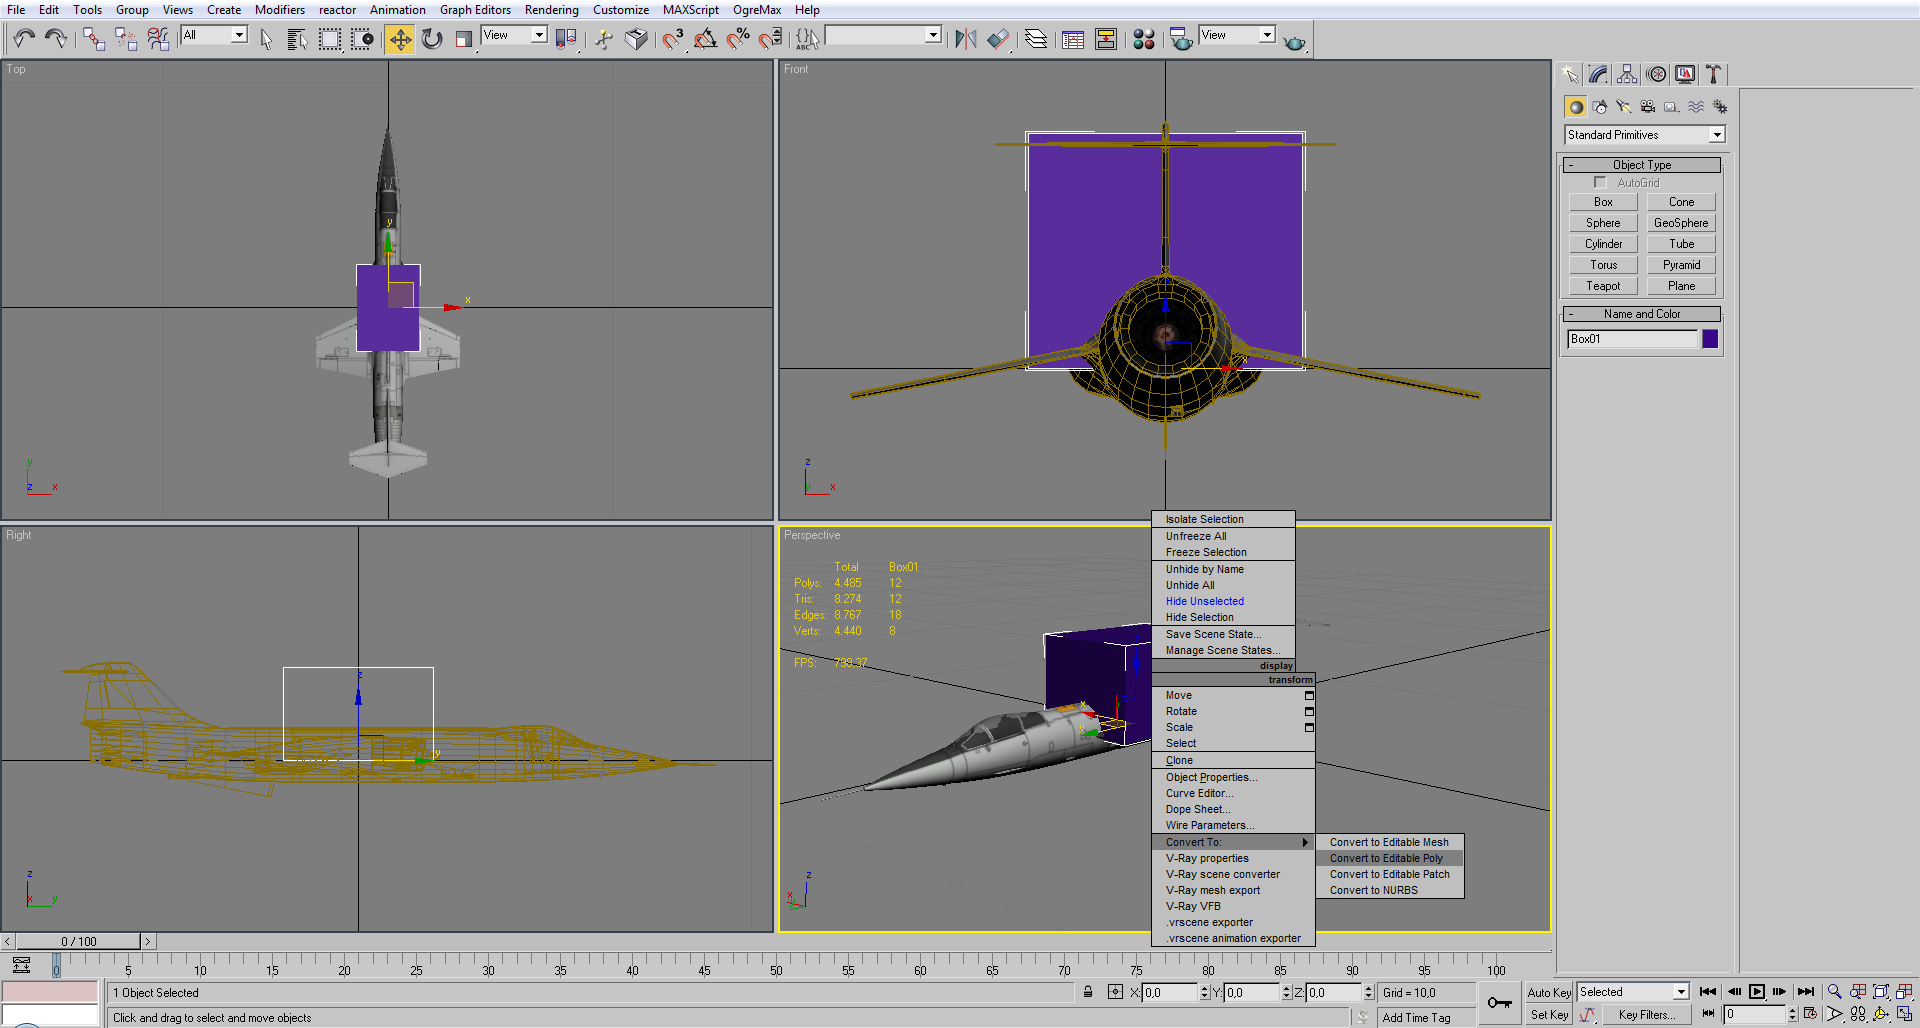
Place it in the position 0 0 0, then convert it as a editable poly.
With the box selected, attach the aircraft.
Then delete that box inside the edit option. This whole process is to create the history of the model, sometimes there are unexpected anomalies with the model in the game if this step is not done before skinning.
If the model is displaying an unusual behavior with the animations during the game, is very likely this is related. Deleted the [Skin] in the modifier list, do this procedure and the skin again the model.
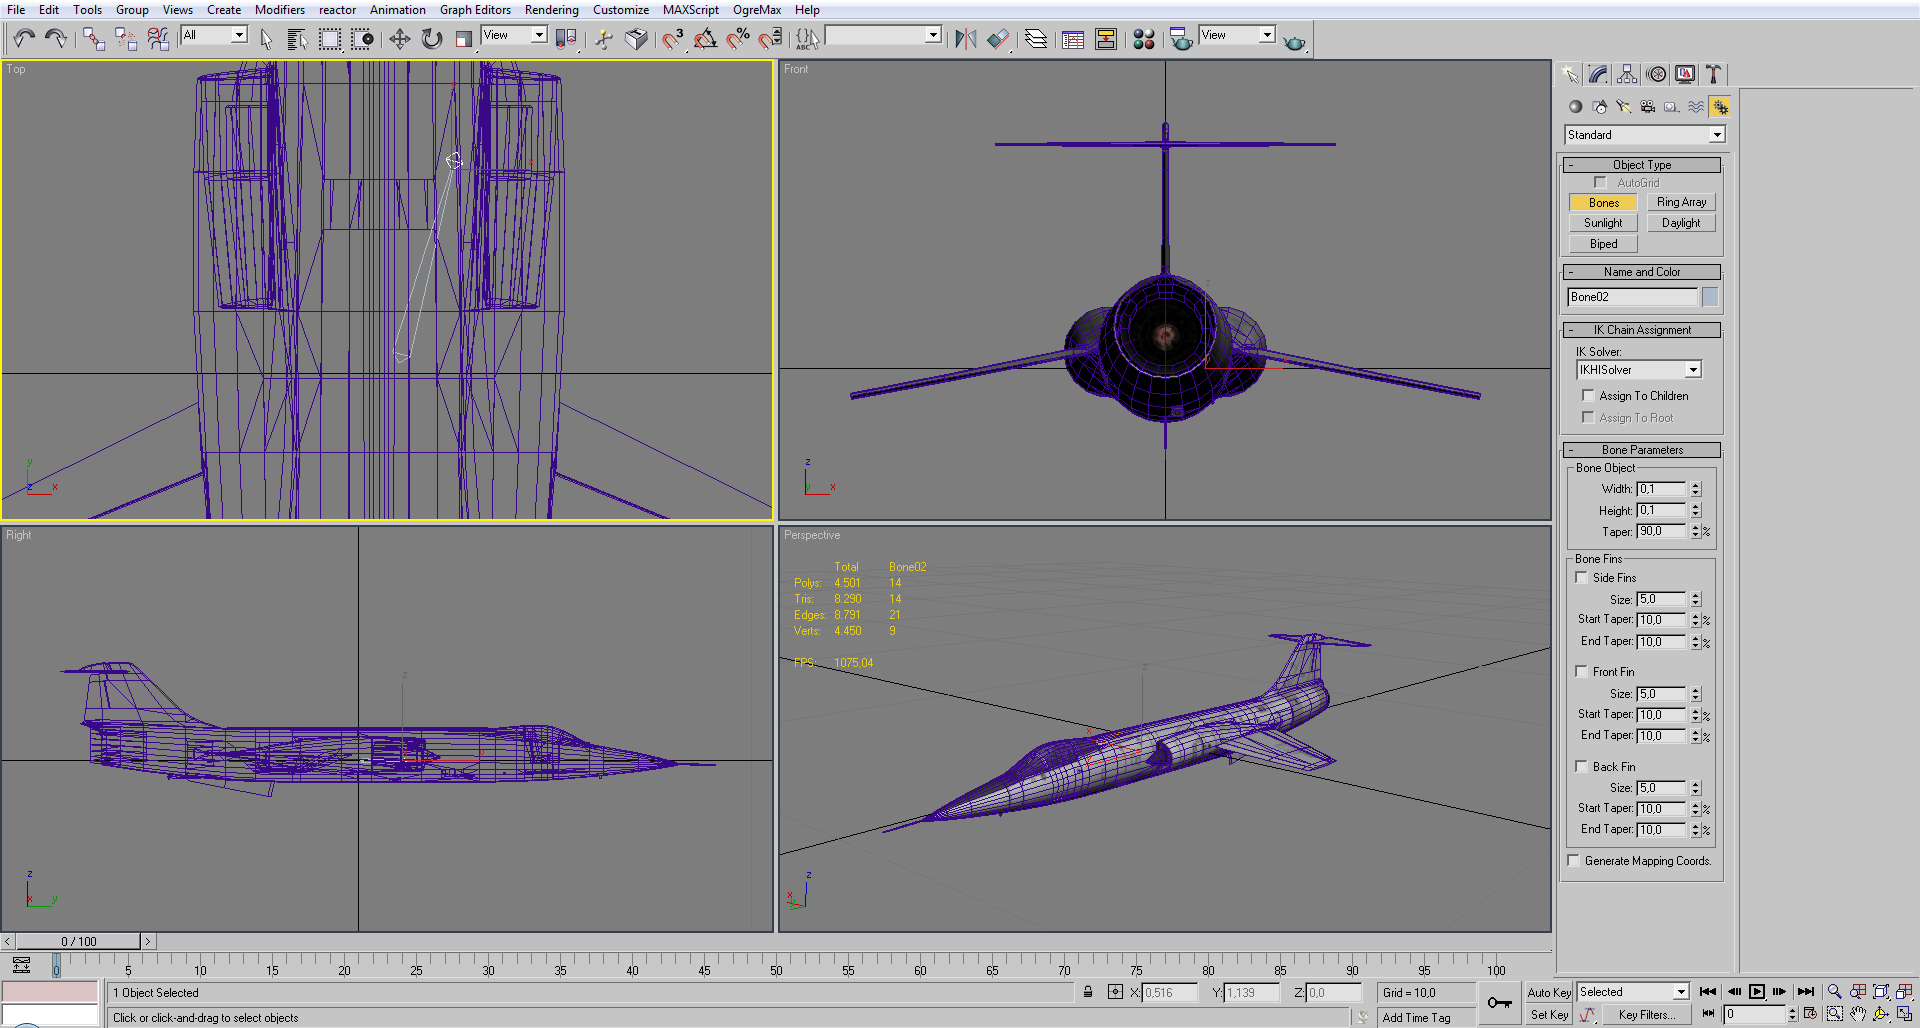
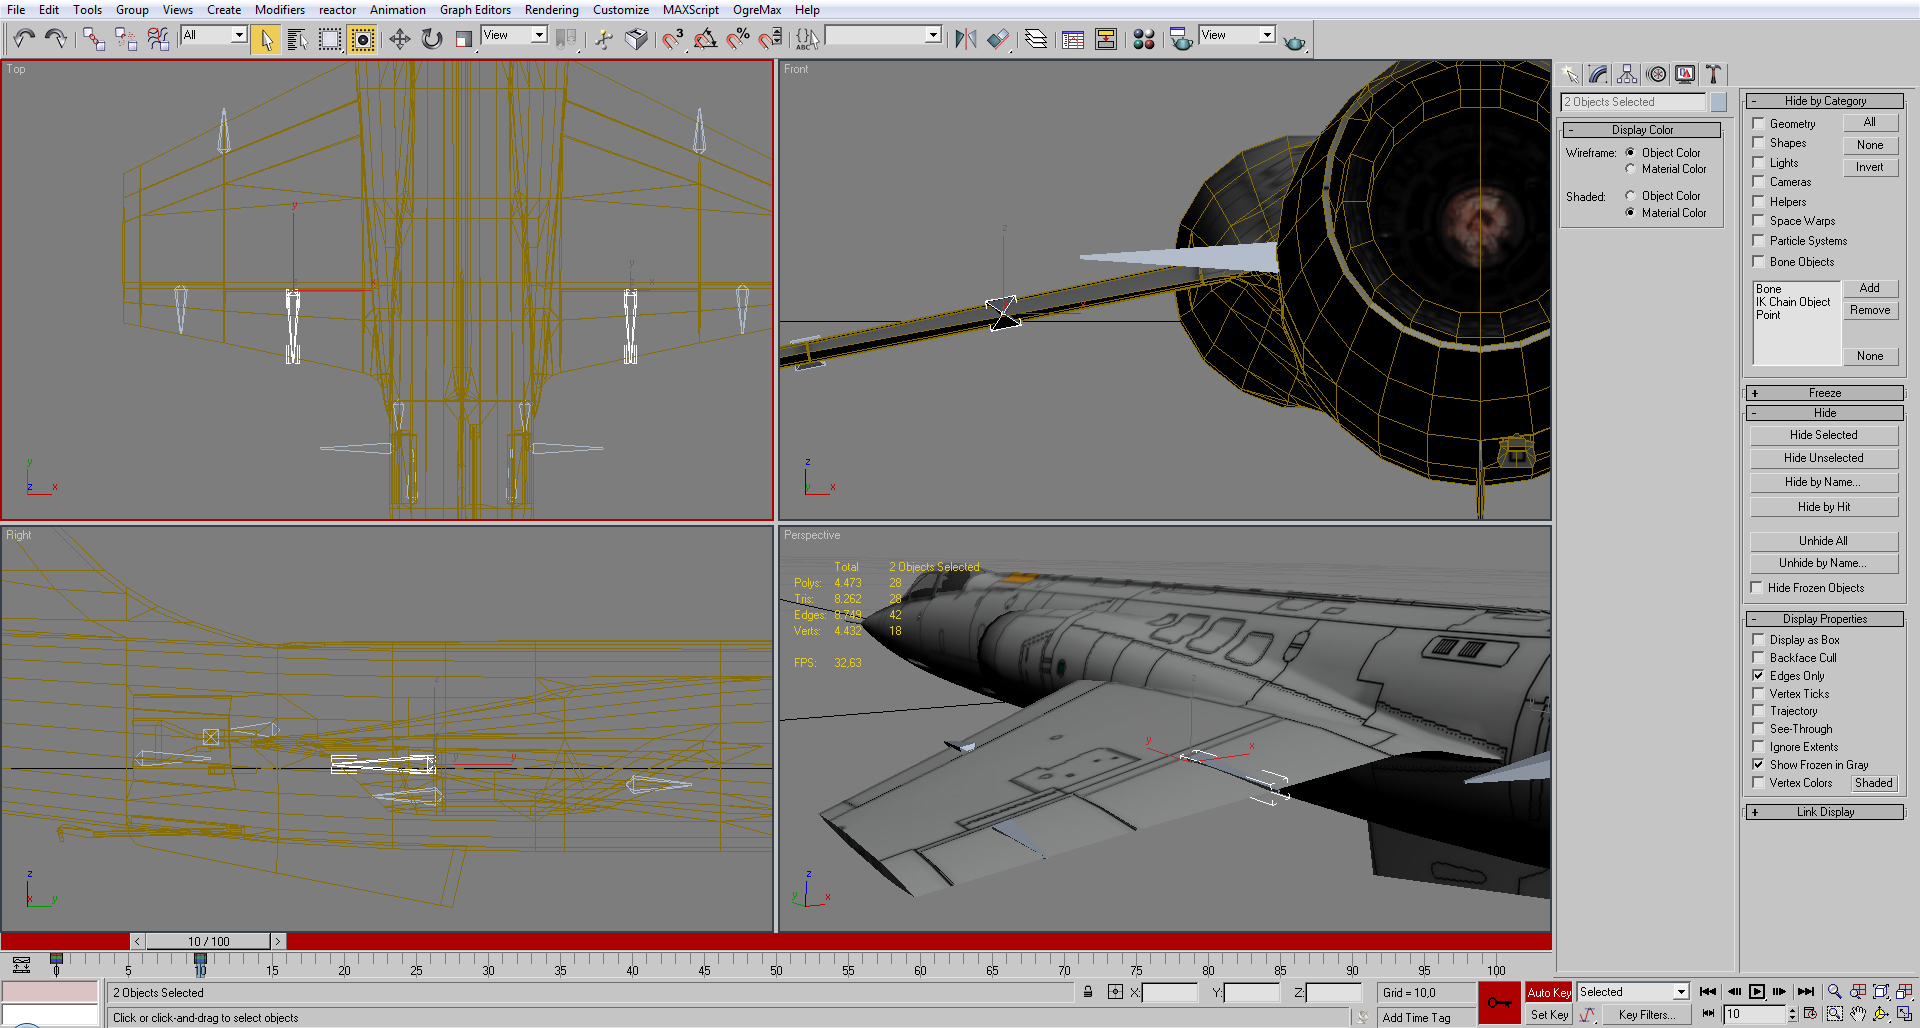
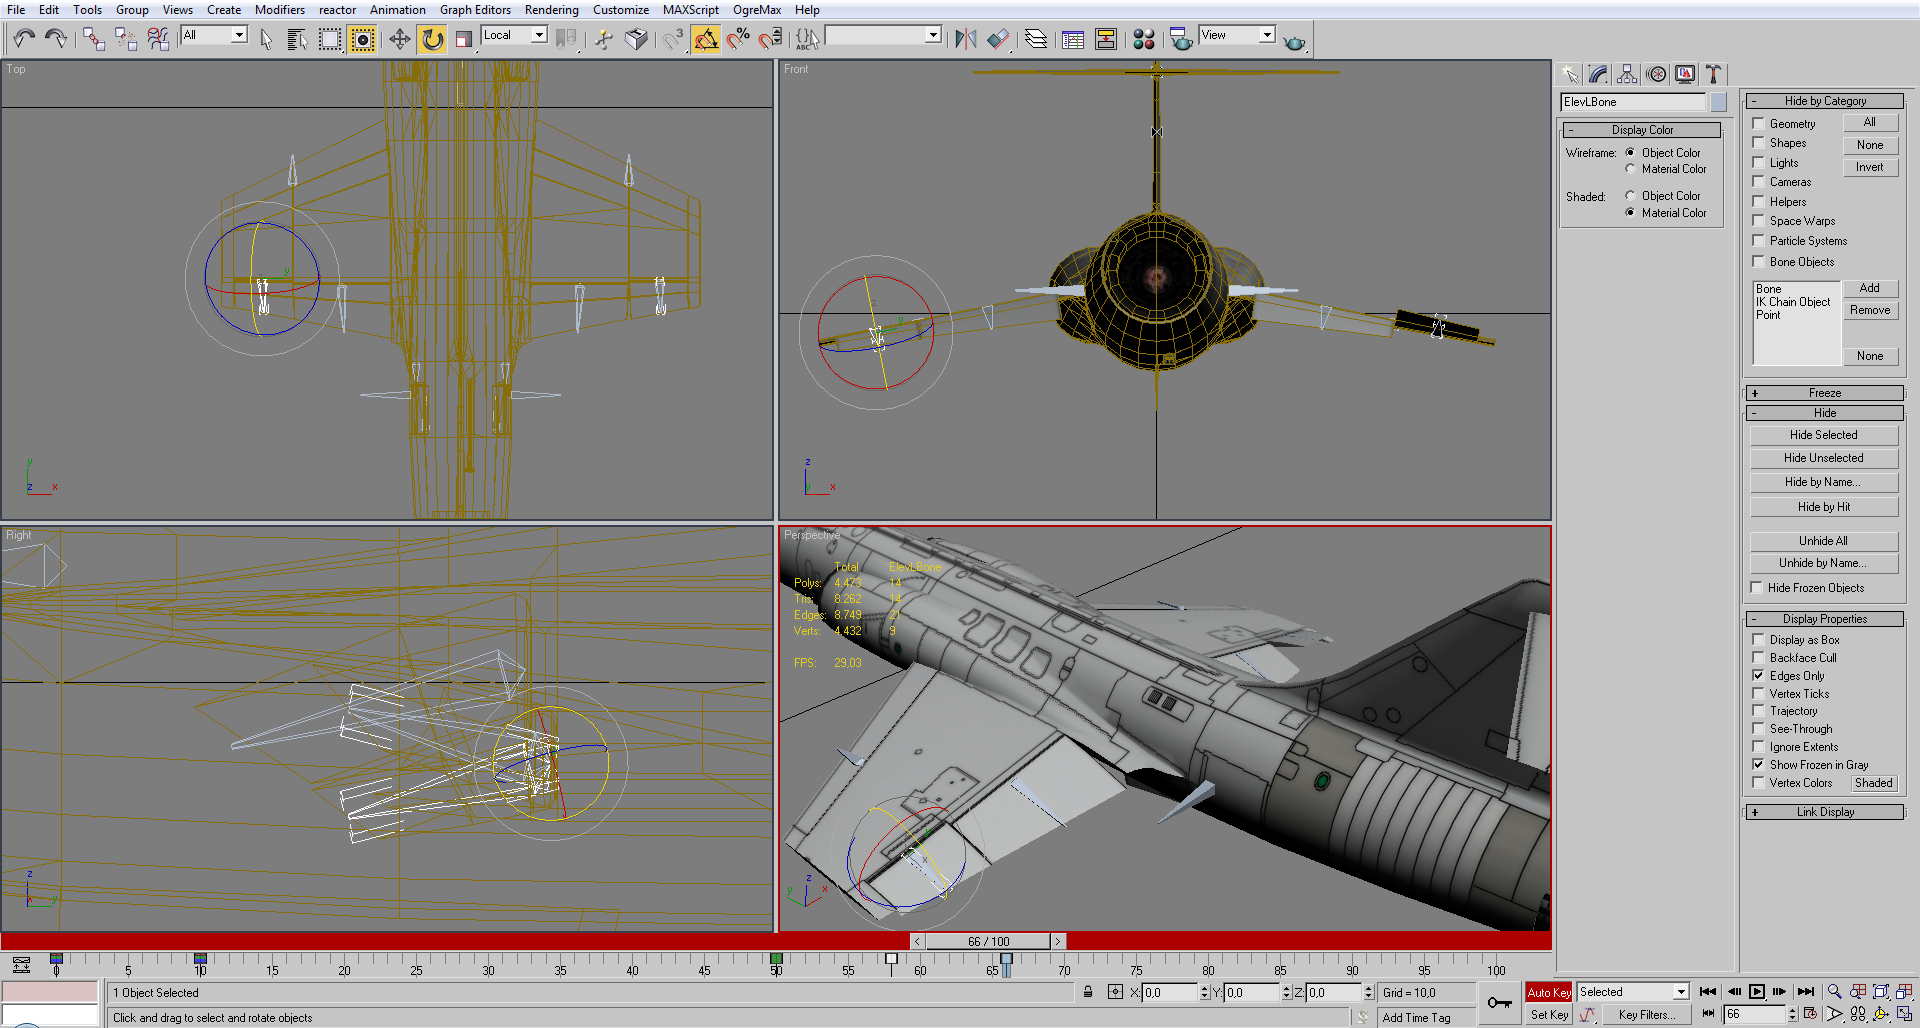
With that done, now we have to create the bones, first we create the main bone, place it near the origin roughly pointing to the direction of movement.

Set the bone in the position 0 0 0, an then select the small bone create and place it with the same X value of the main bone (in this case is 0), this is to make the bone perfectly aligned.
When this is done, delete the small one.

Add all the bones in the pivot positions. You may want to give them the corresponding rotation of the wings, as it will be easier to animate later on.
Add the bones for the tail and all other parts.

After all the bones are added, link them to the main bone (not the aircraft model).
![]()
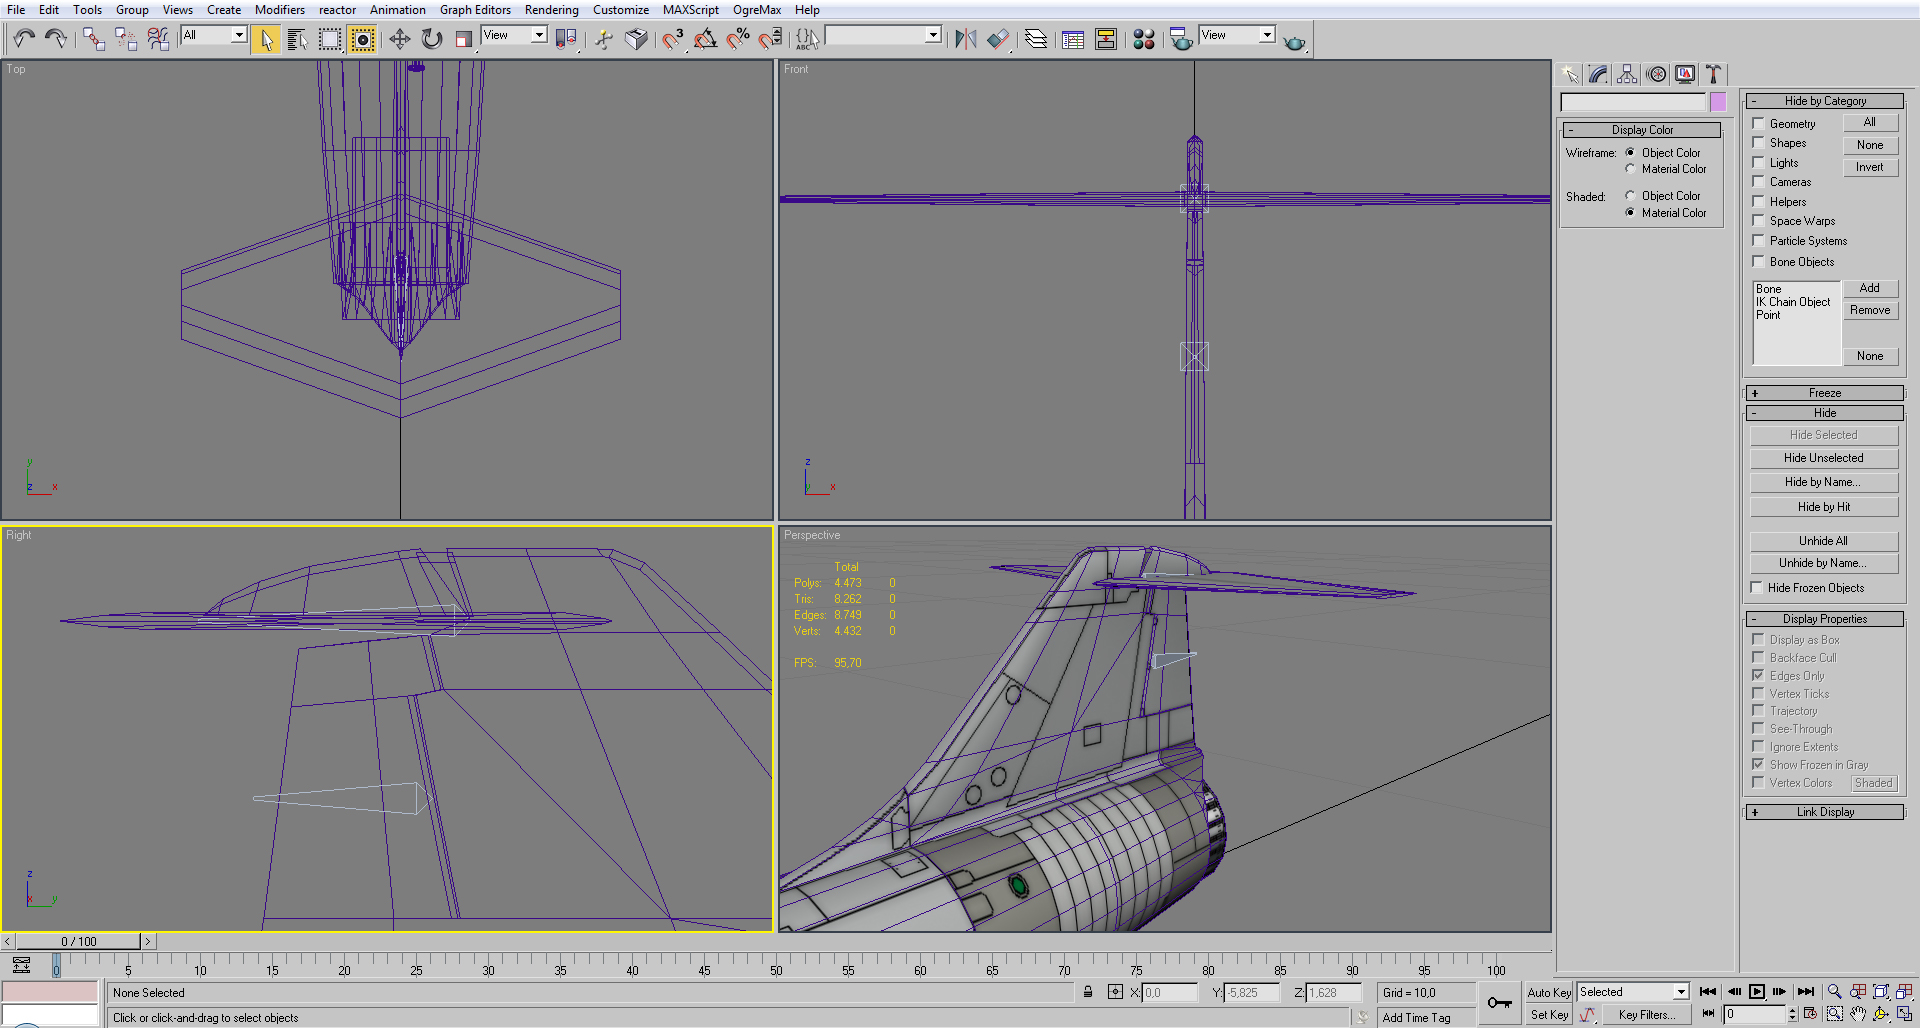
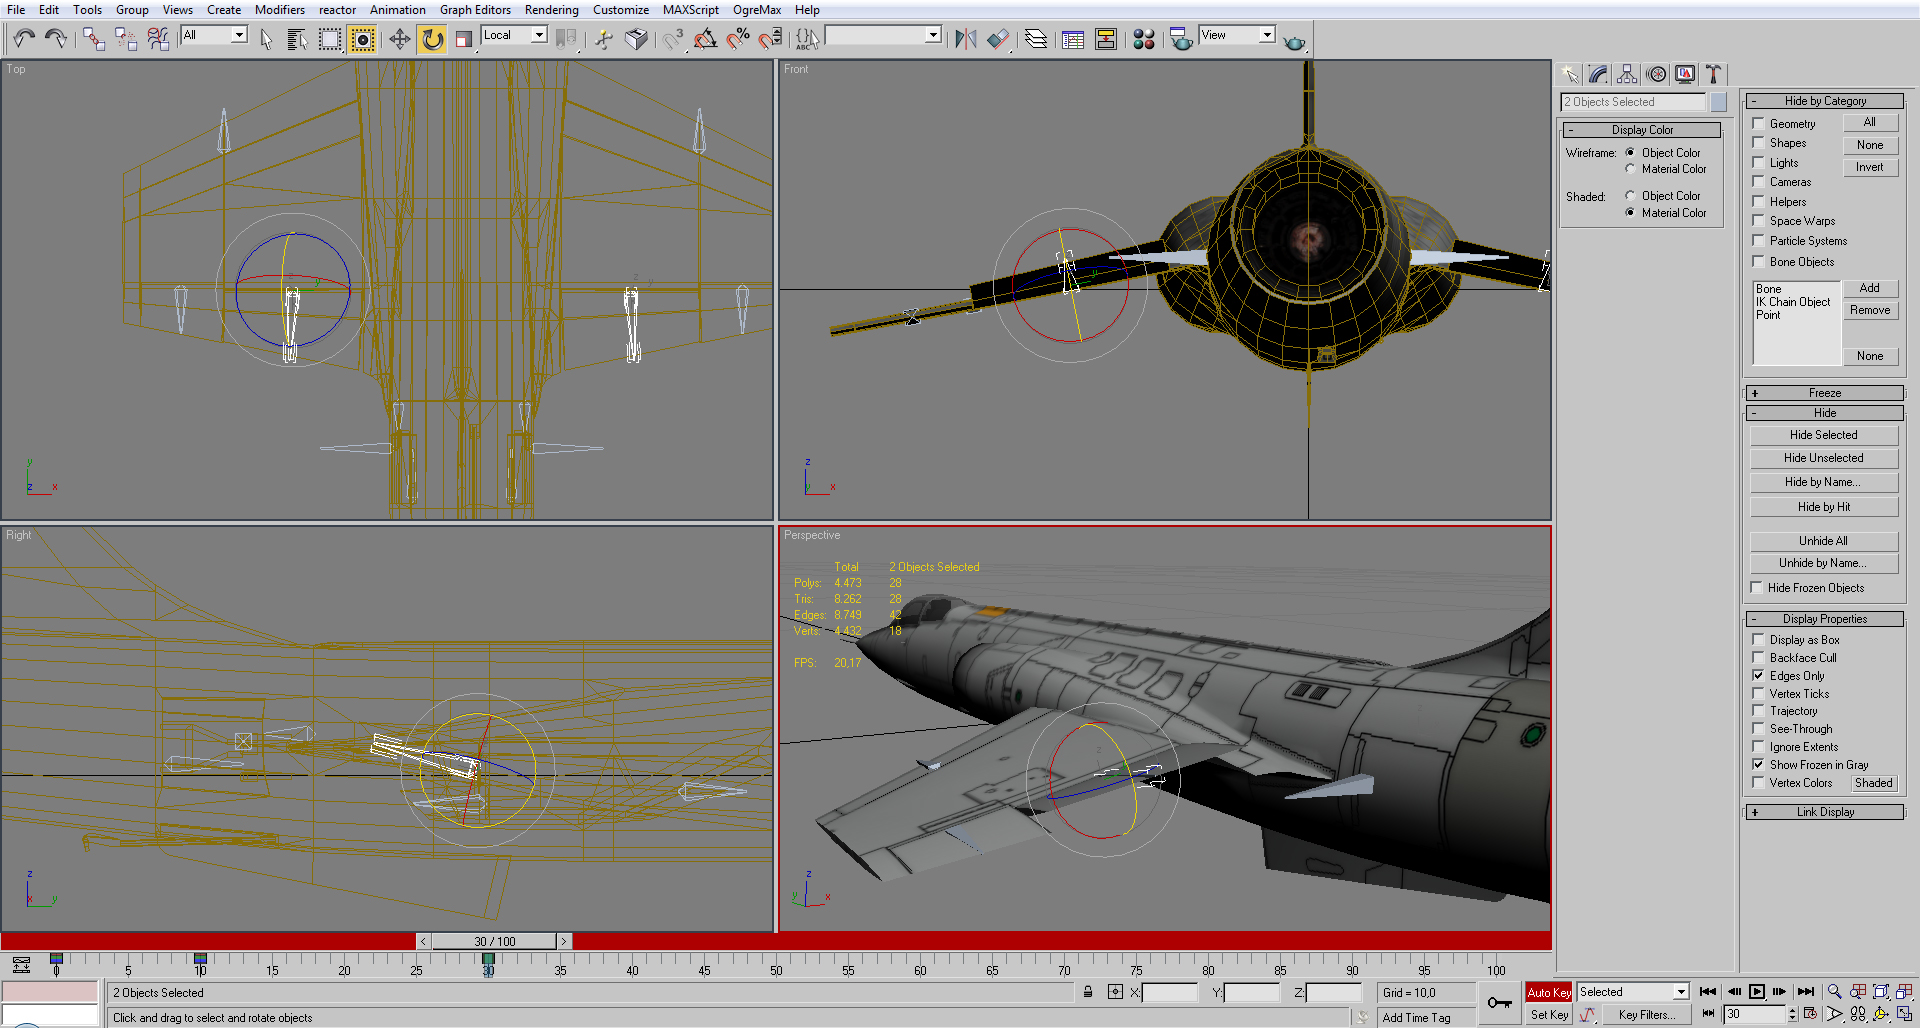
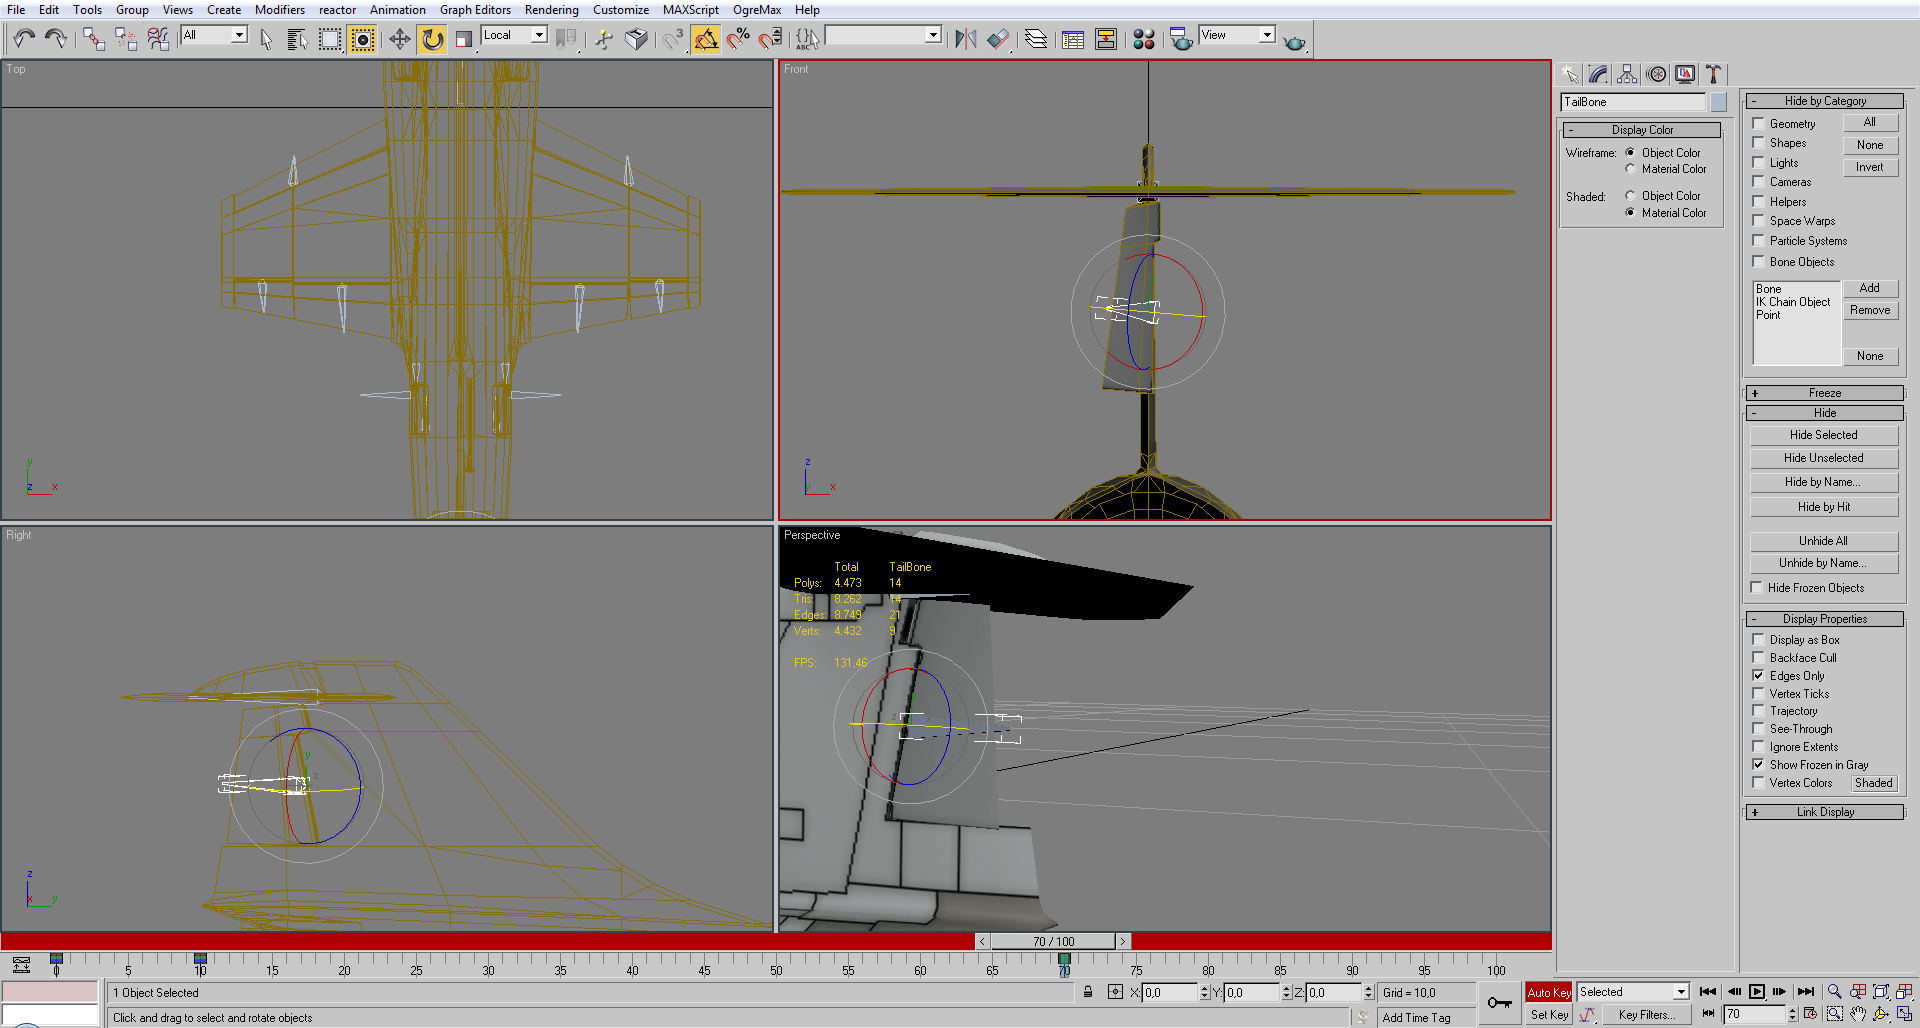
This is the part where we skin the model, as usually most of the moving parts are independent entities from the main model, this step is quite easy.
Select the aircraft model, and go to the edit tab.

Select skin in the modifier list.
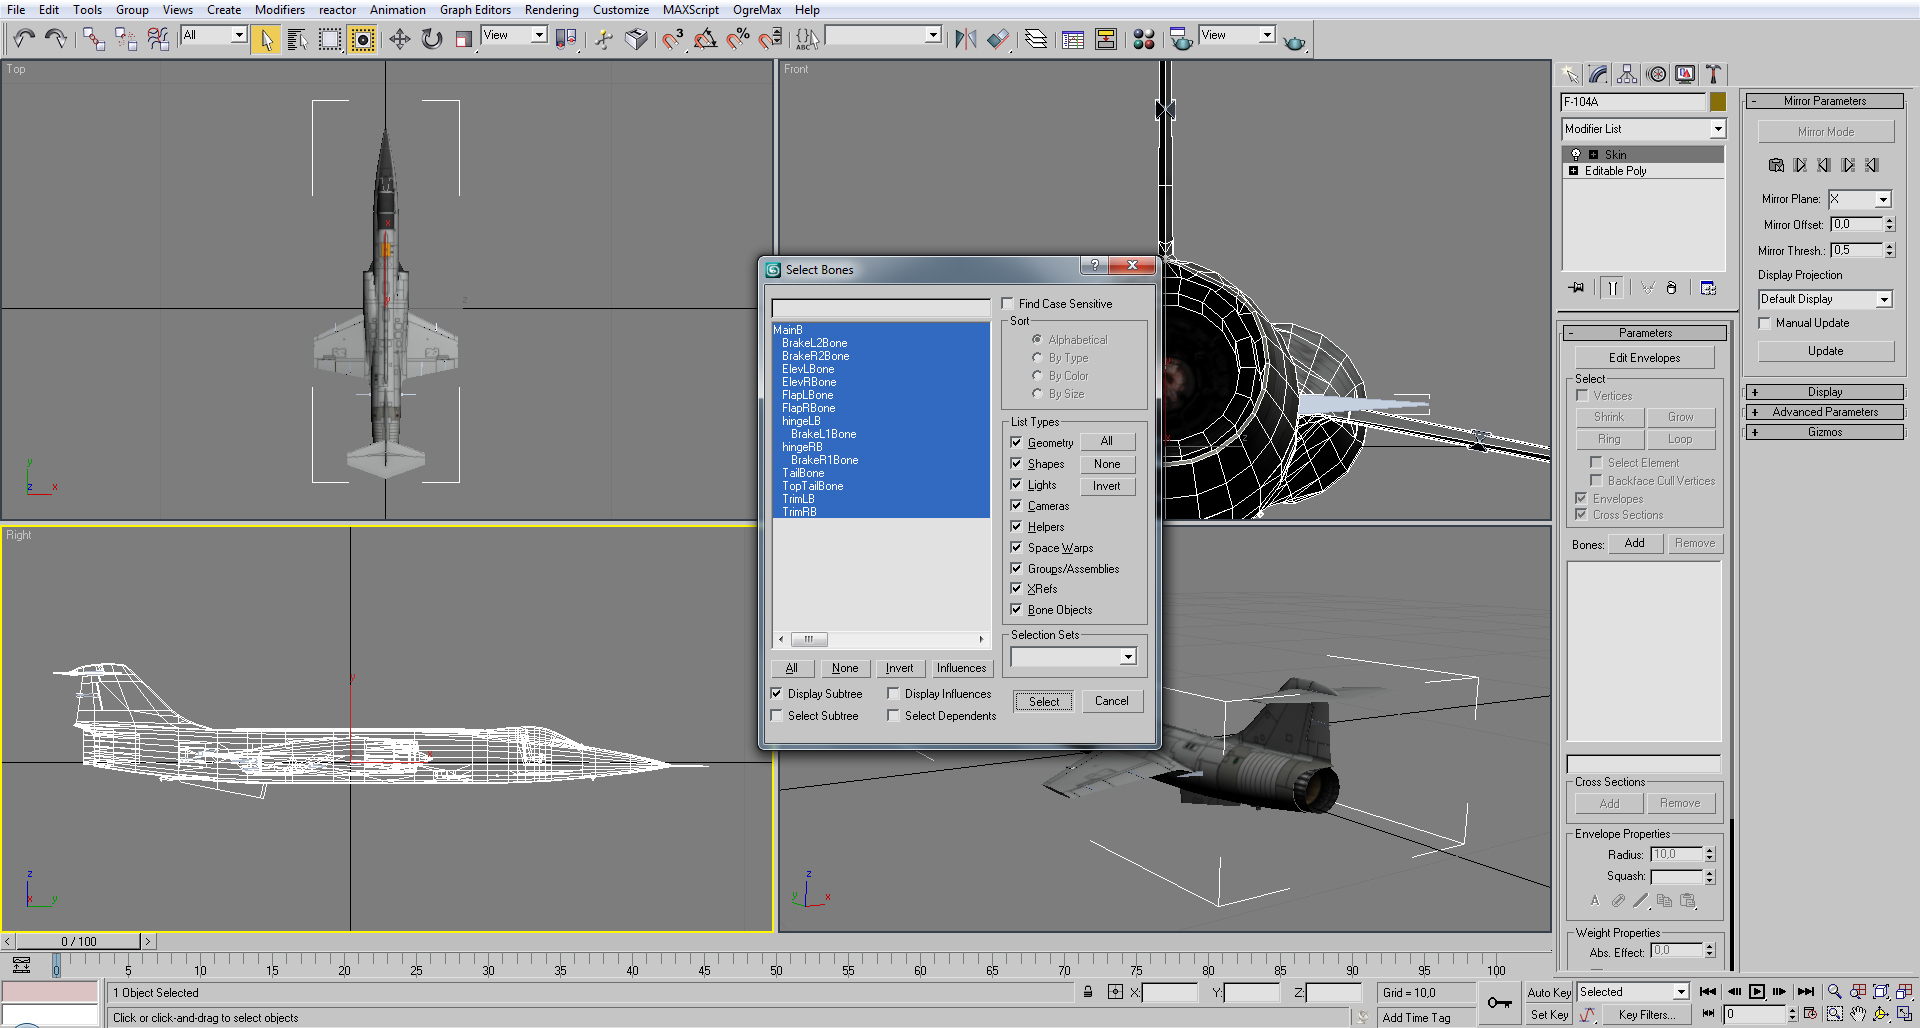
Press add and select all the bones.
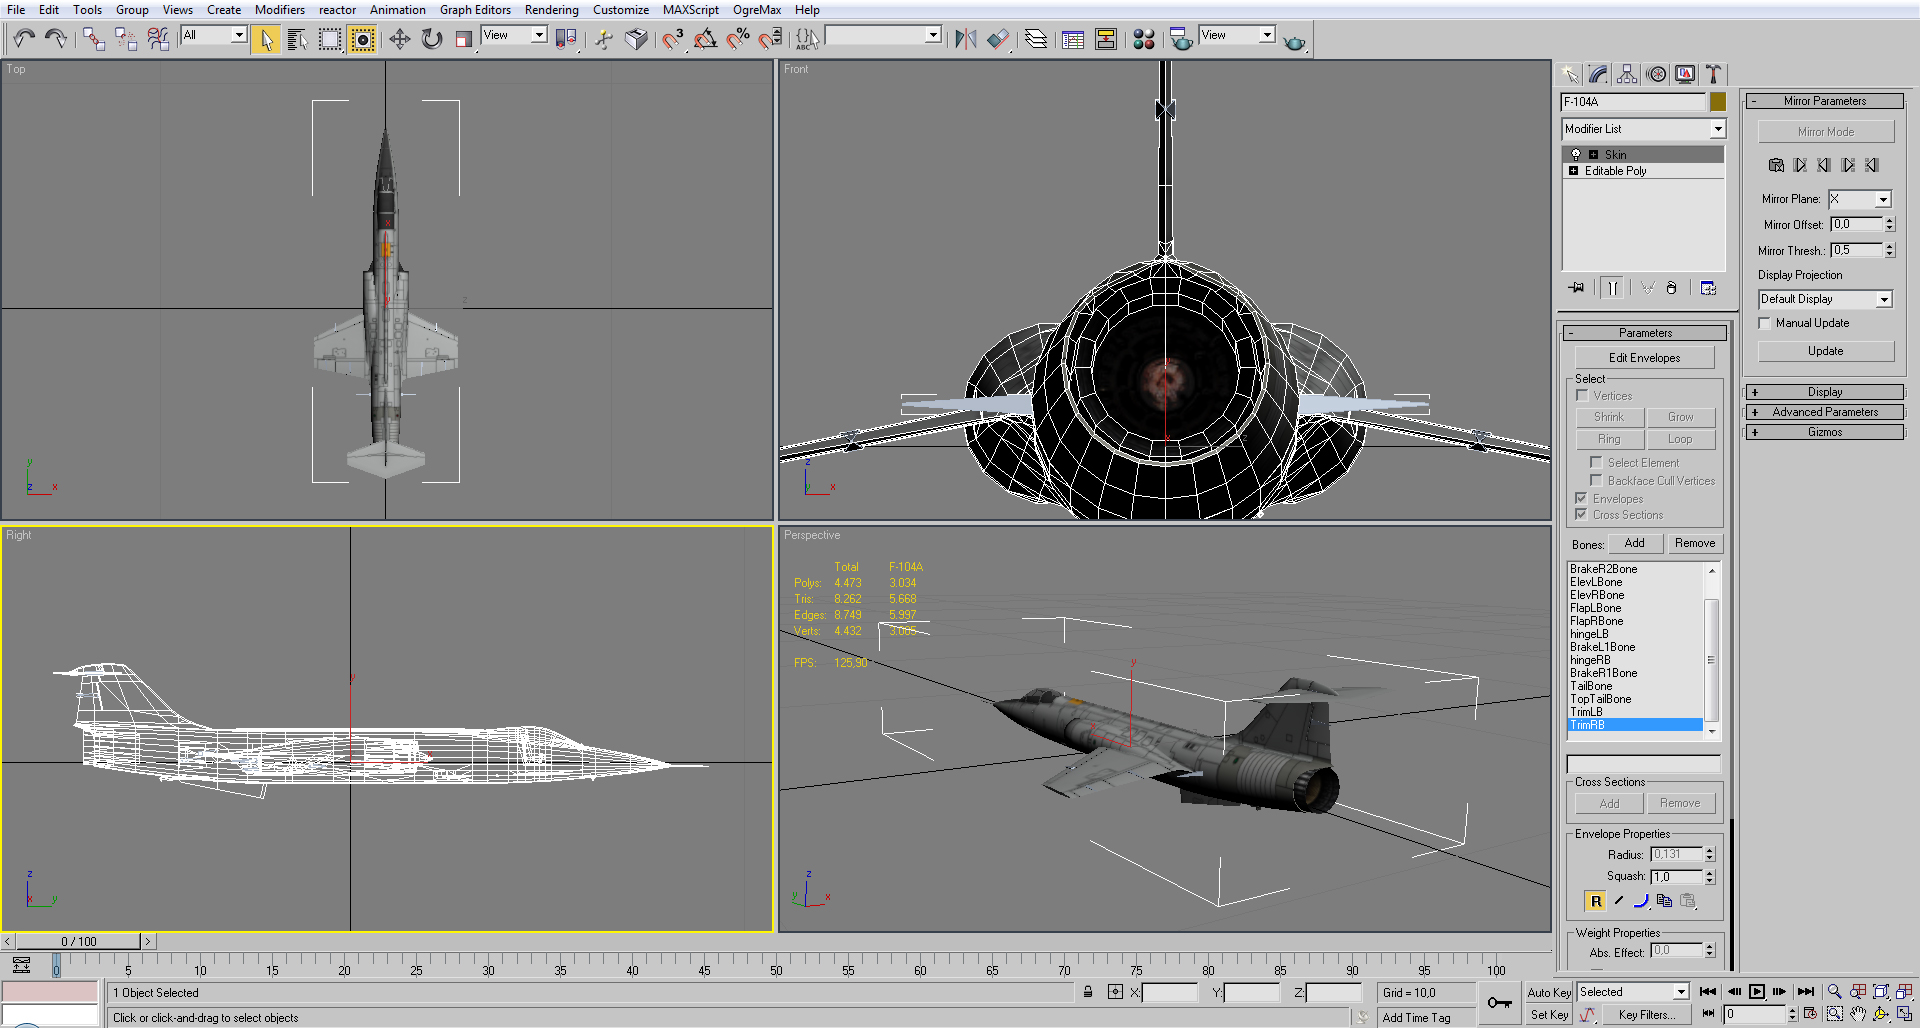
After all the bones are added, make all of them relative (that R in yellow).
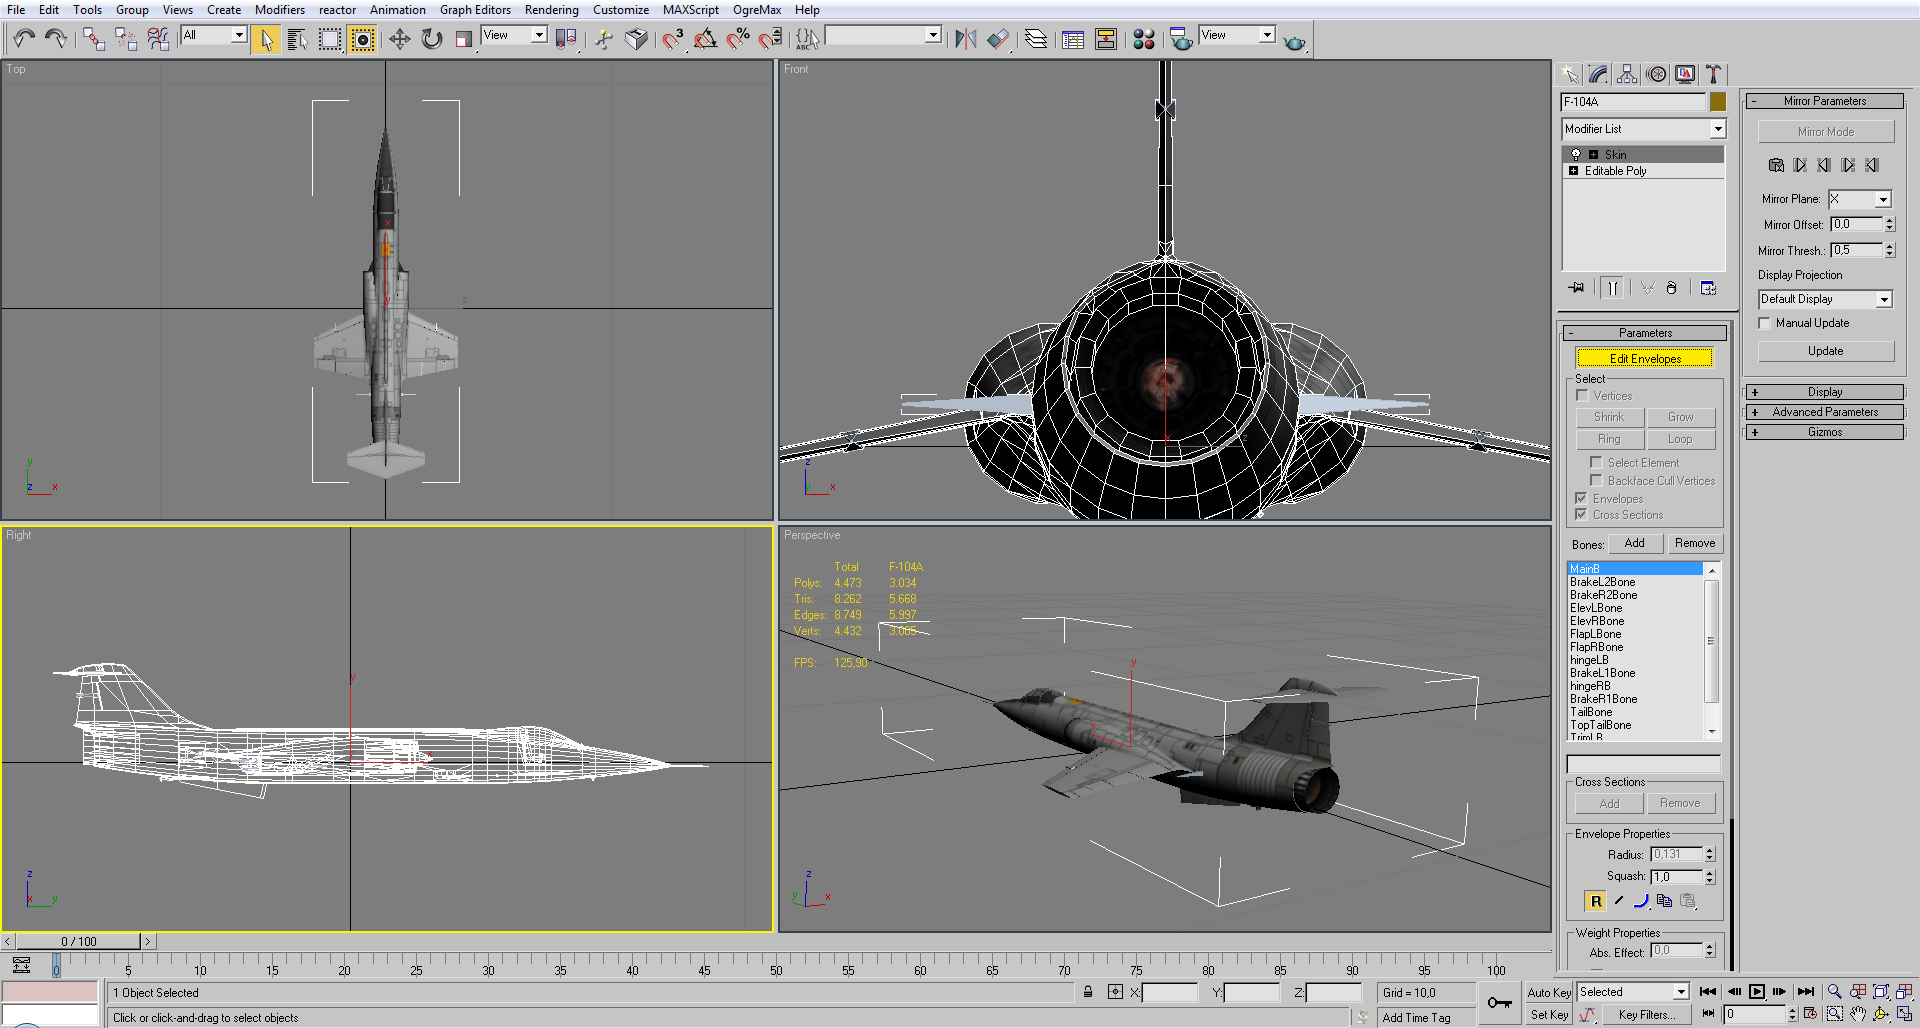
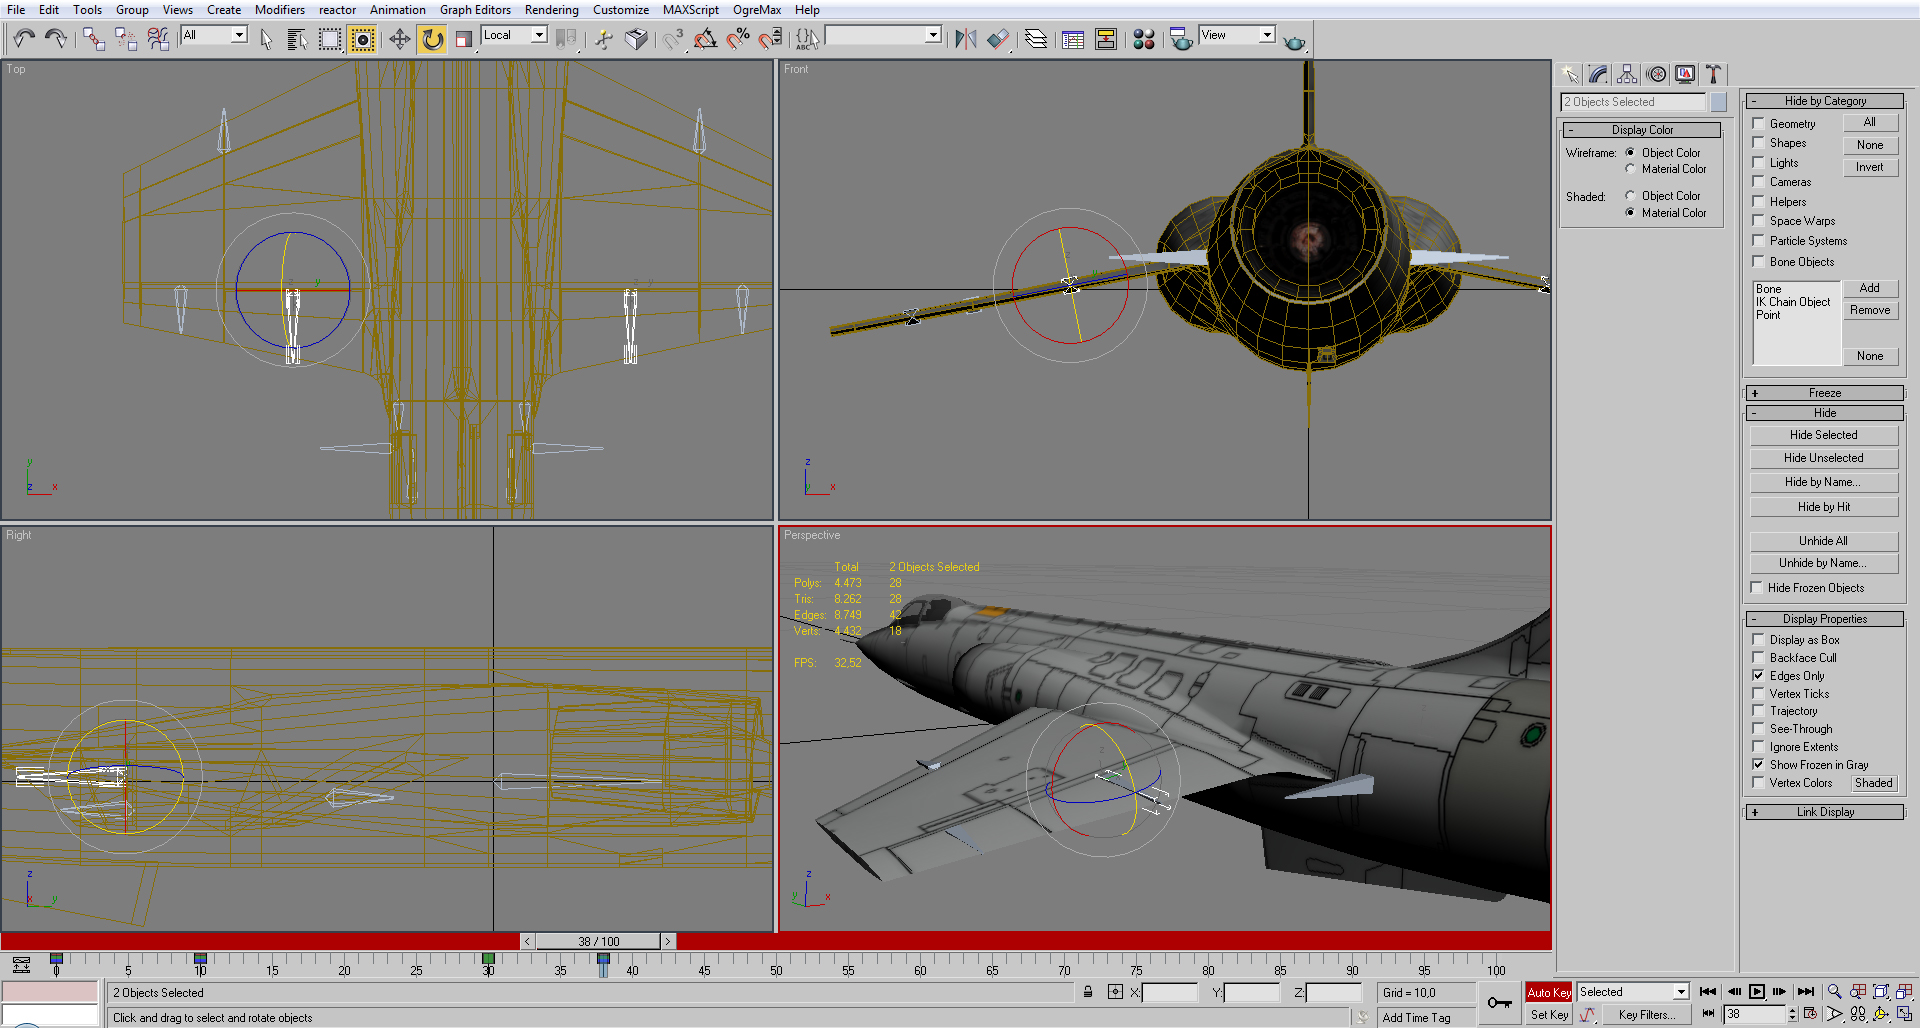
Press [Edit envelopes]
Then activate the check box [Vertices]
Select all the vertices in the model
Set 1 in the [Abs. Effect.] in the [Weight properties] (you will notice that all the model is now red,)
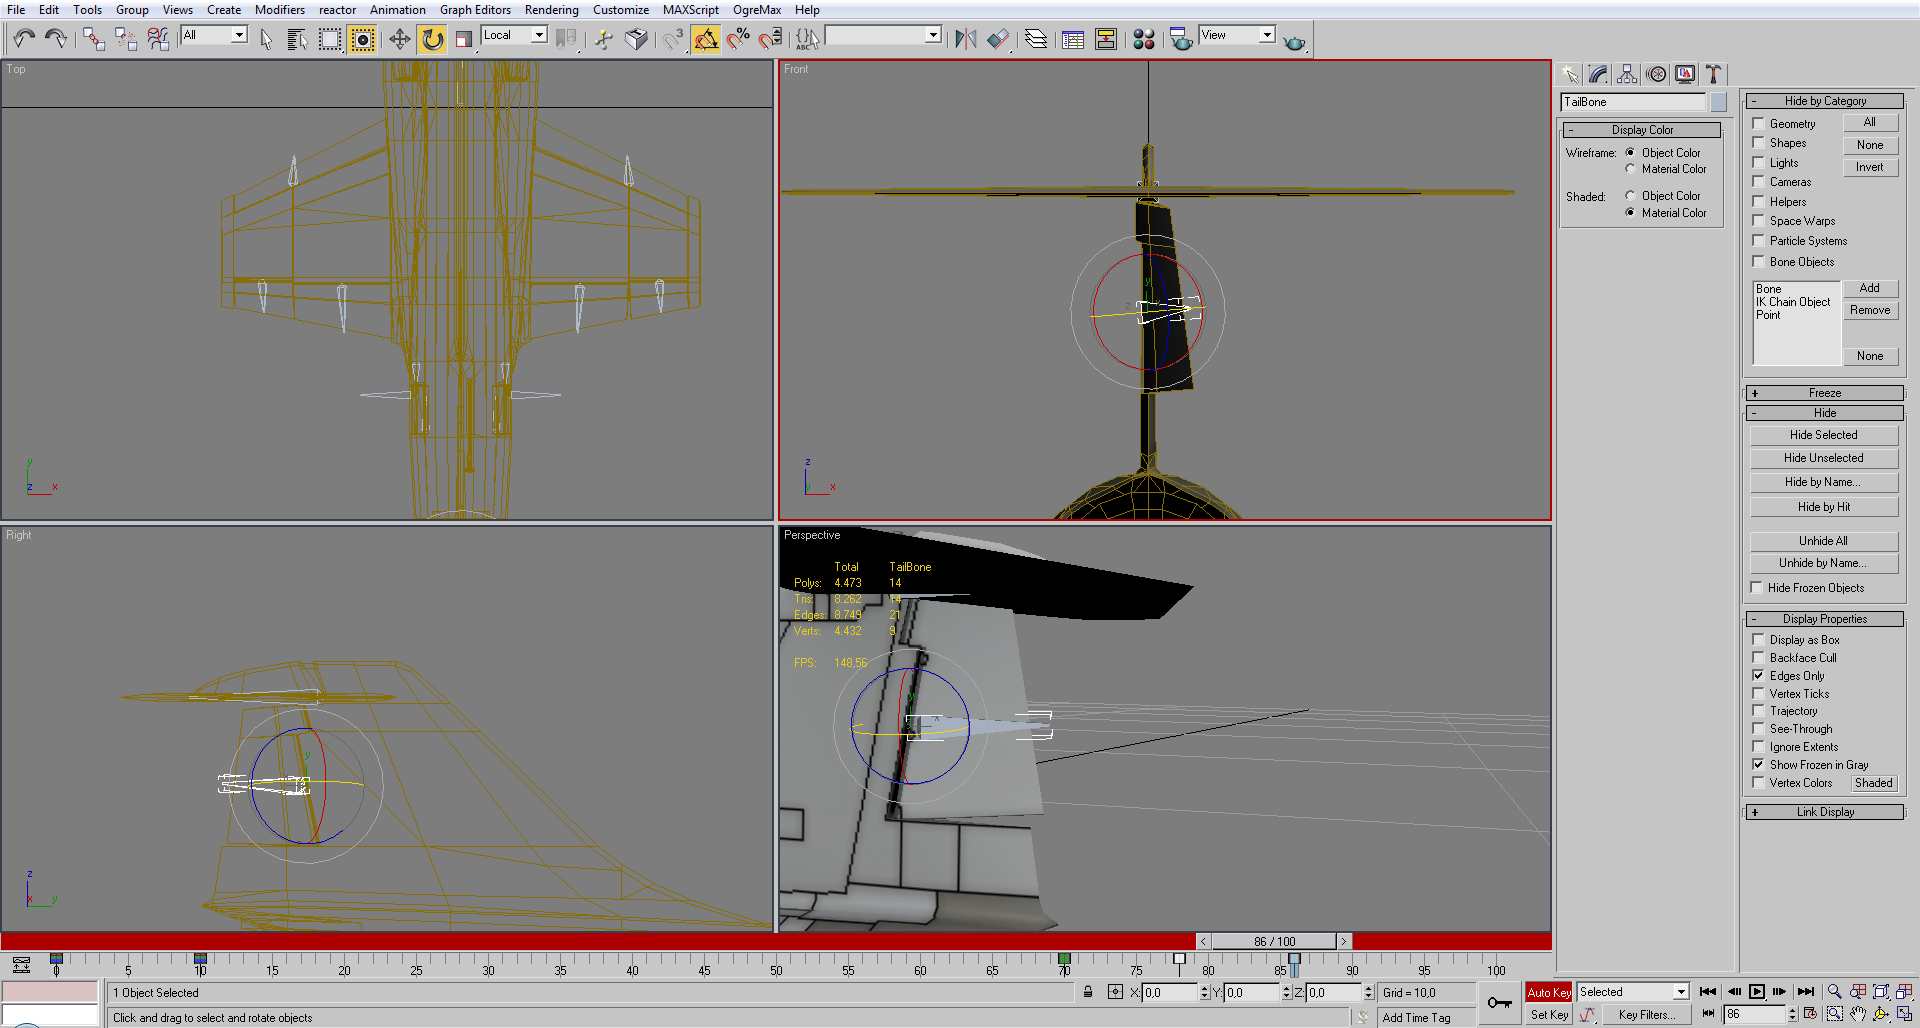
No go back to the model edition without collapsing the skin modifier. Selected some moving parts.
Hide the rest using [hide unselected].

Go back to the skin and selected the corresponding bone.
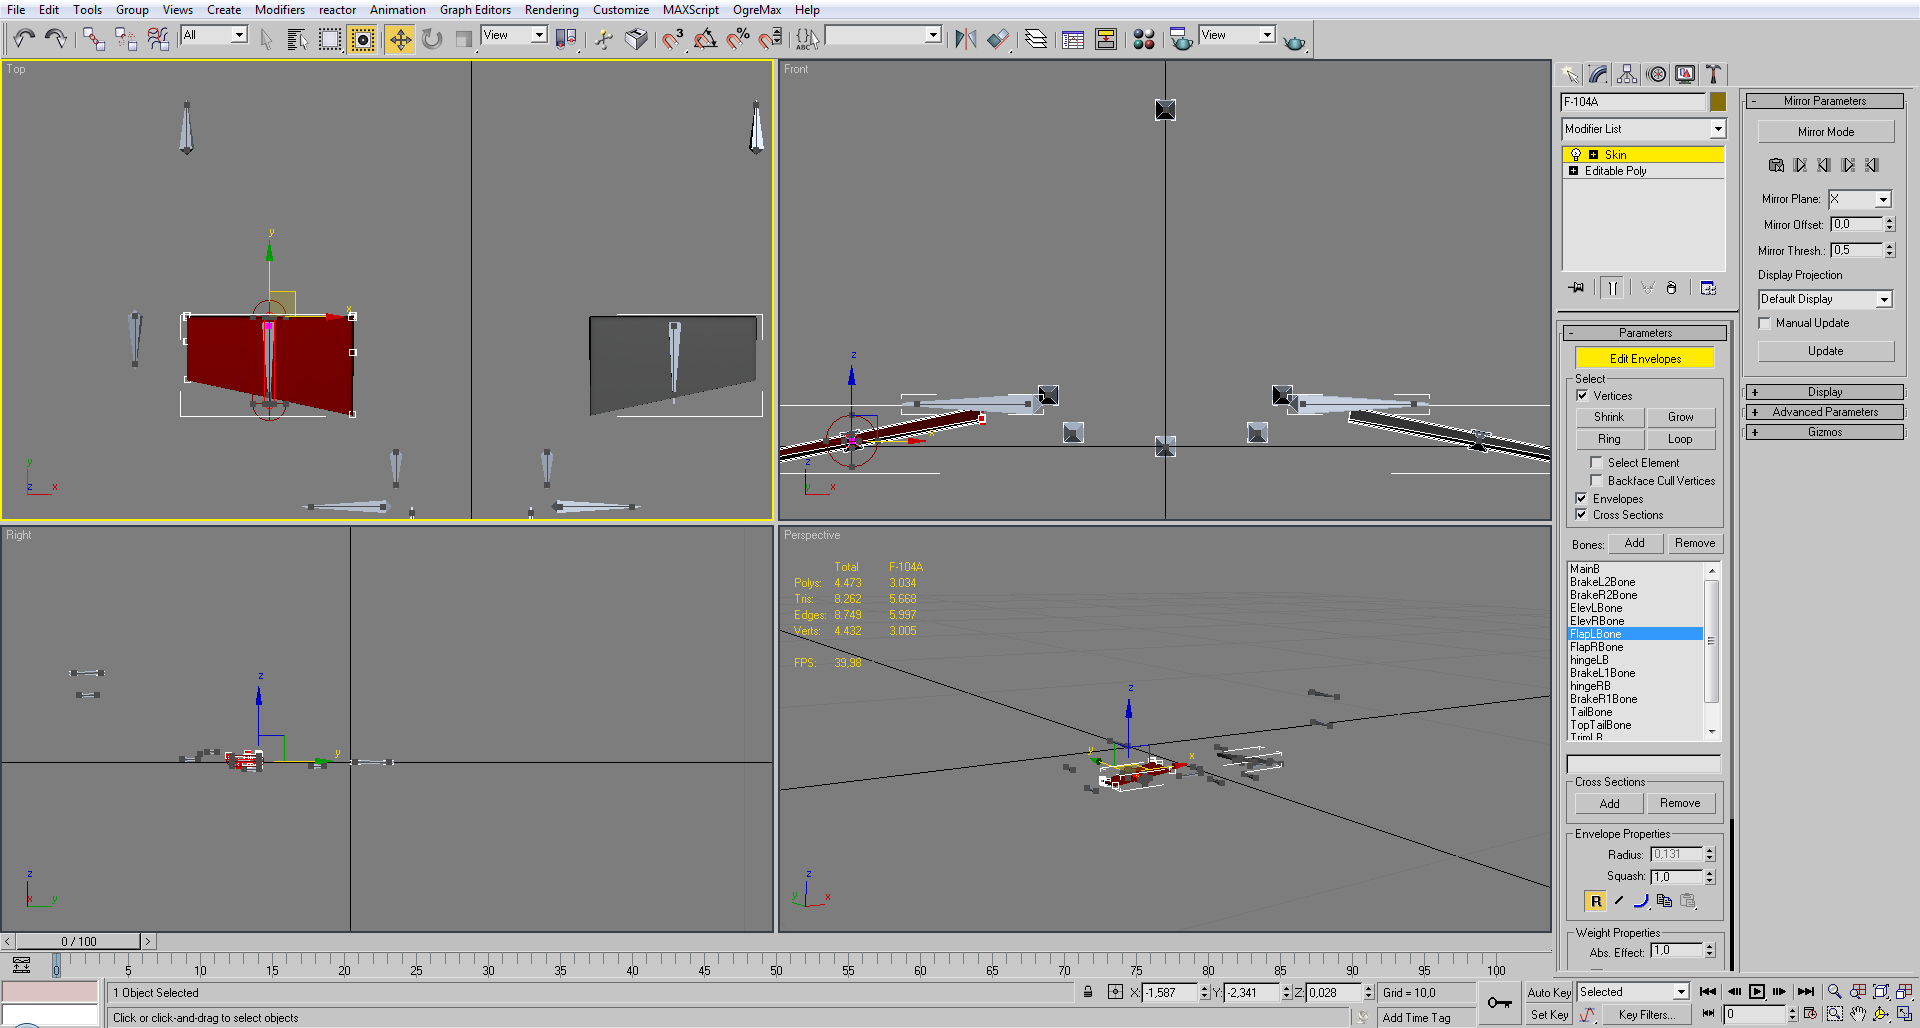
Set all the vertices of that moving part with the value 1 in the [Abs. Effect.]
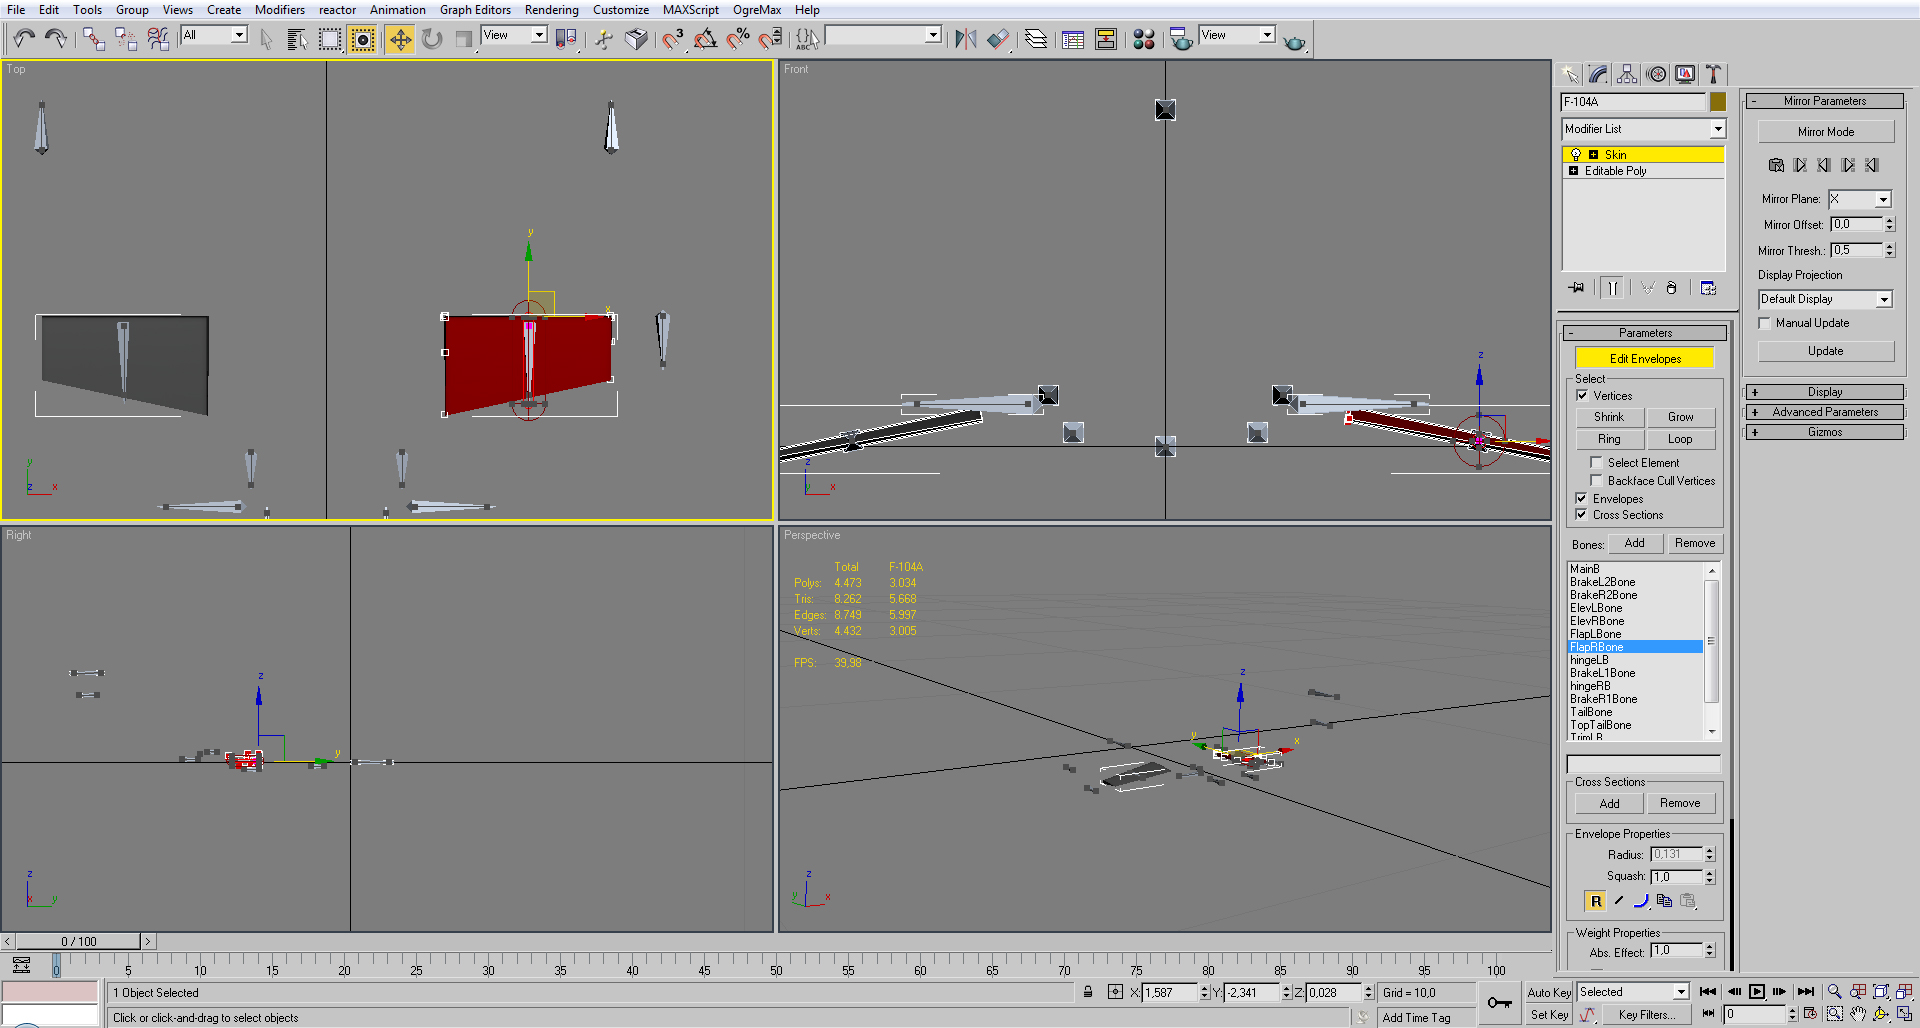
Do the same to other moving parts and the corresponding bones.
After finishing, do not collapse the [Skin] in the modifier list
![]()
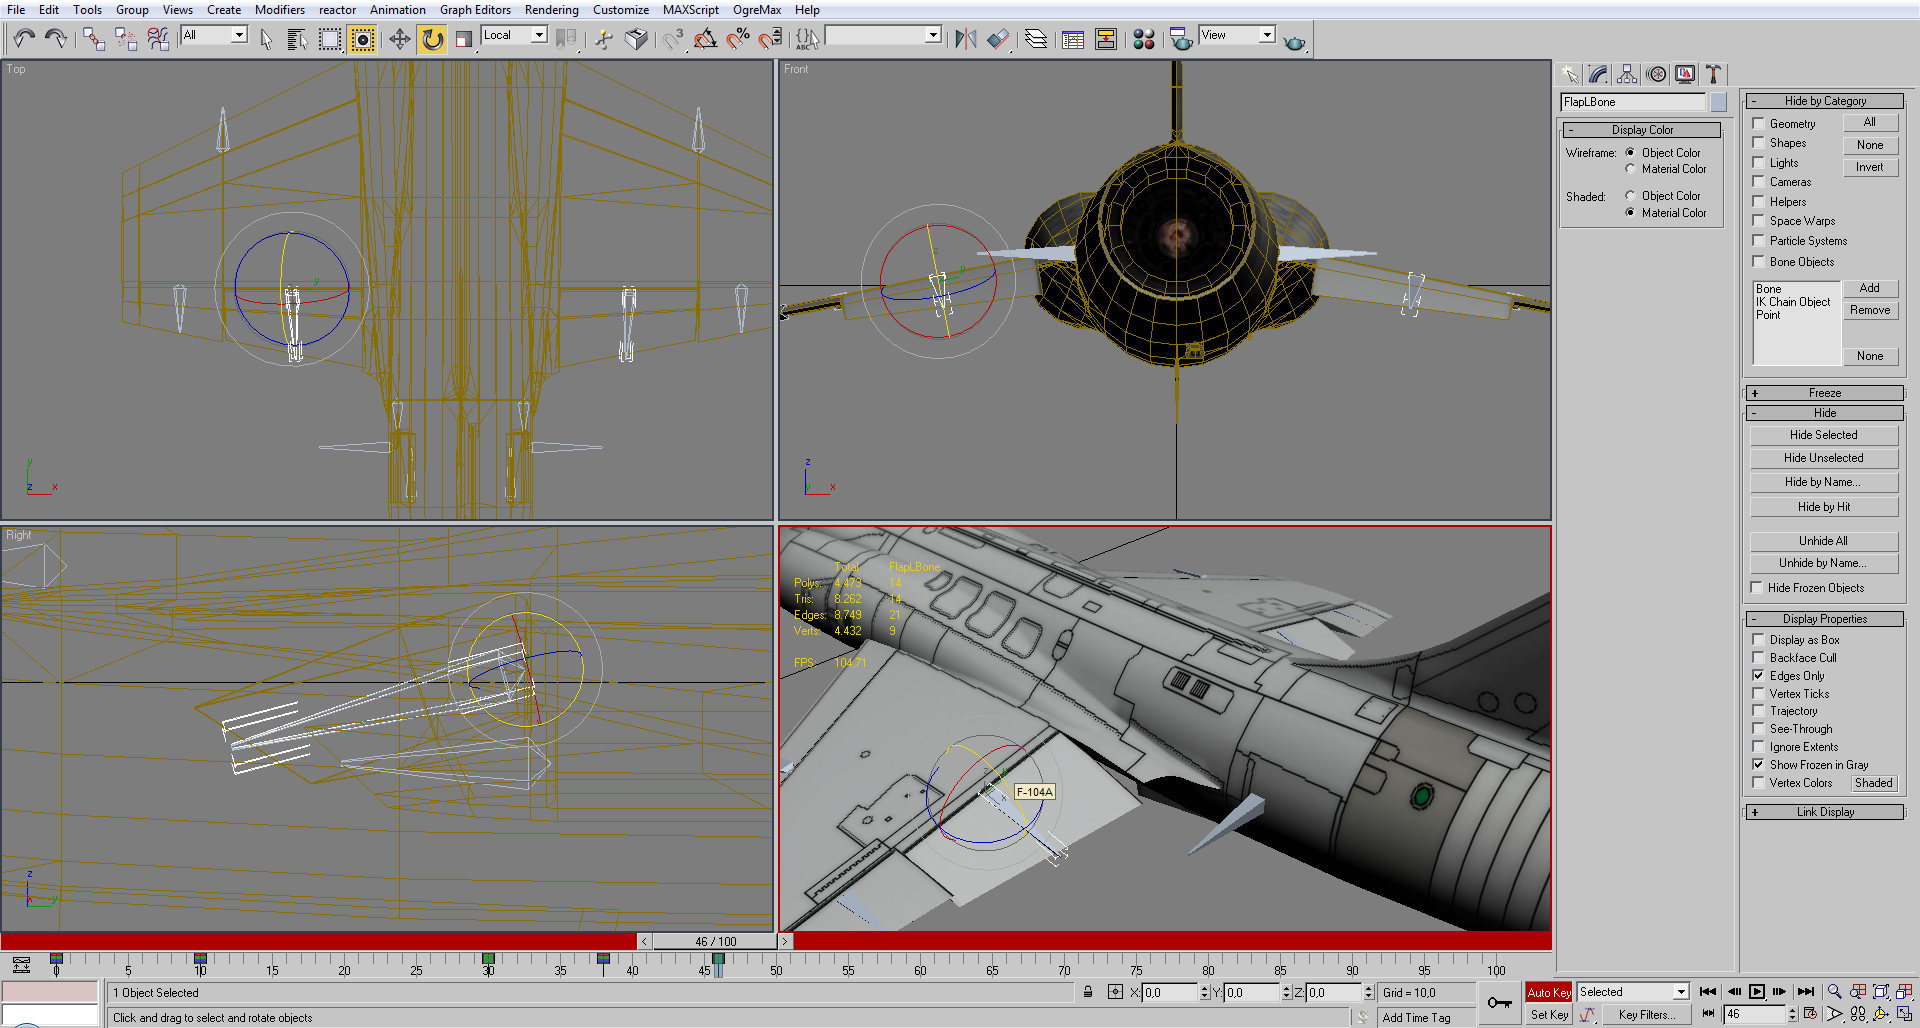
After the skin is done let's start with the animation
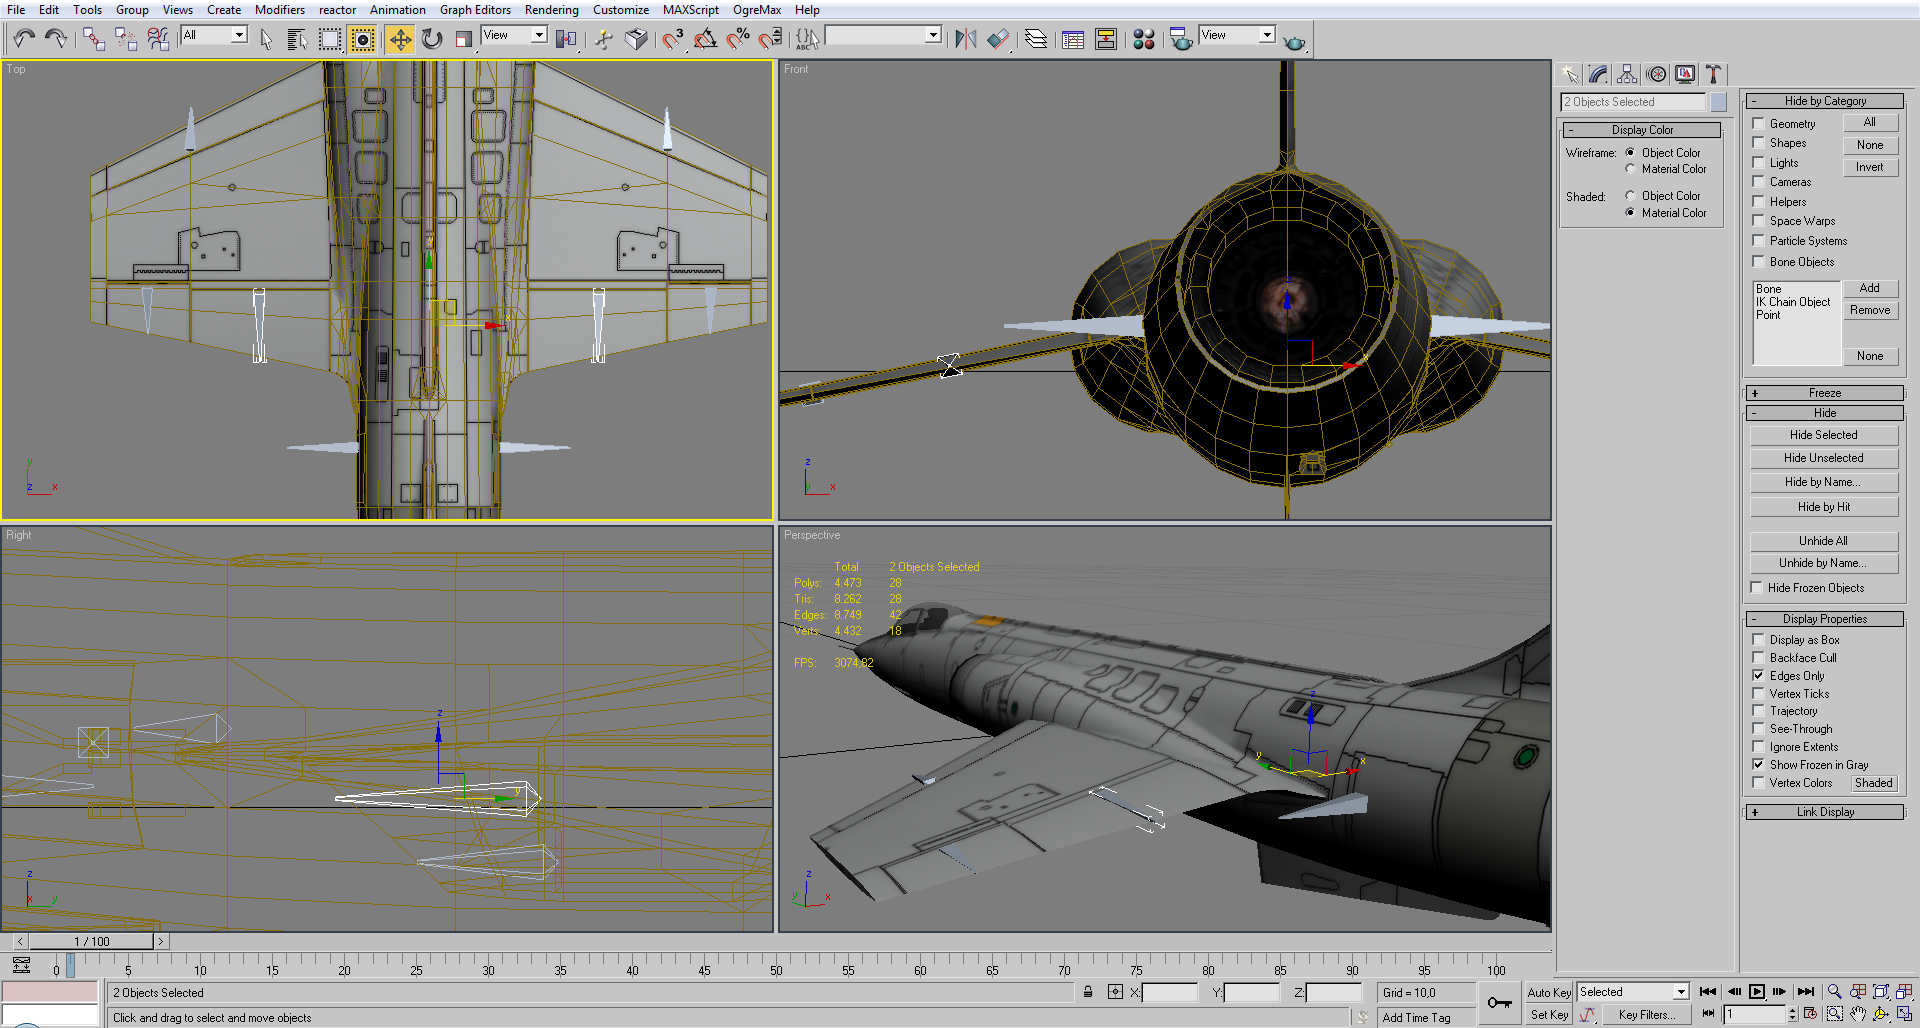
Select the bones you want to work.
With the [Auto key] active, press the key in the 0 and 10 frames, this is just a precaution to save the unedited position.
Now let’s create the pitch movement, rotate the parts up for the pitch up effect (if you want , you can use the local orientation)
Now add the rest position by coyping the keys in the 0 or 10.
The add the pitch down animation.
If you notice, the animation has 16 frames, the amount of frames used can change, but the rest position to be always in the middle, and the pitch animation must always be [pitch up, rest, pitch down]

Now the roll animation, starting with the [roll counter clockwise]
Then rest position and [roll clockwise].
The roll animation must always be [roll counter clockwise, rest, roll clockwise]
Now the yaw animation, starting with the [yaw left]
Then rest position and [yaw right].
The yaw animation must always be [yaw left, rest, yaw right]

For the upper part of the tail add the same pitch animation in the same time frames.

As for velocity states animations, (the ones that change depending of the speed of the unit)
Start with the rest position.
Then add the altered position.
For velocity states animations it must always be [rest position, altered position]
Adding the flaps animation, add it away from the pitch position.
Then add the altered position. Normally this types of animations have 10 of size.
And finally the brake animation (the acceleration animation also works the same)

It is like the velocity states animations, it must always be [rest position, altered position]
Note, this is important, even if a bone only uses a fraction of all the frames of the animation, it always must have a key at the start and at the end of the animation.
Do the same to all moving parts, desirably all the animations, pitch, yaw, roll, must be created in different time frames.
![]()
And now the final step.
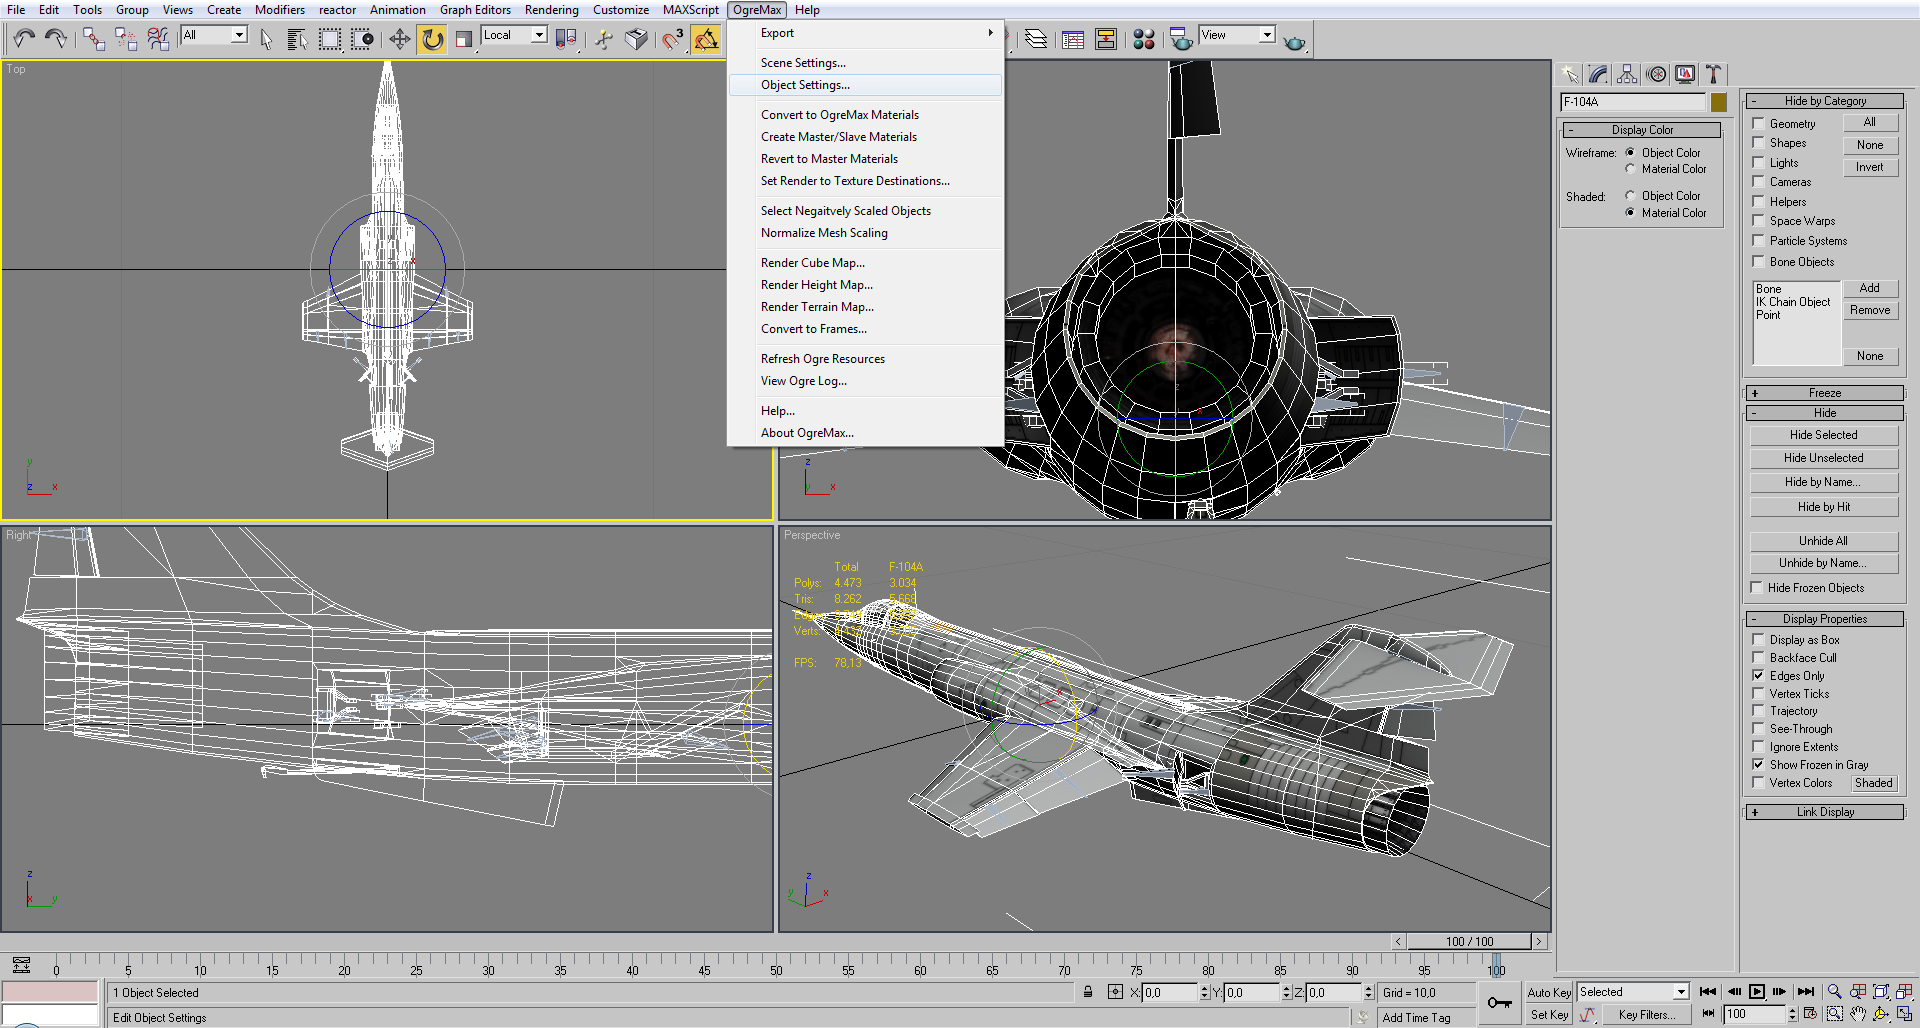
Select only the aircraft and select [object settings]
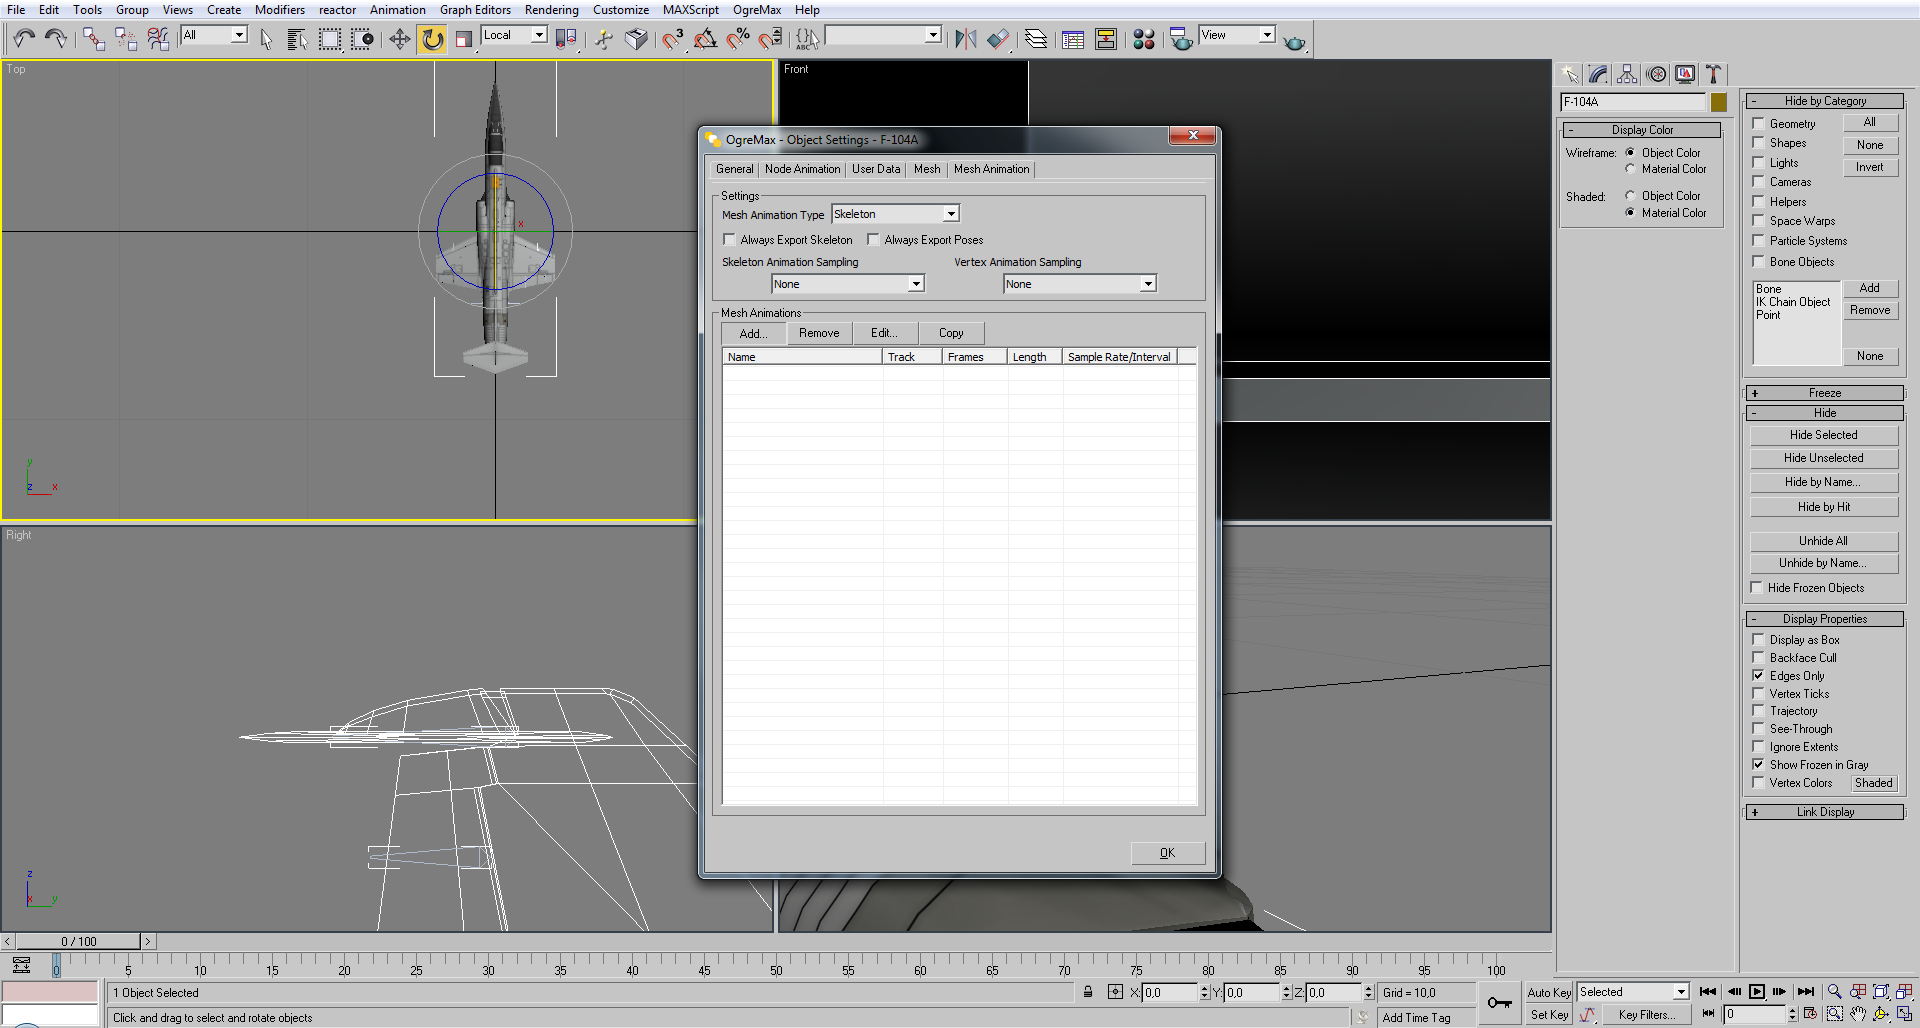
Go to [Mesh animation]
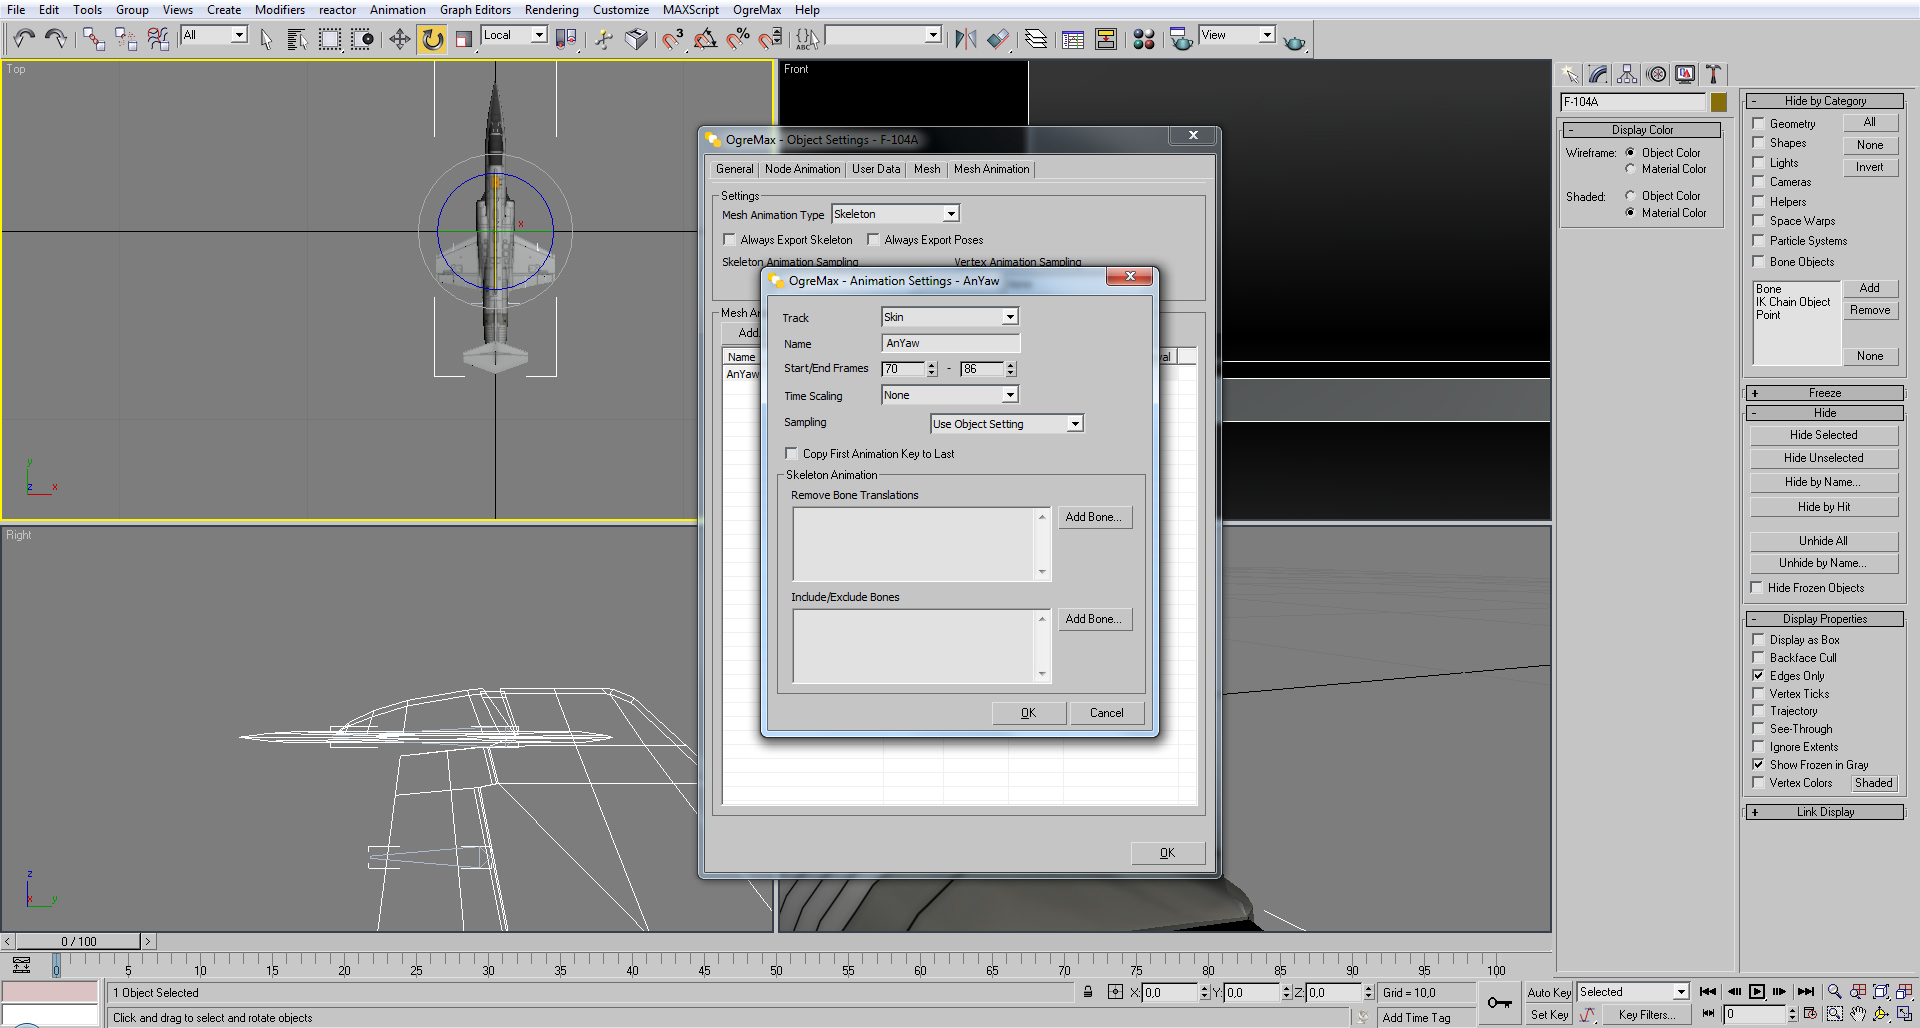
Add a new animation. You can configure the name as you wish, is that name that will be used to setup in the parameters.
Set the exct start and end frame animations, if you make a mistake in the time of if a bone does not have a key in that time position you will experience a jump in the animation.
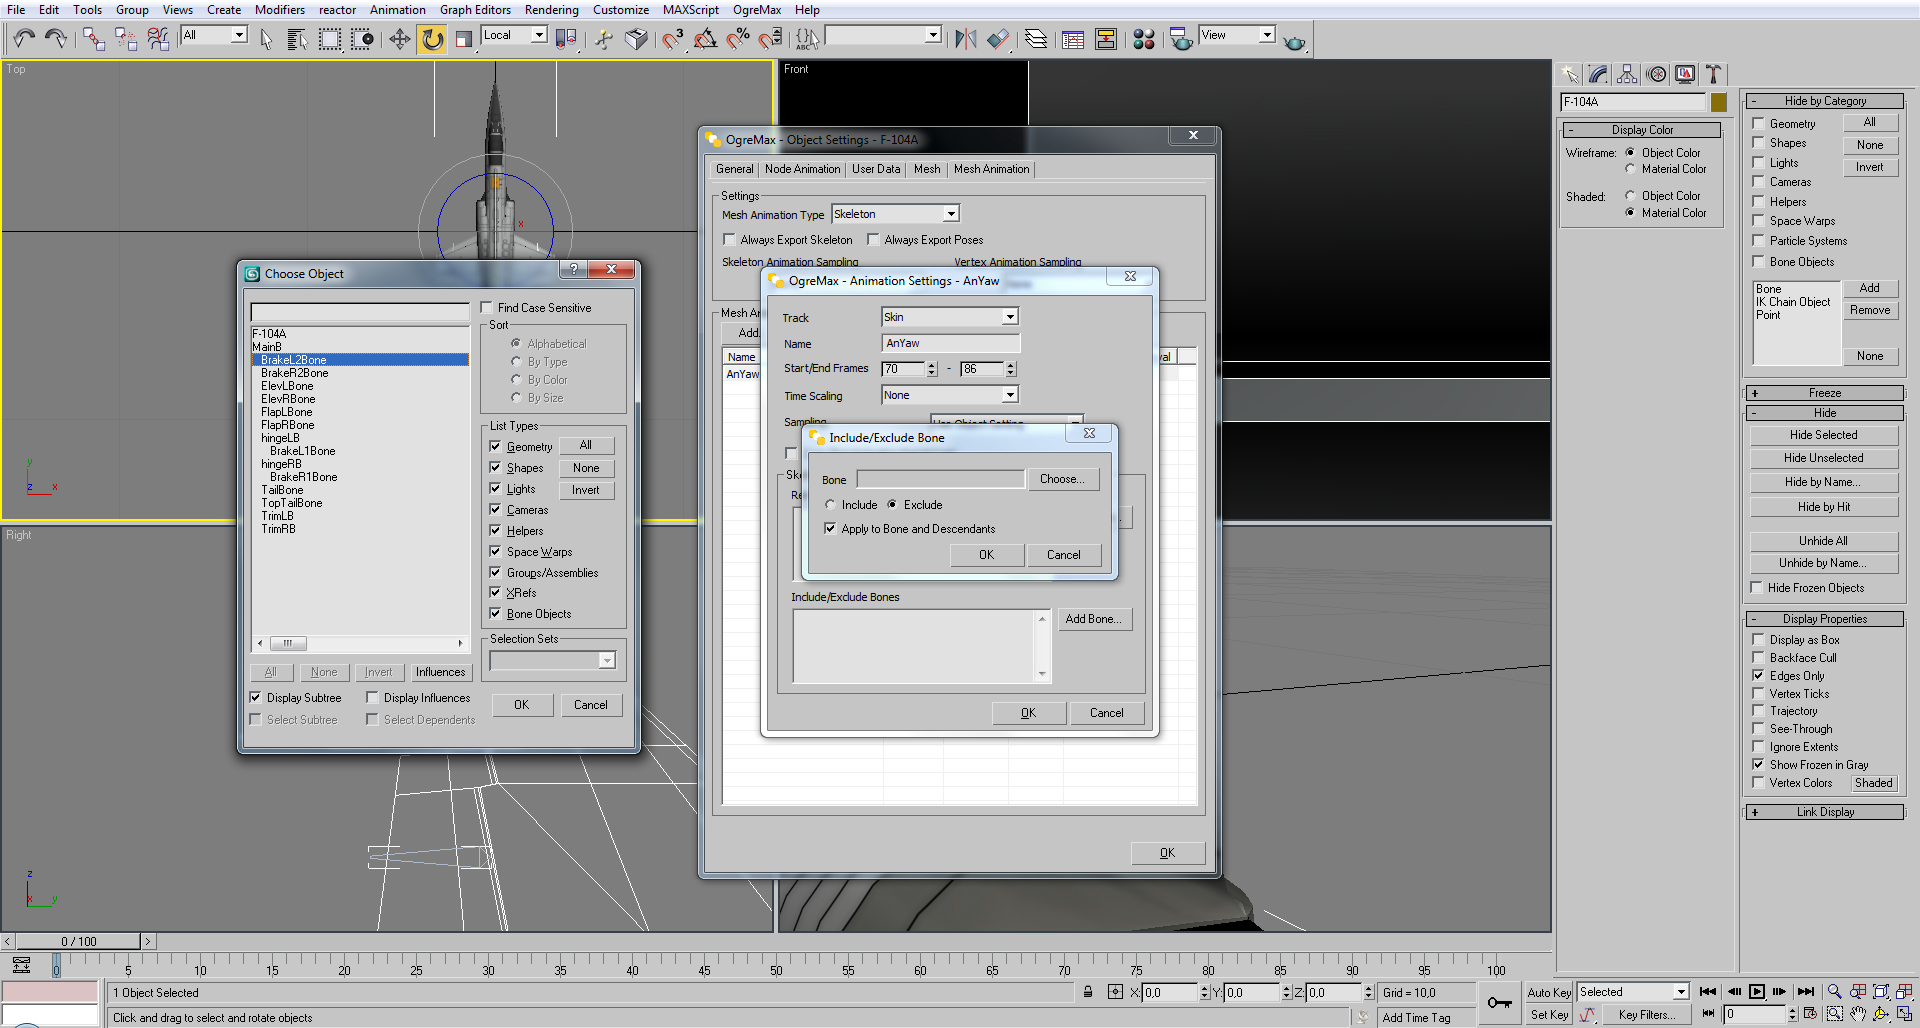
To avoid any unwanted movement exclude all the unneeded bones, including the main one, but for that uncheck [apply to bone and decedents] otherwise there will not be an animation at all.
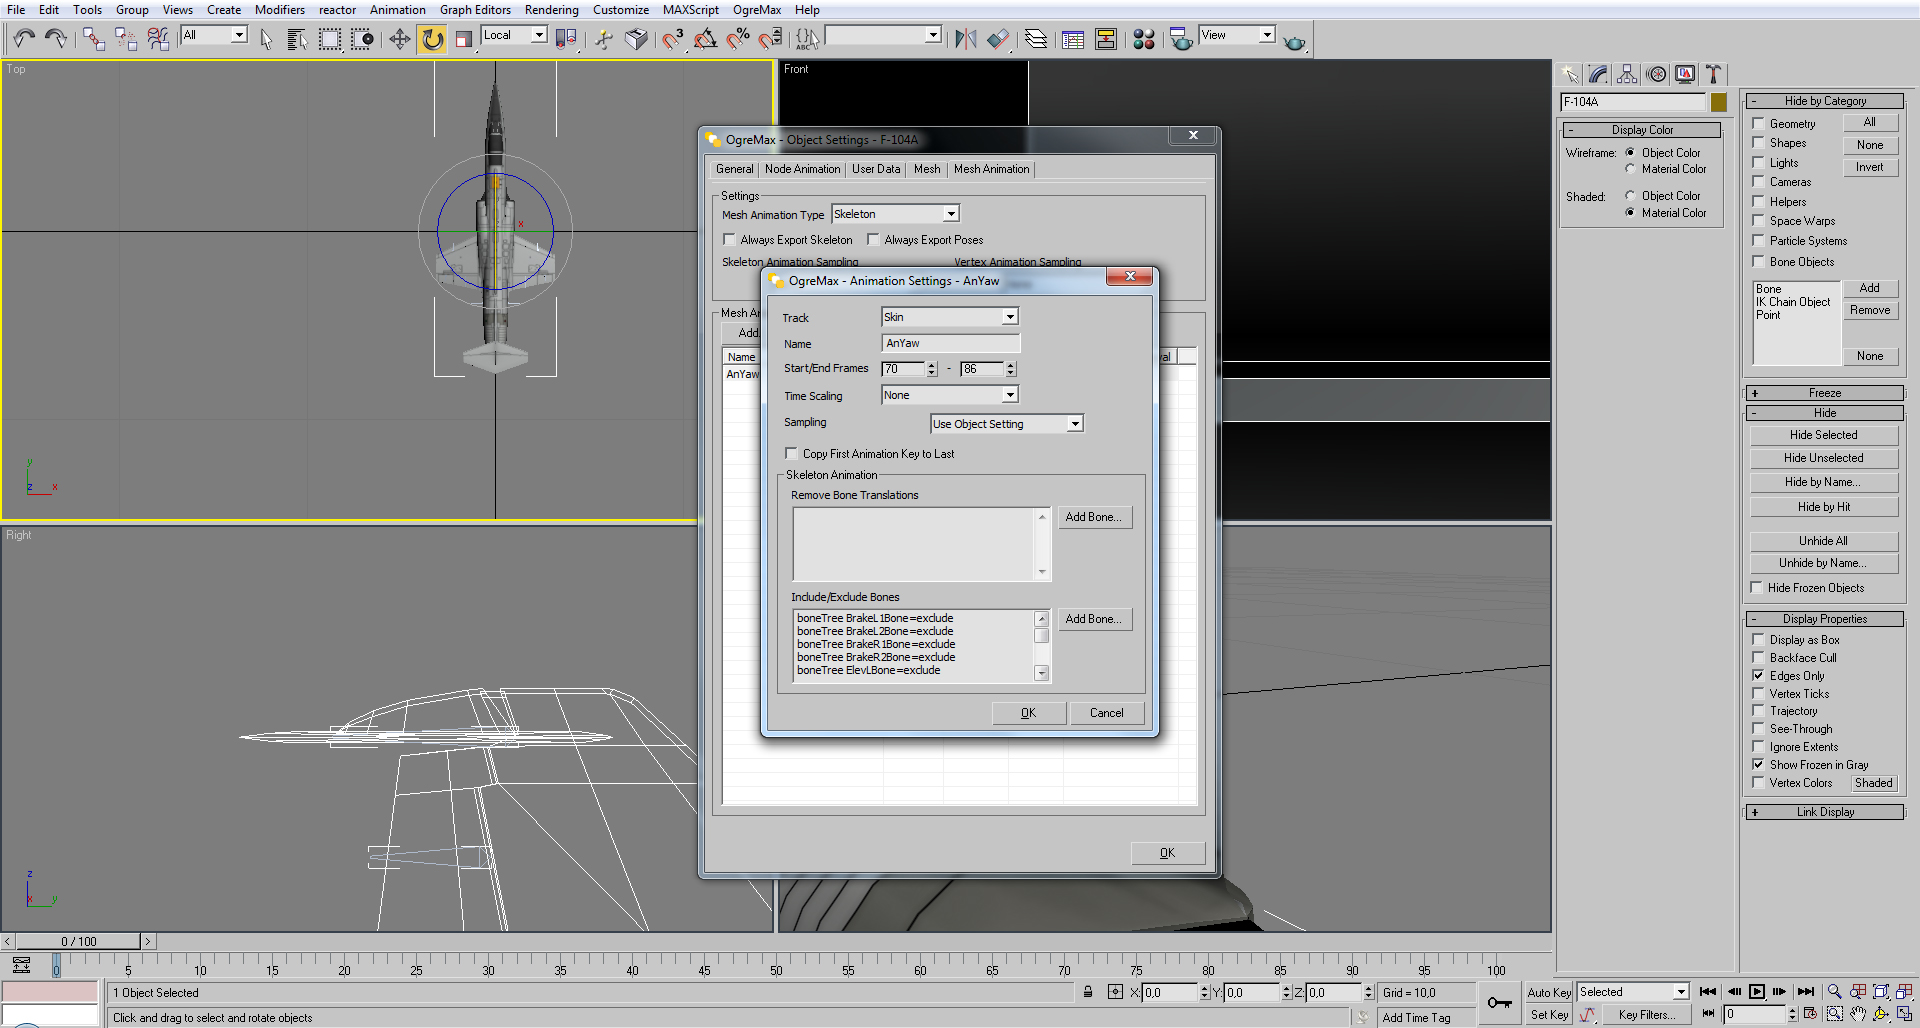
After the unneeded bones are excluded hit [ok]
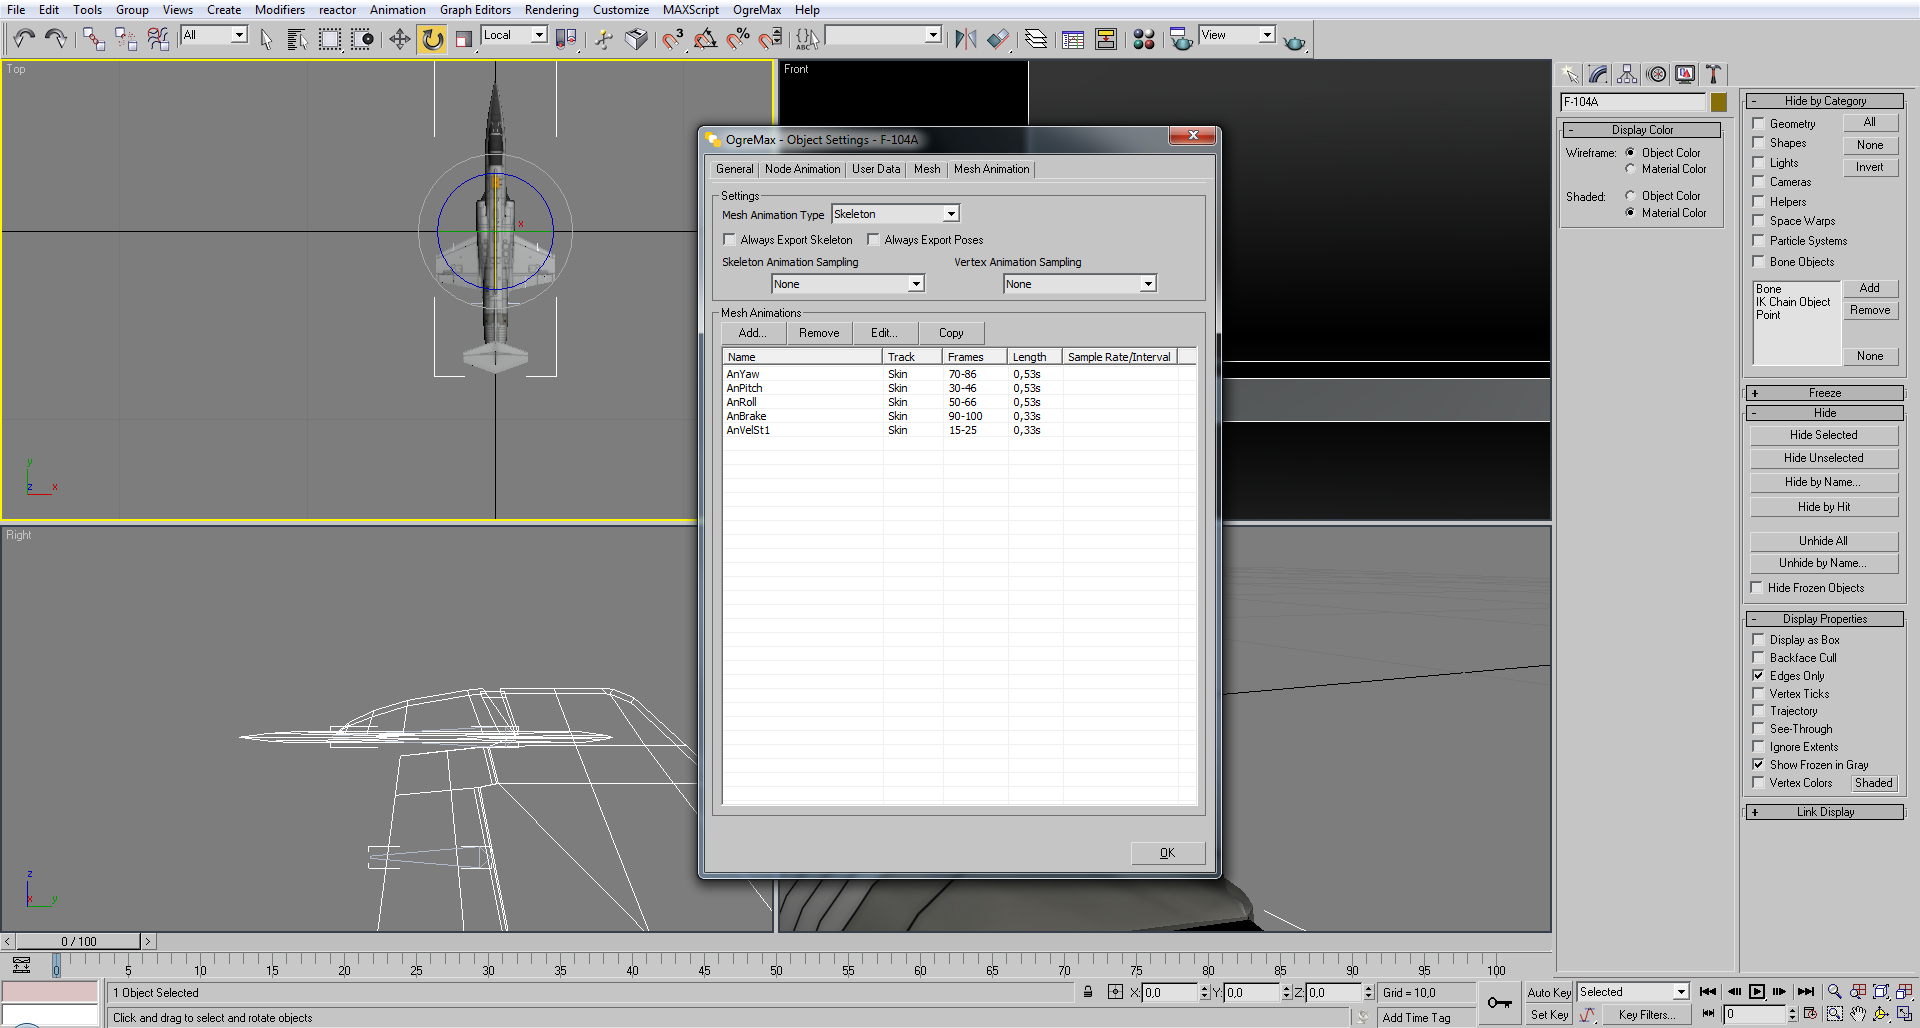
Do the same to all the animations. And that’s it, then export like mentioned in the other tutorial.


Some of the other planes have airbrakes with animated hydraulics. Can you show me how the bones are laid out on those?
Also, why not make the canopy a separate mesh so you can open and close it, or blow it off for ejections?
Yes it can be made another tutorial for animation tips.
The latest models are already being done considering the possibility of having a moving canopy.
What can be done in the future, is make them move in the hangar selection, other than that I haven’t found yet any solid reason to add the ejection option to the gameplay.
Do you mean the movable planes and canopy are animating during plane selection screen, as in Ace Combat (esp. PS2 series)?
Yes, exactly like that.
Perhaps it can be used as a system so that if you eject the enemy gets fewer 'points' for downing your aircraft, but you also receive a hit to yours as well? Make it a minor gameplay mechanic?
Yes, similar to that, an optional skirmish mechanic would be shooting down a aircraft gives 2 points, but if the downed player ejects, the aggressor will only receive just one point.
I was just thinking the ability to animate ejections might be good for in-engine cuscenes and stuff, or just to give you something to look at when you shoot down a plane. Nothing the game hinges on, but I figured it was a good idea to model it like that in case you decide to add it later.
There still no solid idea how it can be used, but the ejection animation can be added either way, it may be useful in something
Can you also give me a look at the area where the weapon pylons meet the plane and weapons? I need to know if they are designed to clip through the other meshes or are modeled around them.
Maybe I'm way too late to the party, but as for a guy who can into modding VT just recently, here's one more tips for me.....
MAKE SURE ALL MATERIALS (mat_Solid, etc) ARE NAMED IN CASE-SENSITIVE, FAILURE TO DO SO WILL RESULTING IN THE SAID TEXTURE NOT LOADABLE IN-GAME
(yes, it's THAT important I have to type it in full caps)
What's the software you using in this tutorial?