![]()
This tutorial will cover all the steps of the aircraft creation except the game’s parameters configuration.
To avoid being an extensive tutorial, this will be a quick overview without addressing with detail any area.
Because of this, this tutorial is more suited for someone that already knows the basic 3d modeling knowledge and desire to learn what is the production pipeline in making an aircraft
If anyone whishes, feel free to request and more detailed tutorial for any particular step.
![]()

You can find this image in here
En.wikipedia.org
![]()

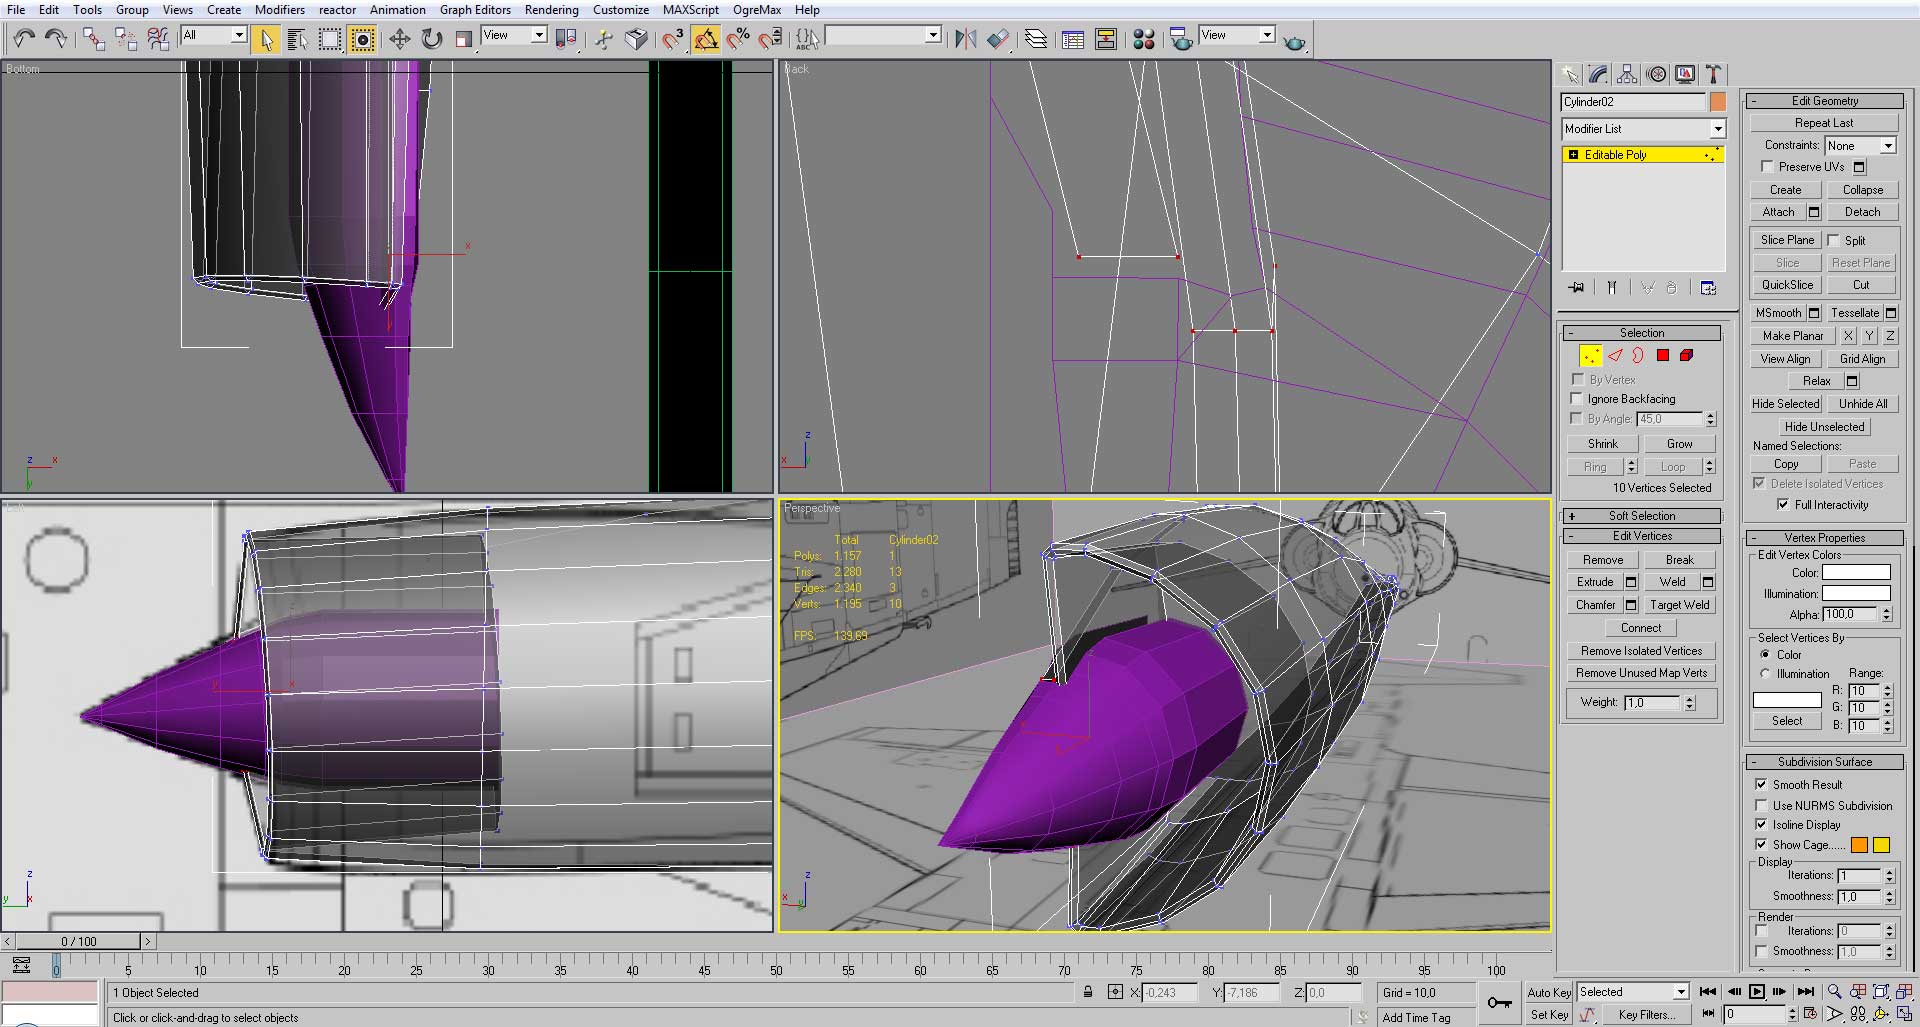
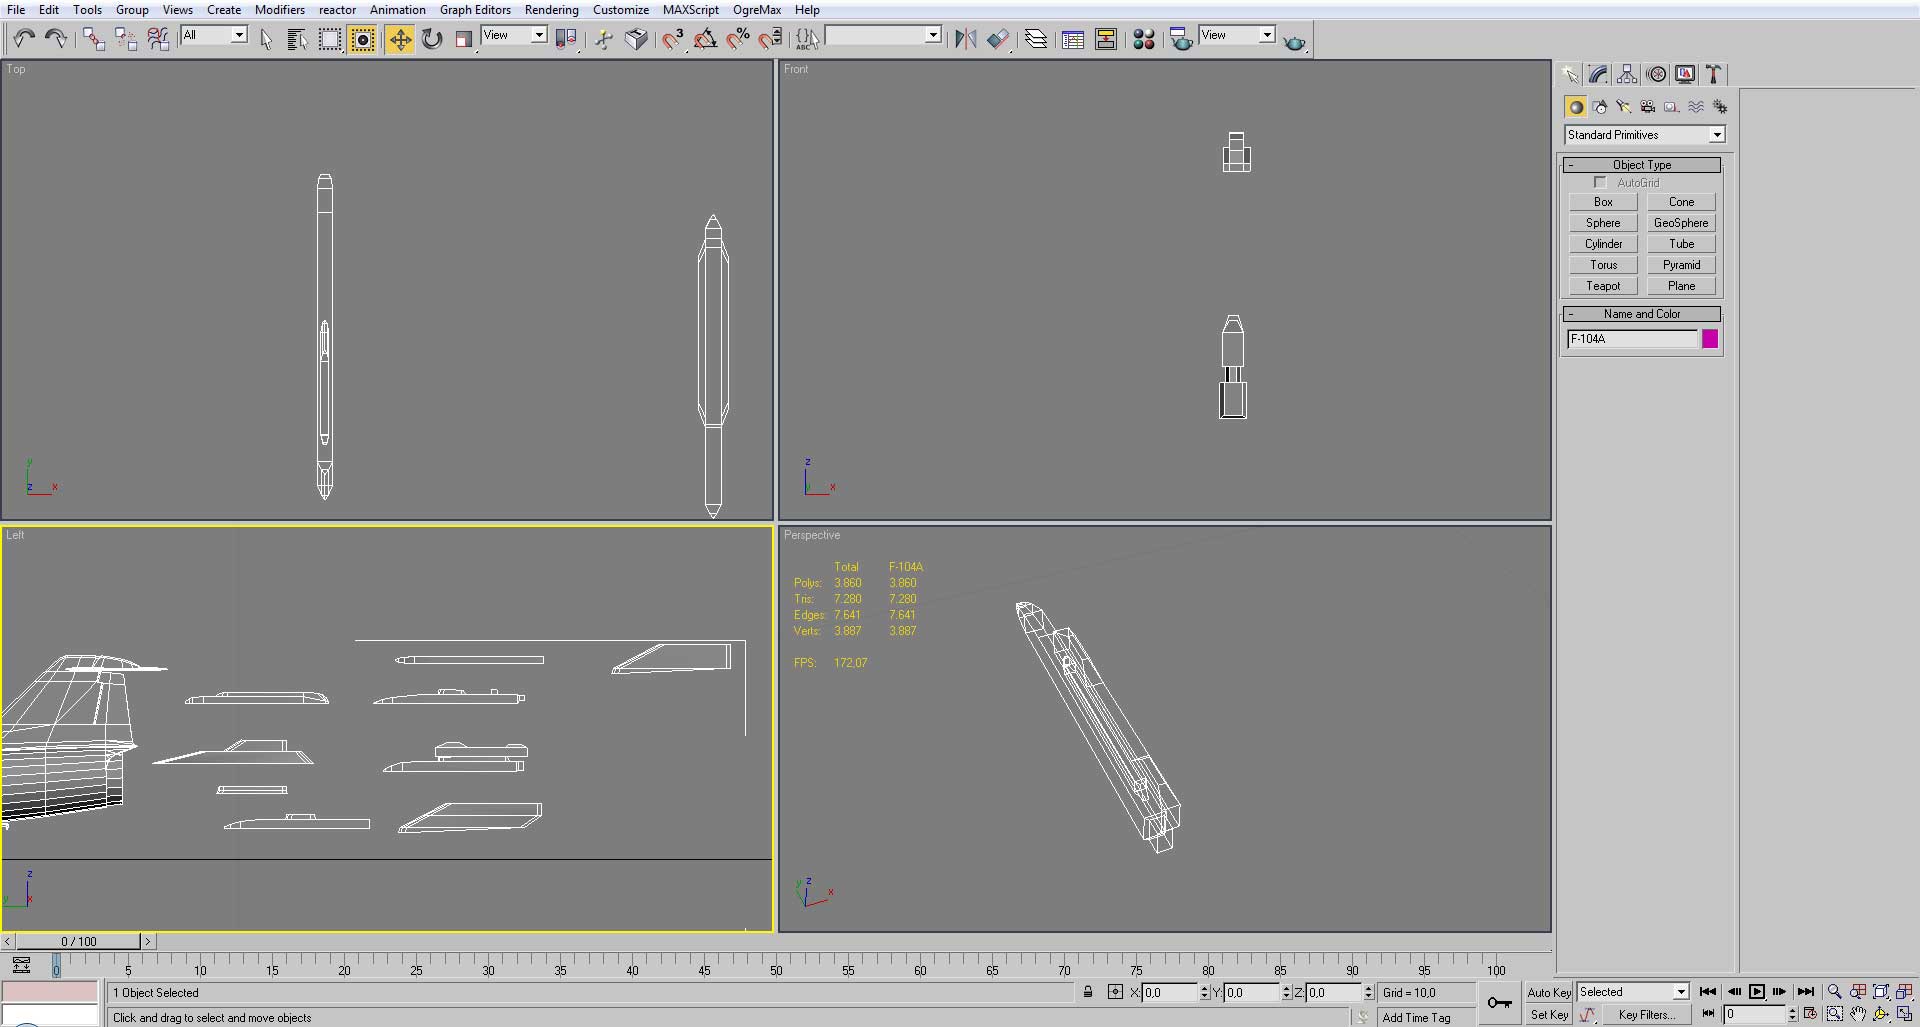
First we start by creating the box that will hold the reference image.
![]()

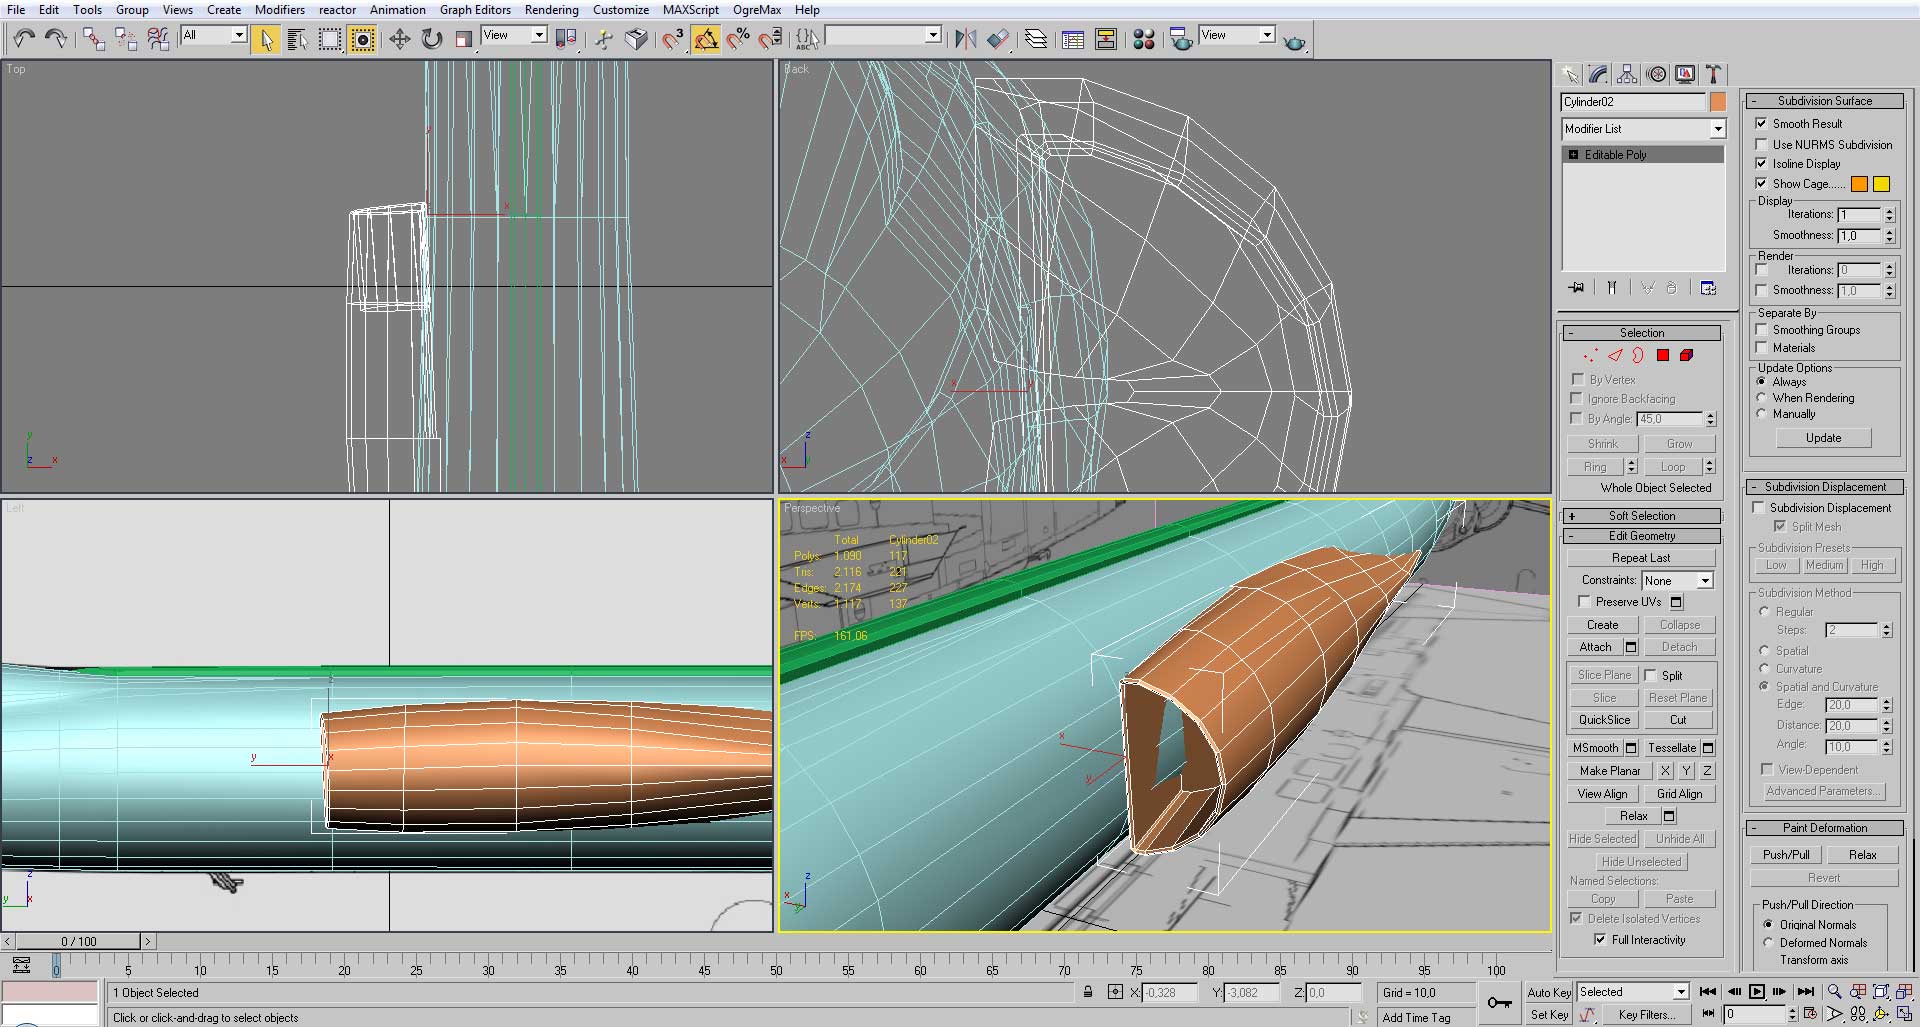
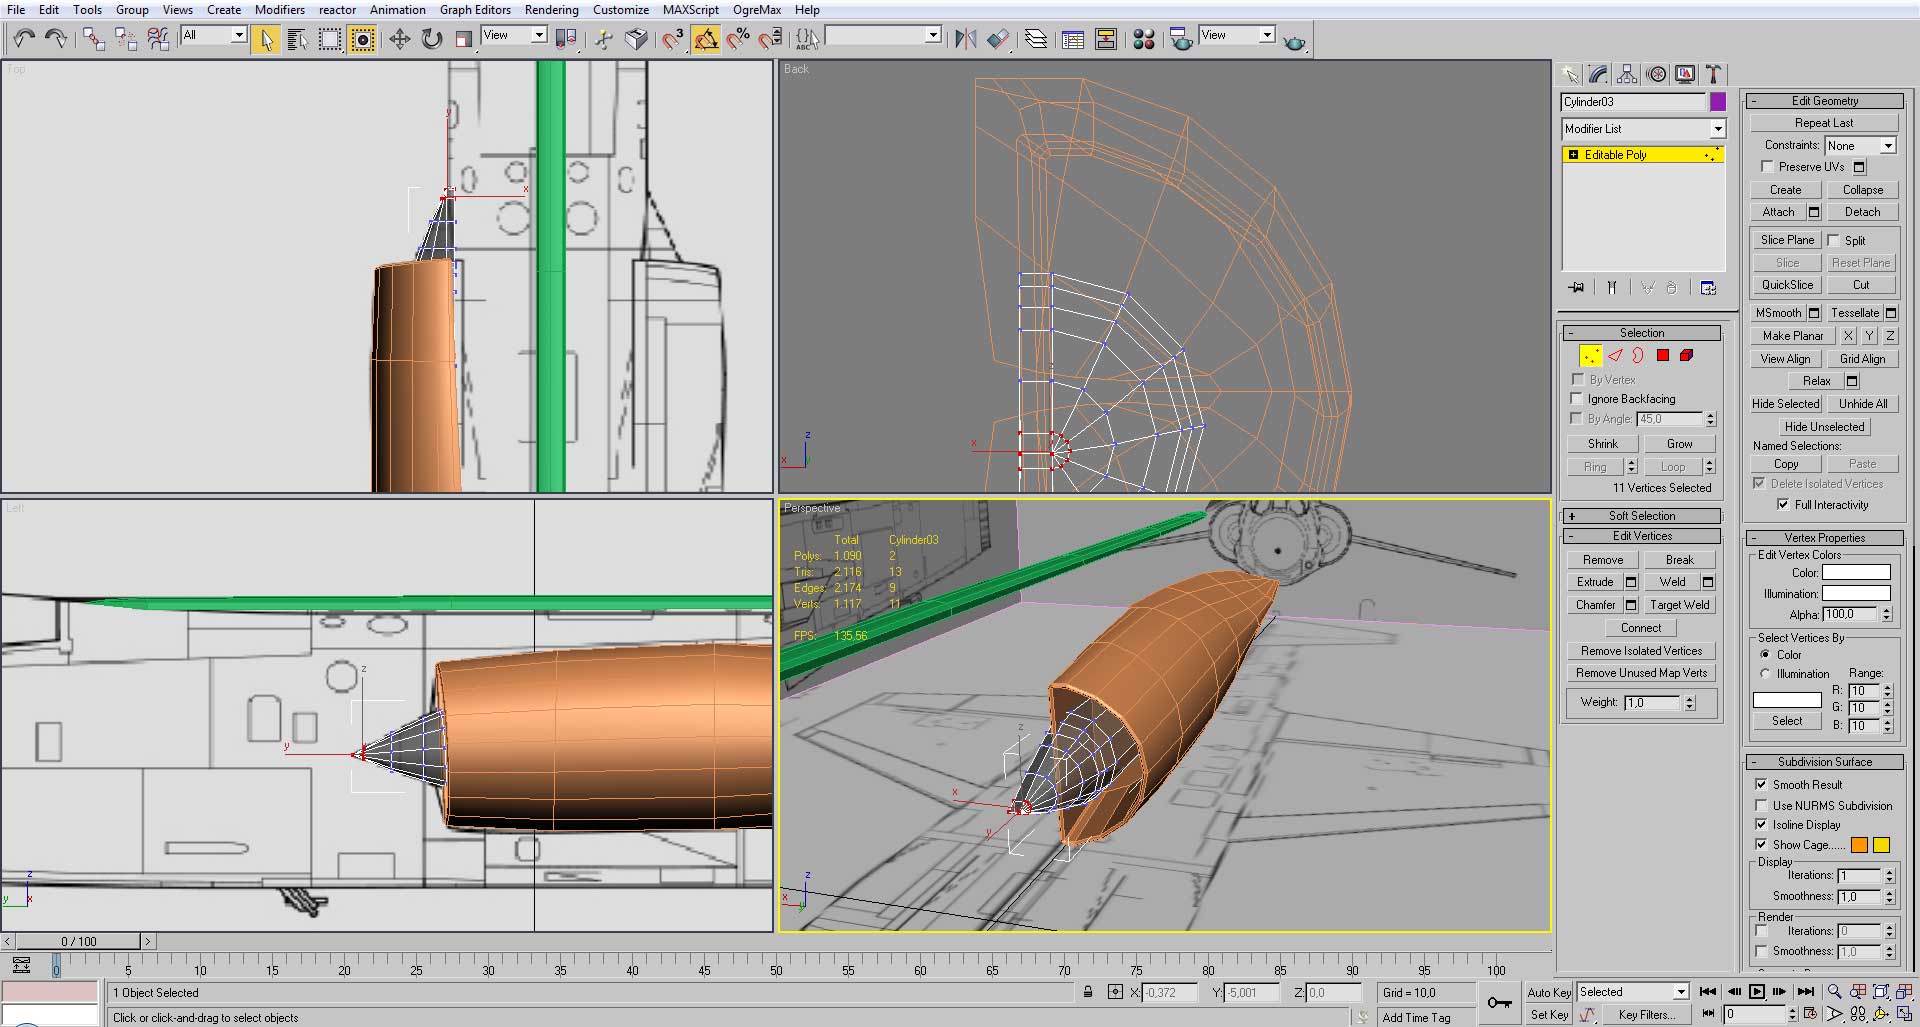
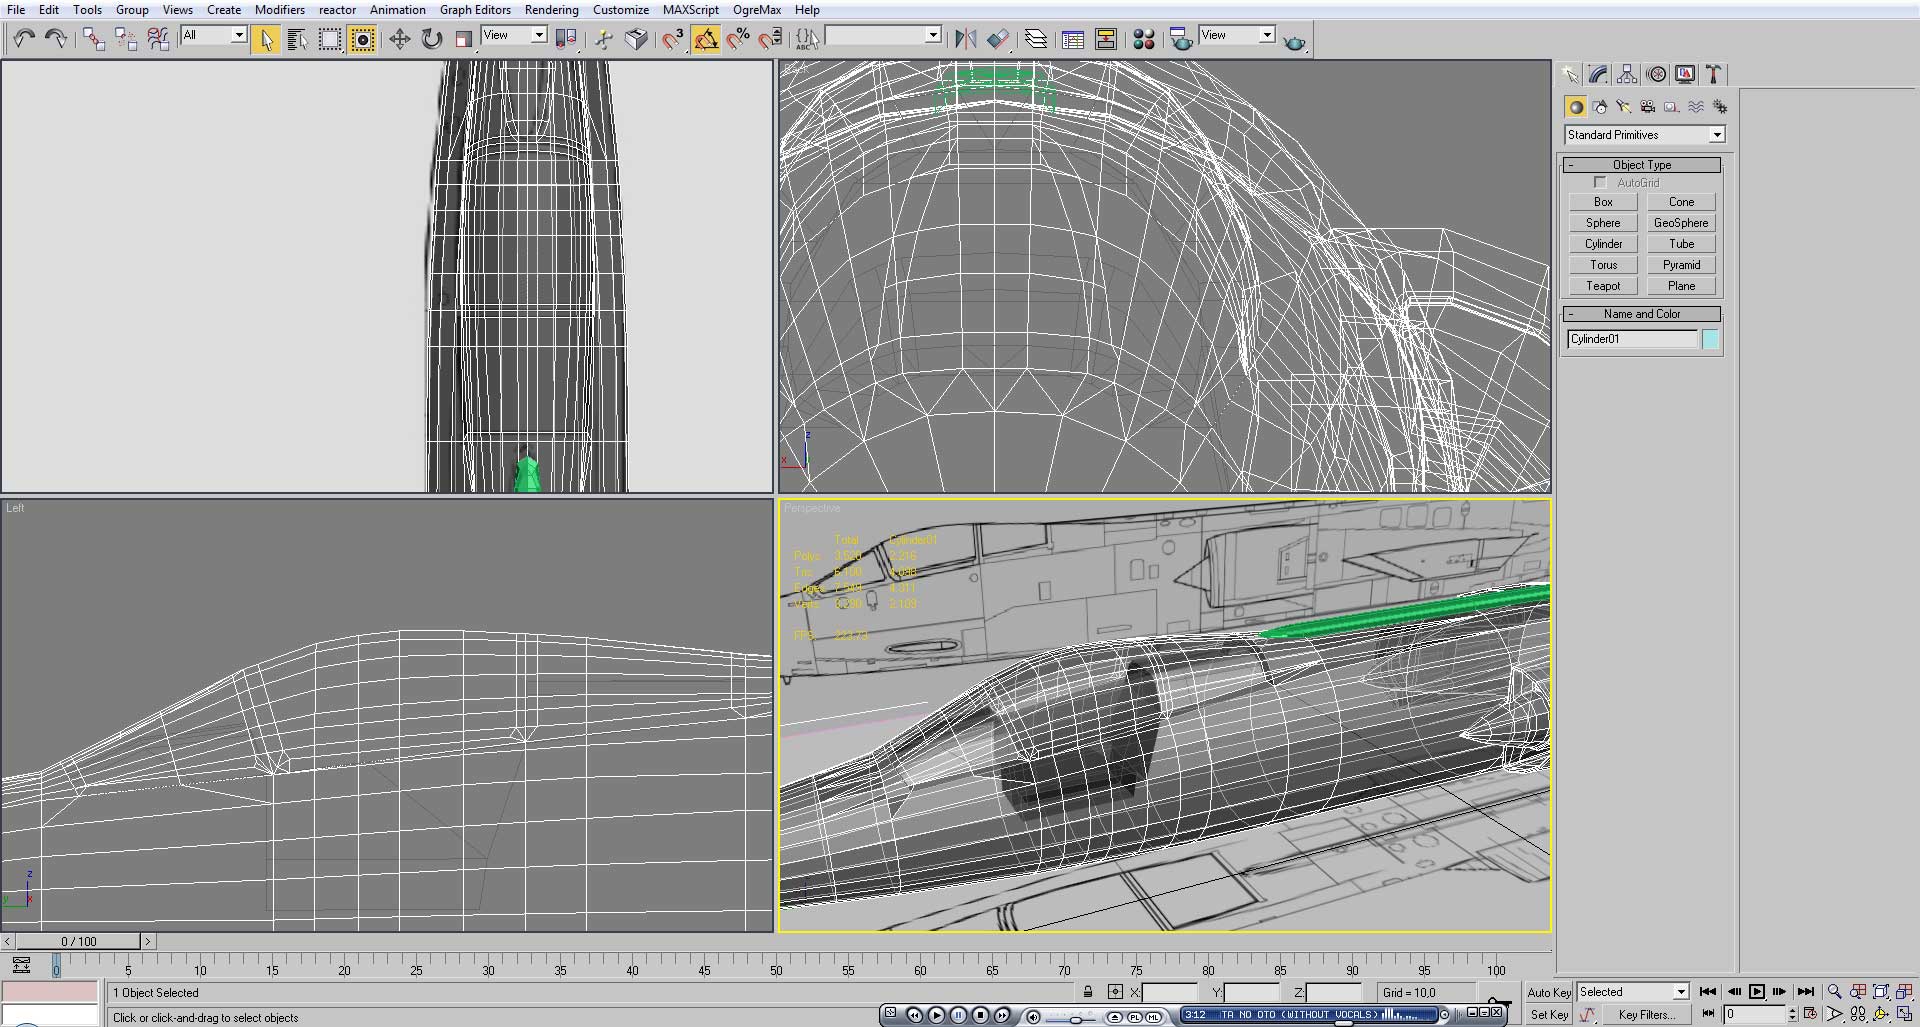
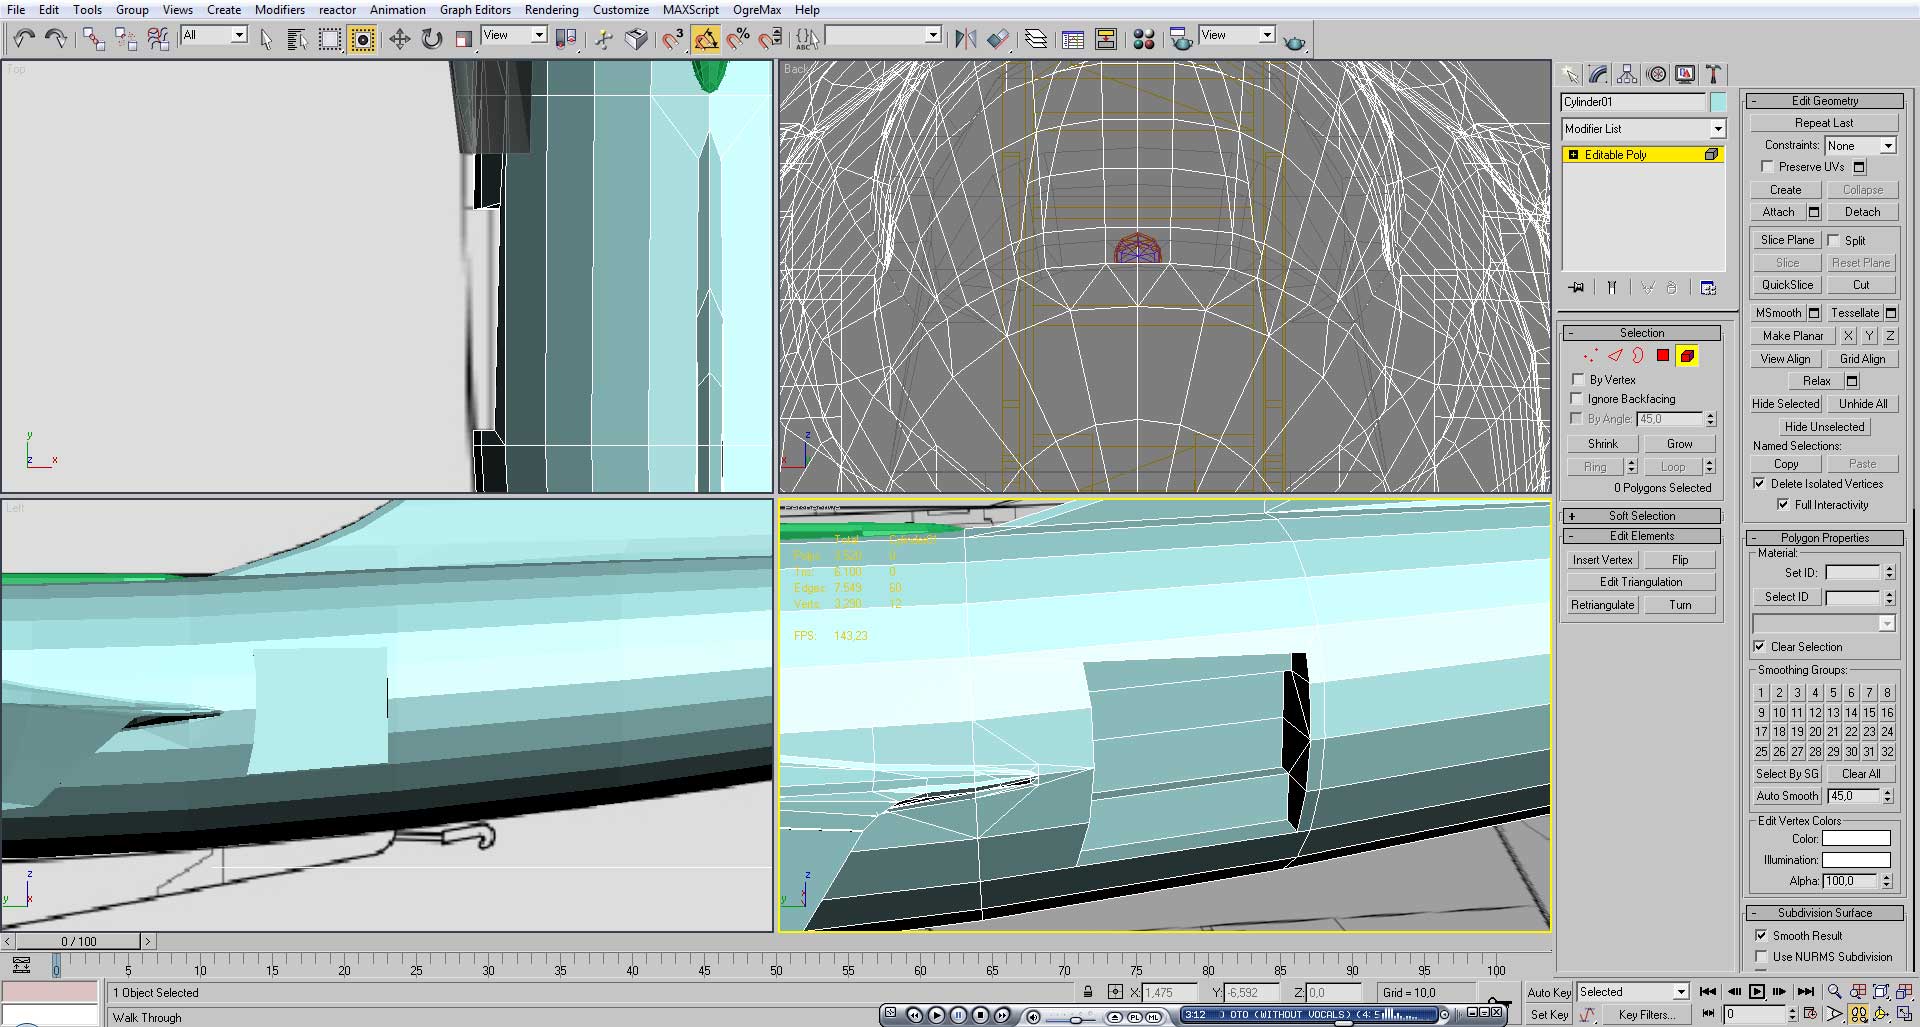
As the shape of the aircraft we want to model helps, we can start by creating a cylinder with roughly the same diameter of the aircraft
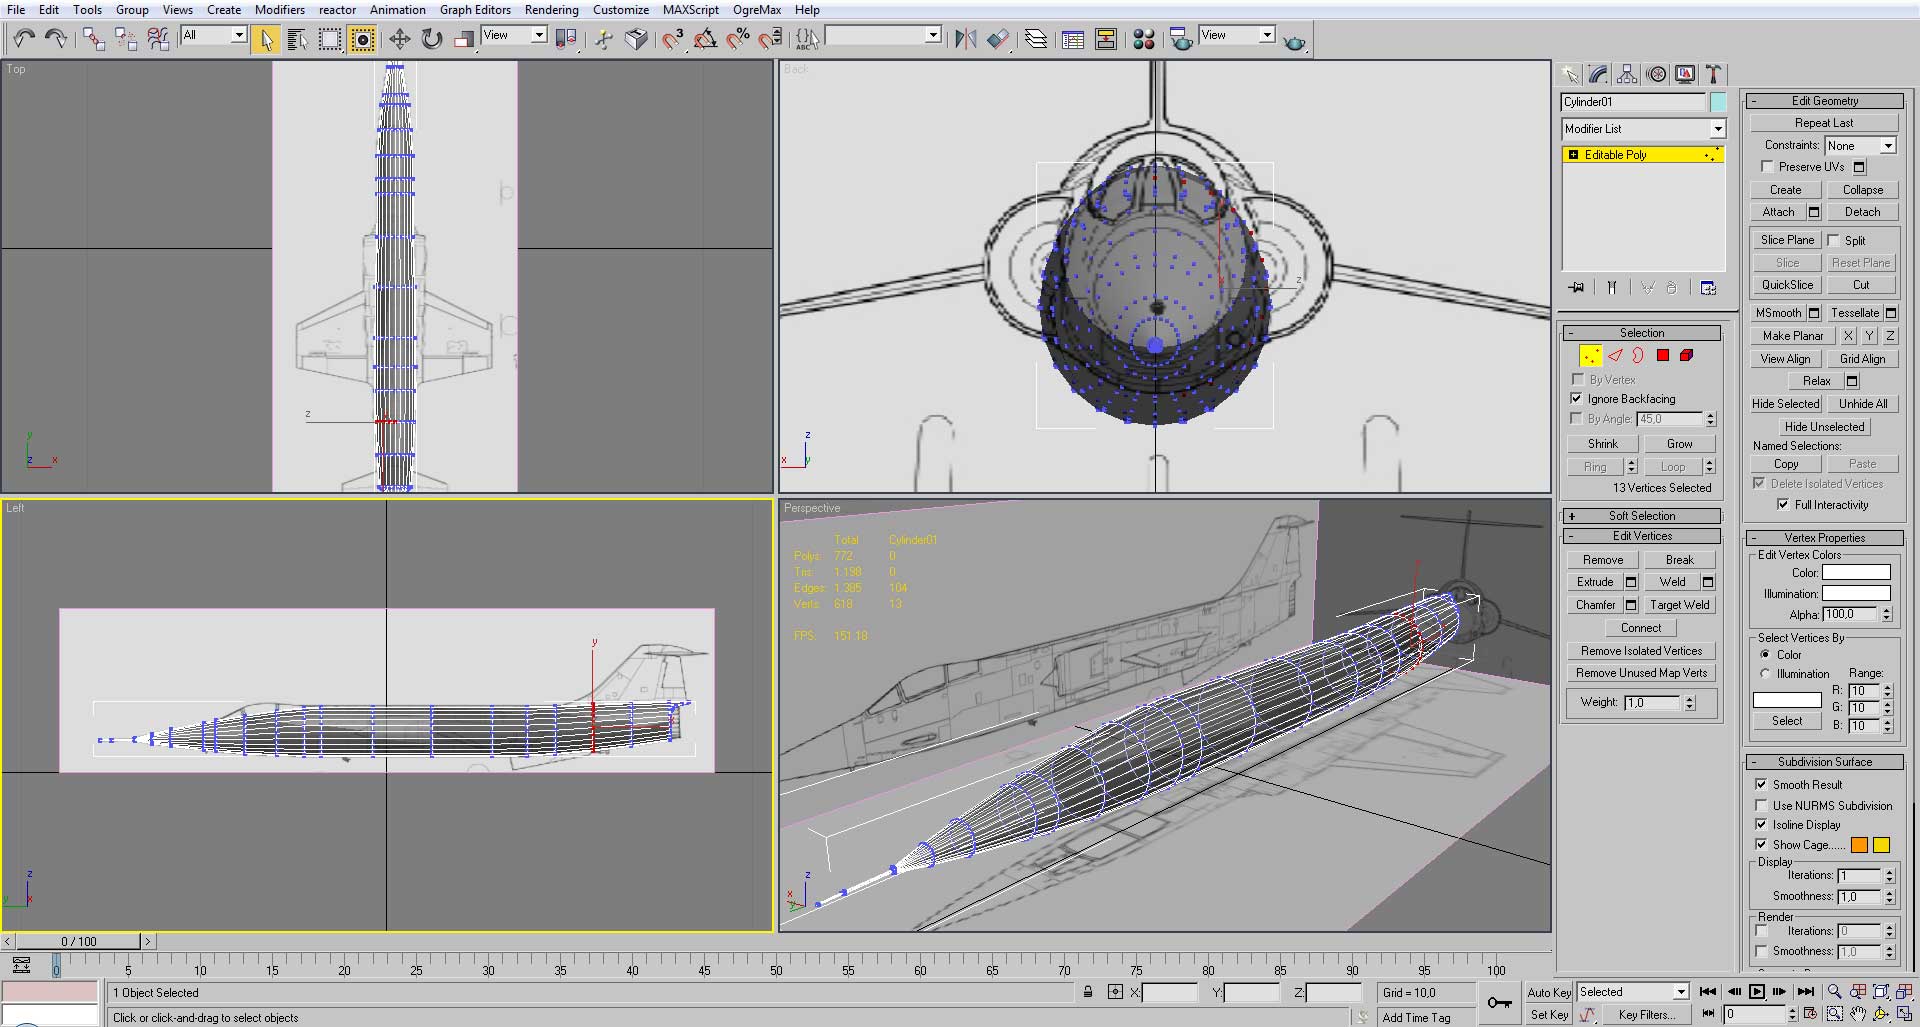
After converting to an editable poly we mold the vertices to conform the shape of the aircraft.

To make the canopy, we create another cylinder.
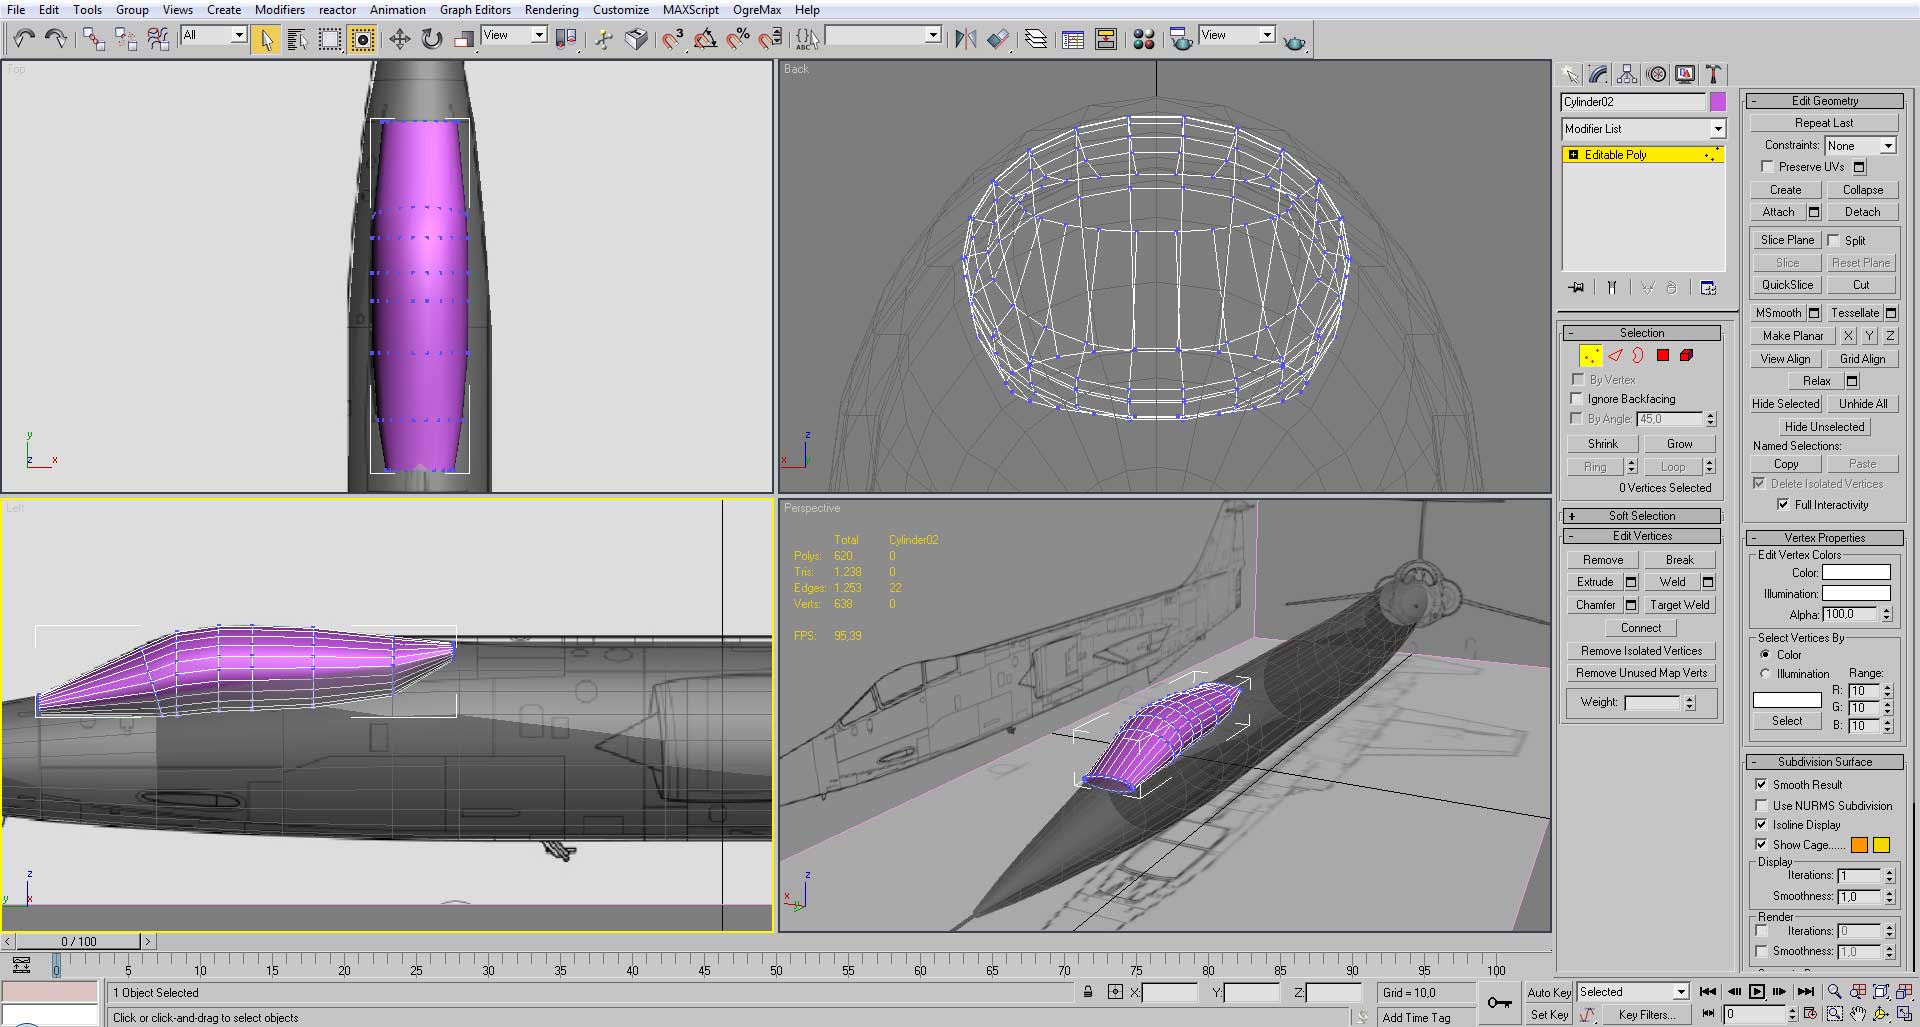
Adjust the new cylinder to match the silhouette of the canopy

After that, we blend it with the main fuselage, by using cuts, deleting and creating new faces.
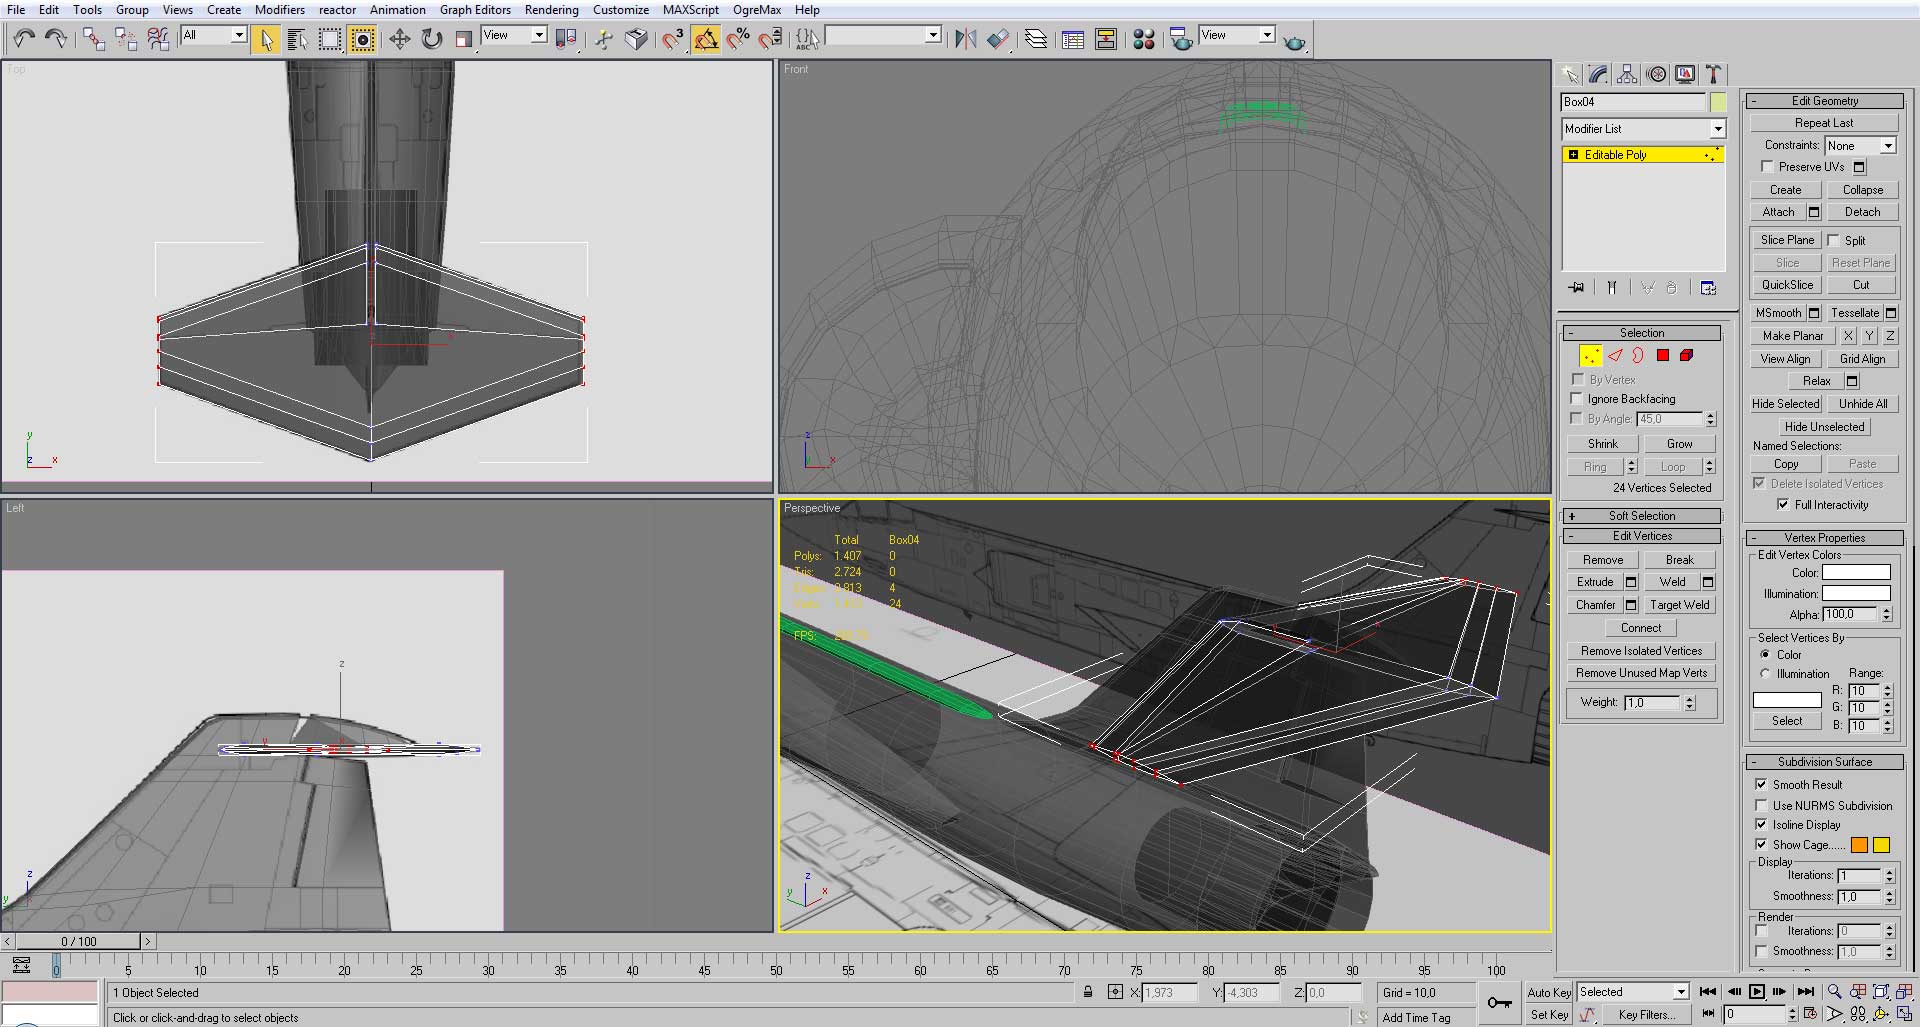
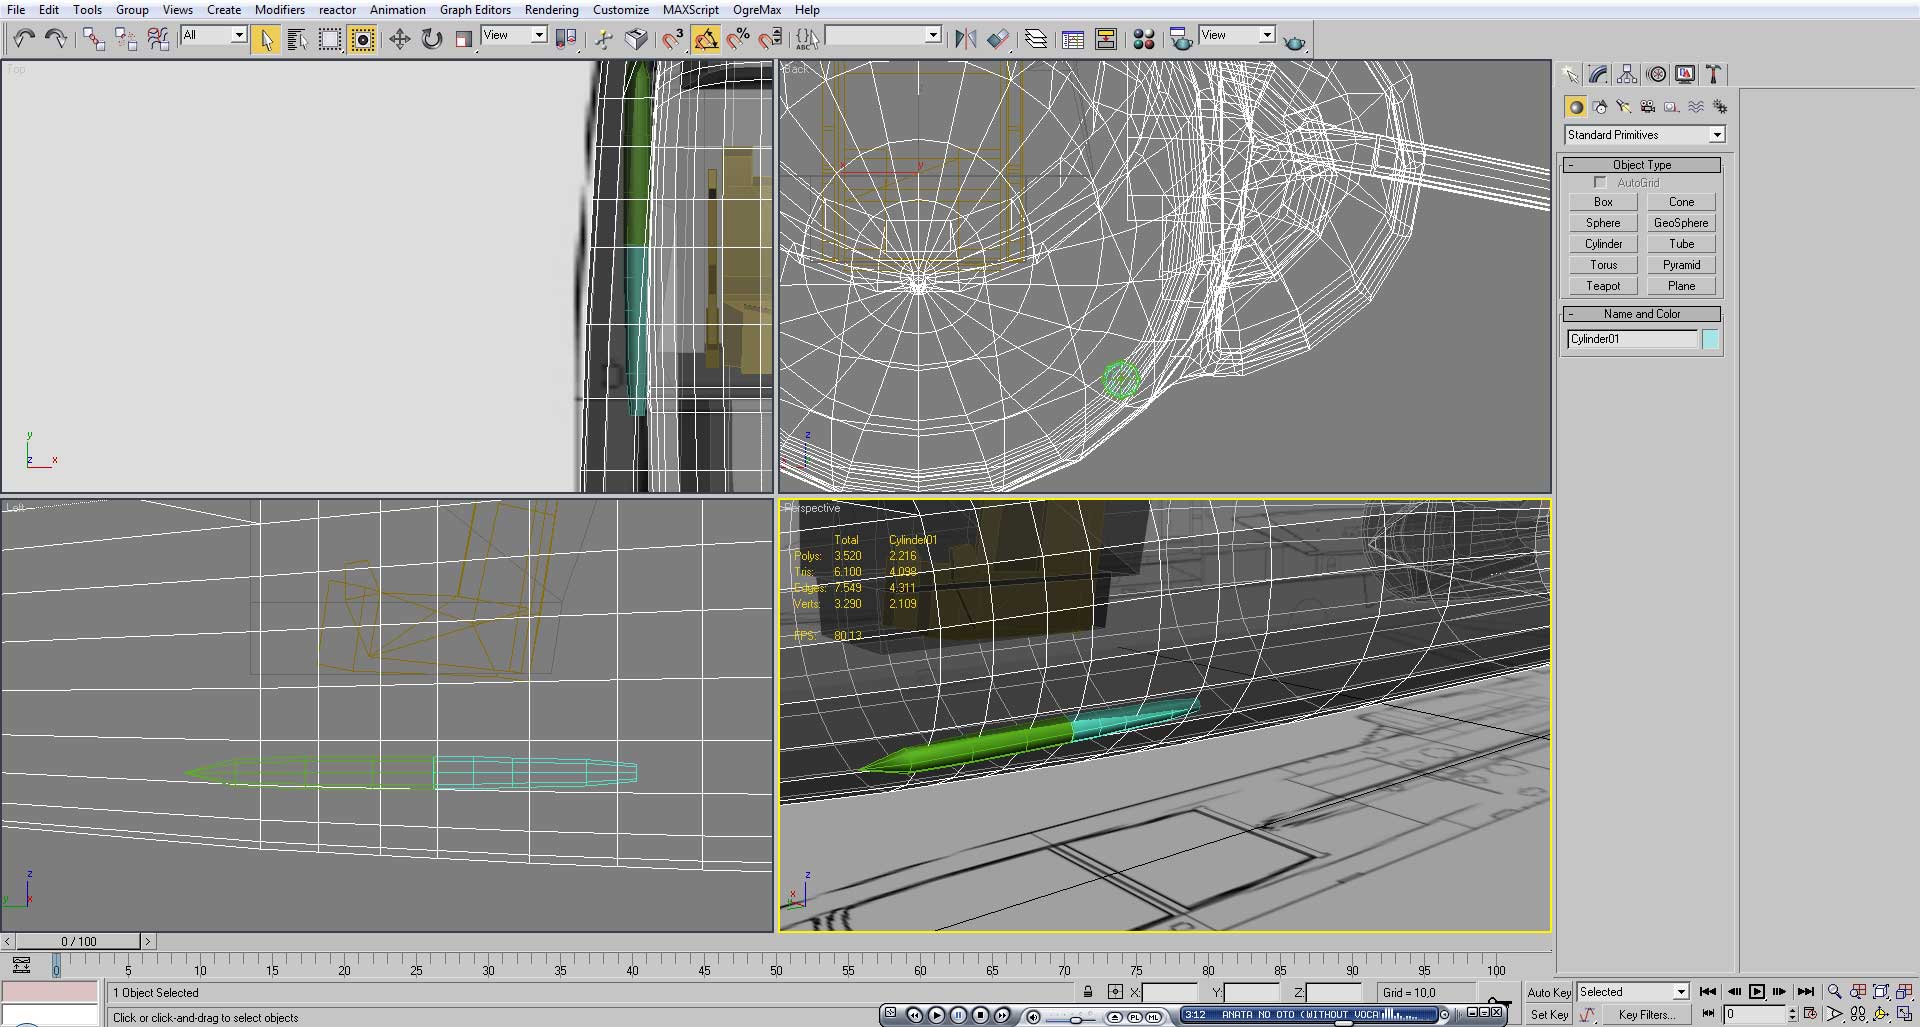
Then we create the dorsal bump as a separate model, se start off with a box and use chamfer to make it smoother
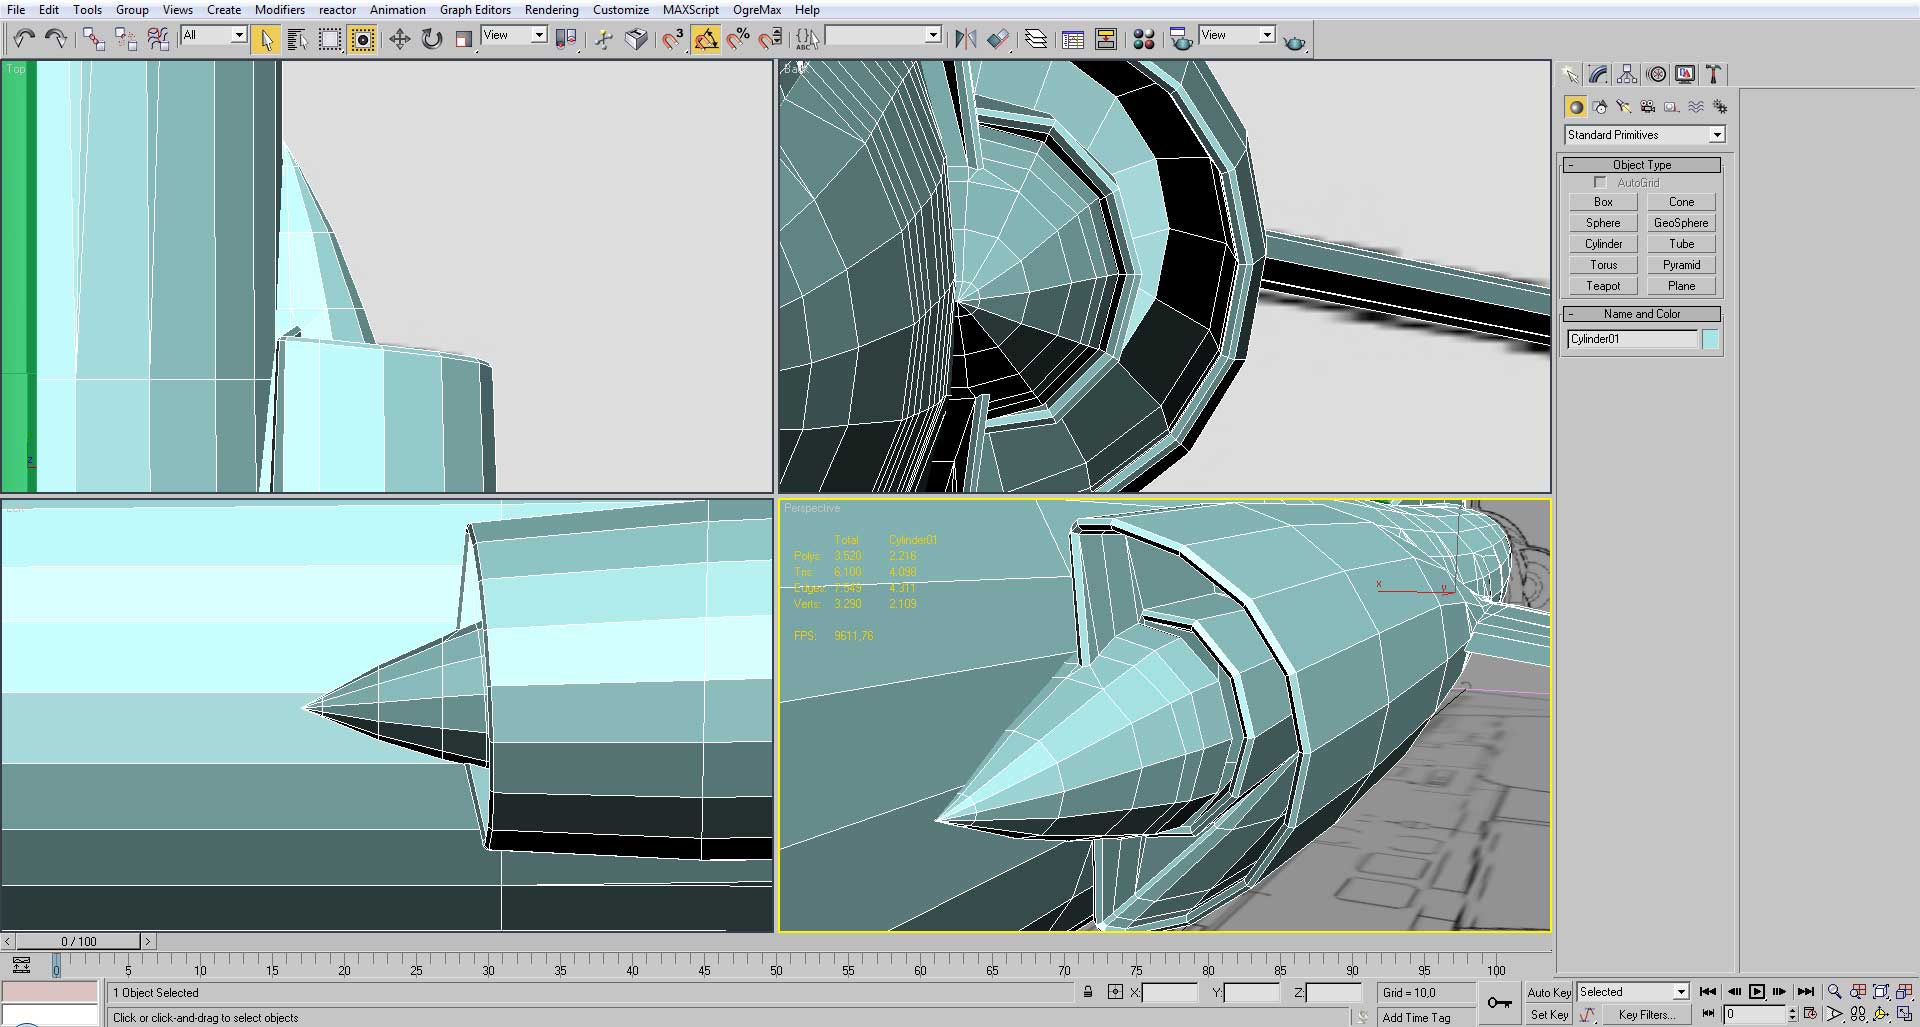
As for the intakes, it is another separate model, that starts as half of a cylinder and then reshaped as an editable poly.
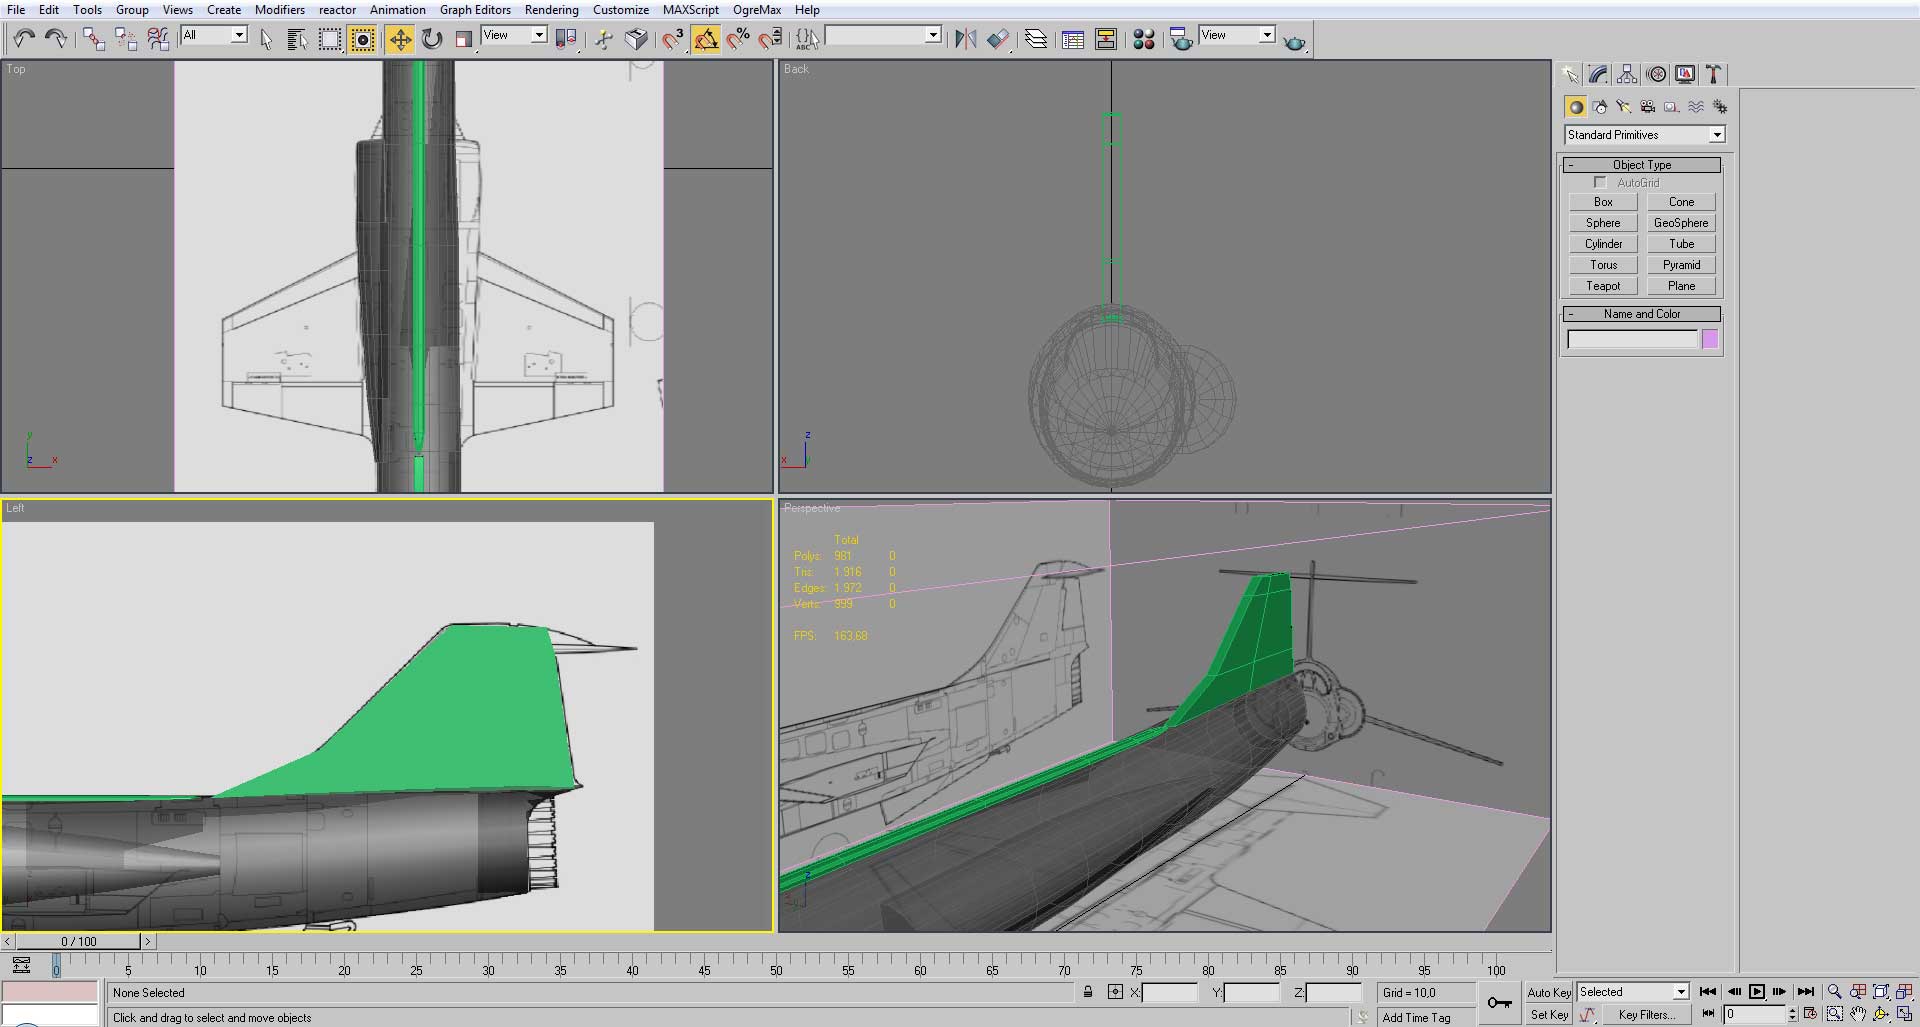
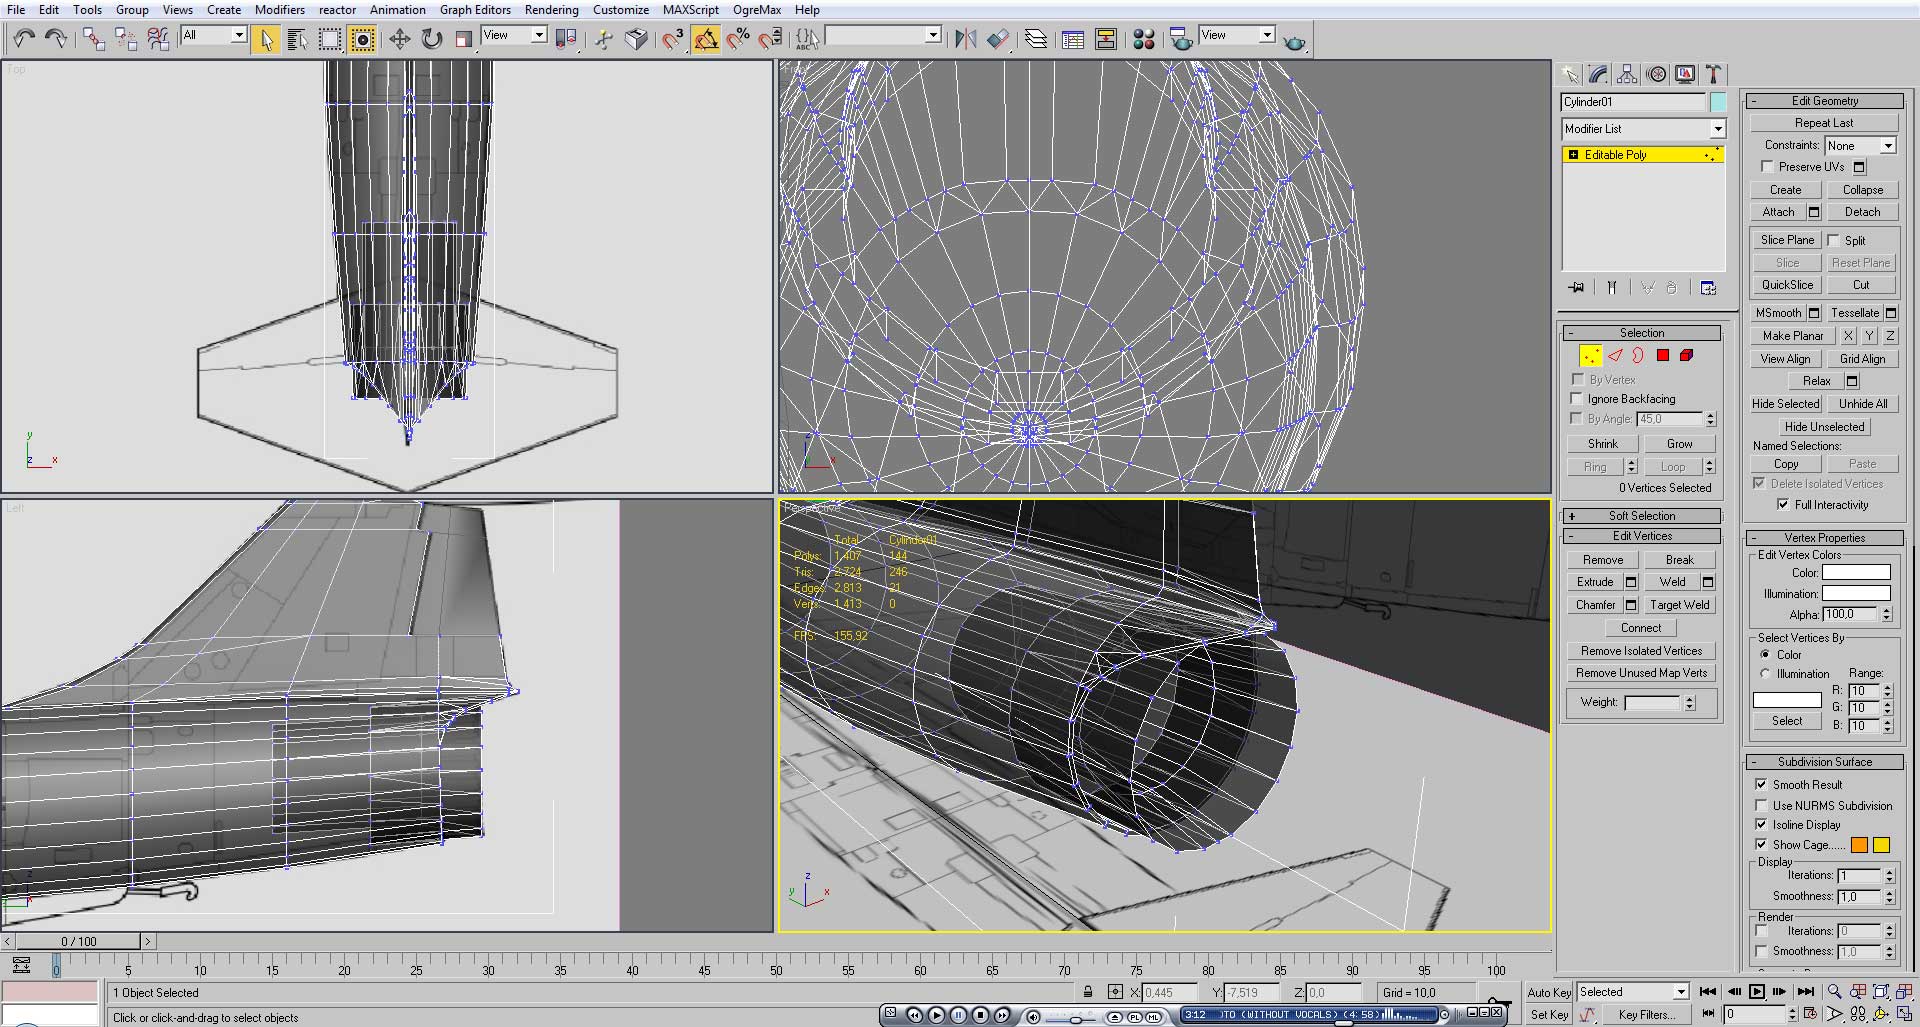
For the tail, again we start as a box and the reshape accordantly to the reference image.
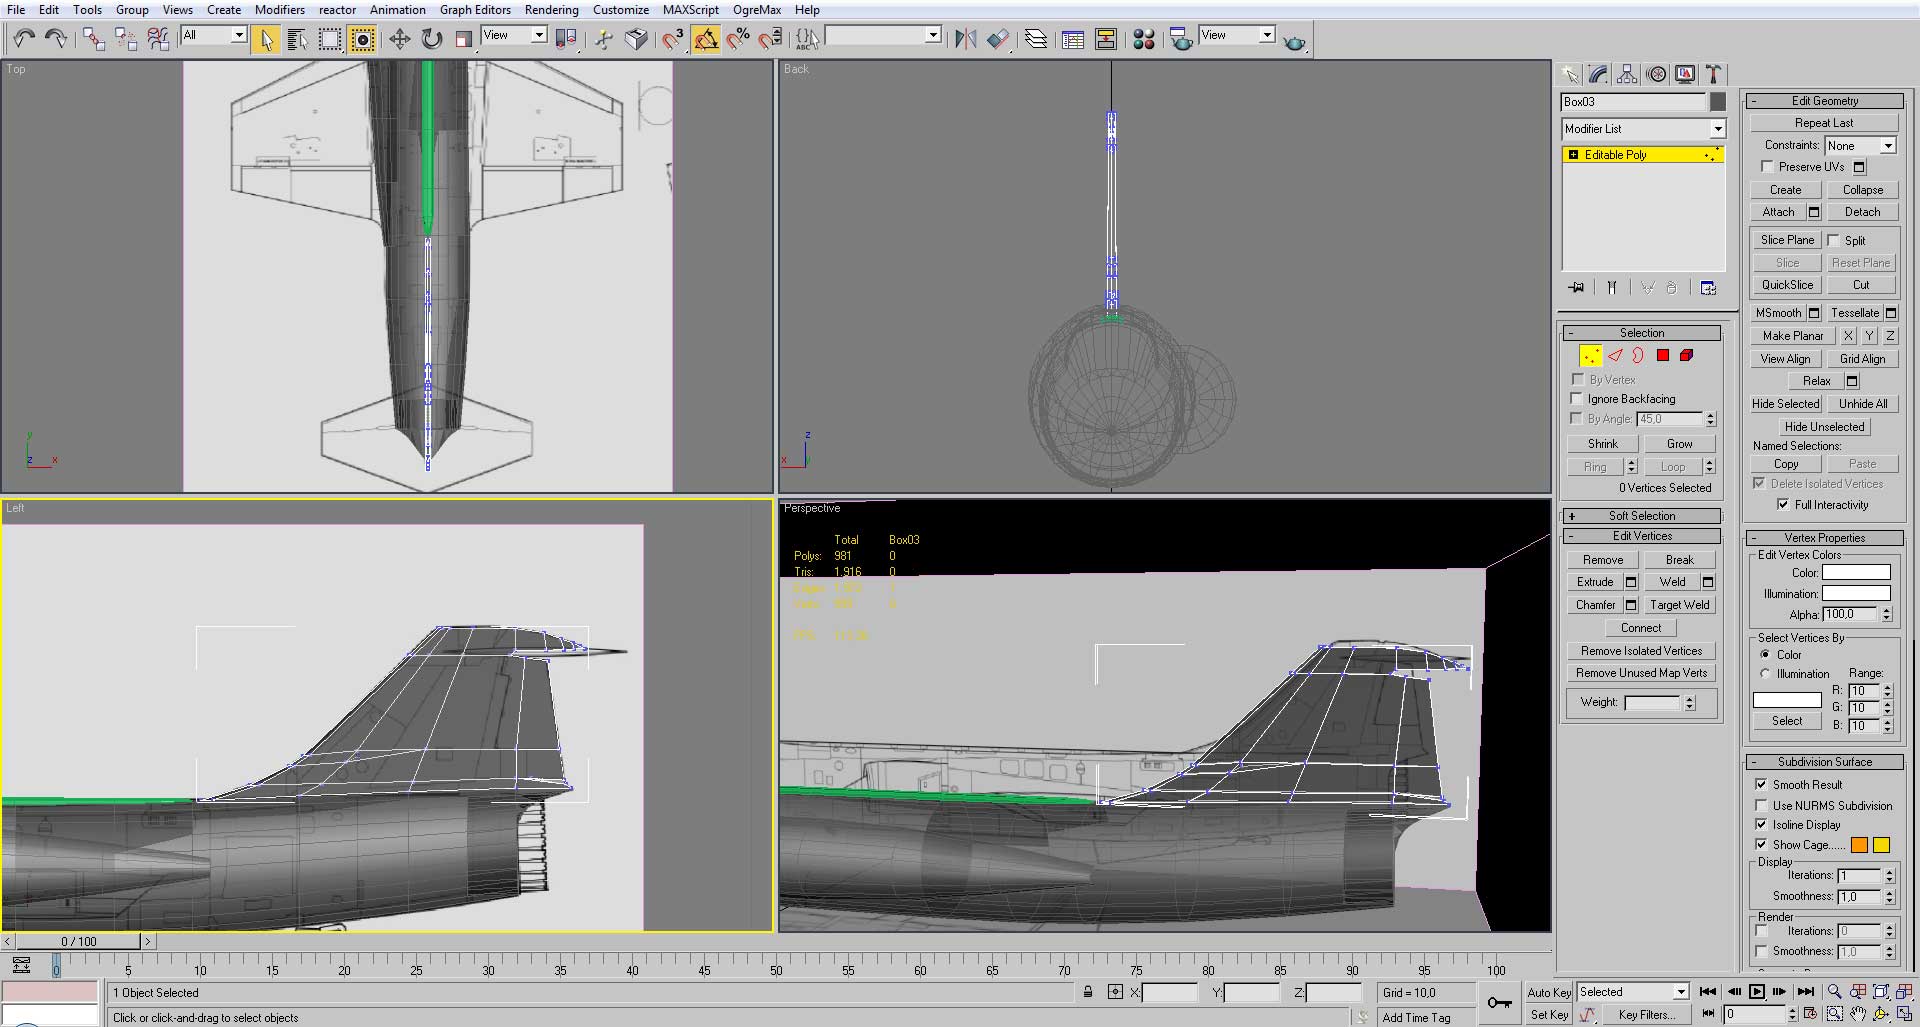
To have the proper volume we may want to add more subdivisions and some extrudes for the upper part of the tail.
Using extrudes and cuts we shape it to resemble the desired profile.
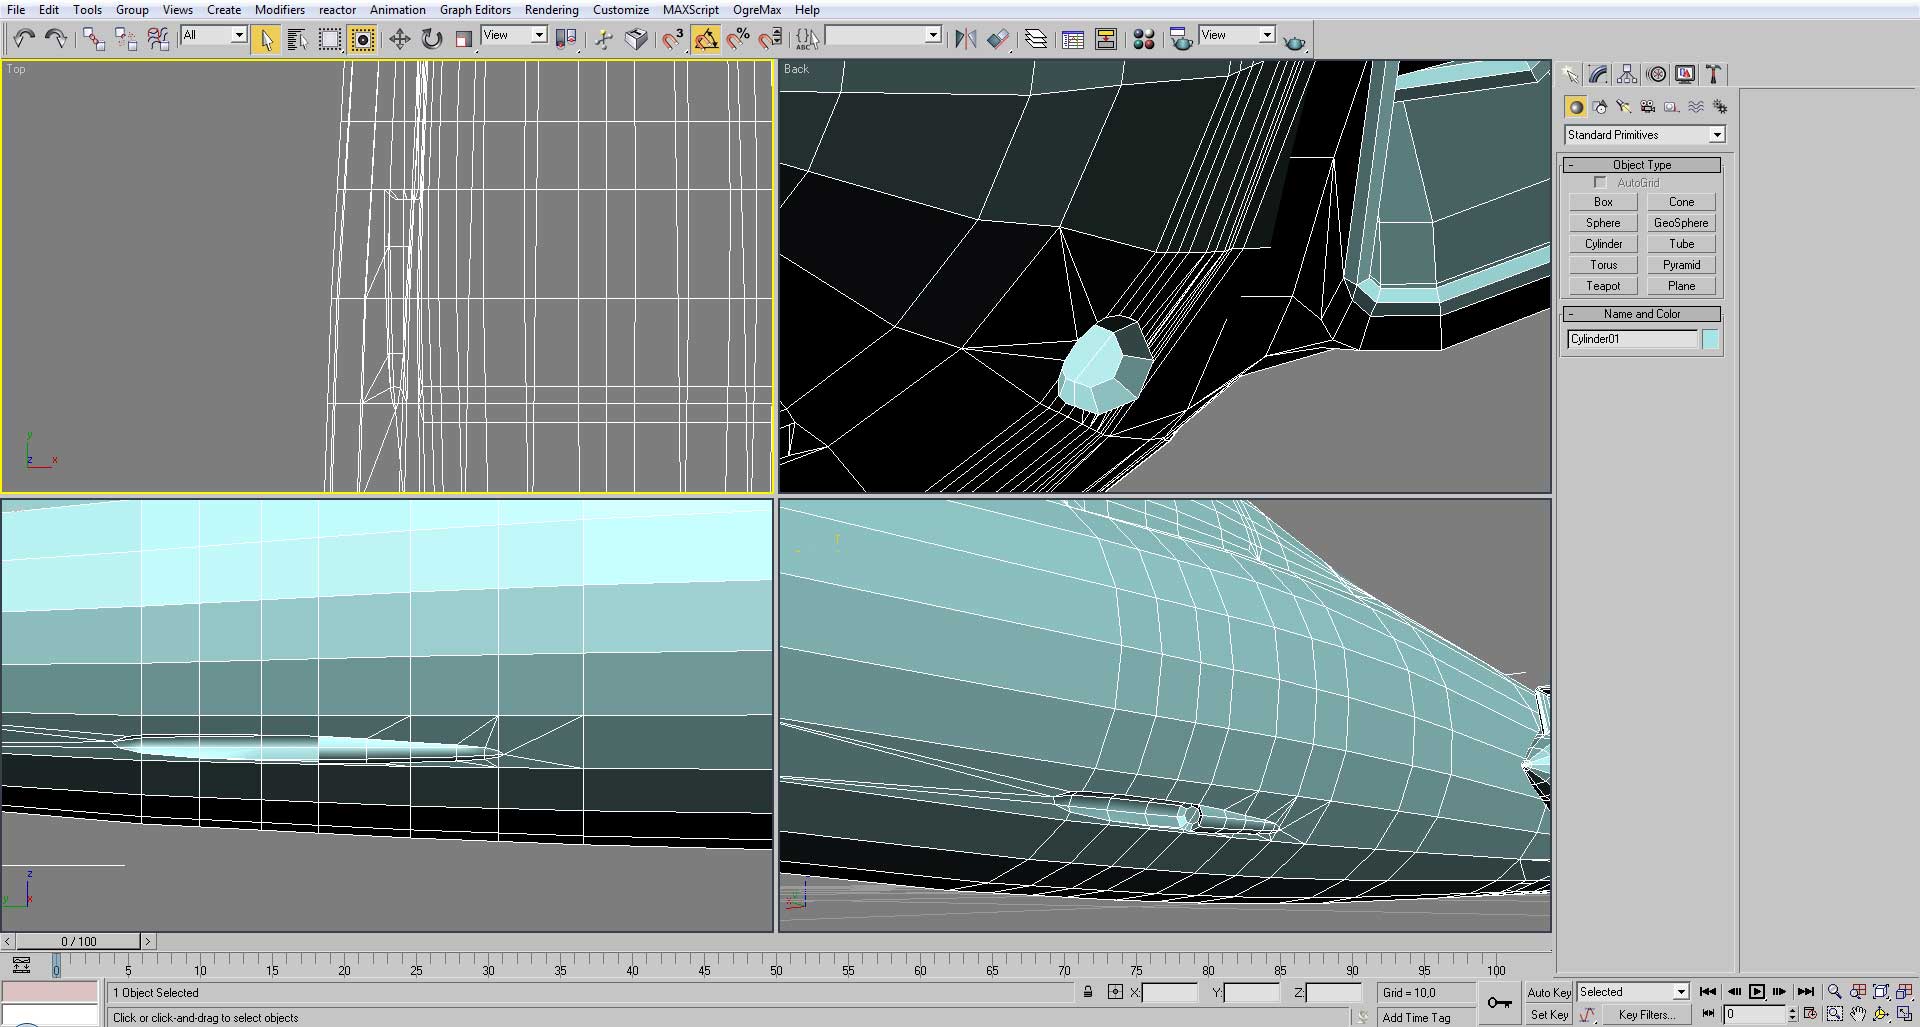
Making as a separate model, we add another cylinder with collapsed vertices to form the tip of the cone.
Shape the model to blend with the cone and form a ramp in the hidden part of the intake.

Merge the two models
Create the inside details with cuts and extrudes.
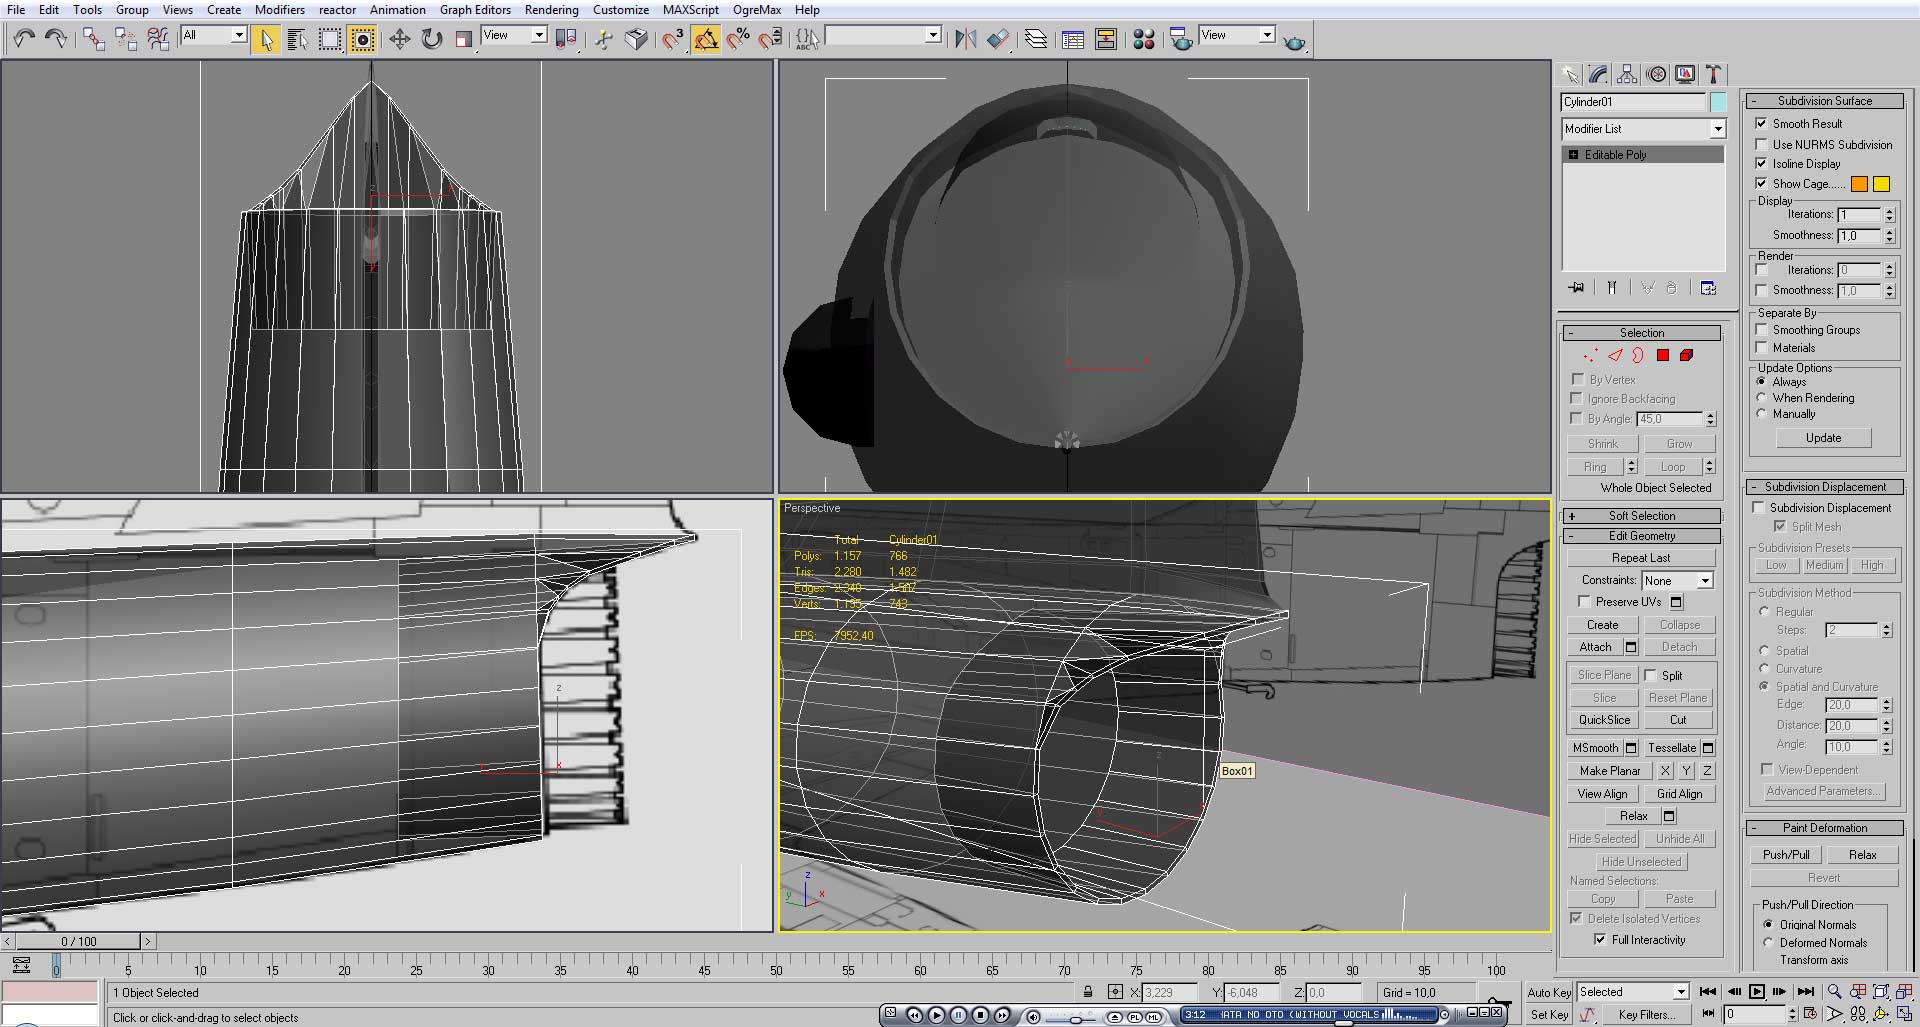
Now going to the engine, use again extrudes and bevels to shape it.
Continue until it reaches the desired shape

Now we go back to the tail and detach the moving parts, reshape them and attach them again.
We make the horizontal surface of the tail with a box and using chamfers.
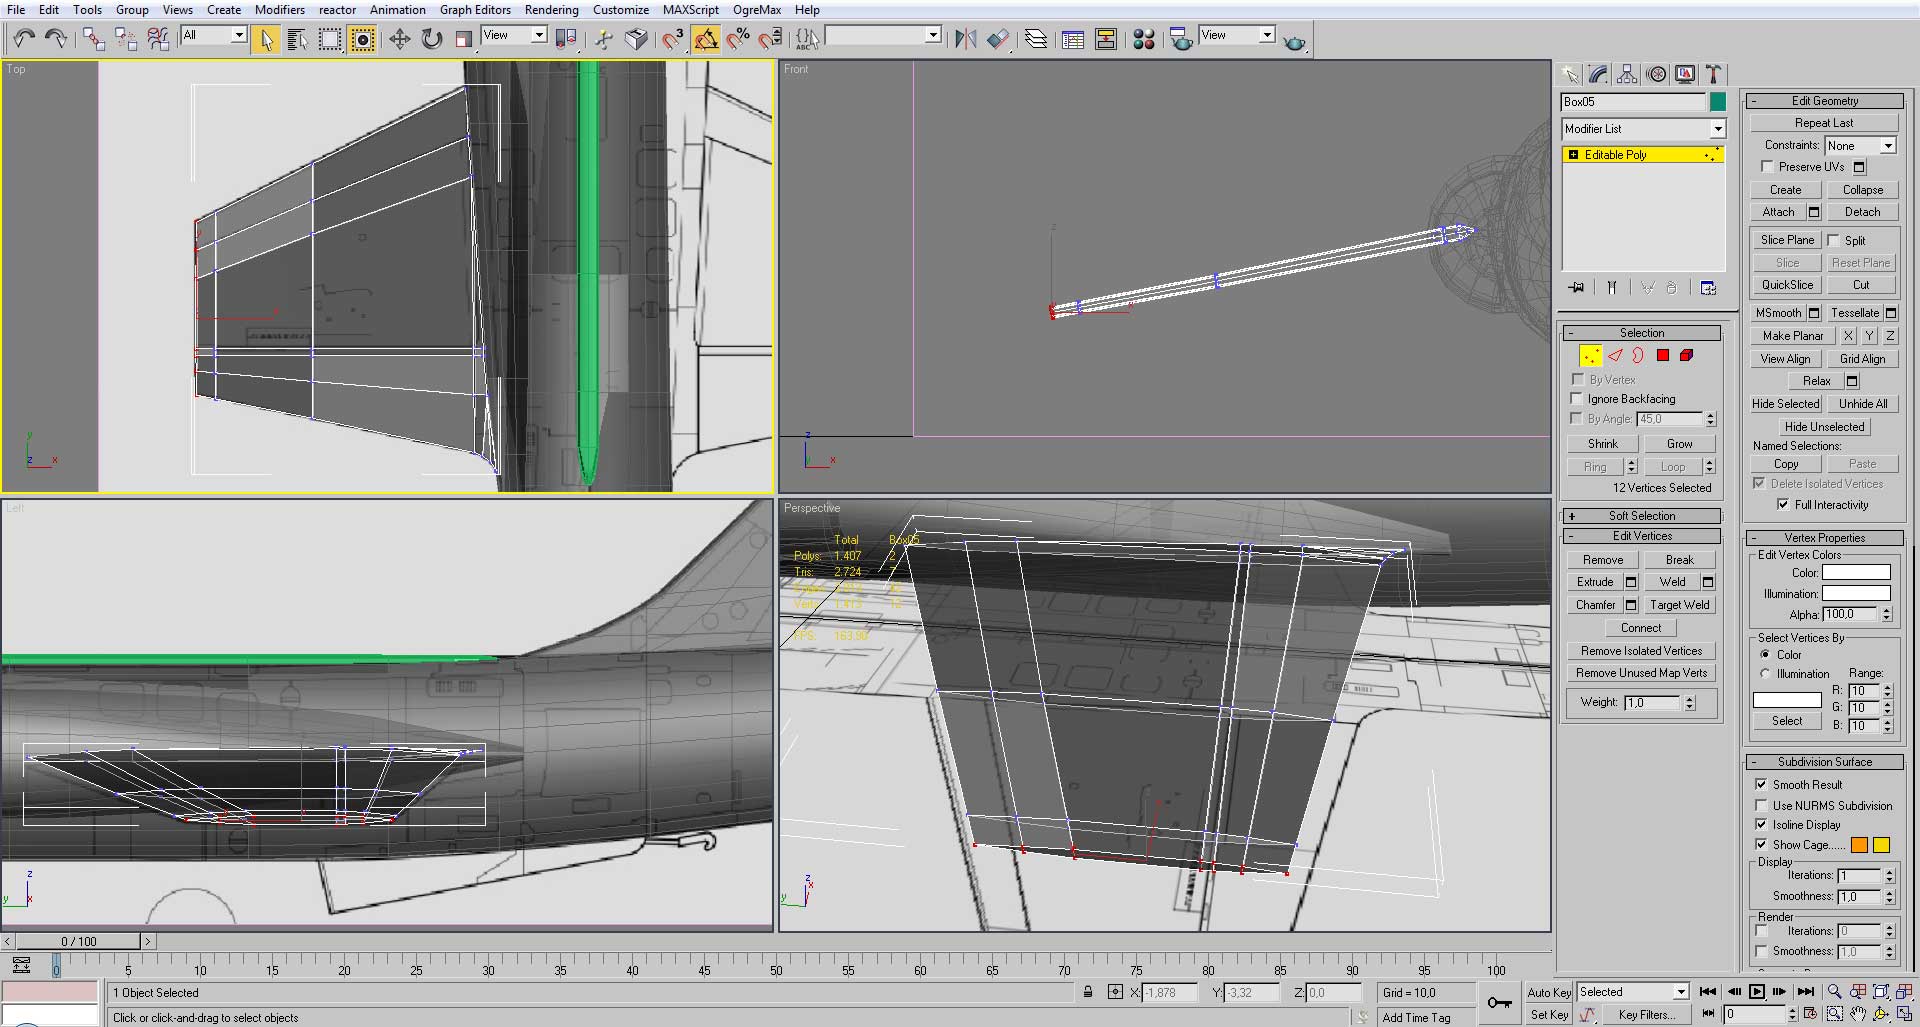
The wing is made as a separate model, again by shaping a box.

After the wing is finished we blend it with the intake and the main fuselage.
To make the control surfaces we must detach the desired faces, refine them and attach them again.
Then we move to the cockpit creating, first we start by temporarily detaching the canopy and fill the empty hole.
After the cockpit volume is done we detach it from the main model we attach back the canopy and weld were the vertices were separated.
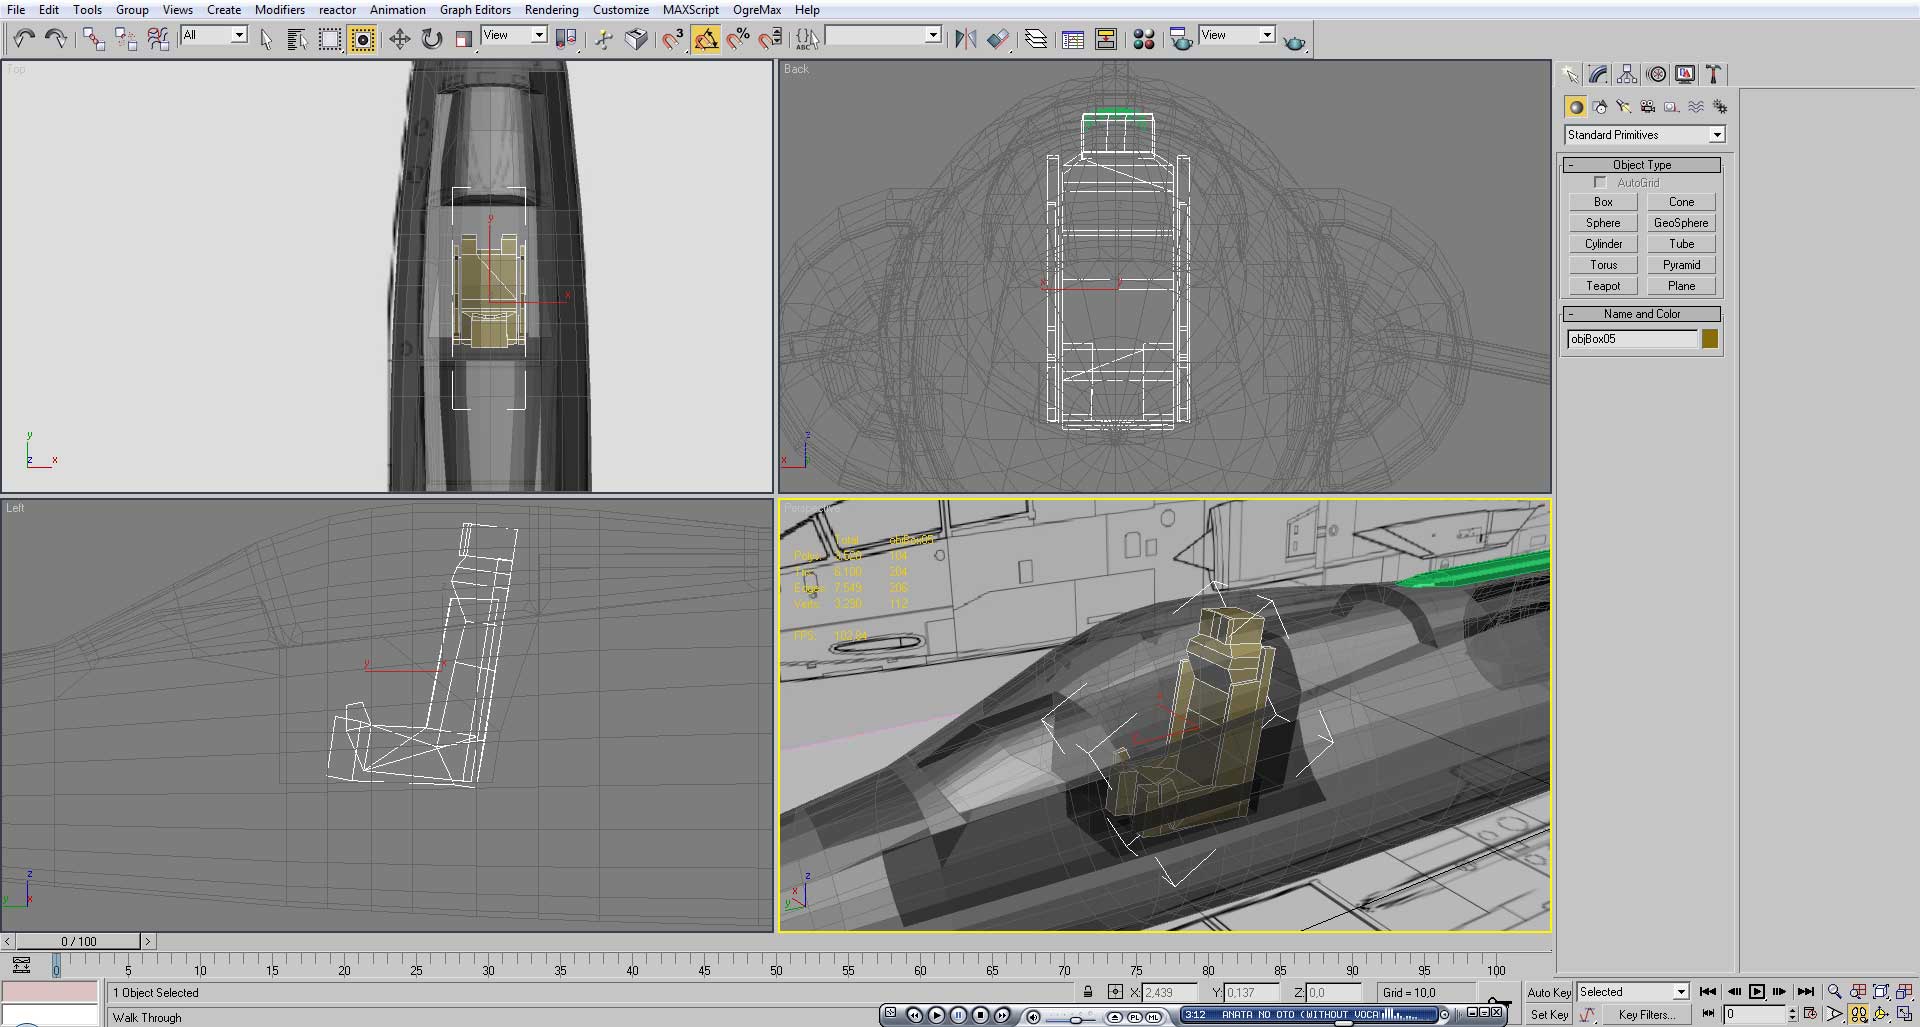
Then we add a pilot chair using only a simple volumes without much detail.
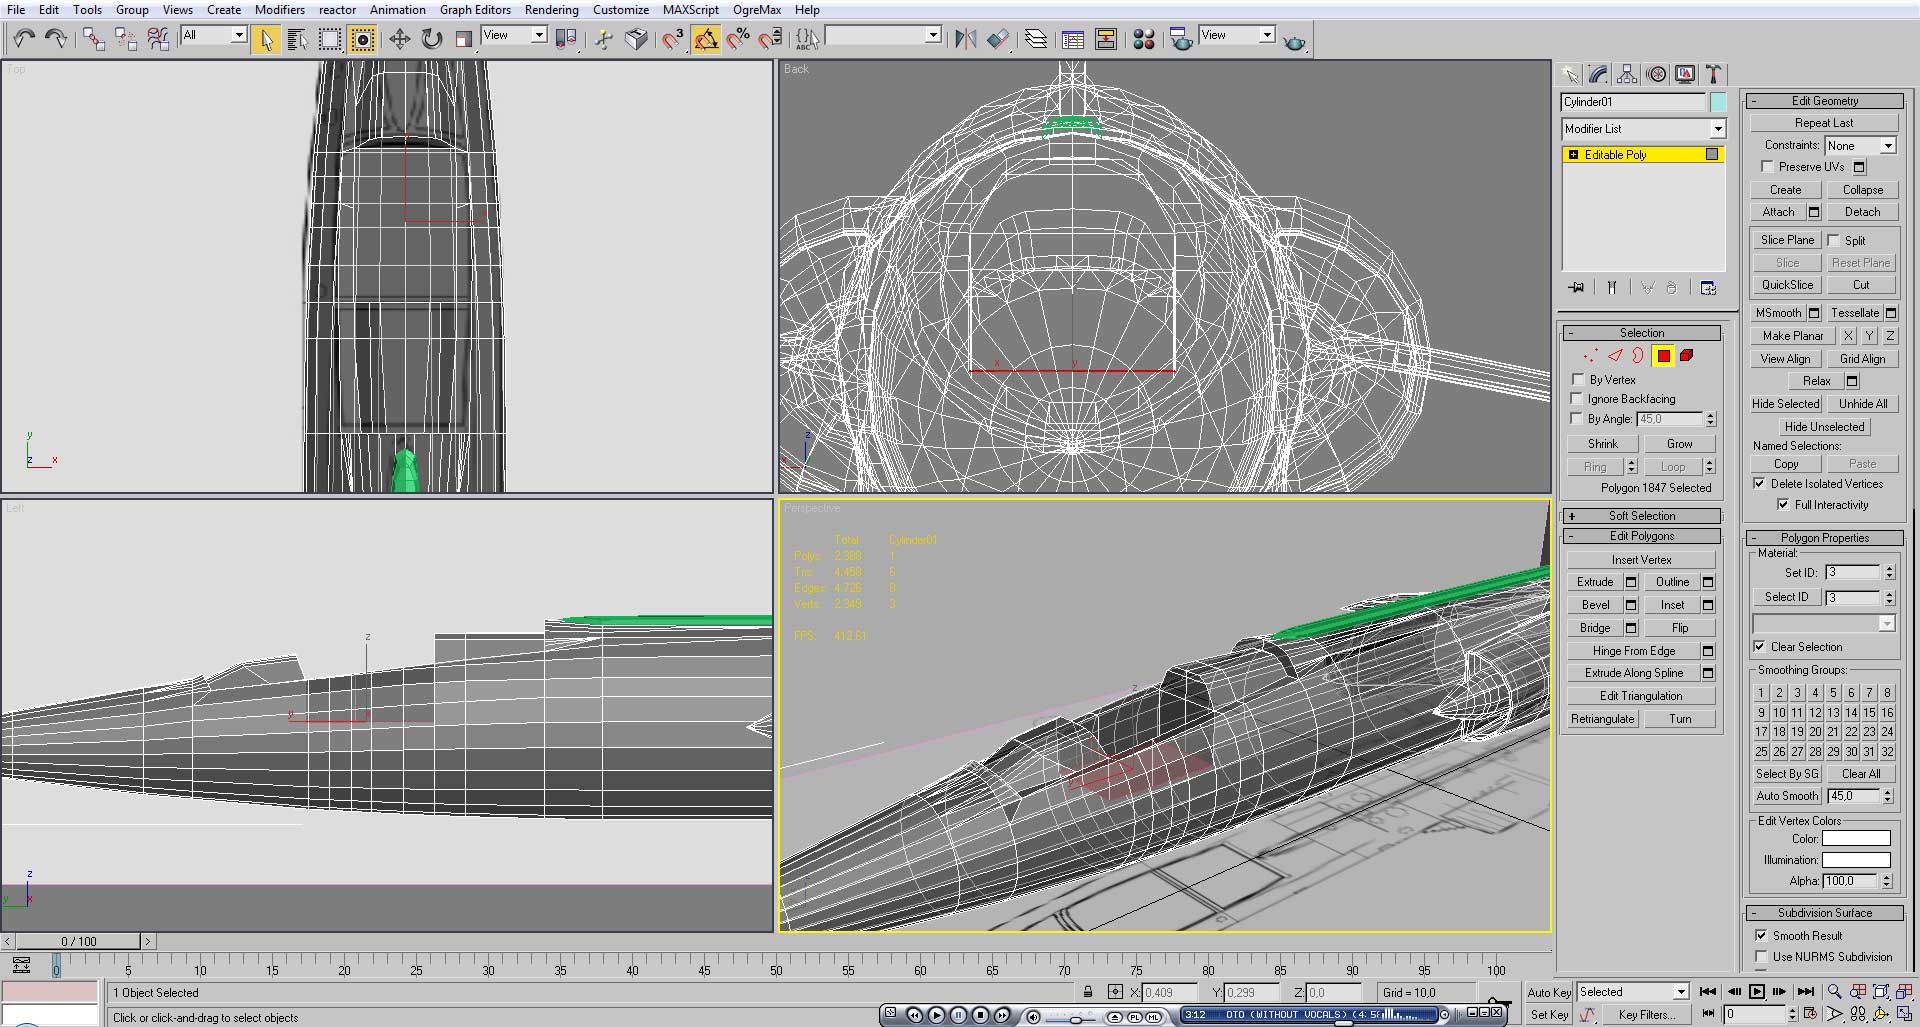
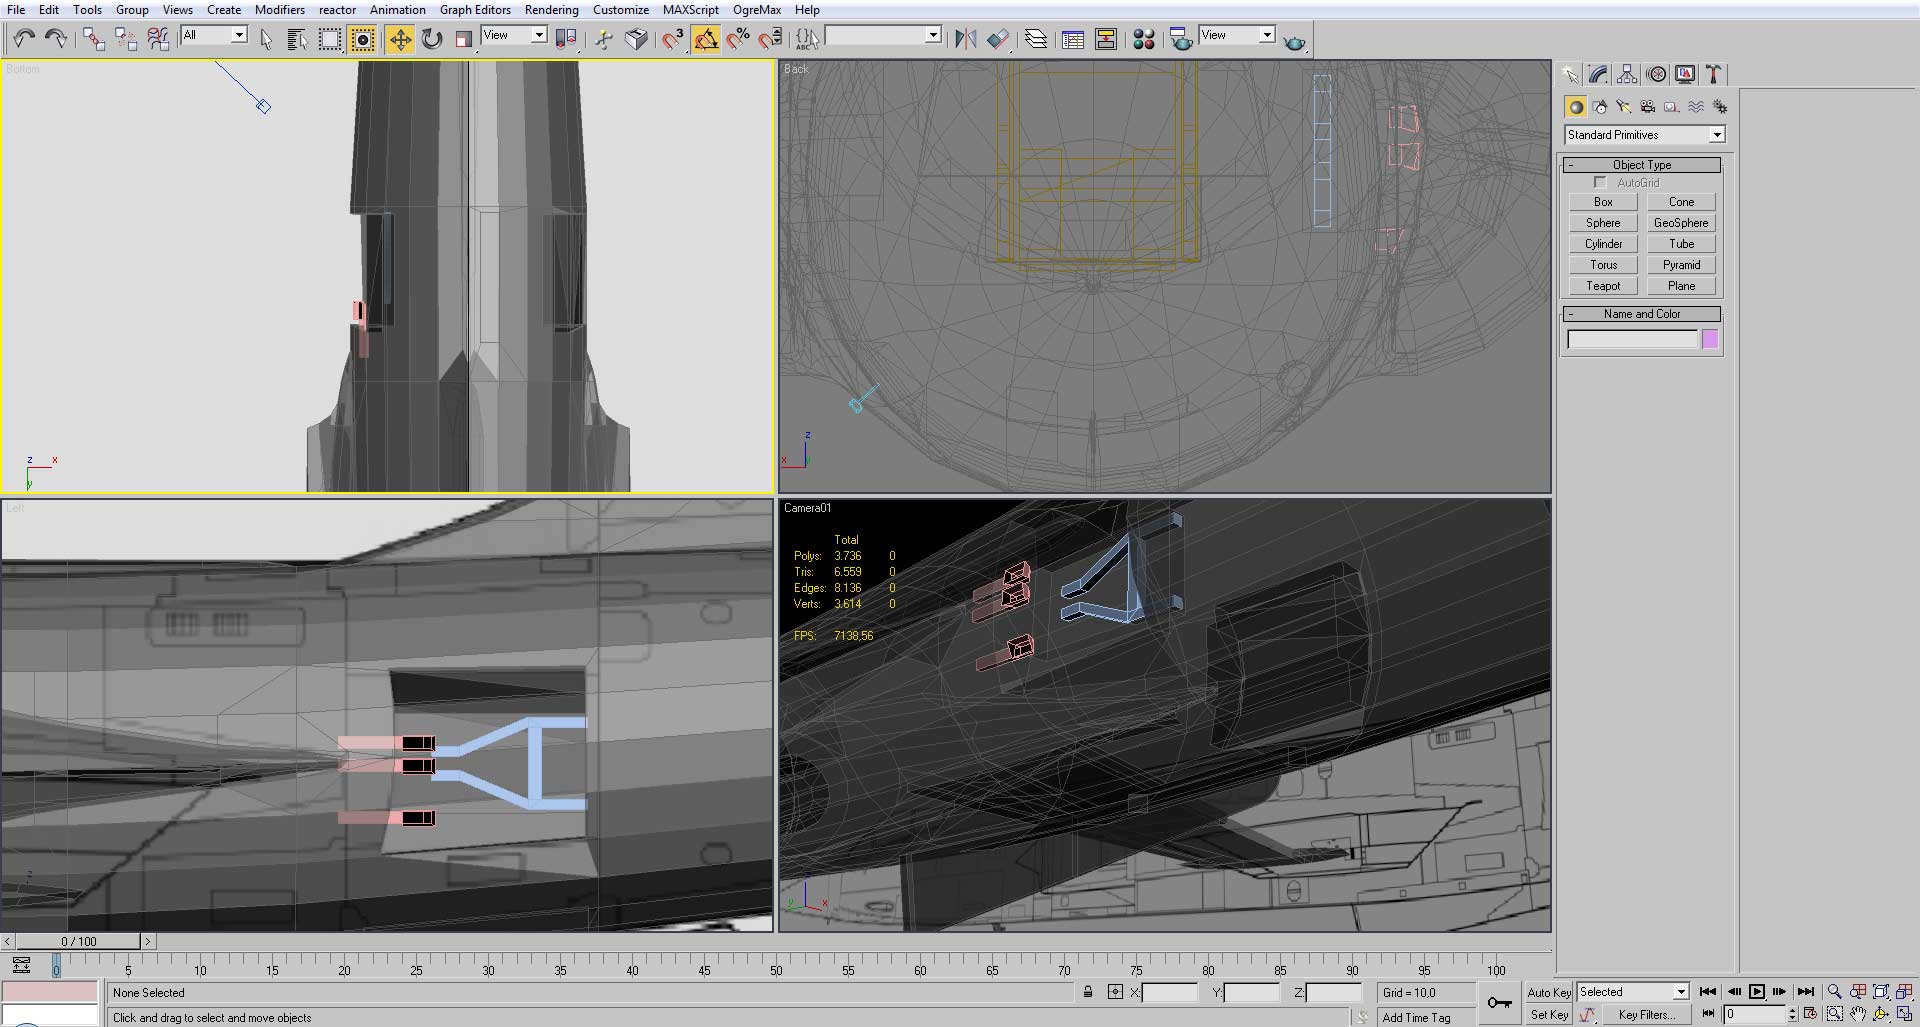
Then it is time to add the small sensors and little details.
For the speed brake, we start by using the cut and defining the shape in the fuselage. After it is done, detach it and add Shell in the modifier list in order to have volume.
Using cuts and extrudes, make the inside compartment of the speed brake.
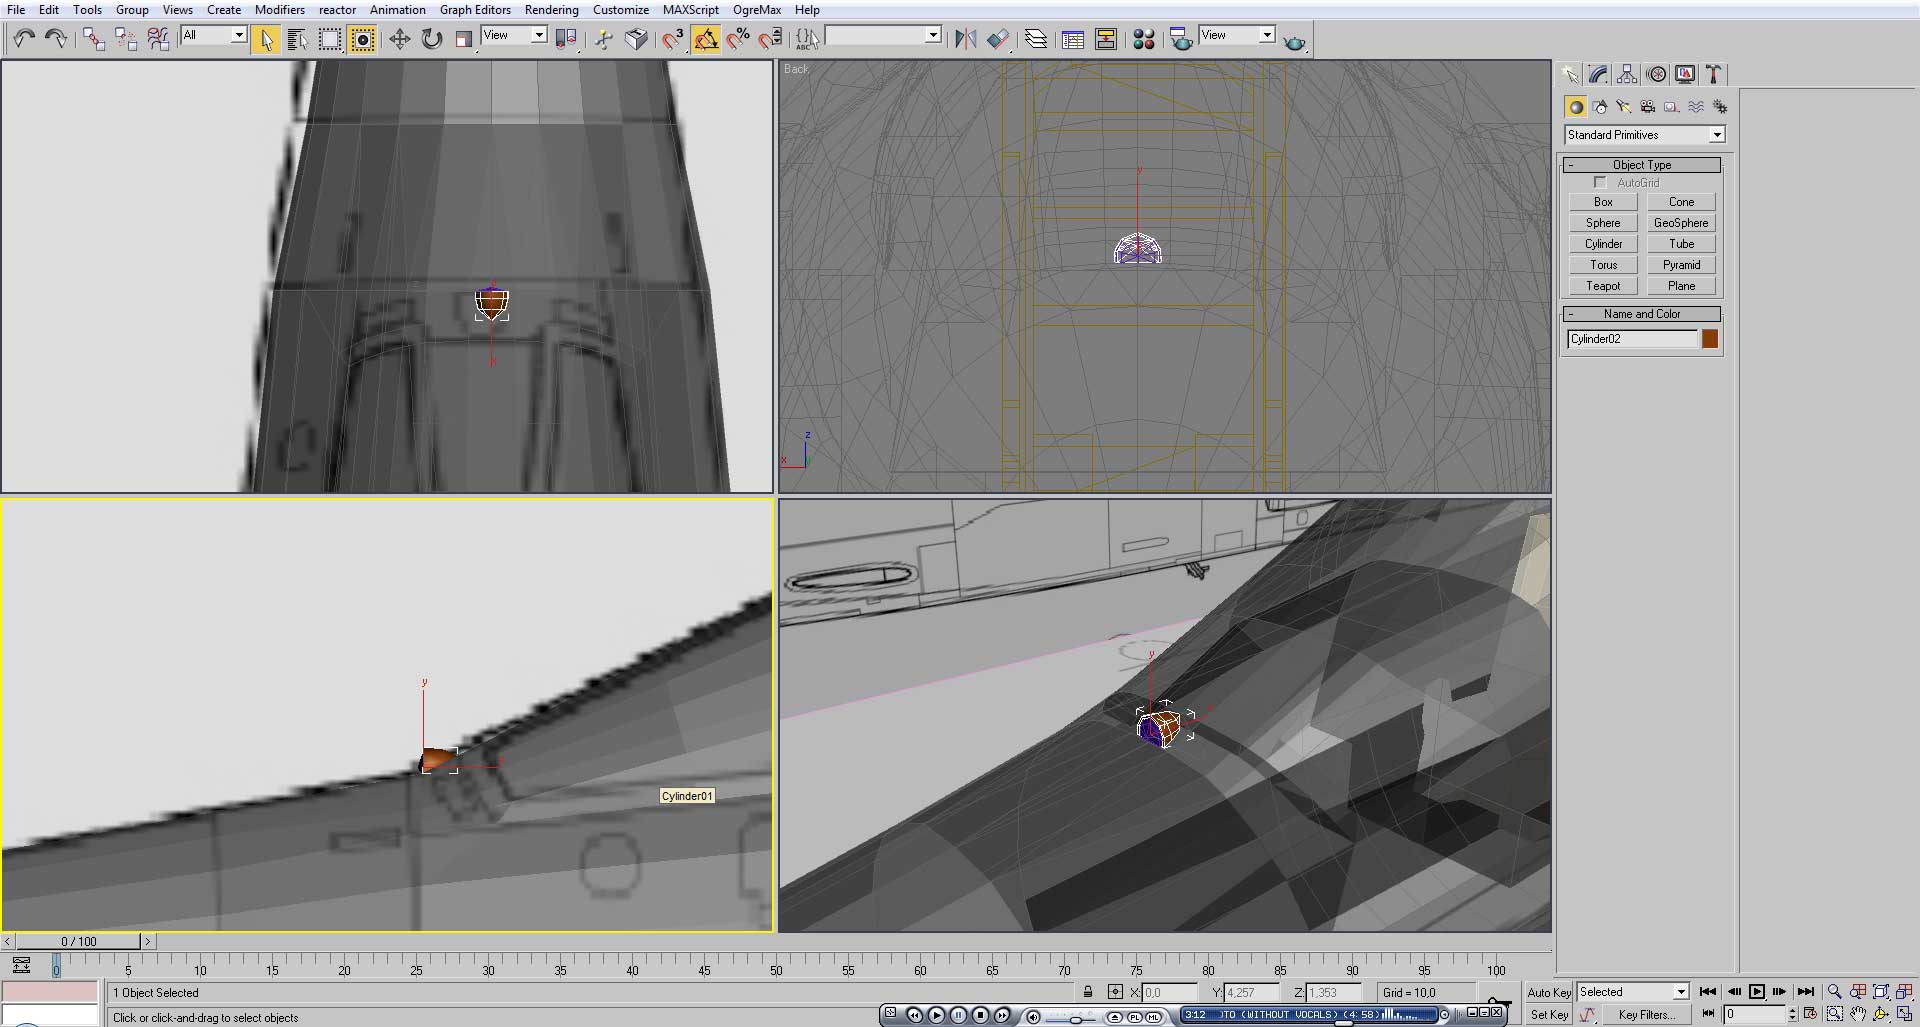
For the gun, we use two cylinders, one will be blended with the fuselage, as for the green one, it will be used as a Boolean subtraction.
After applying the Boolean, don’t forget to clean the surface as it leaves unwanted vertices.

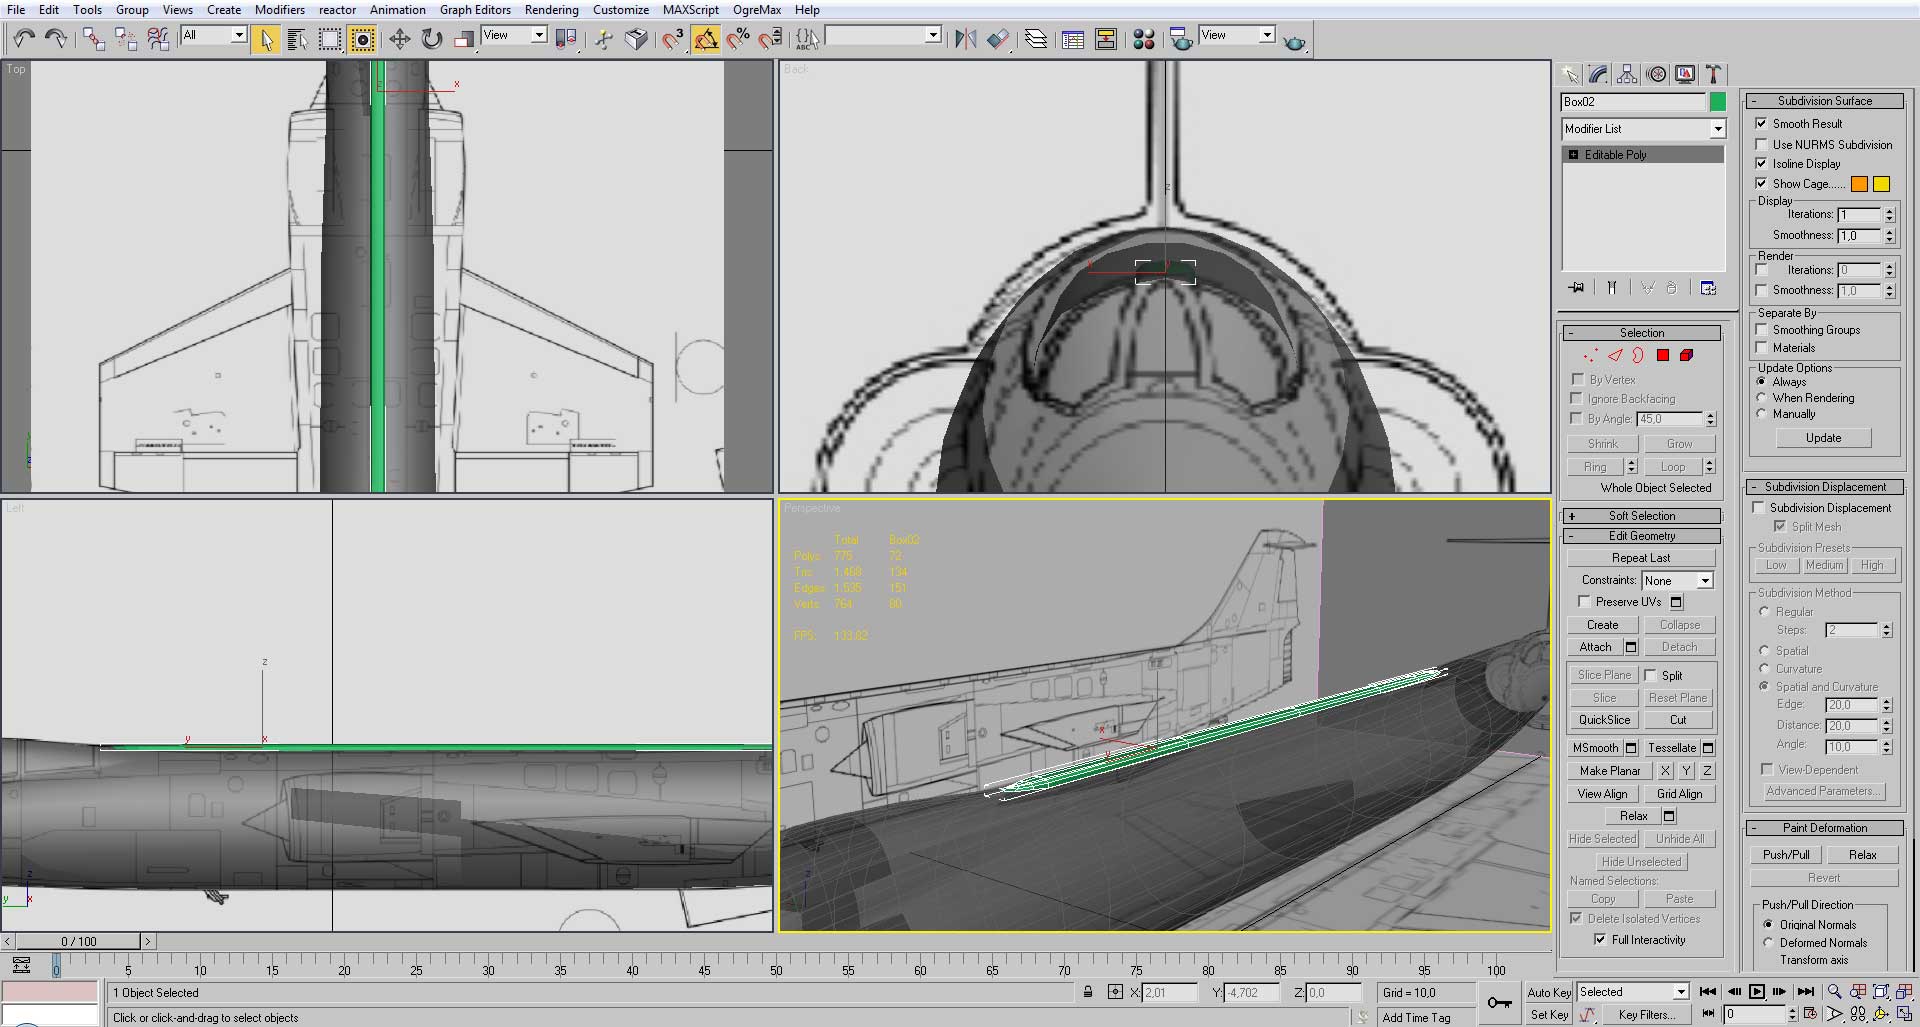
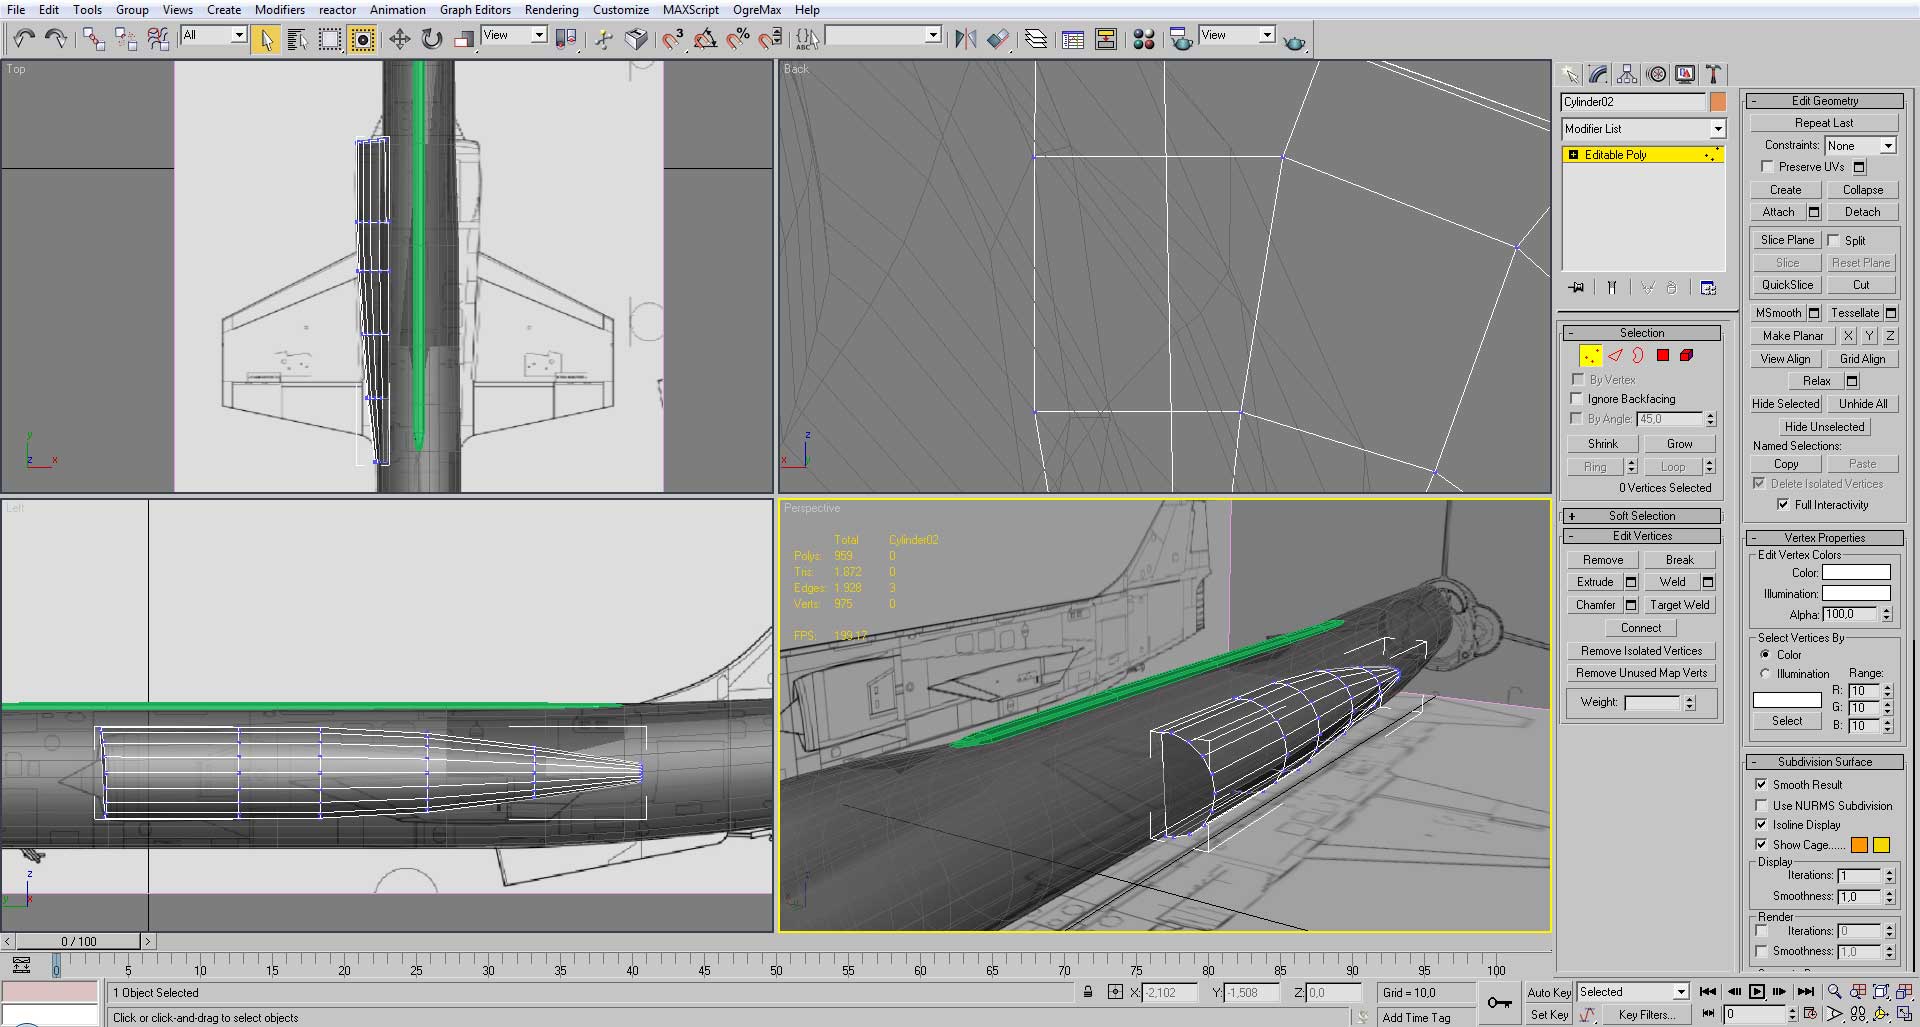
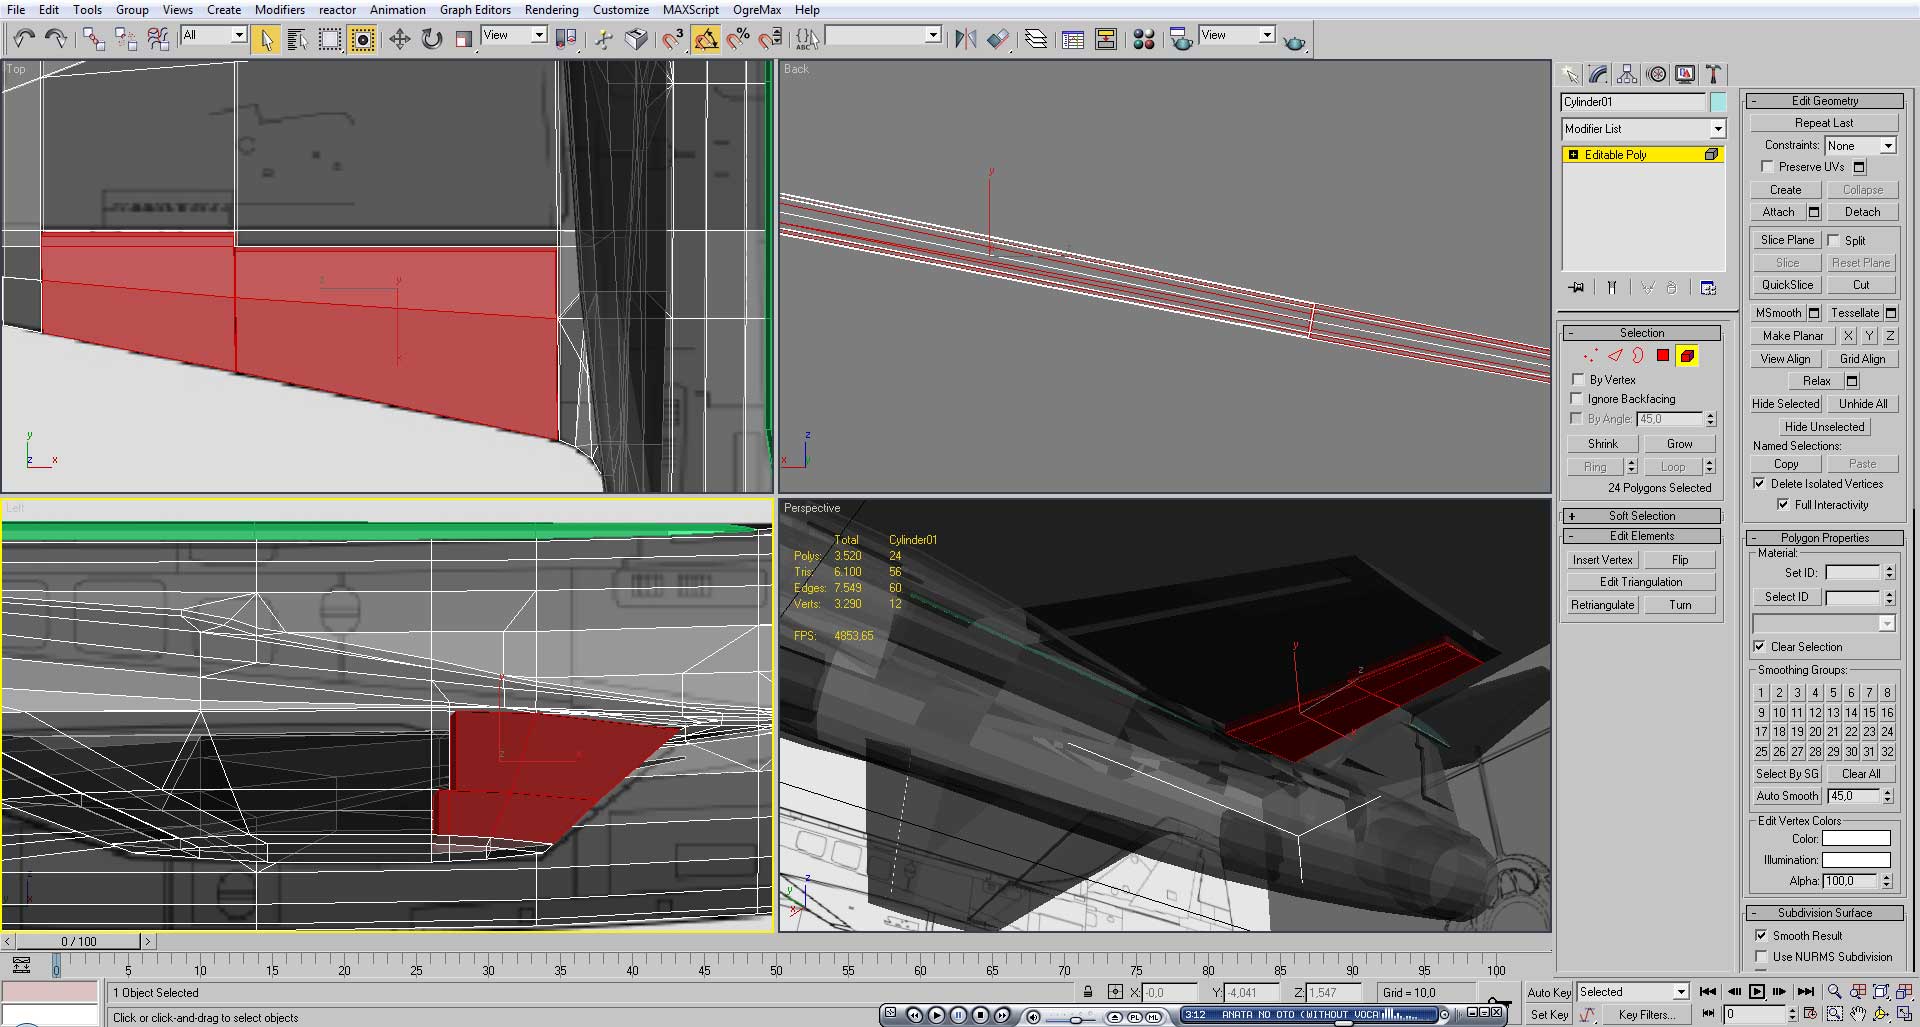
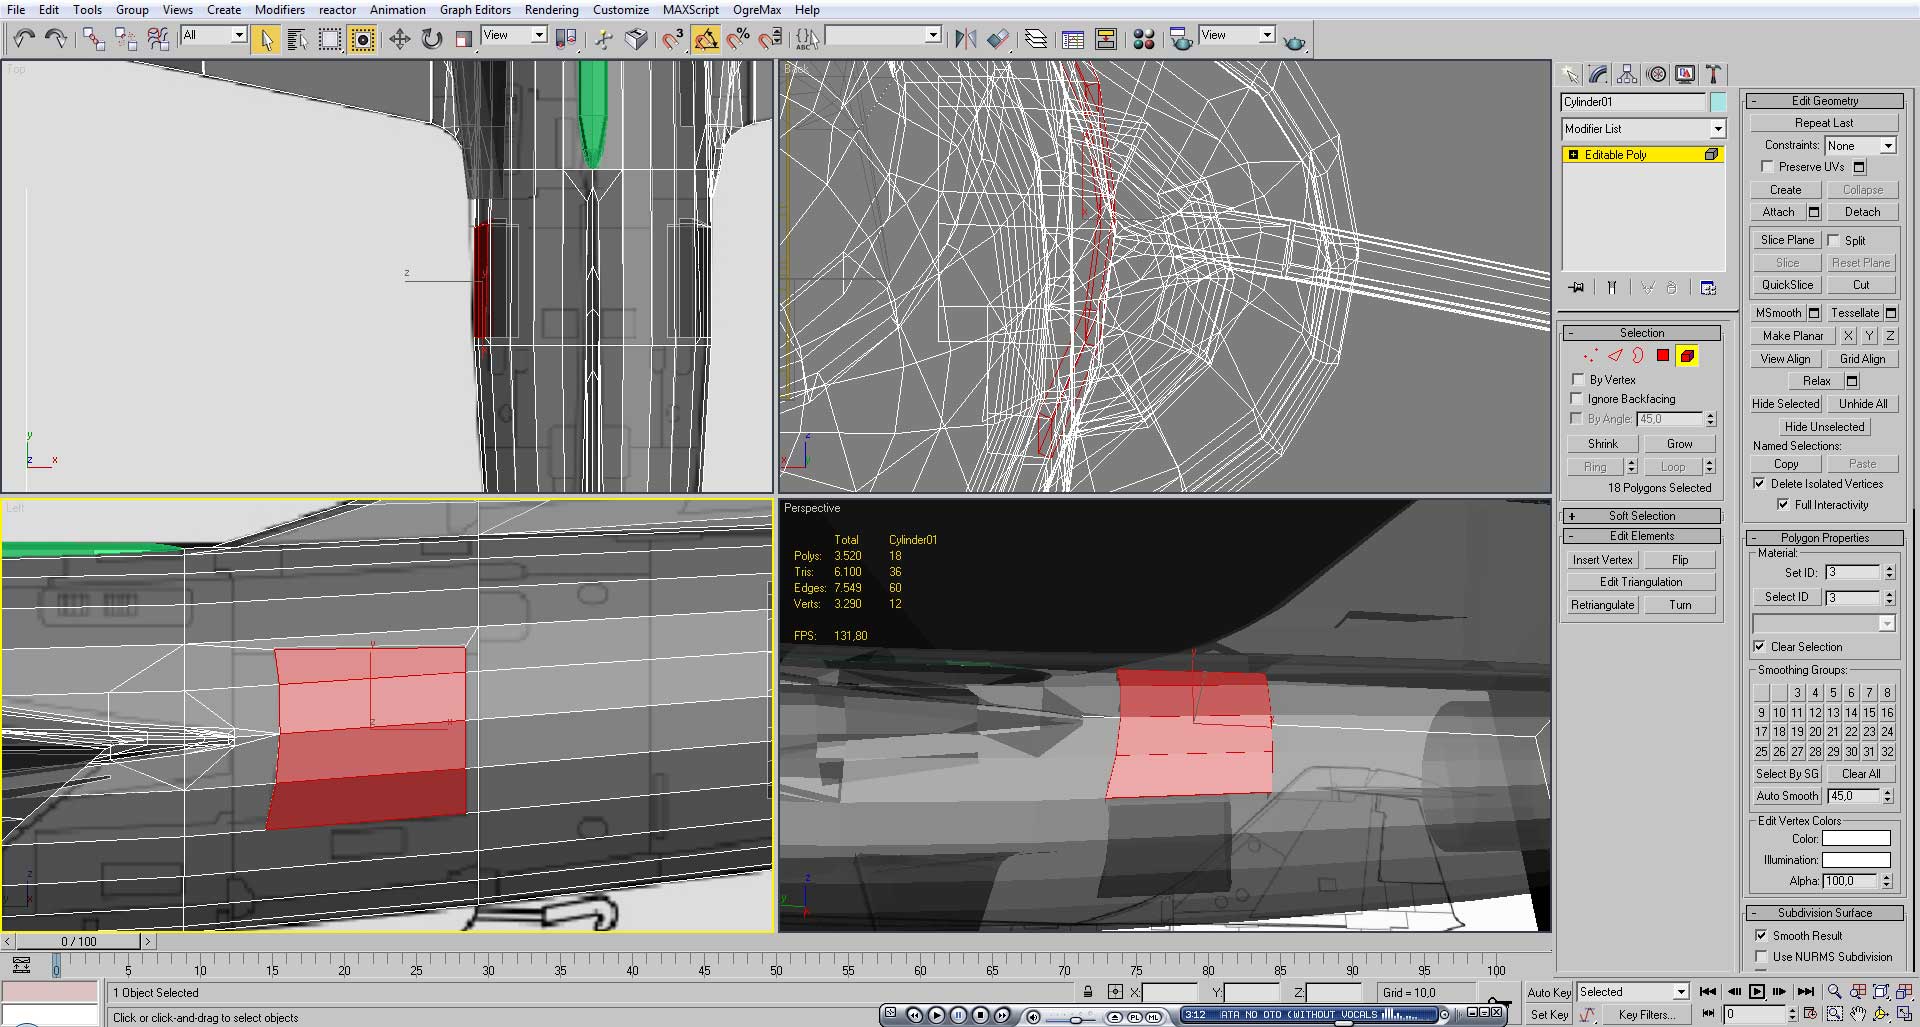
We can make the surfaces details on the fuselage by using cuts and extrudes.

Don’t bother in making the details in the other side because in the end we will apply the “symmetry” modifier.

We better not forget the ventral fin, achieved by shaping simple box.
Then we added the final details of the hinges in the brakes.
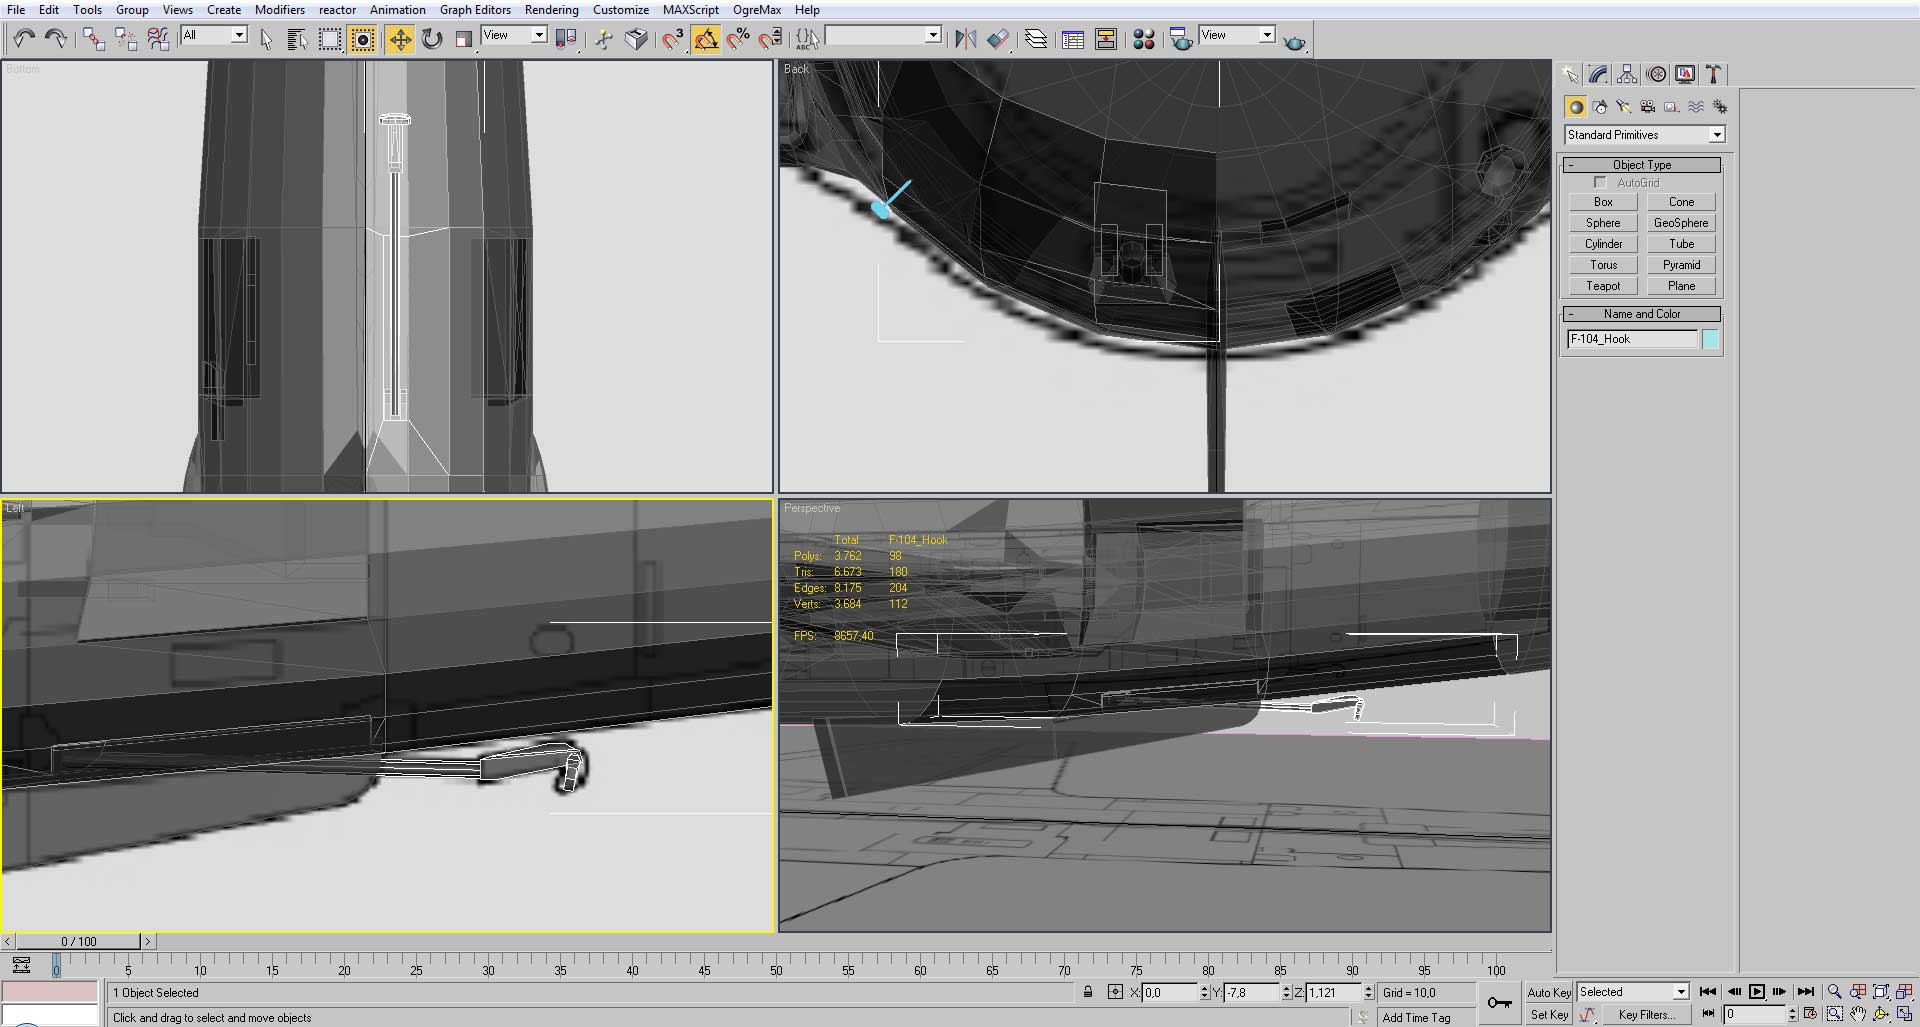
And finally the landing hook, that is a combination of reshaped boxes and cylinders.
But the very last step is the creation of the weapon pylons. To model them, you may want to make them as separate files with their own reference images and then merge with the aircraft file.
![]()

We start the mapping by deleting the other half of the model. Then we apply UVW Mapping with a box projection.
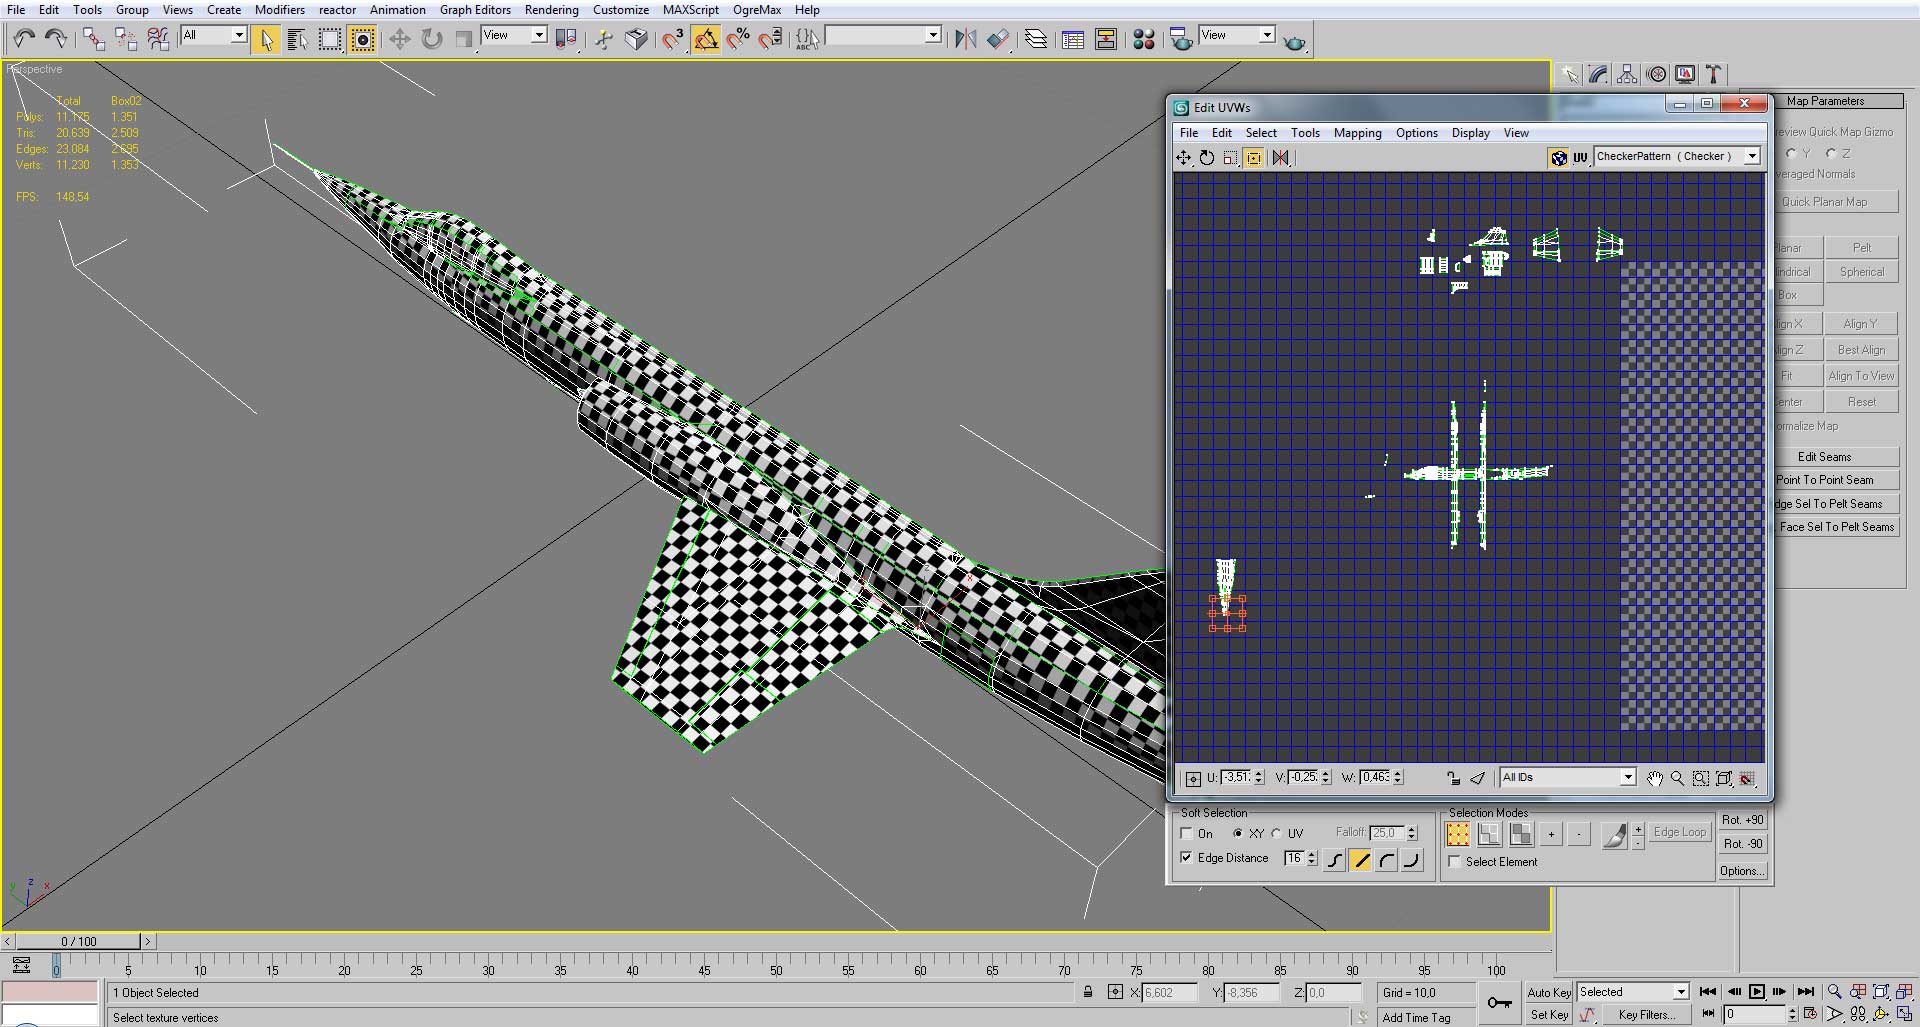
Organize each part in a simple an ordered way.
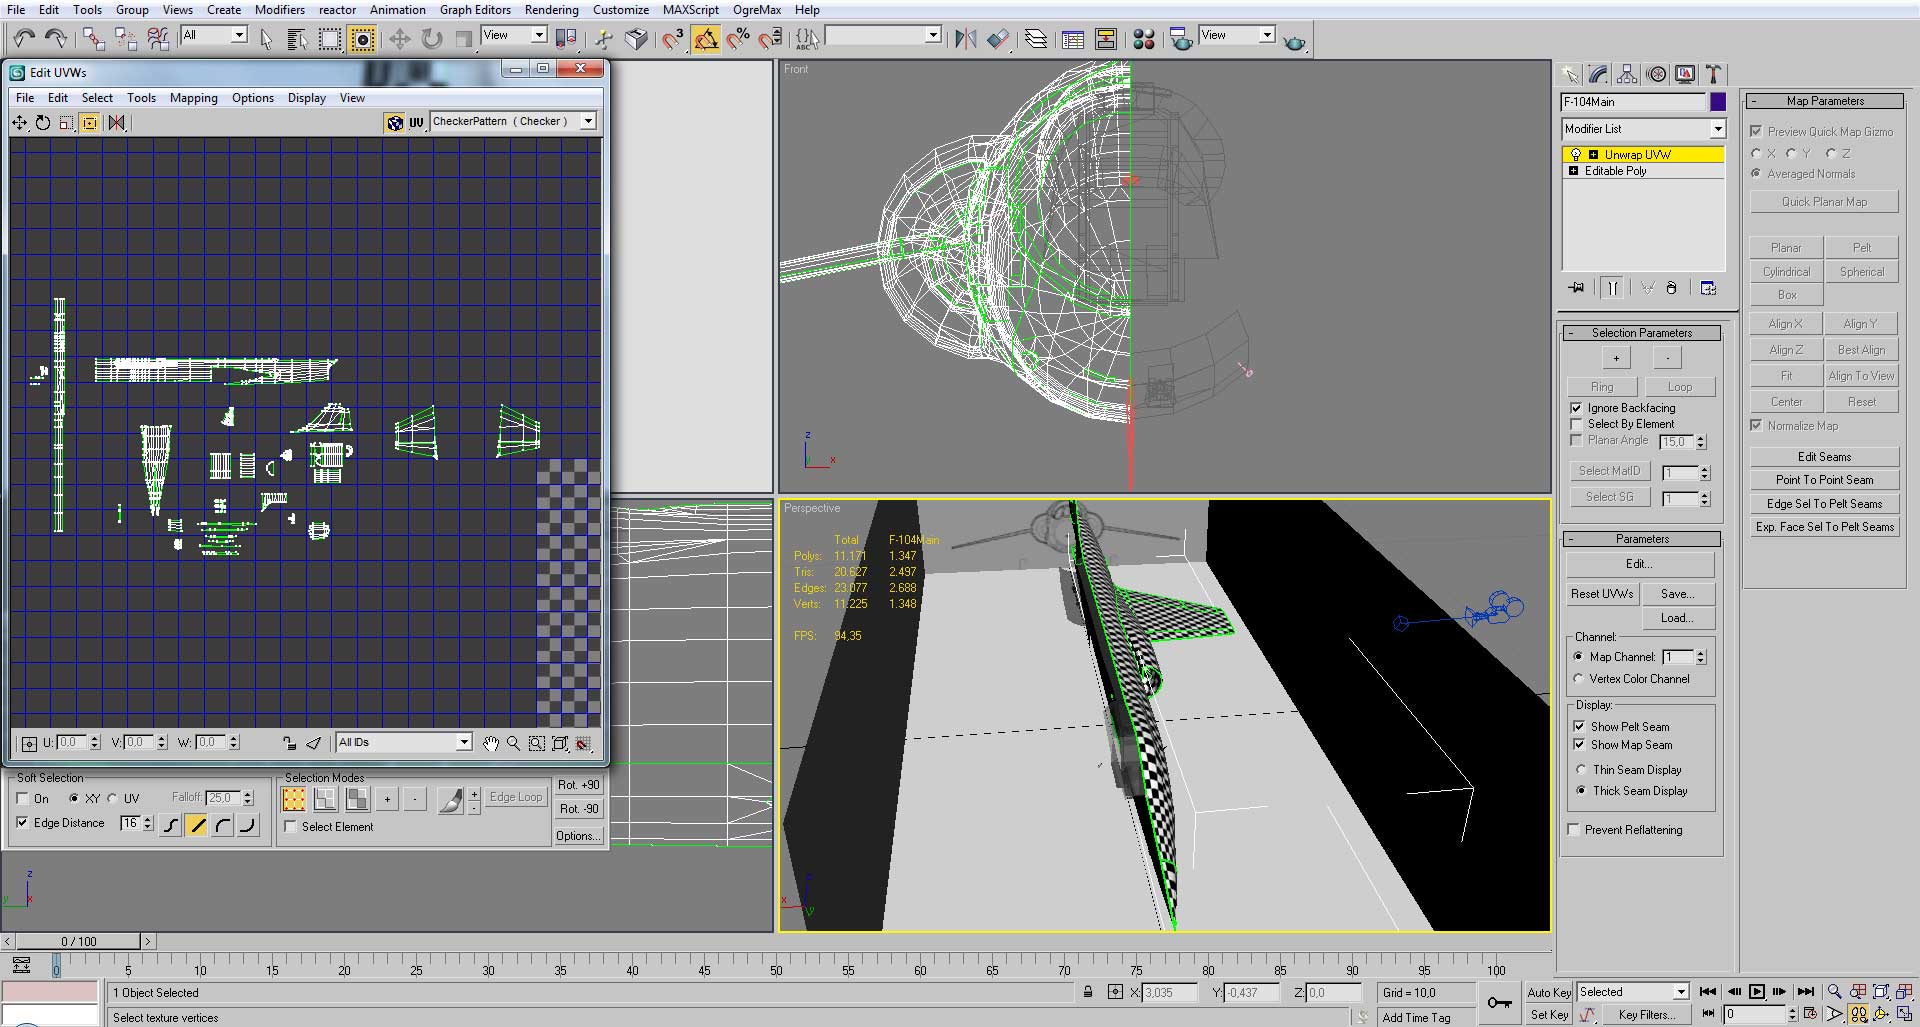
After every part is properly mapped duplicate the model and in that copy mirror the mapping and merge with the original.
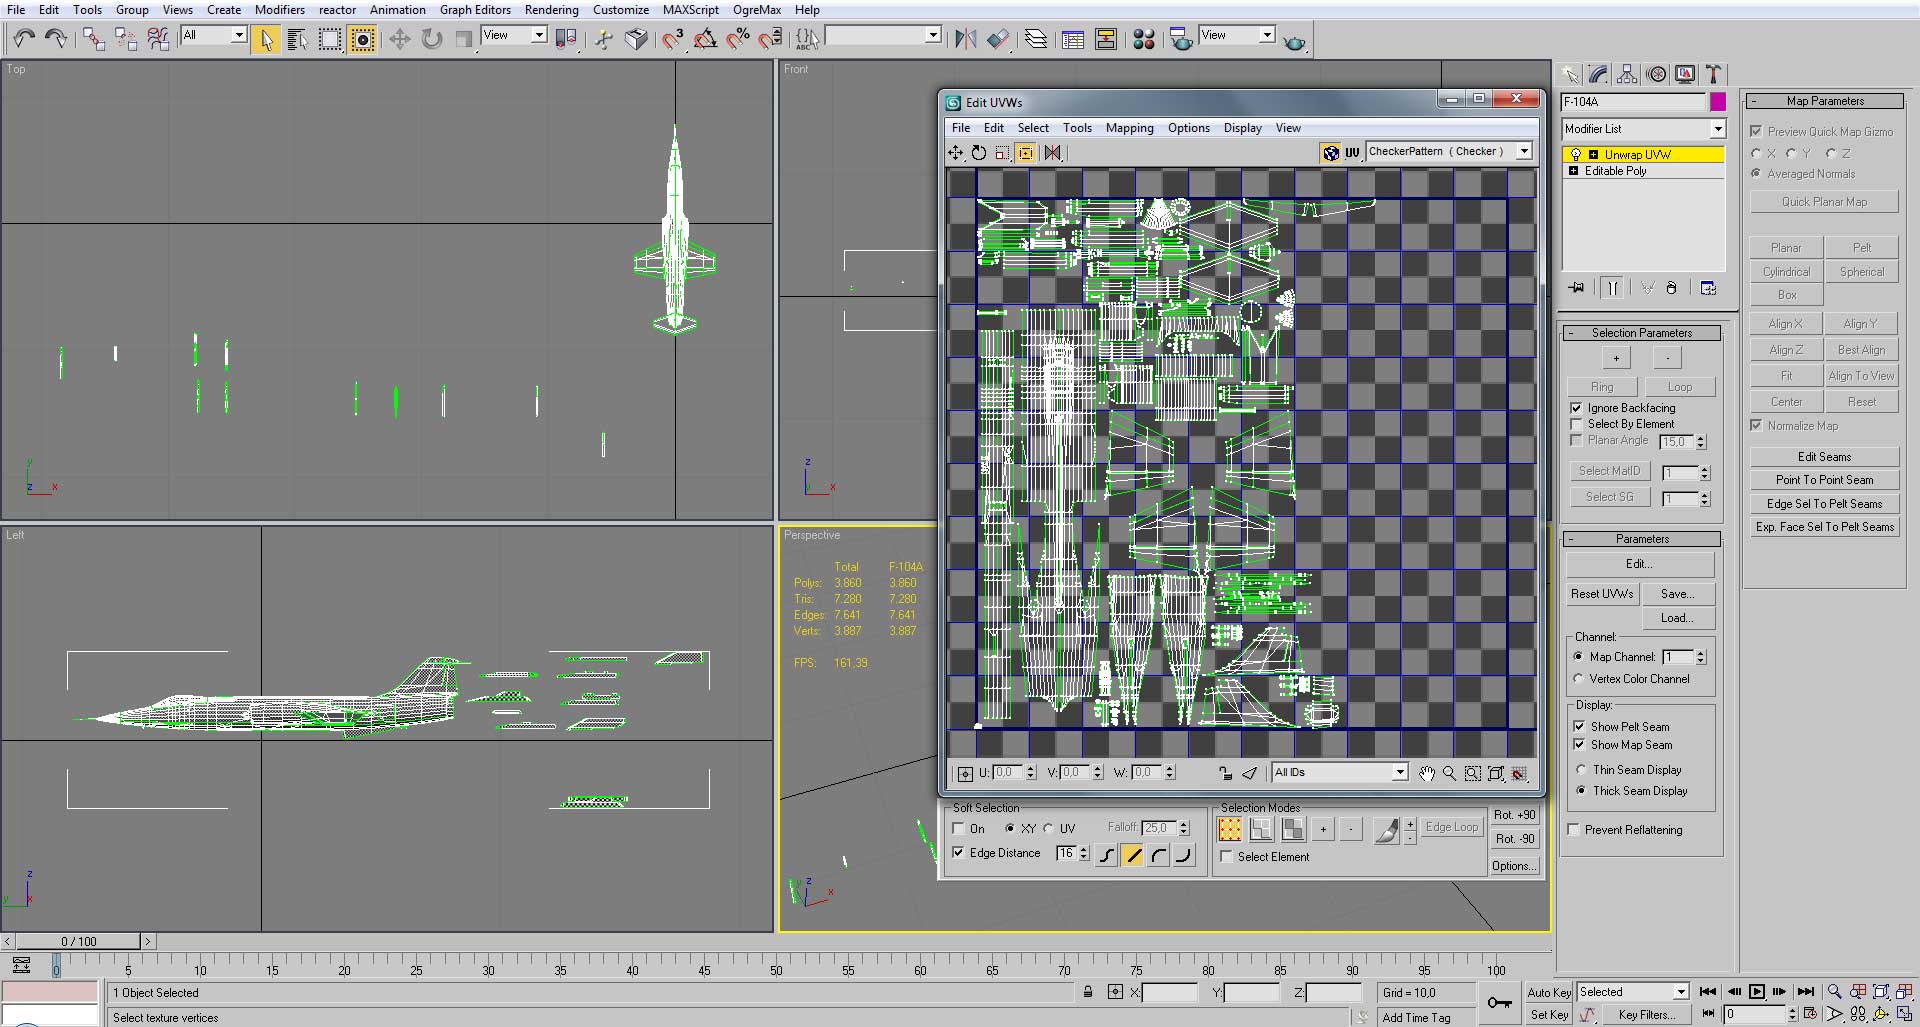
Then packed it as tightly as possible inside of the square. (note in this mapping it was left a wide portion of unused area to give space for the Doppelrumpf variant).
![]()
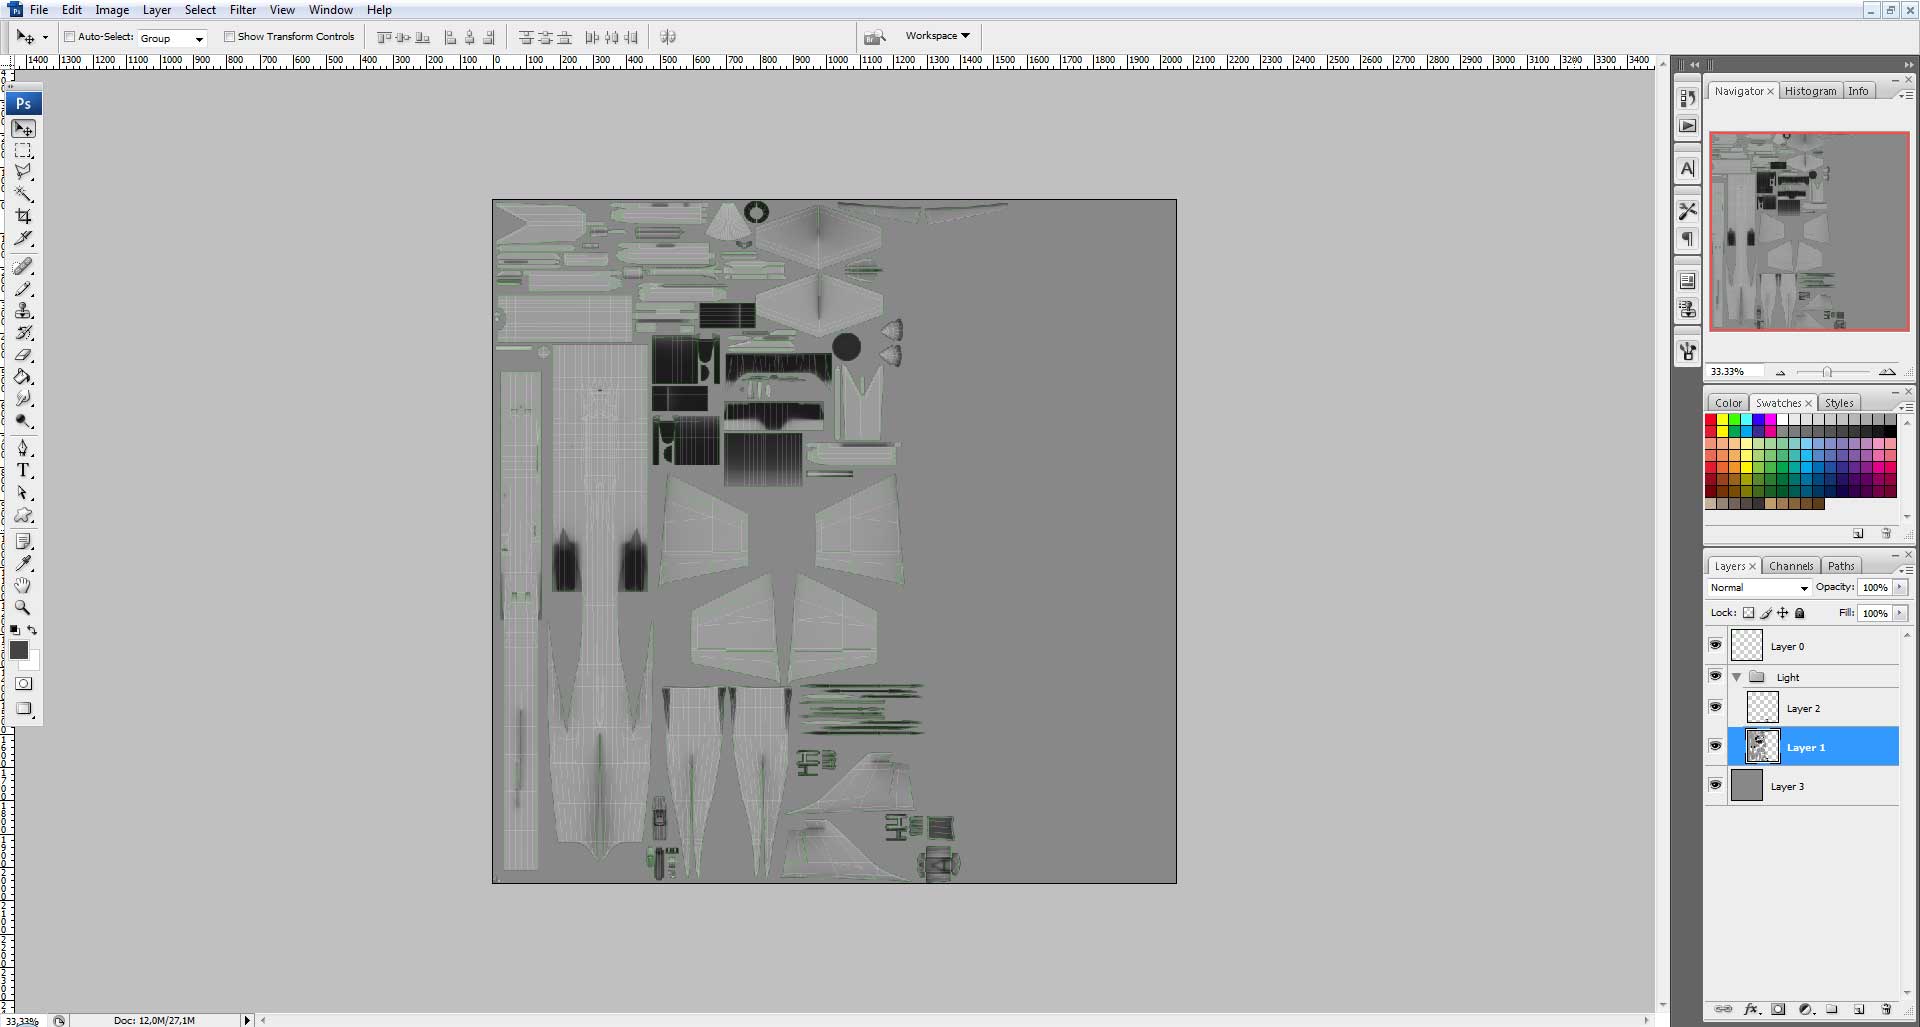
After the uv map and light cook is rendered, combine both in a single texture. The light map is added as an overlay above a 50% grey flat color.
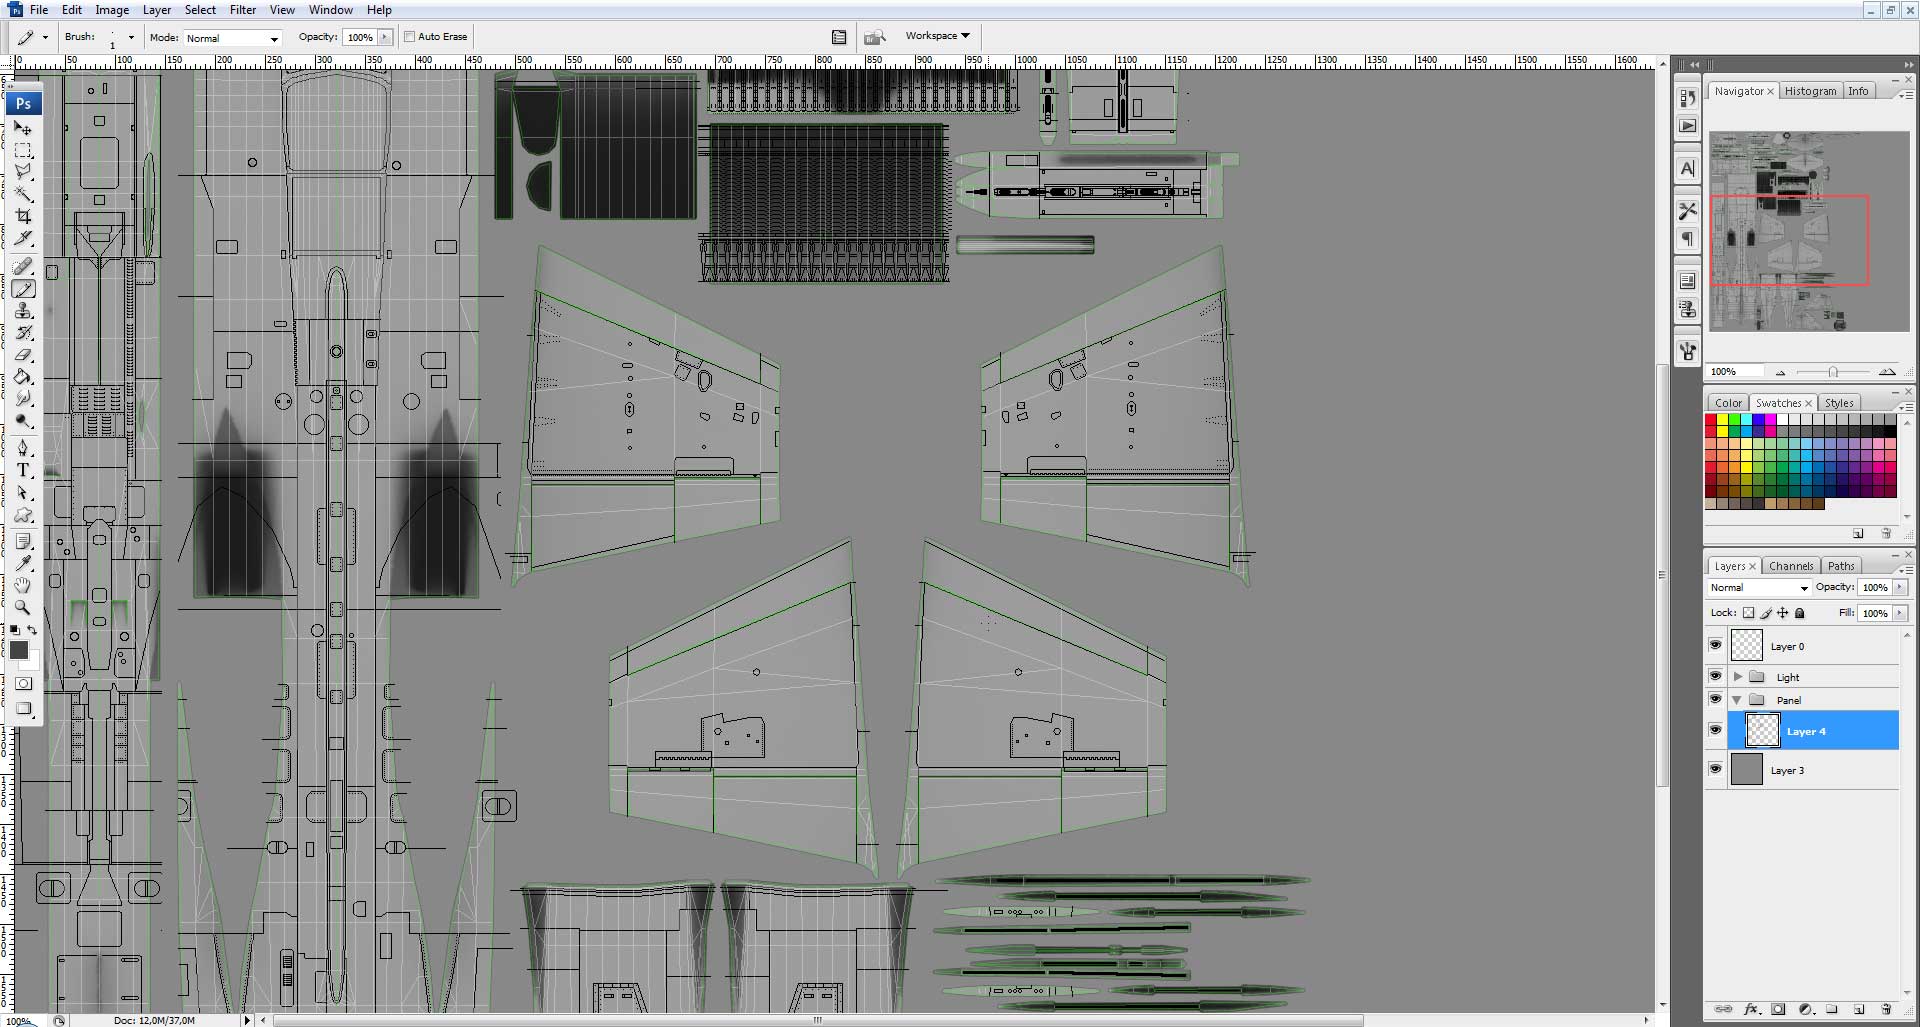
Then we draw the panel lines using the pencil in 1 pixel in back color. For this make use the most reference images you can.

The final touch in the panel lines, add the effect of outer glow in back an 30% opacity and in multiply blend.

Then we add the default colors, these are the color that will not change regardless of the camo skin we make (for example, the engine nozzle).
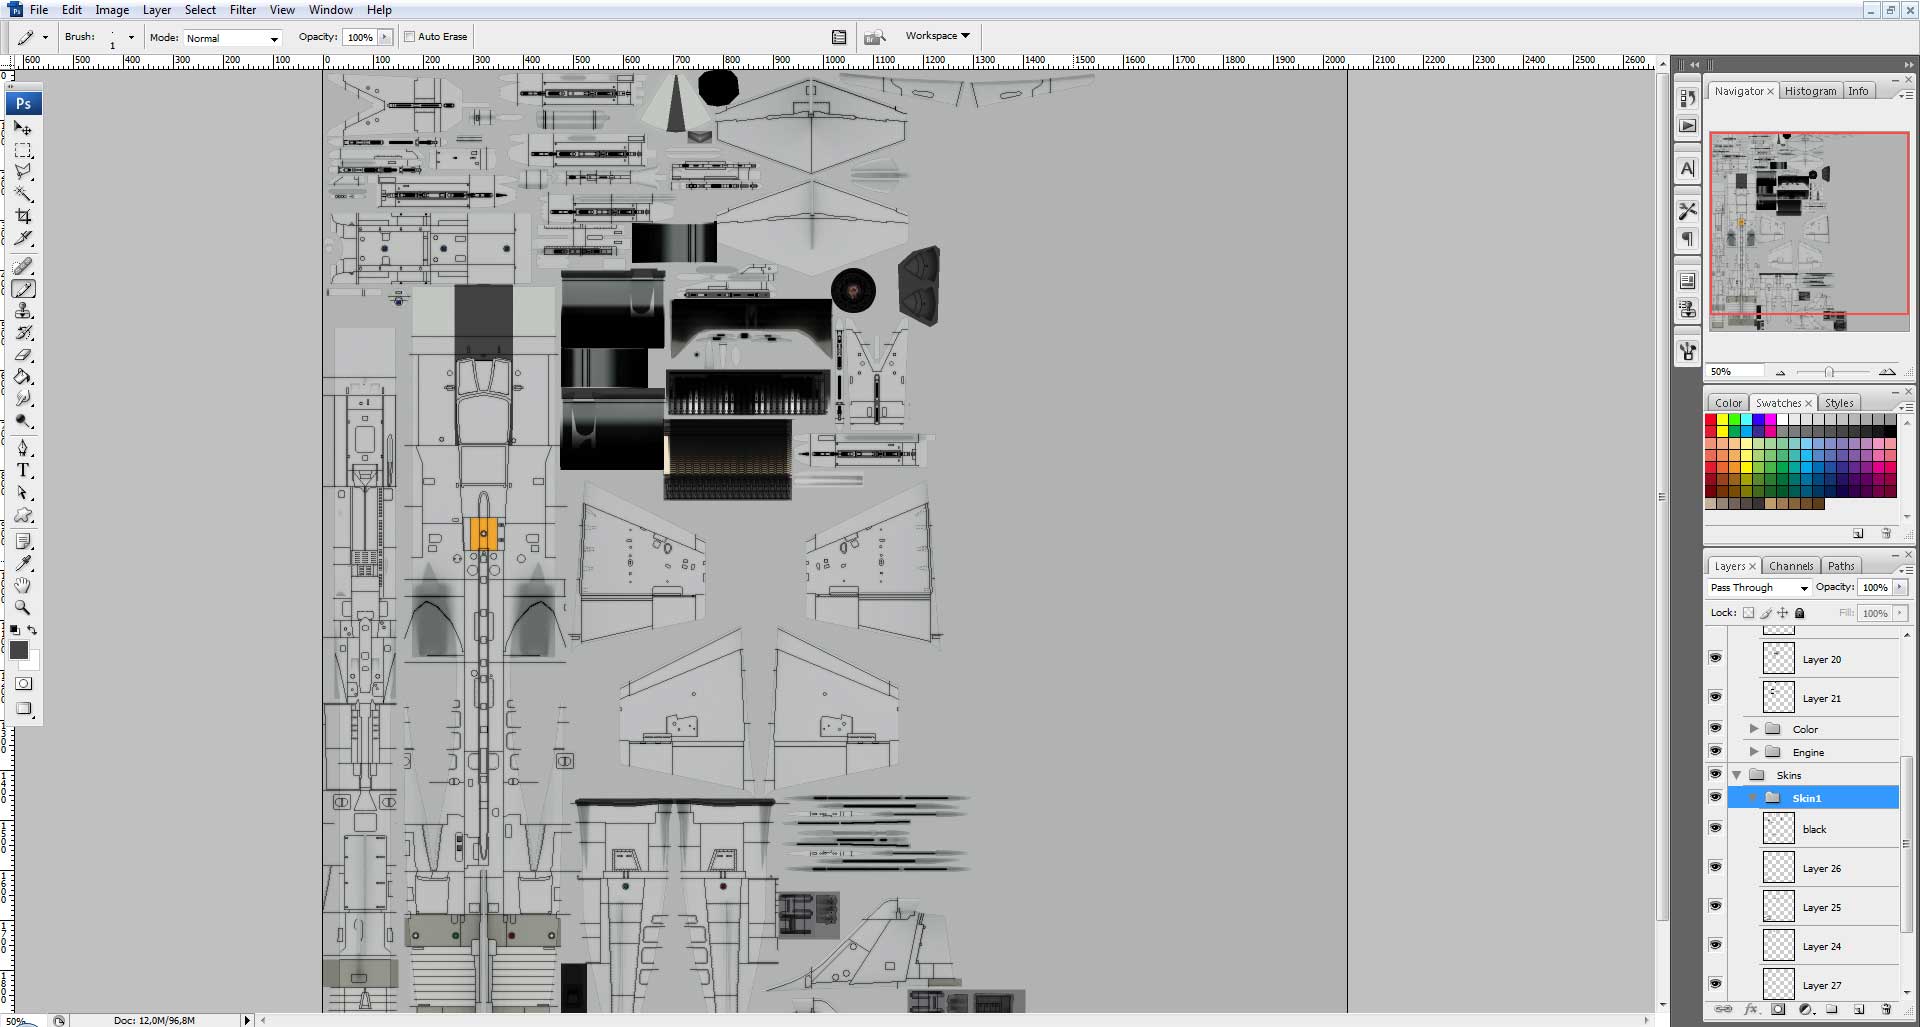
After that we can finally make our skins.

To finish the texture, don’t forget to add the layer for the destroyed effect. Add something like black stains and crashes in a multiply blend mode.

Then apply it to the model. (actually you should apply the texture as soon as possible to be better aware when creating the panel lines and skins.)
![]()
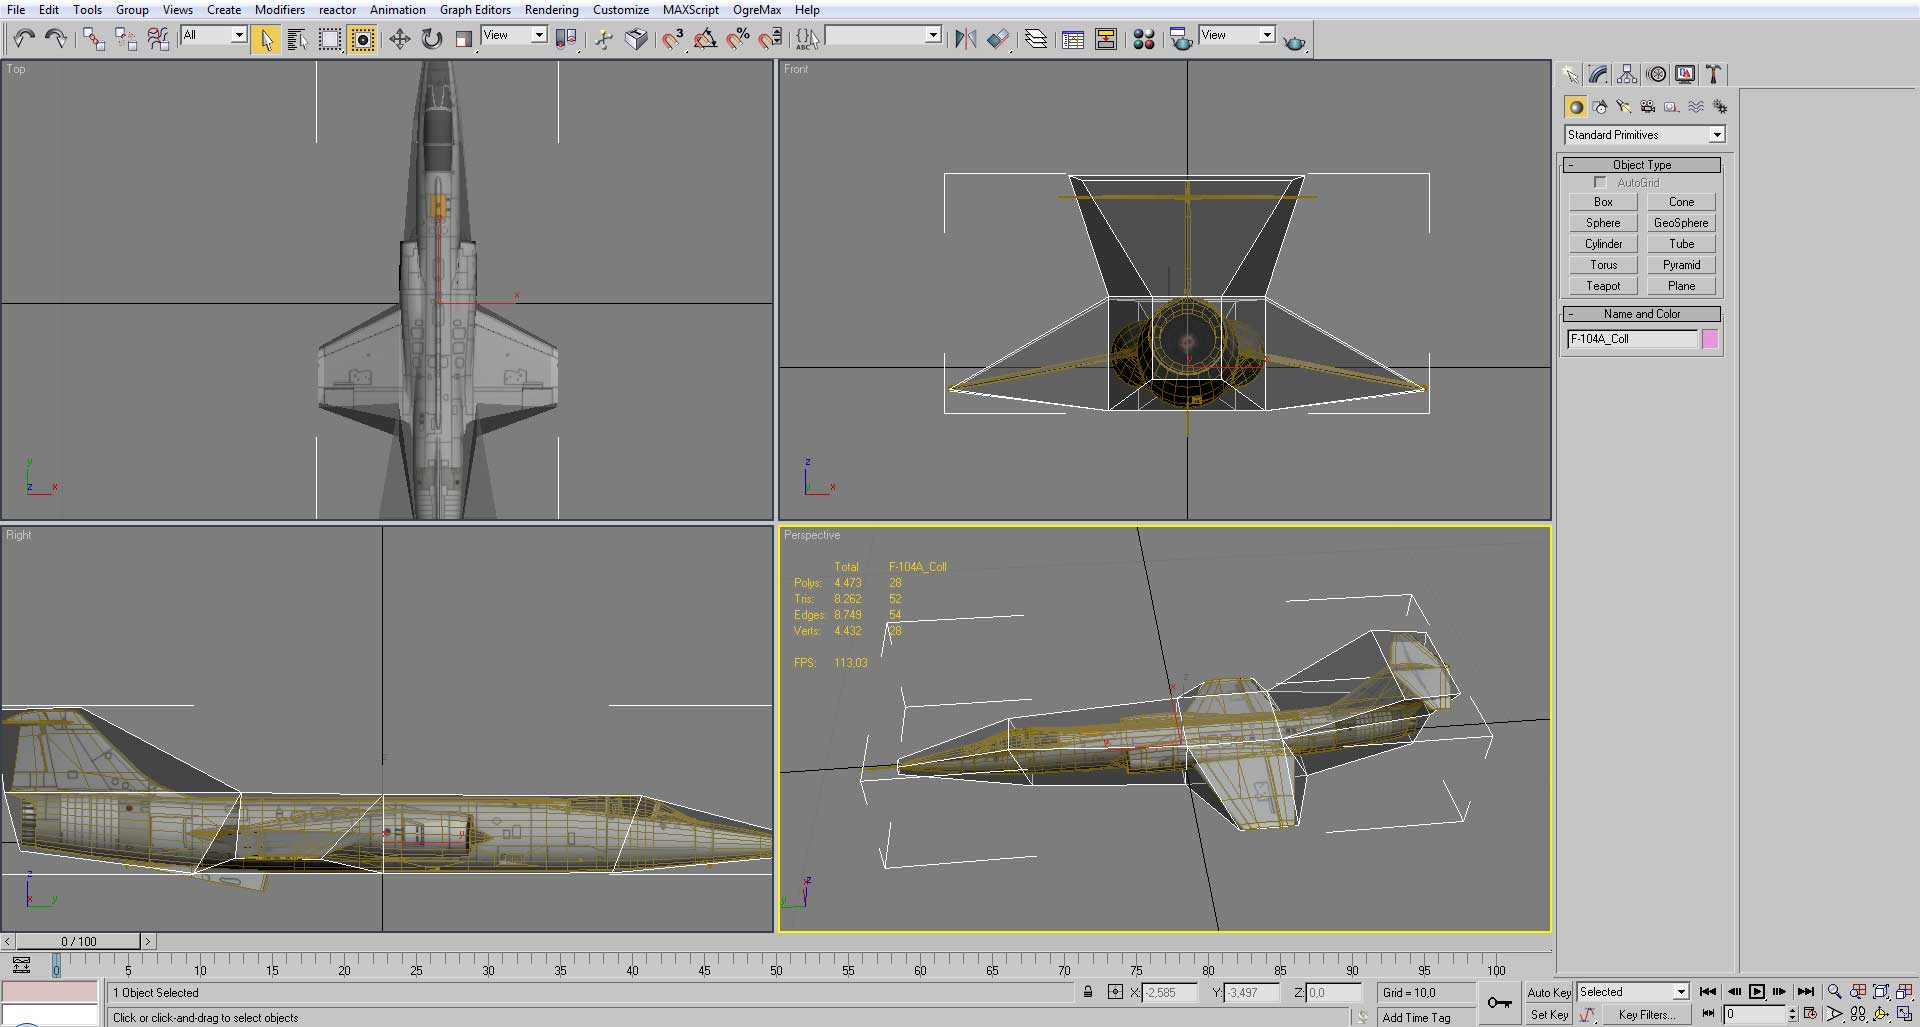
Make a simple rough shape to be used as the collision model.
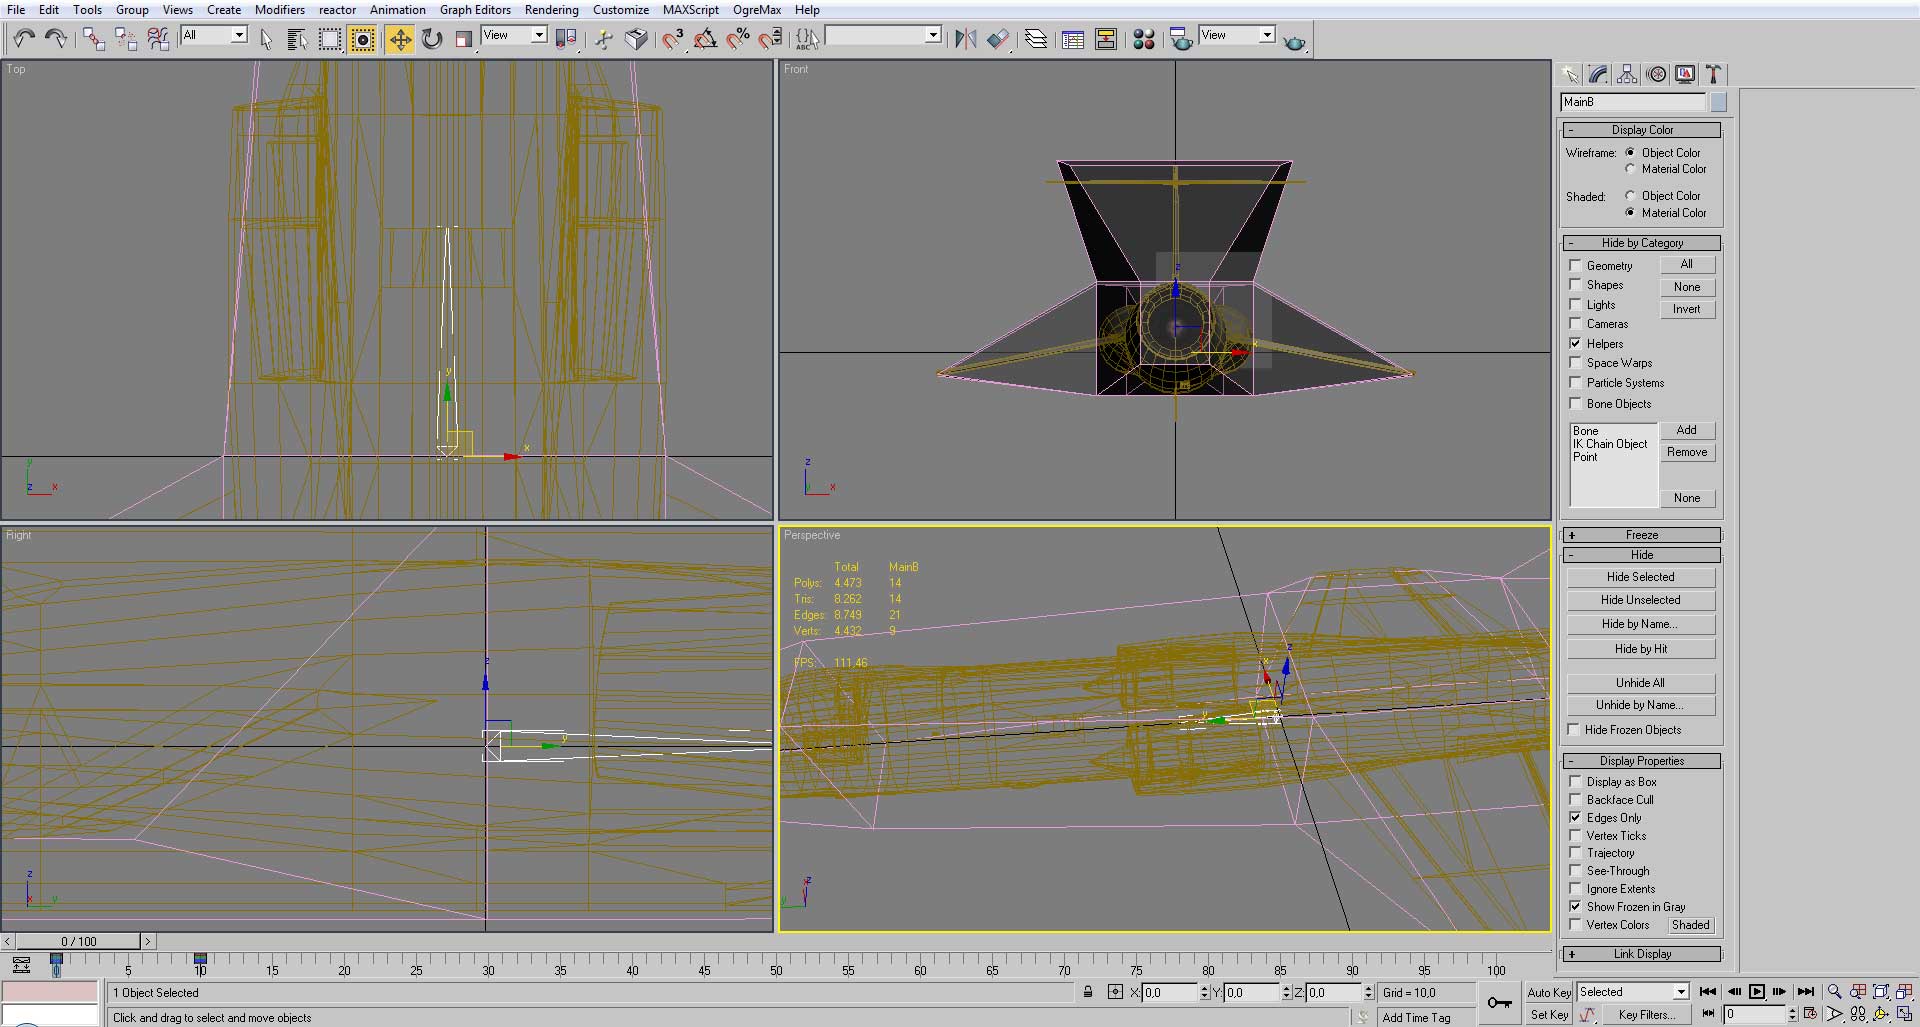
Add the main bone in the position (0,0,0). (be sure the model is also in that position as well).

Add the bones for the control surfaces, and make them children of the main bone.
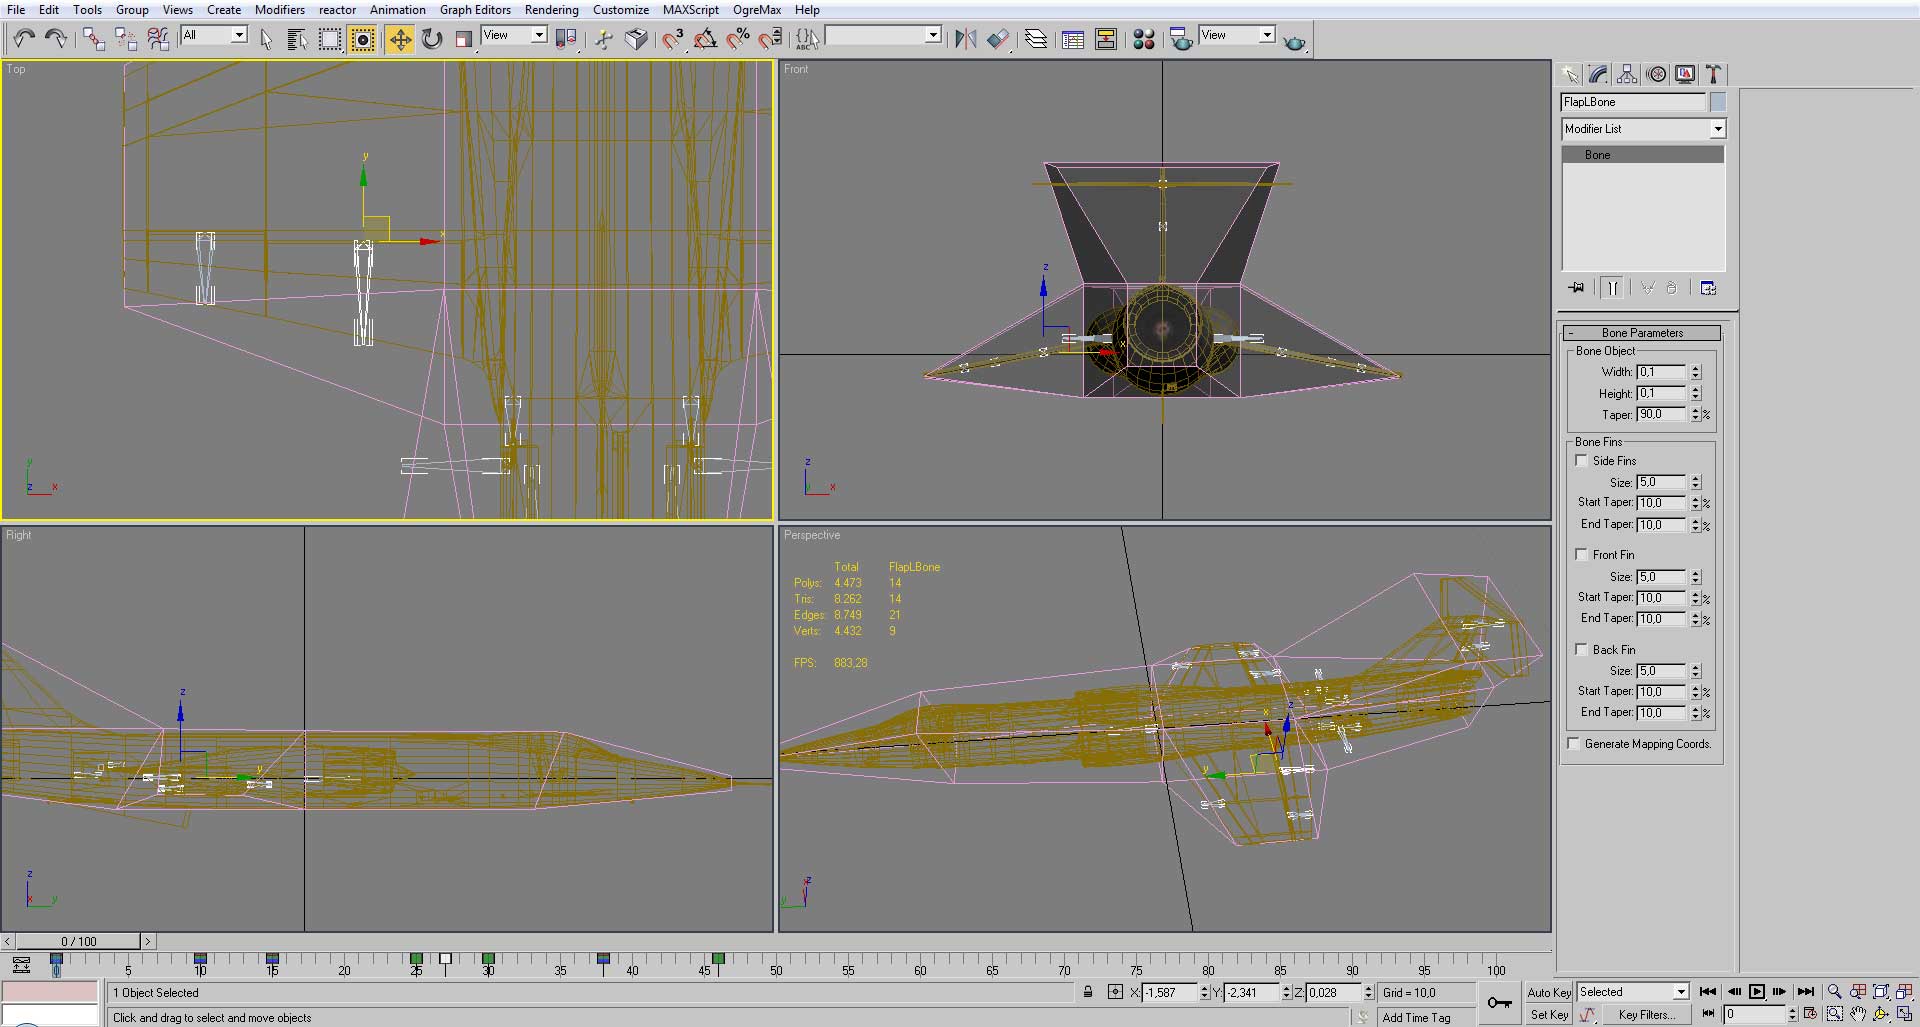
Animate the bones.
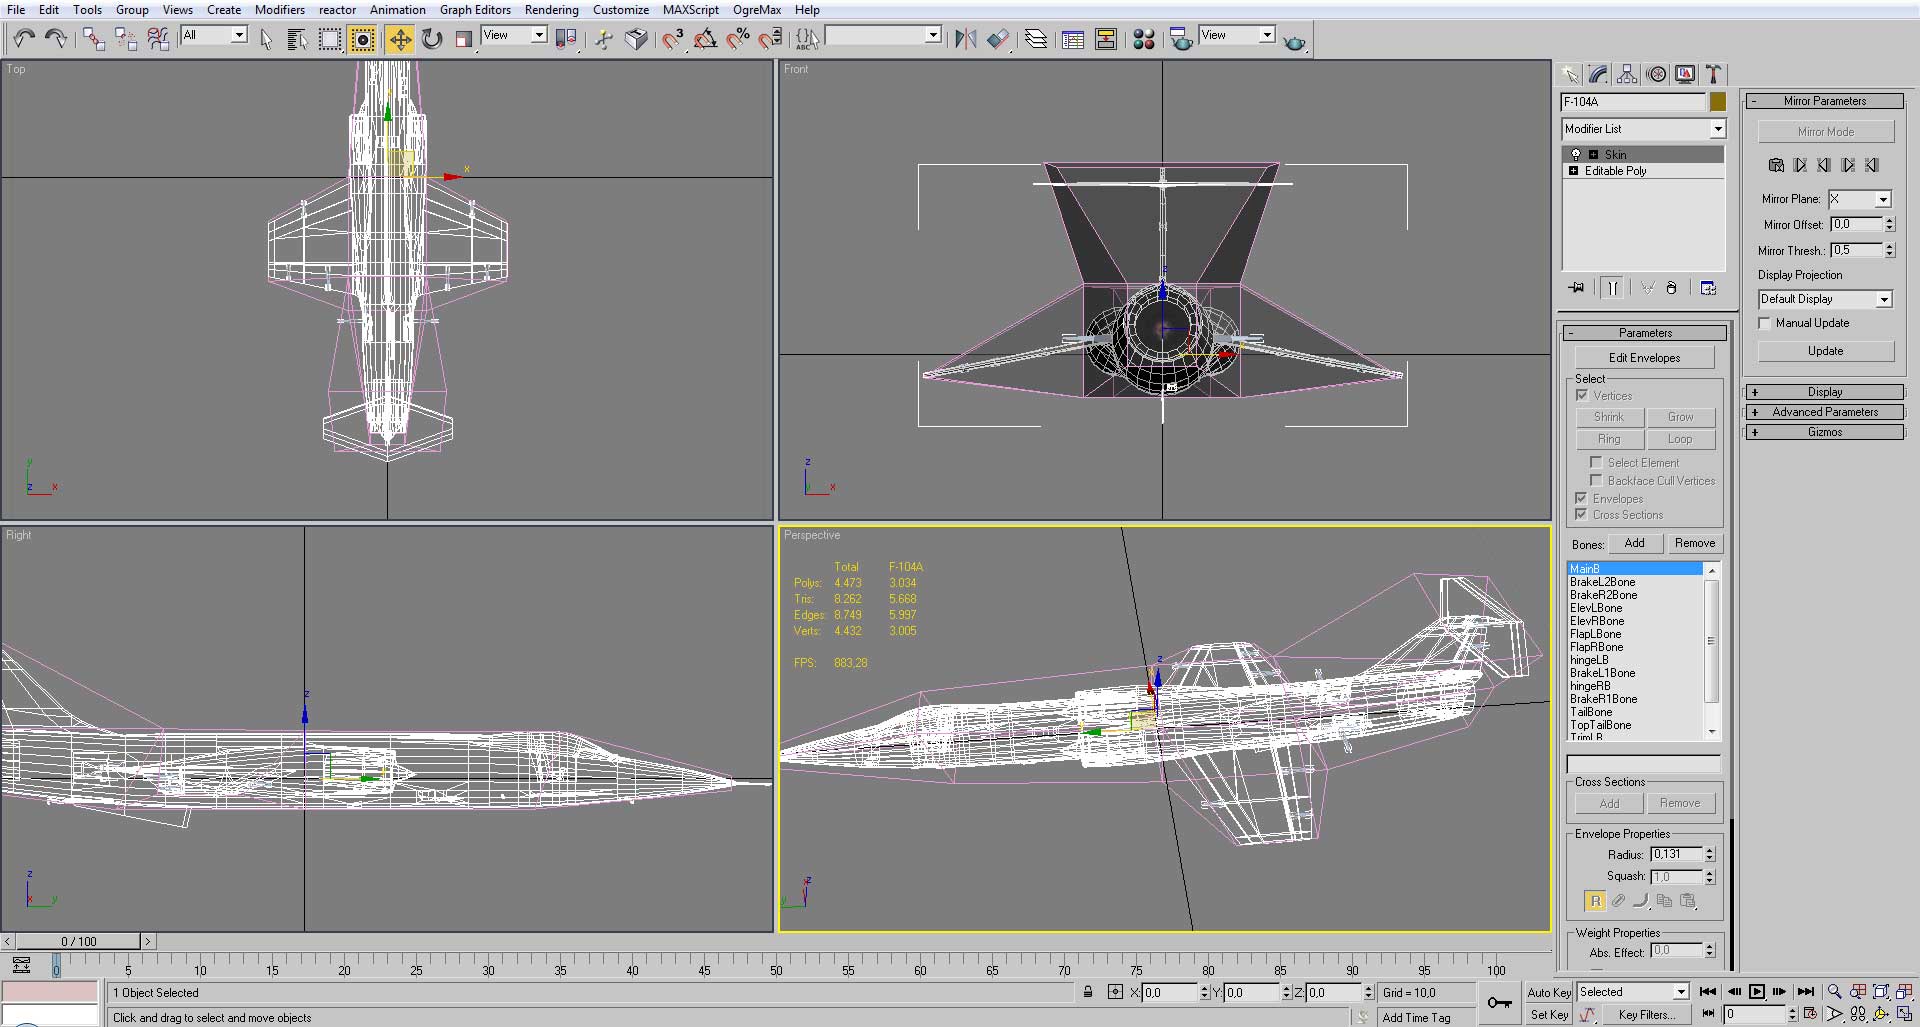
Skin the weight of each bone in the model.
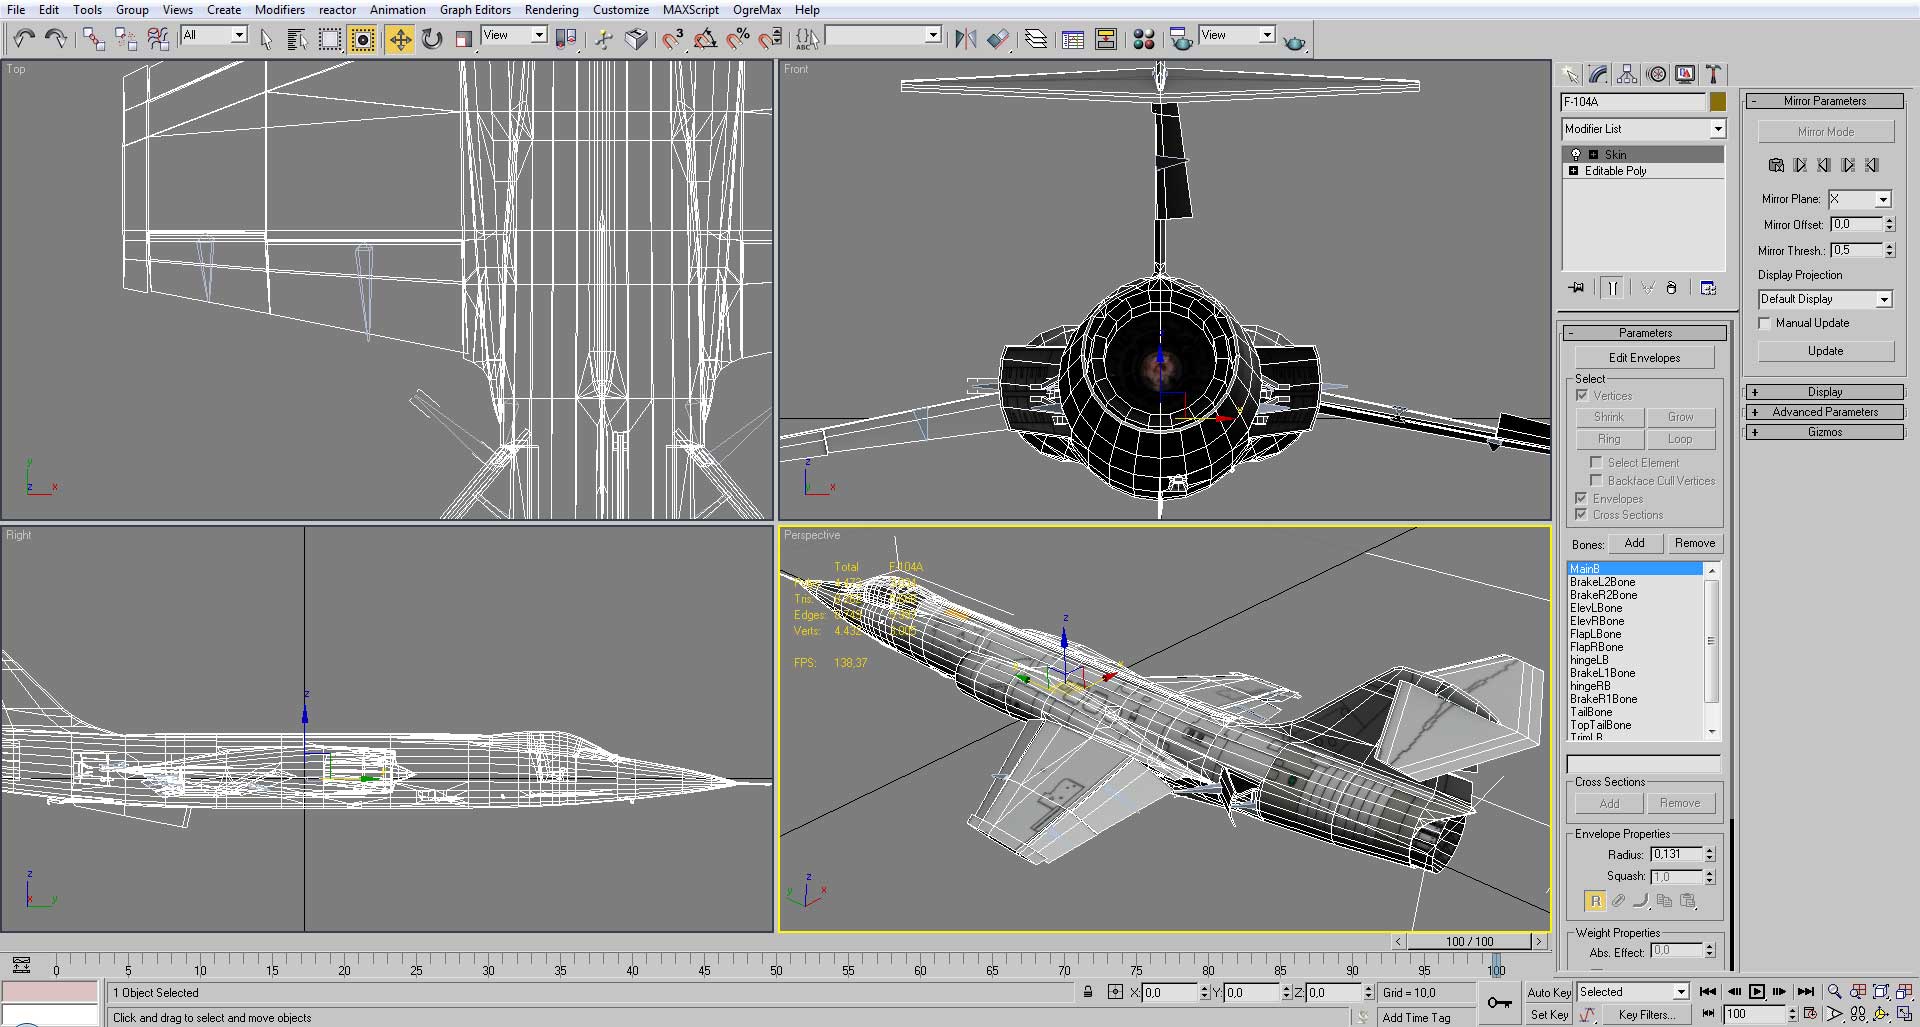
Confirm and readjust the animations.
![]()
(This is for ogre max only.)
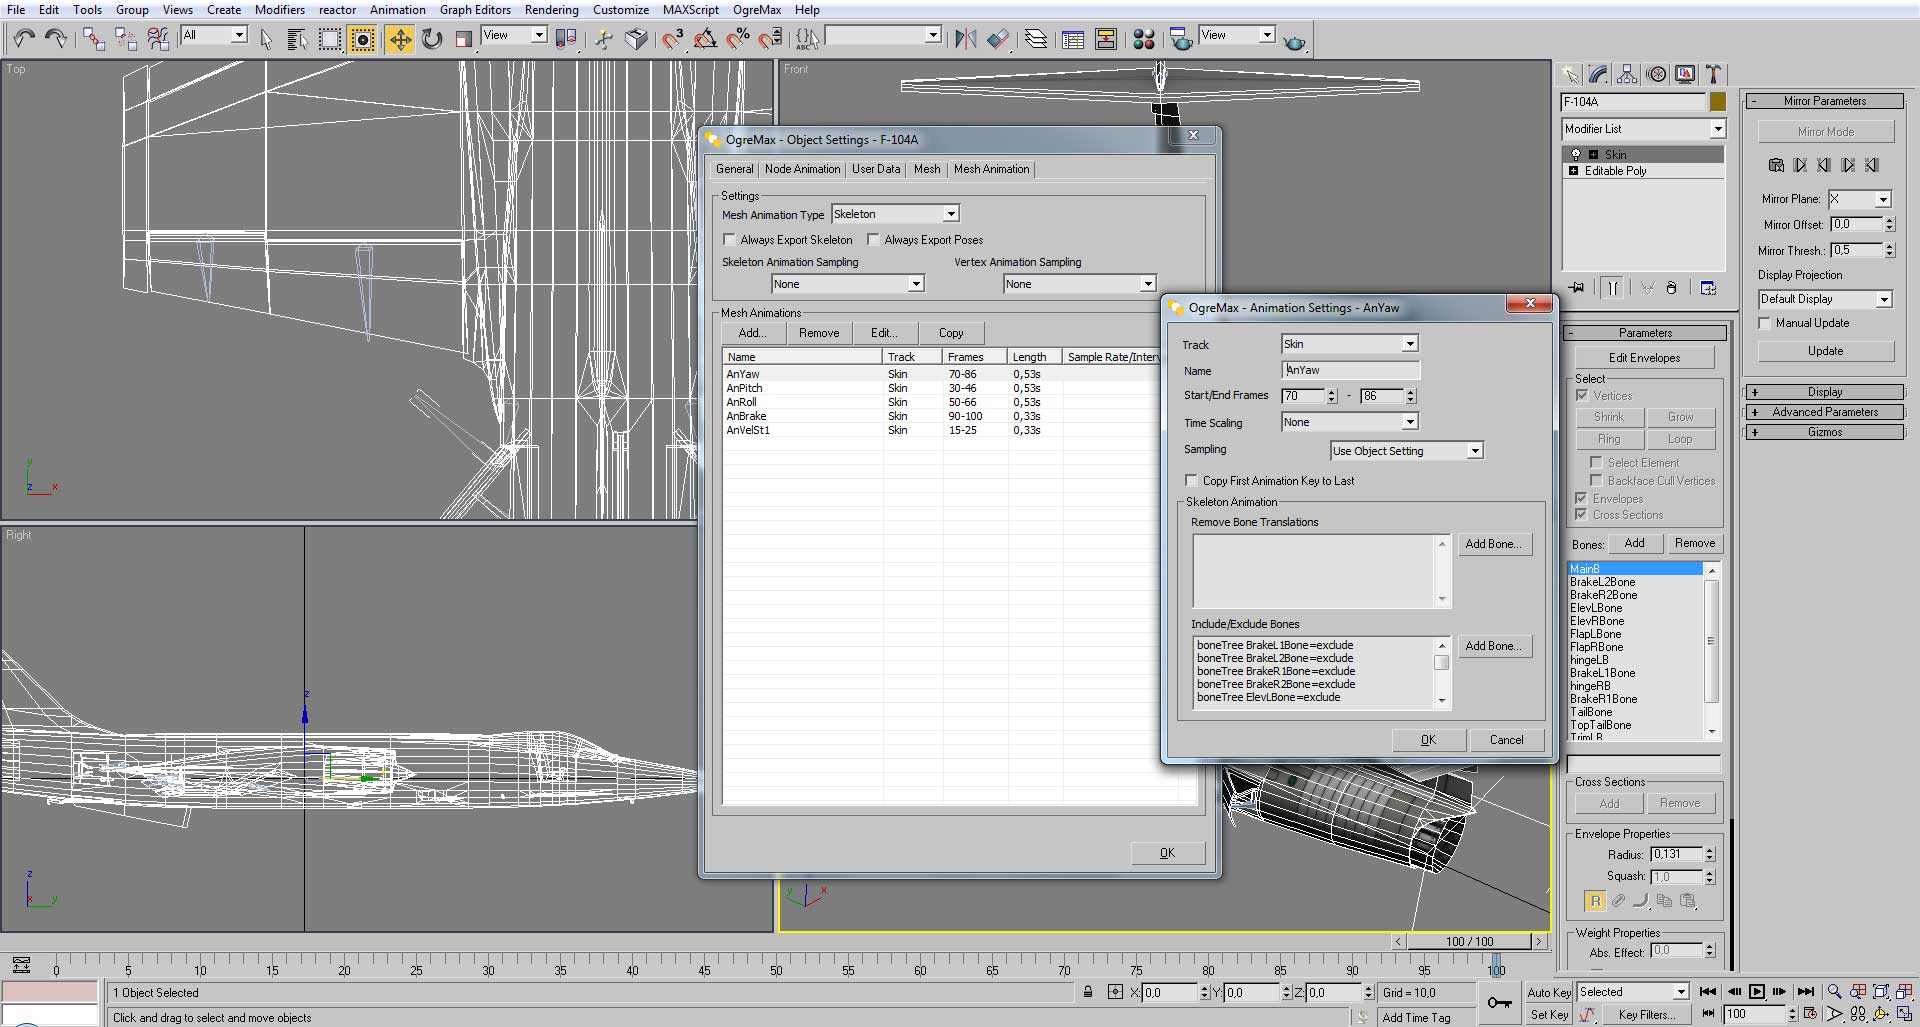
Configure and define the animations, always exclude the bones you don’t need in each animation.

Select the model and the collision and export as selected.
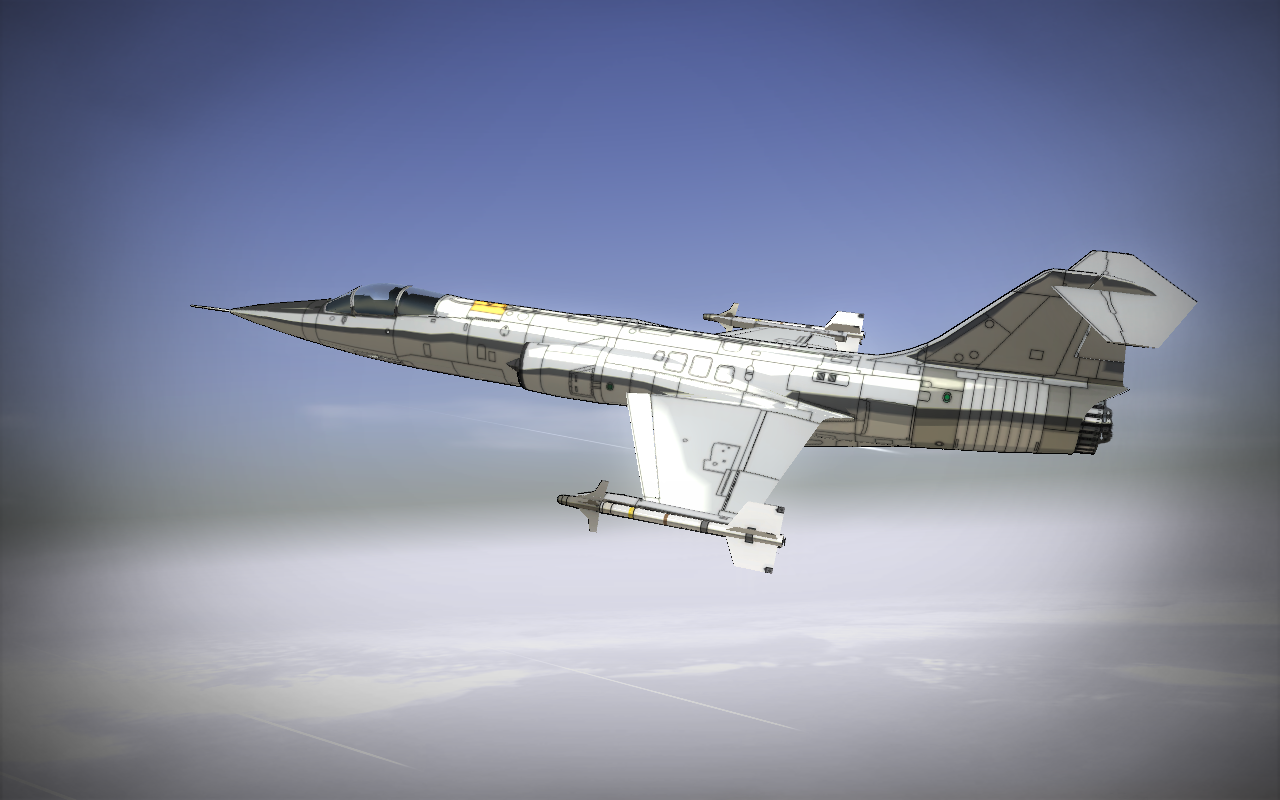
Add it to the game and play.


Let's hope this tutorial could *eventually* bring influx of custom-made planes.
Awesome TUT!
This will help me out allot!
I'm a bit curious as how to mould the basic cylinder/sphere/whatever to make more complex shapes.
The tutorial 6 may help you with that.
in regard to the model size when i export, how much more or less it needs to be so it is not too big or too small?! (i usually do 3 squares in the grid of maximun size in all directions... but i'm afraid if it turns out too big or too small). so,anyone here knows?!