Now, we will create a robot and a terminal and then link them together. First, put some more tiles in the level to have a little more room. Then, go to SELECT OBJECTS > ROBOTS > JETPACK and SELECT OBJECTS > TERMINAL and place these objects in your scene. You should build something like this:

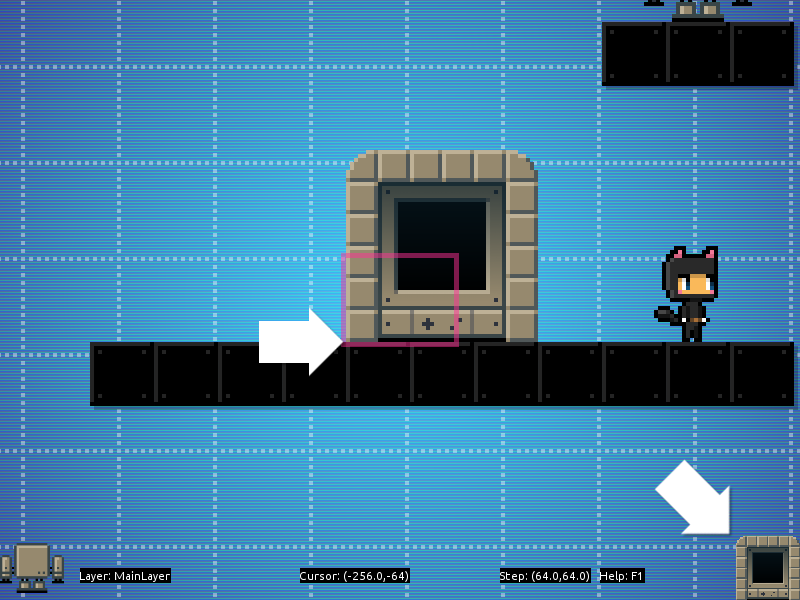
In order to make robots accessible for Nikki, you have to link them to a terminal. Place the cursor over the terminal, so that the bottom left corners are lined up. When positioned correctly, you can see a thumbnail of the terminal as the current focused object in the lower right corner of the screen:
Focusing Objects
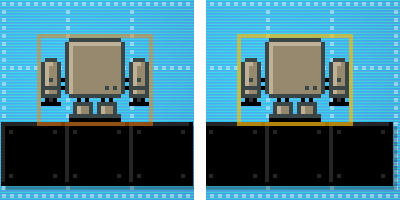
Open the editor menu with ESC and select the new entry EDIT OBJECT. The camera will jump to the robot and a dark yellowish rectangle will appear around it. Simply press CTRL once to link the robot to the terminal. The rectangle around the robot will become brighter, indicating that the robot has been linked. Return to regular editing with ESC.
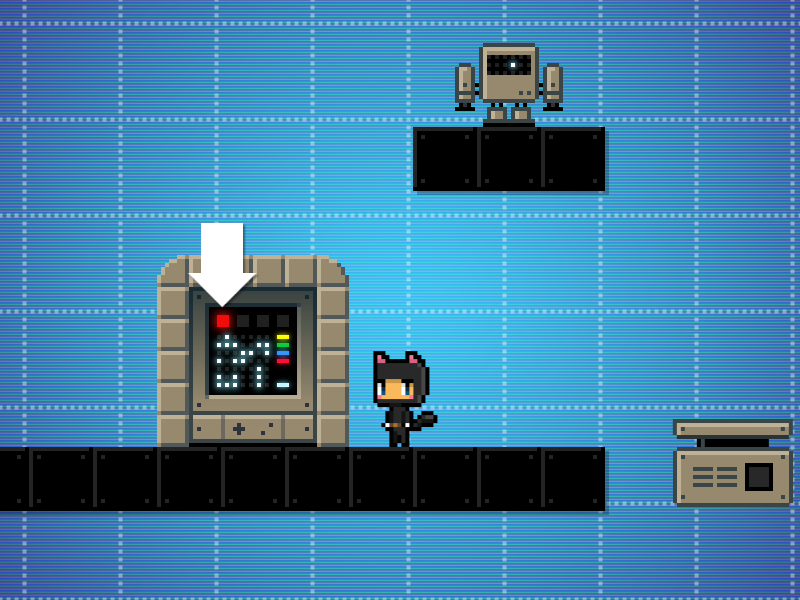
When pressing T for a playtest, the red lamp should now be lit up and you should be able to access and to control the robot:
Linked Consoles
You can link up to four robots to each terminal. The robots are linked to red, green, blue and yellow in this order. If you delete a terminal or a robot, the according links will also be deleted, of course. Please also refer to ”Dr Lacroix’s Robots Compendium” to learn more about the specific settings and features of the different robots.