Strap in soldiers, today's Isonzo Intel is a big one!
Monte Sabotino was a key objective for both sides, with a commanding position over the city of Gorizia and on the bank of the Soča river. Today it lies right on the border between Italy and Slovenia. The mountain had been under siege since the first battles of the Isonzo, but it was not until the 6th Battle that progress was finally made.
During the winter of 1915-1916 the Italians excavated three walkways along the side of the mountain. These were used as jump-off points on August 6th, 1916 when, after a devastating bombardment, the Italians started from close range, surprising the Austrians still inside their tunnels. Thanks to the heavy artillery support and advanced starting points, Italian troops managed to reach the summit of Monte Sabotino in under an hour. The success of operations here opened the gates to future attacks on the city of Gorizia.
The slope the Italians must climb at the start of the battle. Note the extensive wire lines and limited cover. A smokescreen might be very useful…
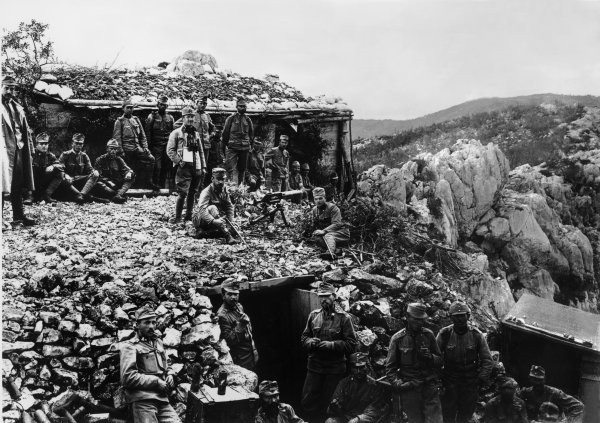
This period photograph demonstrates the rocky landscape that made it hard work to dig trenches and bunkers.
Race to the peak
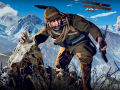
Getting to the top of the mountain so quickly was an incredible achievement - depending on how long your battle lasts, it might take you as long to finish the map as it did for the attackers more than 100 years ago to scale Sabotino. It starts with penetrating multiple lines of wire and blowing up two wooden bunkers.
Once again you can see that many Italian Front trenches were very different to their Western Front counterparts, but once you make it into the network you’ll need similar skills and tactics to clear them out. Recon flyovers could give you the drop on enemies.
The next two lines near the peak of the mountain itself each have one capture zone objective and one sabotage objective to blast an Austro-Hungarian gun pit. The terrain here is a mix of small fortifications carved out of the mountain and natural rock formations. You’ll also need to deal with height differences - the top of the mountain is not flat, after all, so keep an eye out for enemies following paths above or below you, and remember that it’s very easy to throw a grenade too far or not far enough if you forget to account for vertical distances!
The Italians must fight from right to left along the mountaintop.
We used drone footage of modern day Sabotino captured on our research trip in creating the map.
See how the trenches in-game compare to the historical maps we used when designing Monte Sabotino.
The fighting at the top of the mountain ends with the fourth defensive line, centered on a single capture point. Fighting will be fierce for the ruins at the far end of the mountain. The rocky ground has prevented many trenches from being dug, so you’ll need to use the landscape itself for cover and concealment where possible.
No time to settle in, though! Once you summit the mountain, the battle is far from over…
Going down
After capturing the rocky ravine ruins, the Italians need to force a path down a very steep part of the mountain. The winding path, often sided with stone walls, poses challenges for both sides. The attacking Italians have a height advantage on the defenders, but can easily find themselves exposed on some sections of the path, and the bare hillside is a risky alternative. The Austro-Hungarians need to take extra care to keep their heads down, but there are lots of potential ambush spots.
These ruins are your objective in the fourth line, and that long road down is the fifth line of defense. It feels even steeper when you’re descending on foot! You can already see the map’s final objective from here - the church in the town below…
This line also has only one objective - sabotaging the armored train at the foot of the mountain. However, the road down is a long one, with multiple advance spawning points that can be built and destroyed, meaning that there is much potential for back and forth up and down the mountain before the objective itself is threatened. The train is partly inspired by a daring raid by an armored train along the railway line in the map. Leaving Gorizia and crossing the Salcano bridge on a six hour journey, a train under the command of Lieutenant Scheichelbauer assaulted an Italian machine gun nest in the mouth of the Babinrub tunnel on the bank of the Isonzo. They routed the defenders and the tunnel wouldn’t be retaken by the Italians for almost a month.
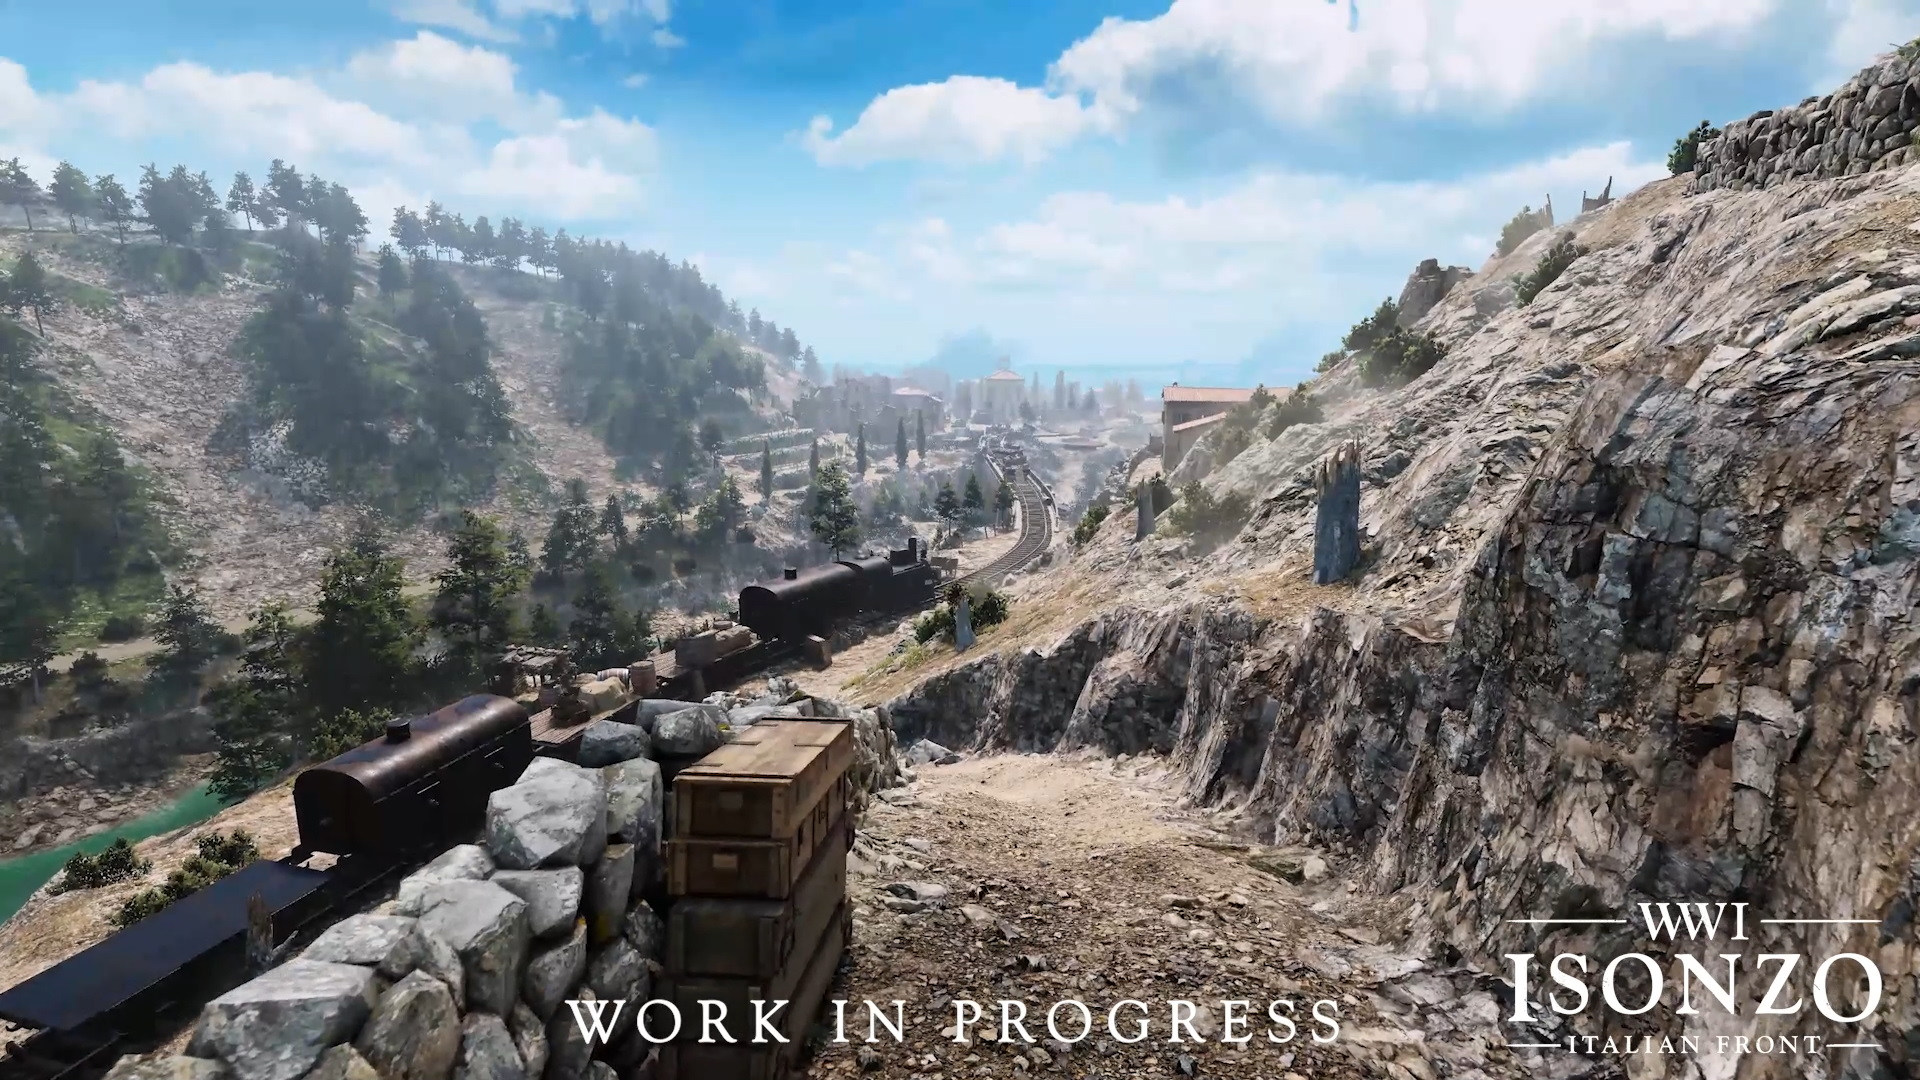
The train objective, and view towards Solkan.
The final objective: Solkan
If they can destroy the armored train, the Italians have one final objective - the town of Salcano. To get there means crossing the Soča river. This can be done through the river itself, or by using the Solkan Bridge. Built in 1905, the massive bridge is the longest stone arch railway bridge built without reinforced concrete.
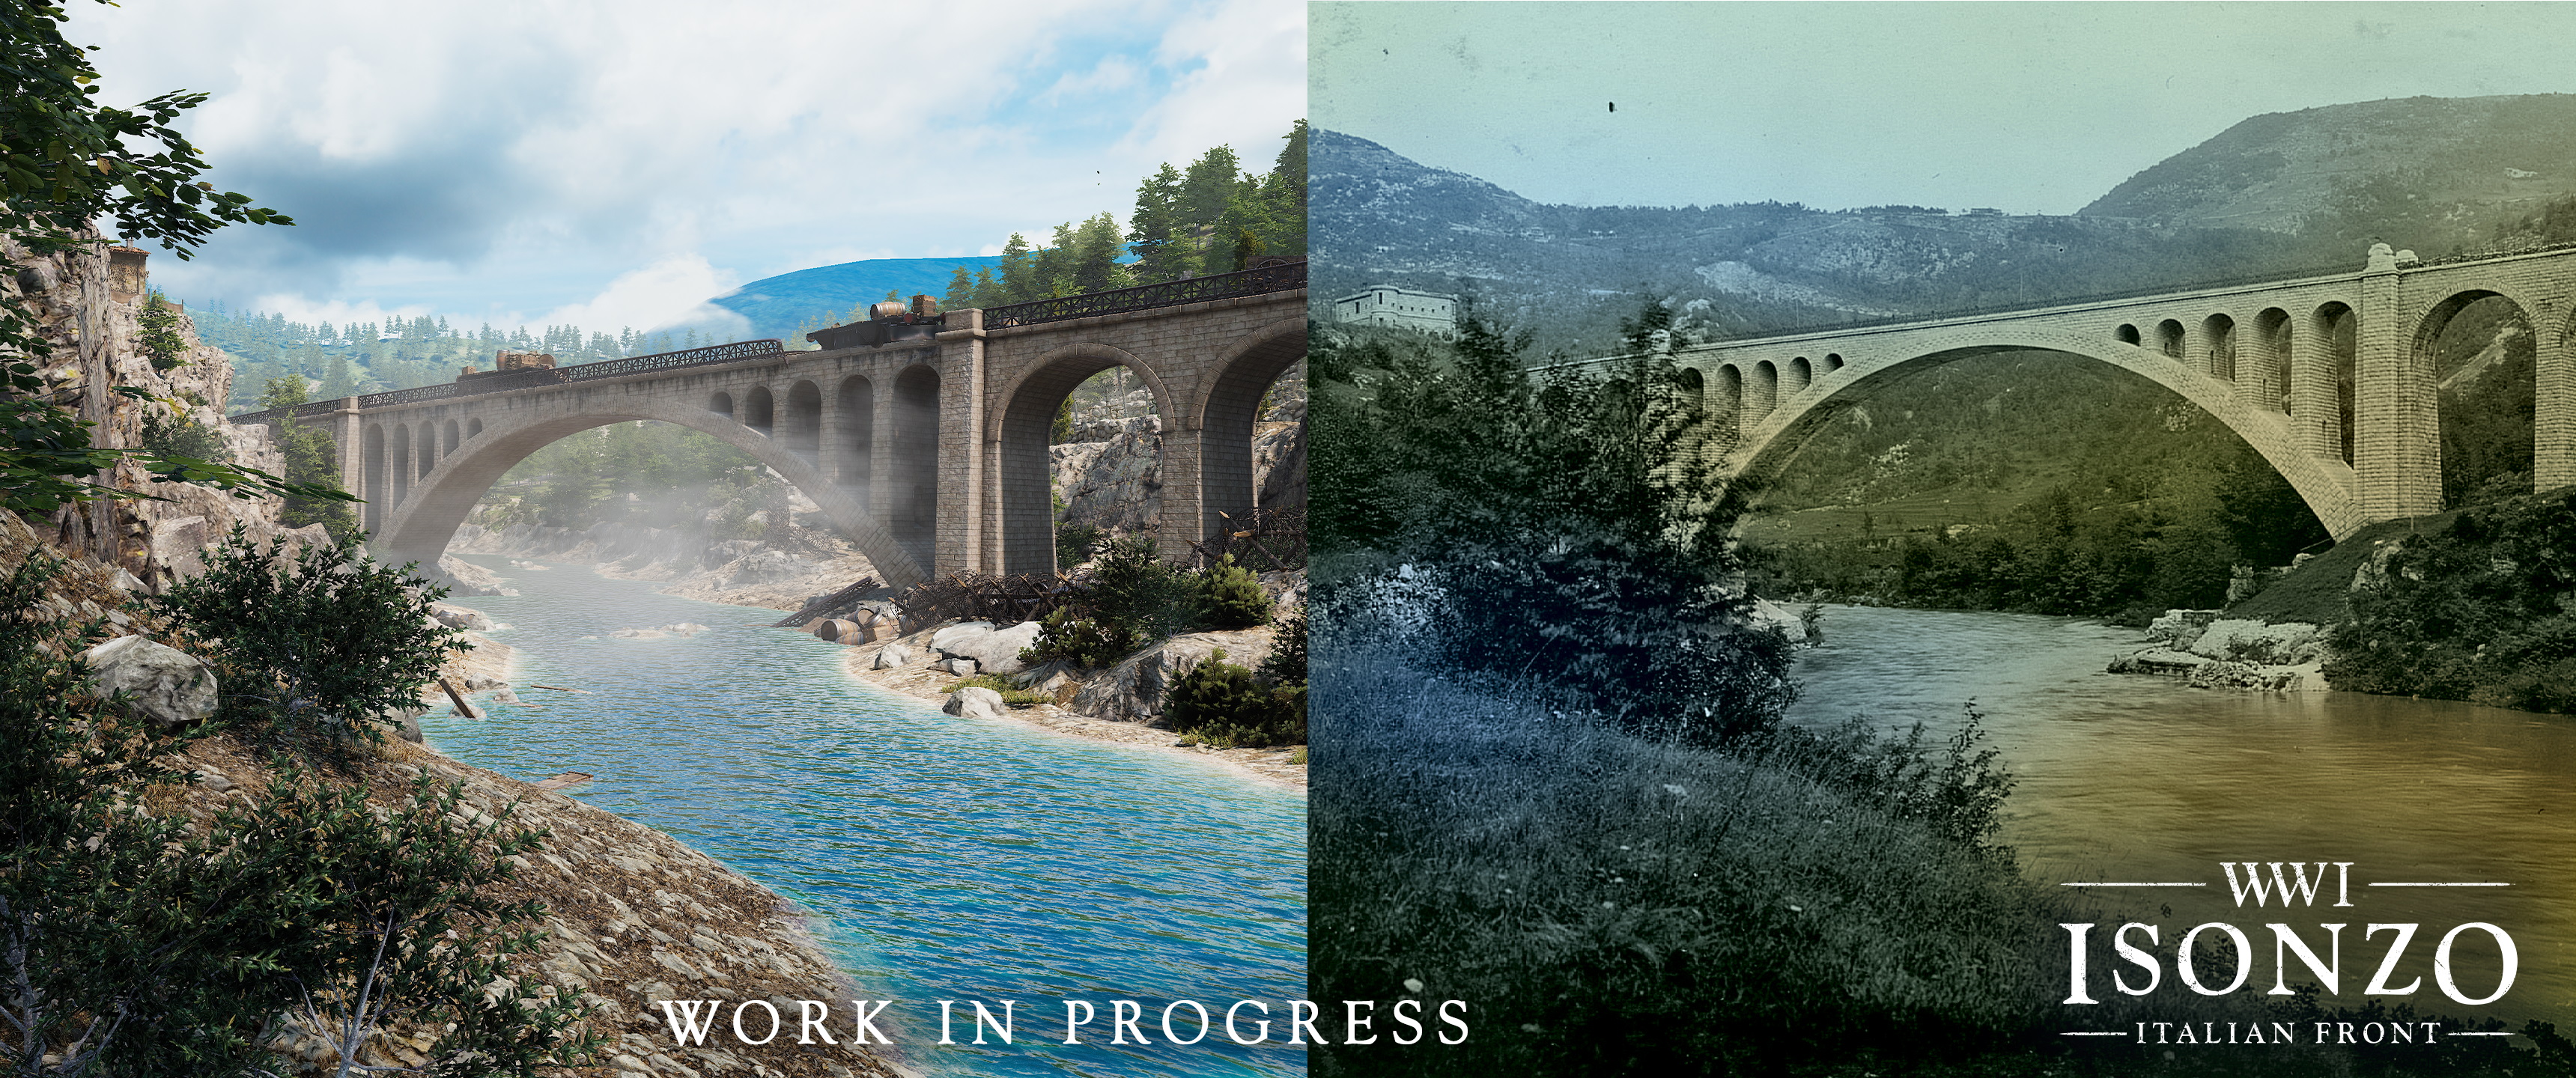
The Solkan bridge in-game, and historically. That cart on the left is packed with explosives…
Historically, the defenders blew the bridge using 930kg (2,050 pounds) of Ecrasite, an Austrian designed explosive material. You may get to see this play out in-game: a cart of explosives on the bridge can be armed by the Austro-Hungarians as with any sabotage objective. If the Italians aren’t quick to disarm any such charges, bye bye bridge...
Once they’ve crossed the river, by fording the water or across the bridge, the town of Solkan is the final objective for the Italians. The last capture point is centered on a church, where you can expect heavy fighting in the churchyard.
The church and the neighboring street. Will you storm the churchyard directly, or try to clear a path through the houses to the left first?
The urban environment provides a lot of cover, including structures where you’ll be safe from artillery - but you can’t just leave the open areas to the enemy, especially the grounds of the church. The narrow alleyways and small courtyards can also leave you without anywhere to flee if grenades land nearby. The high walls mask troop movements allowing for easy surprise attacks. Taking the church will not be easy…
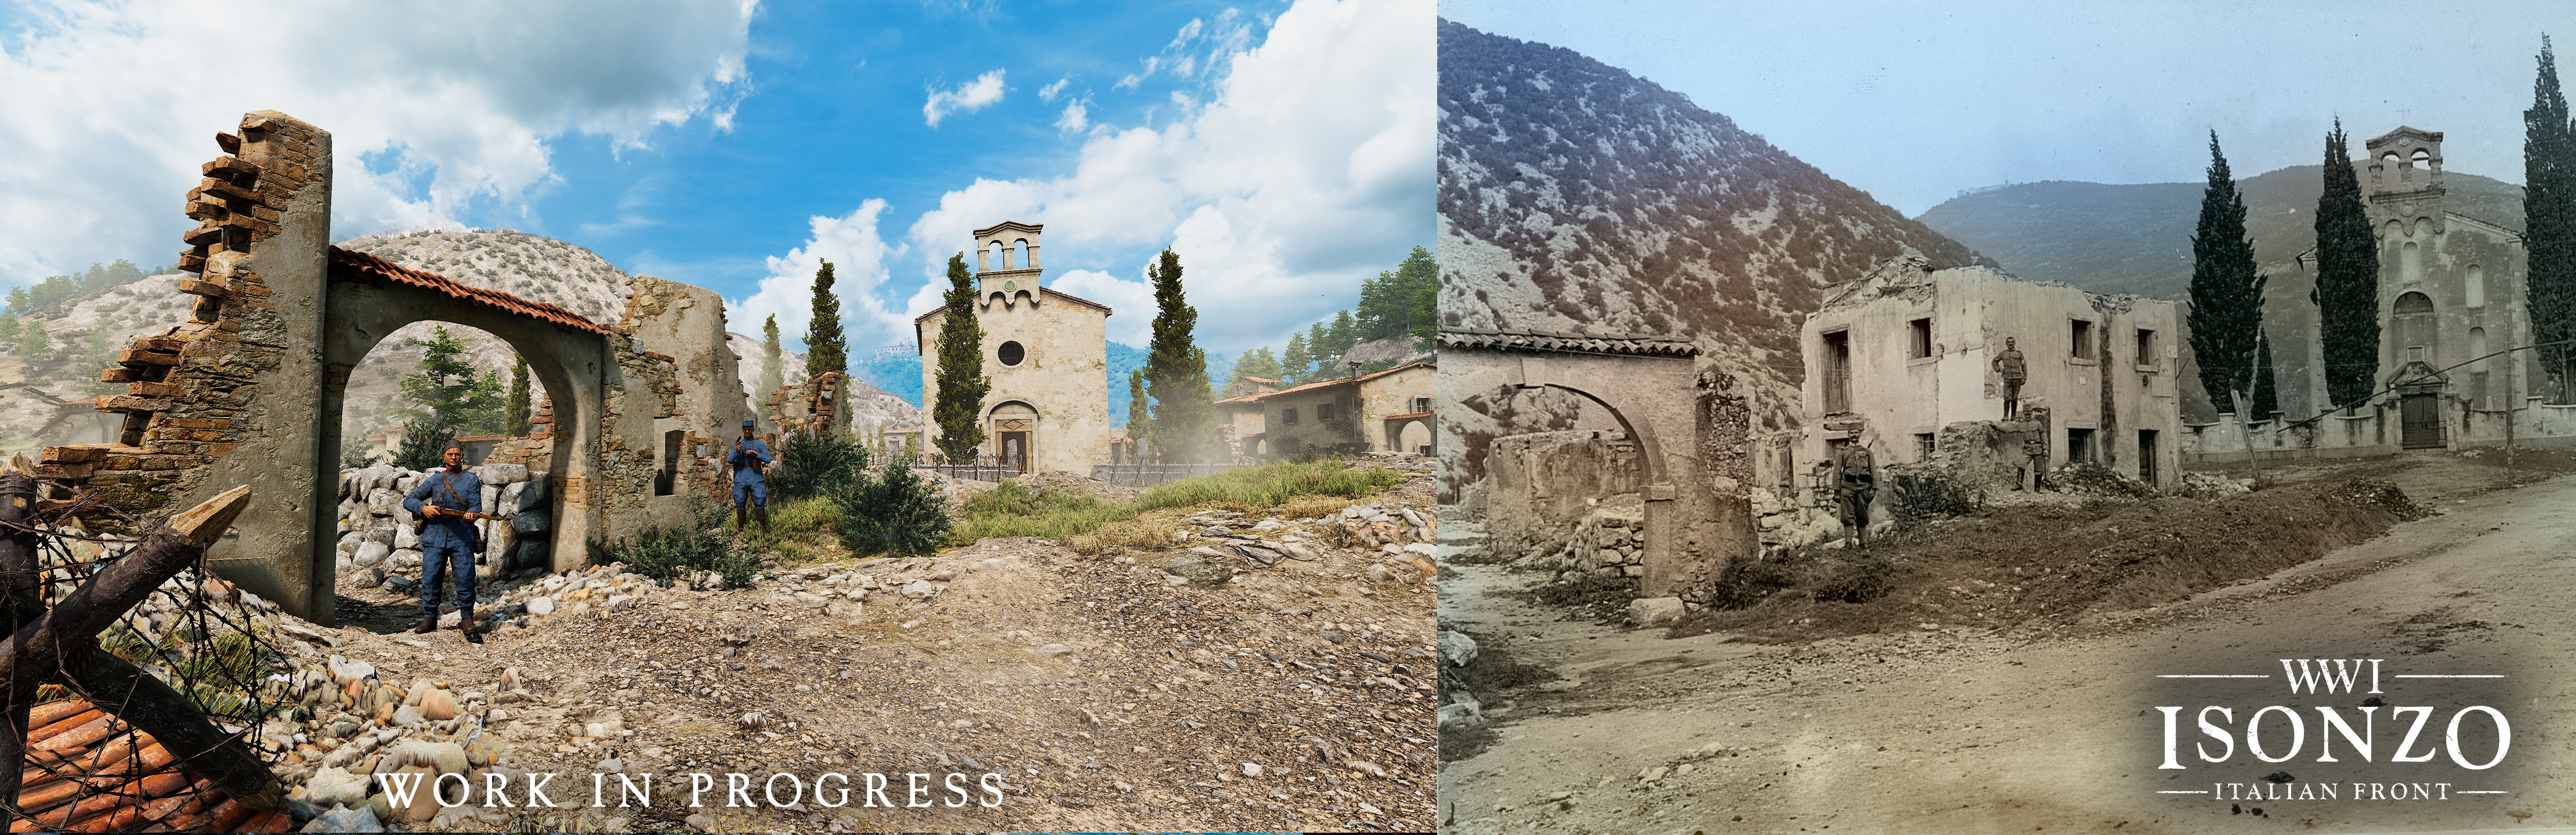
Solkan in-game, and as it was historically.
Isonzo at W.A.S.D!
The WW1 Game Series will be attending the W.A.S.D video game expo in London from April 7-9. Isonzo will be available for everyone to play for the first time! You can find us at booth GG1. Be sure to stop by and fight on the Italian Front, and maybe have a chat with some of the team.
We're also going to help a few lucky soldiers get their hands on tickets: there will be a giveaway on our Twitter, make sure to follow us if you’re interested!
More map reveals are coming…
We hope you enjoyed learning about the Monte Sabotino map! We know you’re all keen to hear more about Isonzo’s maps, and there are more map focused Isonzo Intels coming up - including Gorizia, which follows Monte Sabotino and Monte San Michele in the Sixth Battle of the Isonzo Offensive. Until next time!