Hello, and good morning or good afternoon to whichever time you are reading this next exciting GOMBIES Dev Blog.
My name is Paul, I am yet another 3D artist currently working on GOMBIES development.
Today I would like to talk about the 3D asset workflow that I have come to use on my models, from building low poly and high poly props, to texture baking high poly information onto low poly, and thus using that baked information to assist with the texturing process of a model.
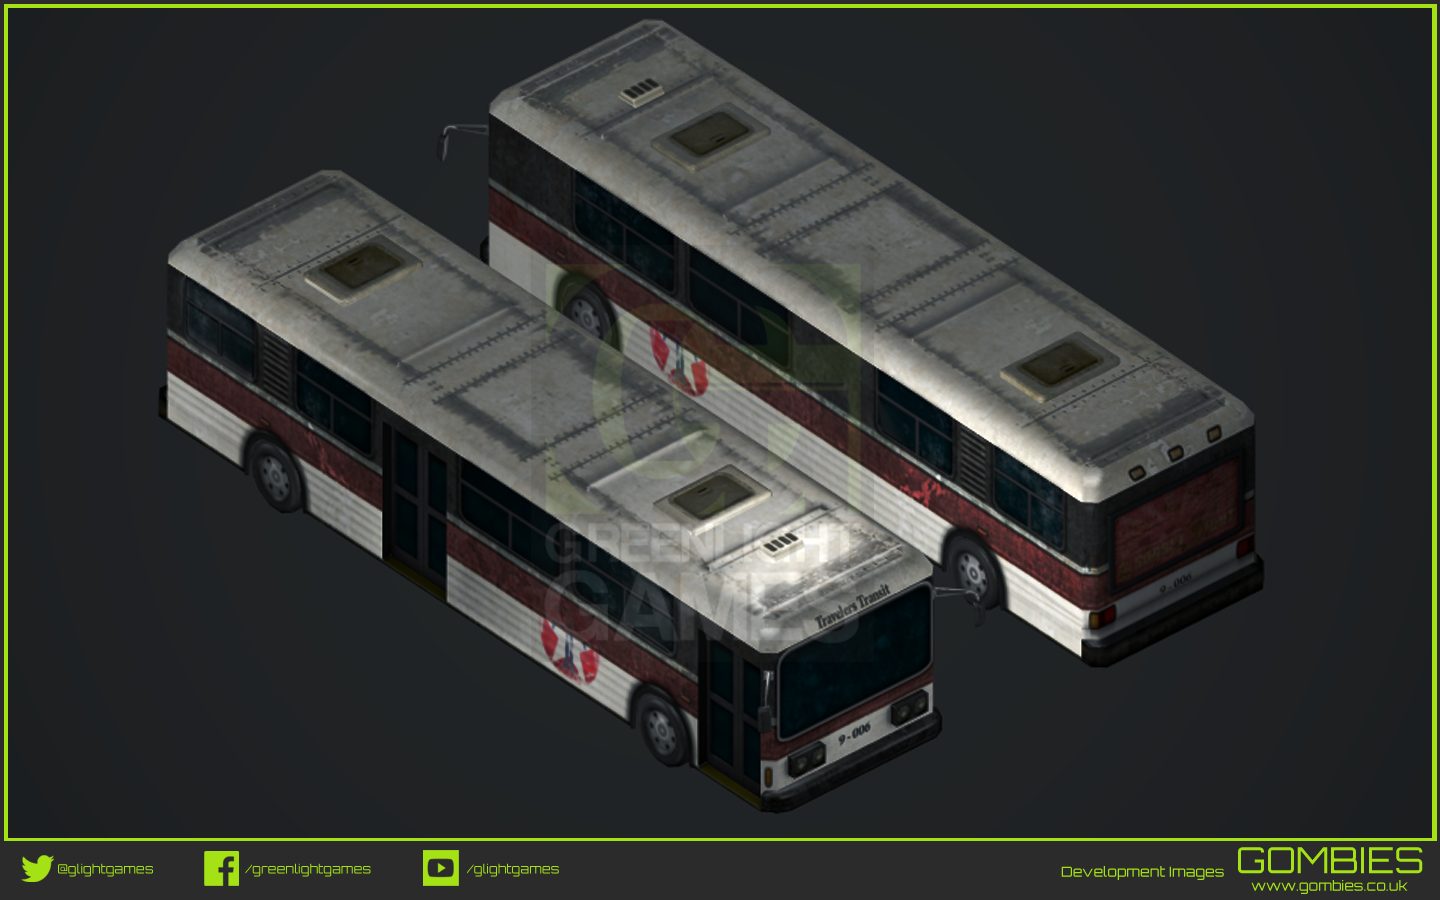
Here are a few screen shots to final outcomes of my workflow:


When beginning any 3D model it is good practice to have a few reference pictures to help guide the artist.
I will typically begin with a low poly model, placing vertices then connecting them with edges as I go along the reference images, I look very closely where they should be plotted and try to establish a good edge flow.
Keeping the triangle count to a minimum but making the majority of my faces using quads, Quads are 4 vertices connected together to create a face in 3 dimensional space, they are very useful to an artist as it is time to take the low poly base, and create a higher defined poly model that the artist can then use to bake texture maps onto the lower poly model.
Here is a better look with some high poly screen shots:


Once my High Poly model is completed, I move on to UV unwrapping my lower poly model. Creating UV islands that correspond to how I would want my model laid out on a 2 dimensional texture plane, using up as much of the image plane as I can. Generally if there is more detail on a certain part of a model my UV island will be bigger, and less detailed parts the islands will be much smaller. After I am satisfied with my UV islands and their packaging on the image plane, I will bake texture maps of my high poly model. There are two main texture bakes that I use which is baking a normal map for bumps and detail, and an ambient occlusion map I use for depth information as well as a guide for when I begin my texturing process.
Here is a couple of screenshots of a Low Poly model with both Normal and AO applied:


Next I begin to texture my model using Photoshop an image editing software, there are other alternatives to Photoshop; including gimp, windows paint tool, and online web editing from your browser. I will begin with assigning base colours to my image, then overlap my base layer with my ambient occlusion map setting its layer property to multiply, giving me quick edge, crevice, and depth information to work with. Between these two layers I create more layers with image FX to create an illusion of more depth and information of the model. Beginning to add layer decals and character information to provide extra realism that a real world object may have, and finally breaking up its cleanliness with subtle grunge, wear and tear information, constantly going back and forth between 2d and 3d applications until I have a finished texture and model that is appealing to the observer.
Thanks for taking the time to read my dev blog, I hope you find it of interest.
Paul.


Thanks for your experience shearing it always good to know that other modelers like to do first and that main points of they're modeling.
thanks for your feedback Calthulas, really do think it is best if knowledge and practices are shared.
No problem Paul, I thank you for writing and taking your time to explain all this for tress passing network.