This article will delve into the tools, thought process and execution of how we like to find fun and interesting screenshots to promote the development of Elegos.
Not everything we mention will be possible, it’s largely dependant on your setup, however, we hope that some of the following will help you find some interesting new screens for your marketing efforts.

A Freecam will set you…well… free!
One of the most useful tools that project lead Simon has provided is hands-down a freecam mode. Before freecam taking screenshots was only possible from the first-person camera pov, and although screens from the player’s perspective should be included in your materials, removing this restriction will open up a world of new angles and perspectives.

Seek out new perspectives.
Now you have the power of a free cam, it’s time to fly around. Go and put yourself in places that the playable character cannot reach, this will help create almost cinematic angles that can really help to emphasise scale and depth in your world.
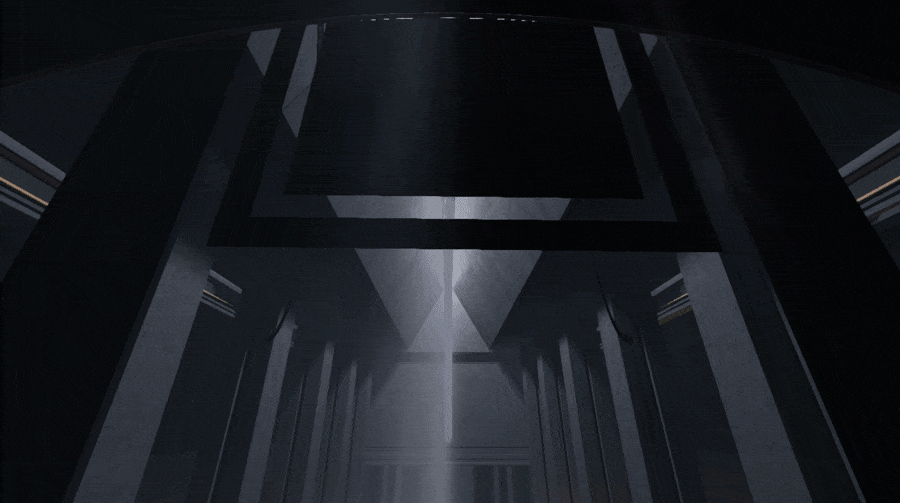
Another benefit of doing this is it will help you discover details in your projects that maybe until this time you have overlooked. For example with our model of the great statue in the throne room, all the focus when entering is very much on the huge scale of the figure looming over the throne, however when using our freecam to explore we were able to pick out more details that add drama that otherwise you might miss.

Finding balance in your composition
Composing a good screenshot that isn’t a locked perspective such as the player’s pov is a lot like taking a photograph. Many of the same rules apply, even if you can use some basic rules of composition your screenshots will get so much better!
Use the rule of thirds & negative space
The rule of thirds is a basic principle of composition that uses a simple grid that splits your image up into thirds horizontally and vertically. The rule dictates that important compositional elements should be placed along these lines or their intersections.
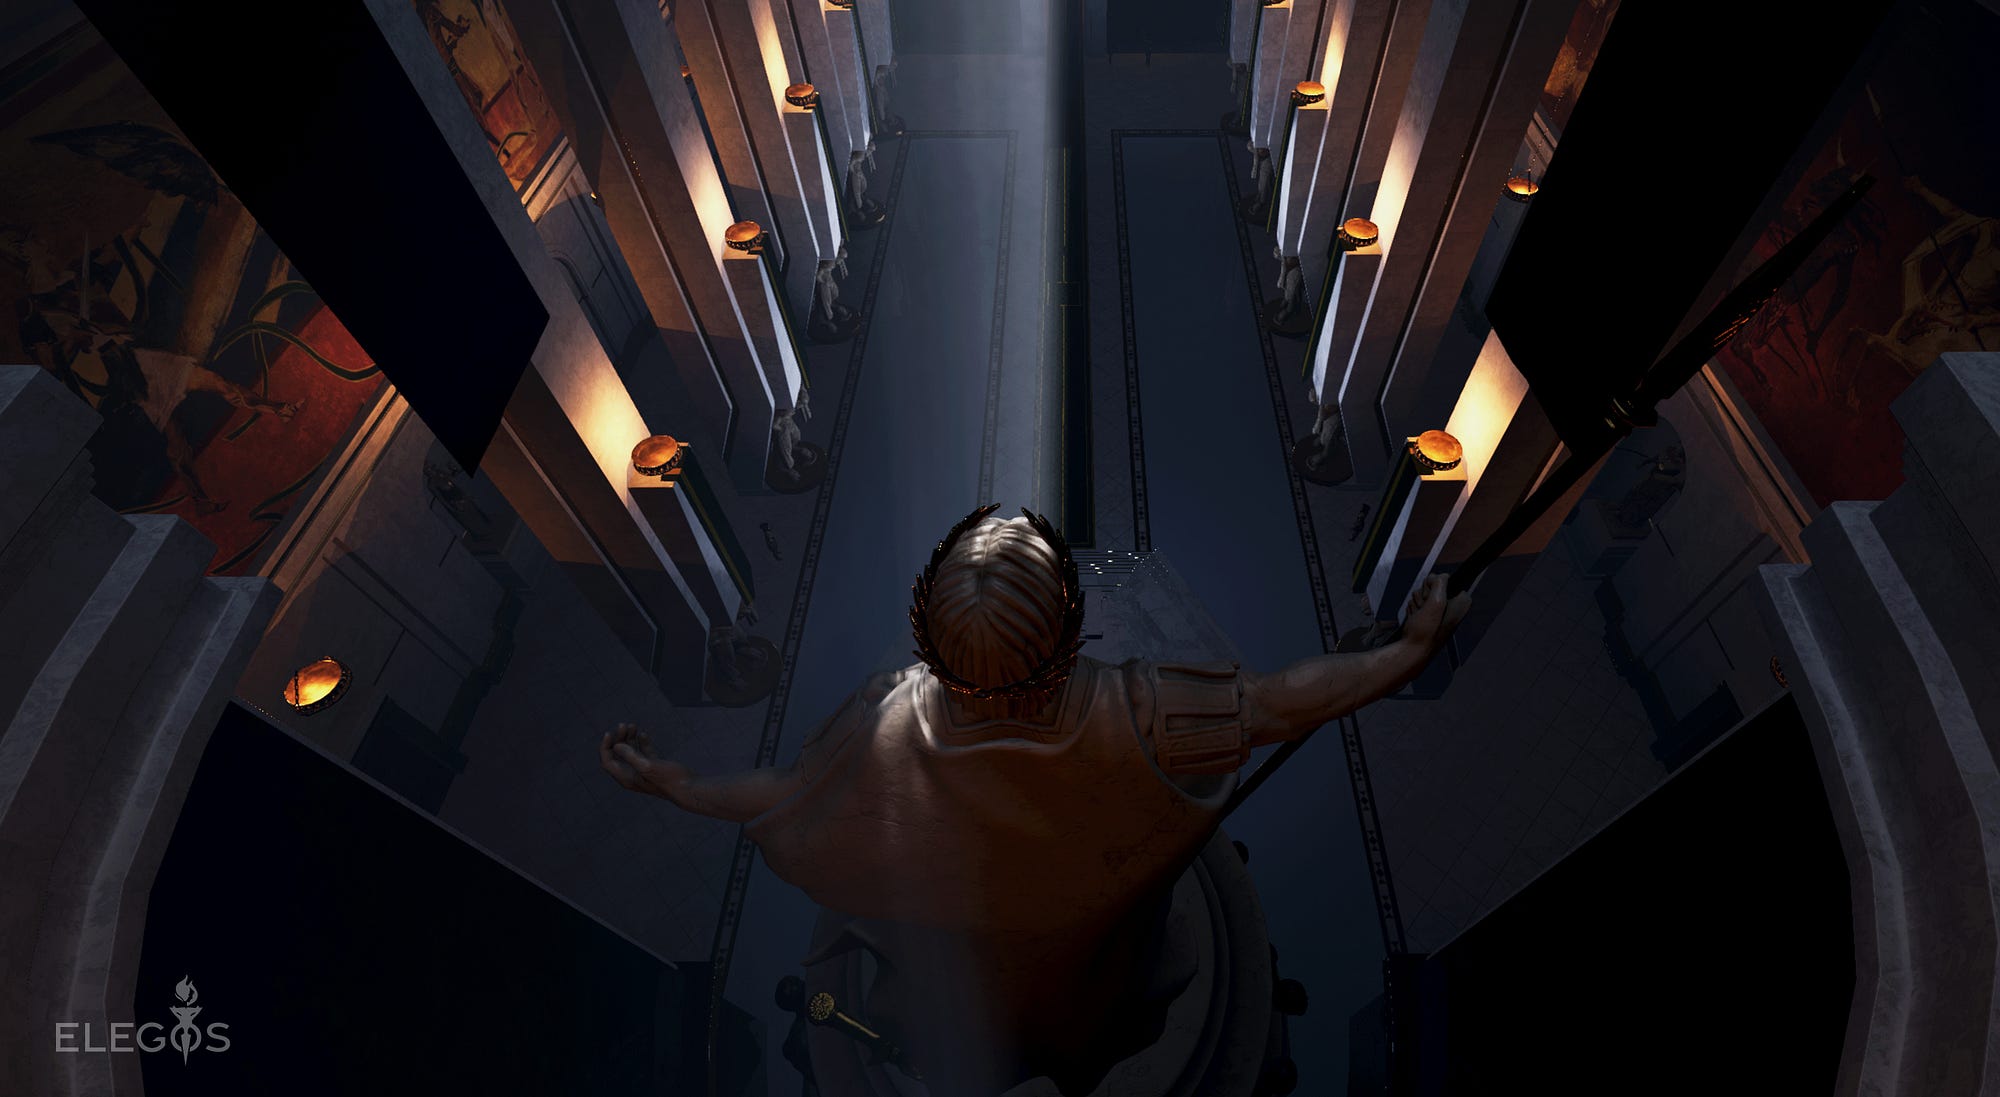
Here is a screenshot of the same statue in the same location in our blockout

Although the composition isnt too bad, it feels very one-dimensional and doesnt allow much space in the image due to the tight cropping.
However, by simply changing the angles slightly and aligning the two main components of the statue on our vertical grid lines it immediately opens the image up, allowing for space in composition (the right third), adding depth and further importance to the main visual point where your eyes land, the statue.

Using the rule of thirds can be done by eye during the composition phase of your screenshot, however it can also be done in post.
To easily add a grid in photoshop to help you align and crop your image go to view > new guide layout and use the following settings on both columns and rows:
Number: 3
Width: NA
Gutter: 0px

though this general rule of composition is a great one to get you started, don’t feel bound to it. Breaking the rules often works too, so experiment with it.
Capturing
Capturing your screenshots is something that can be done with a multitude of tools available, from built-in overlays such as with steam and Nvidia, to third party solutions. For Game devs though, it’s often the case that you’re running a dev build and want to quickly take a snapshot, we find the best solution to be Windows built-in Snipping Tool (soon to be changing to Snip & Sketch (Win + Shift + S).
le wrote:If you happen to be using MacOS for your dev then check out this article.
Simply choose your mode, from free-form, square, window or full screen and grab your screenshot ready to save or even copy straight into the editor of your choice.
Of the above-mentioned modes, we tend to favour the window mode, as it quickly allows you to capture screenshots of exactly what’s displayed in the game window.
Adding Drama in Post
Once we have our screenshot, there’s one final step, half of which is optional, the other we would recommend is very much not optional.
Firstly, the optional part. No matter how good your game looks, you still might want to make tweaks to the colour grading/contrast/saturation of your image to add a little mood to the screenshot. This is especially useful if the screenshot will be going on your store page (be that steam/epic etc) as it’s vital that these images really stand out.
 Before: Still a beautiful scene, with dramatic lighting
 After: Contrast, shadows and highlights all pushed a little to add some drama.
Make your tweaks small, don’t go mad on changing the saturation levels or adding colours and tones that won’t be present when the player makes your game. It’s fine to have a screenshot that is your in-game slightly turned up, but if it starts to look nothing like the in-game experience you are setting yourself and your players up for disappointment.
Finally, please make sure to add your logo to your screenshot, ideally in one corner and slightly transparent. It’s there to promote your game, get people searching the name and helping to promote all your hard work. A screenshot without this could blow up and no one will ever know where it’s from.
So there you have it! Explore, compose, tweak and brand. You now have a shiny new screenshot to share on your social channels, Reddit, and store pages. Go forth and screenshot!
Until next time!