Welcome. Cave Story is a simple, but very moddable game. Too bad that it isn't so popular. I hope this tutorial will make Cave Story modders scene bigger. Kay, let's start with basics.
1.Which program?
In my opinion, the best Cave Story (CS) editing program is Sue's Workshop (SW). Of course there are other editors, but I prefer SW. You can download SW here.
2.Sue's Workshop Interface

1 - File
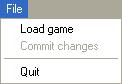
- Load CS (Doukutsu.exe). Necessary thing (duh).
- Save.
/Quit SW (And again - duh).
2 - Tools
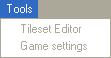
- You can add/change tilesets here, fe making some tiles solid.
- You can change game name here( here you use your mod name) and change the "Start event" value (explanation later, you don't have to change it).
3 - Run
Runs CS (good for testing changes).
4 - Help
Information about SW author, no help with editor actually.
5 - Game objects
It's a map list, don't be fooled with the name.
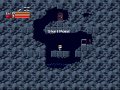
3.Map making window
3A - Map design
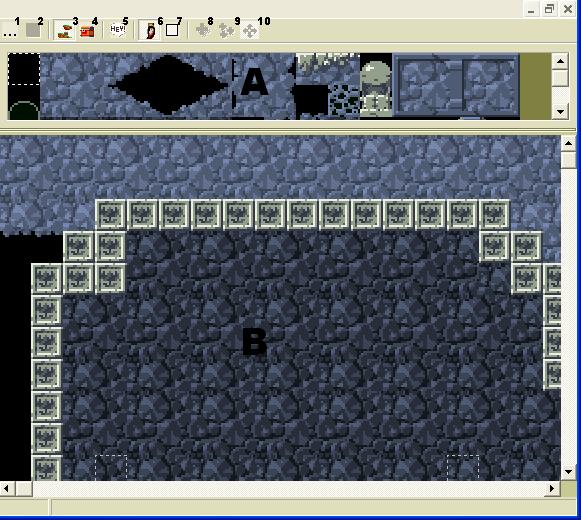
1 - Shift, Resize and Clear Map - Useful tools when your map is too little and when you want to shift all tiles in the same direction.
2 - Save - Save your map.
3 - Tile Editing Mode - In this mode you can use tiles from selected tileset to design your map.
4 - Events Editing Mode - In this mode you can place events/enemies/player start.
5 - Map Script Editor - Full description somewhere down there (I mean - in tutorial).
6 - Single Brush
7 - Square Brush
8 - Add one event - after adding an event, SW will switch to 10.
9 - Add more events - after adding an event, SW won't switch to 10 and you can add more events.
10 - Select event - Selects a map event you already placed.
A - Tileset window - Shows you tiles you can use to build your map.
B - Map window - Shows your map (3rd duh).
3B - Event placing
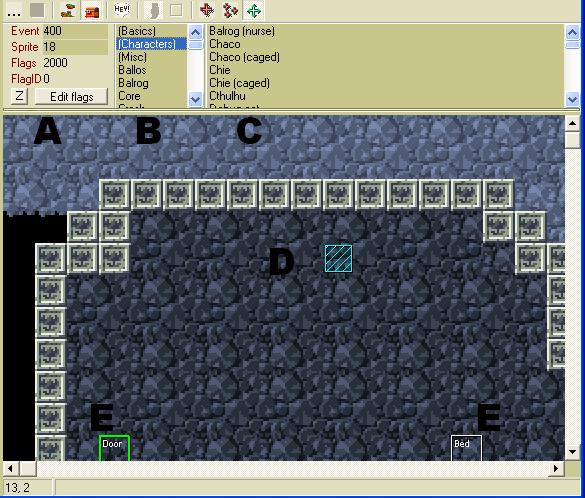
A - Event settings
Event - Event's script number.
Sprite - Sprite number ( use B and C for quicker picking them).
Flags - Click "Edit flags" to change the value.
FlagID - Don't bother yourself with this now.
B - Characters Types
C - Characters
D - Start point - blue thing on right.
E - Events - Two example events.
4.So let's make a map - 2nd part
That's the end of 1st part. I hope you understand SW interface, and now we can make a map in 2nd part.
Link : Working on second part, stay tuned.


This comment is currently awaiting admin approval, join now to view.