How are you doing folks?!
Today, we continue our work on making the game pretty, this time through TEXTURES! As such, we decided to give you nascent developers some pointers on how to go about implementing these in your game. Please note that while the concepts are generally applicable, in this case we will be using Unity.
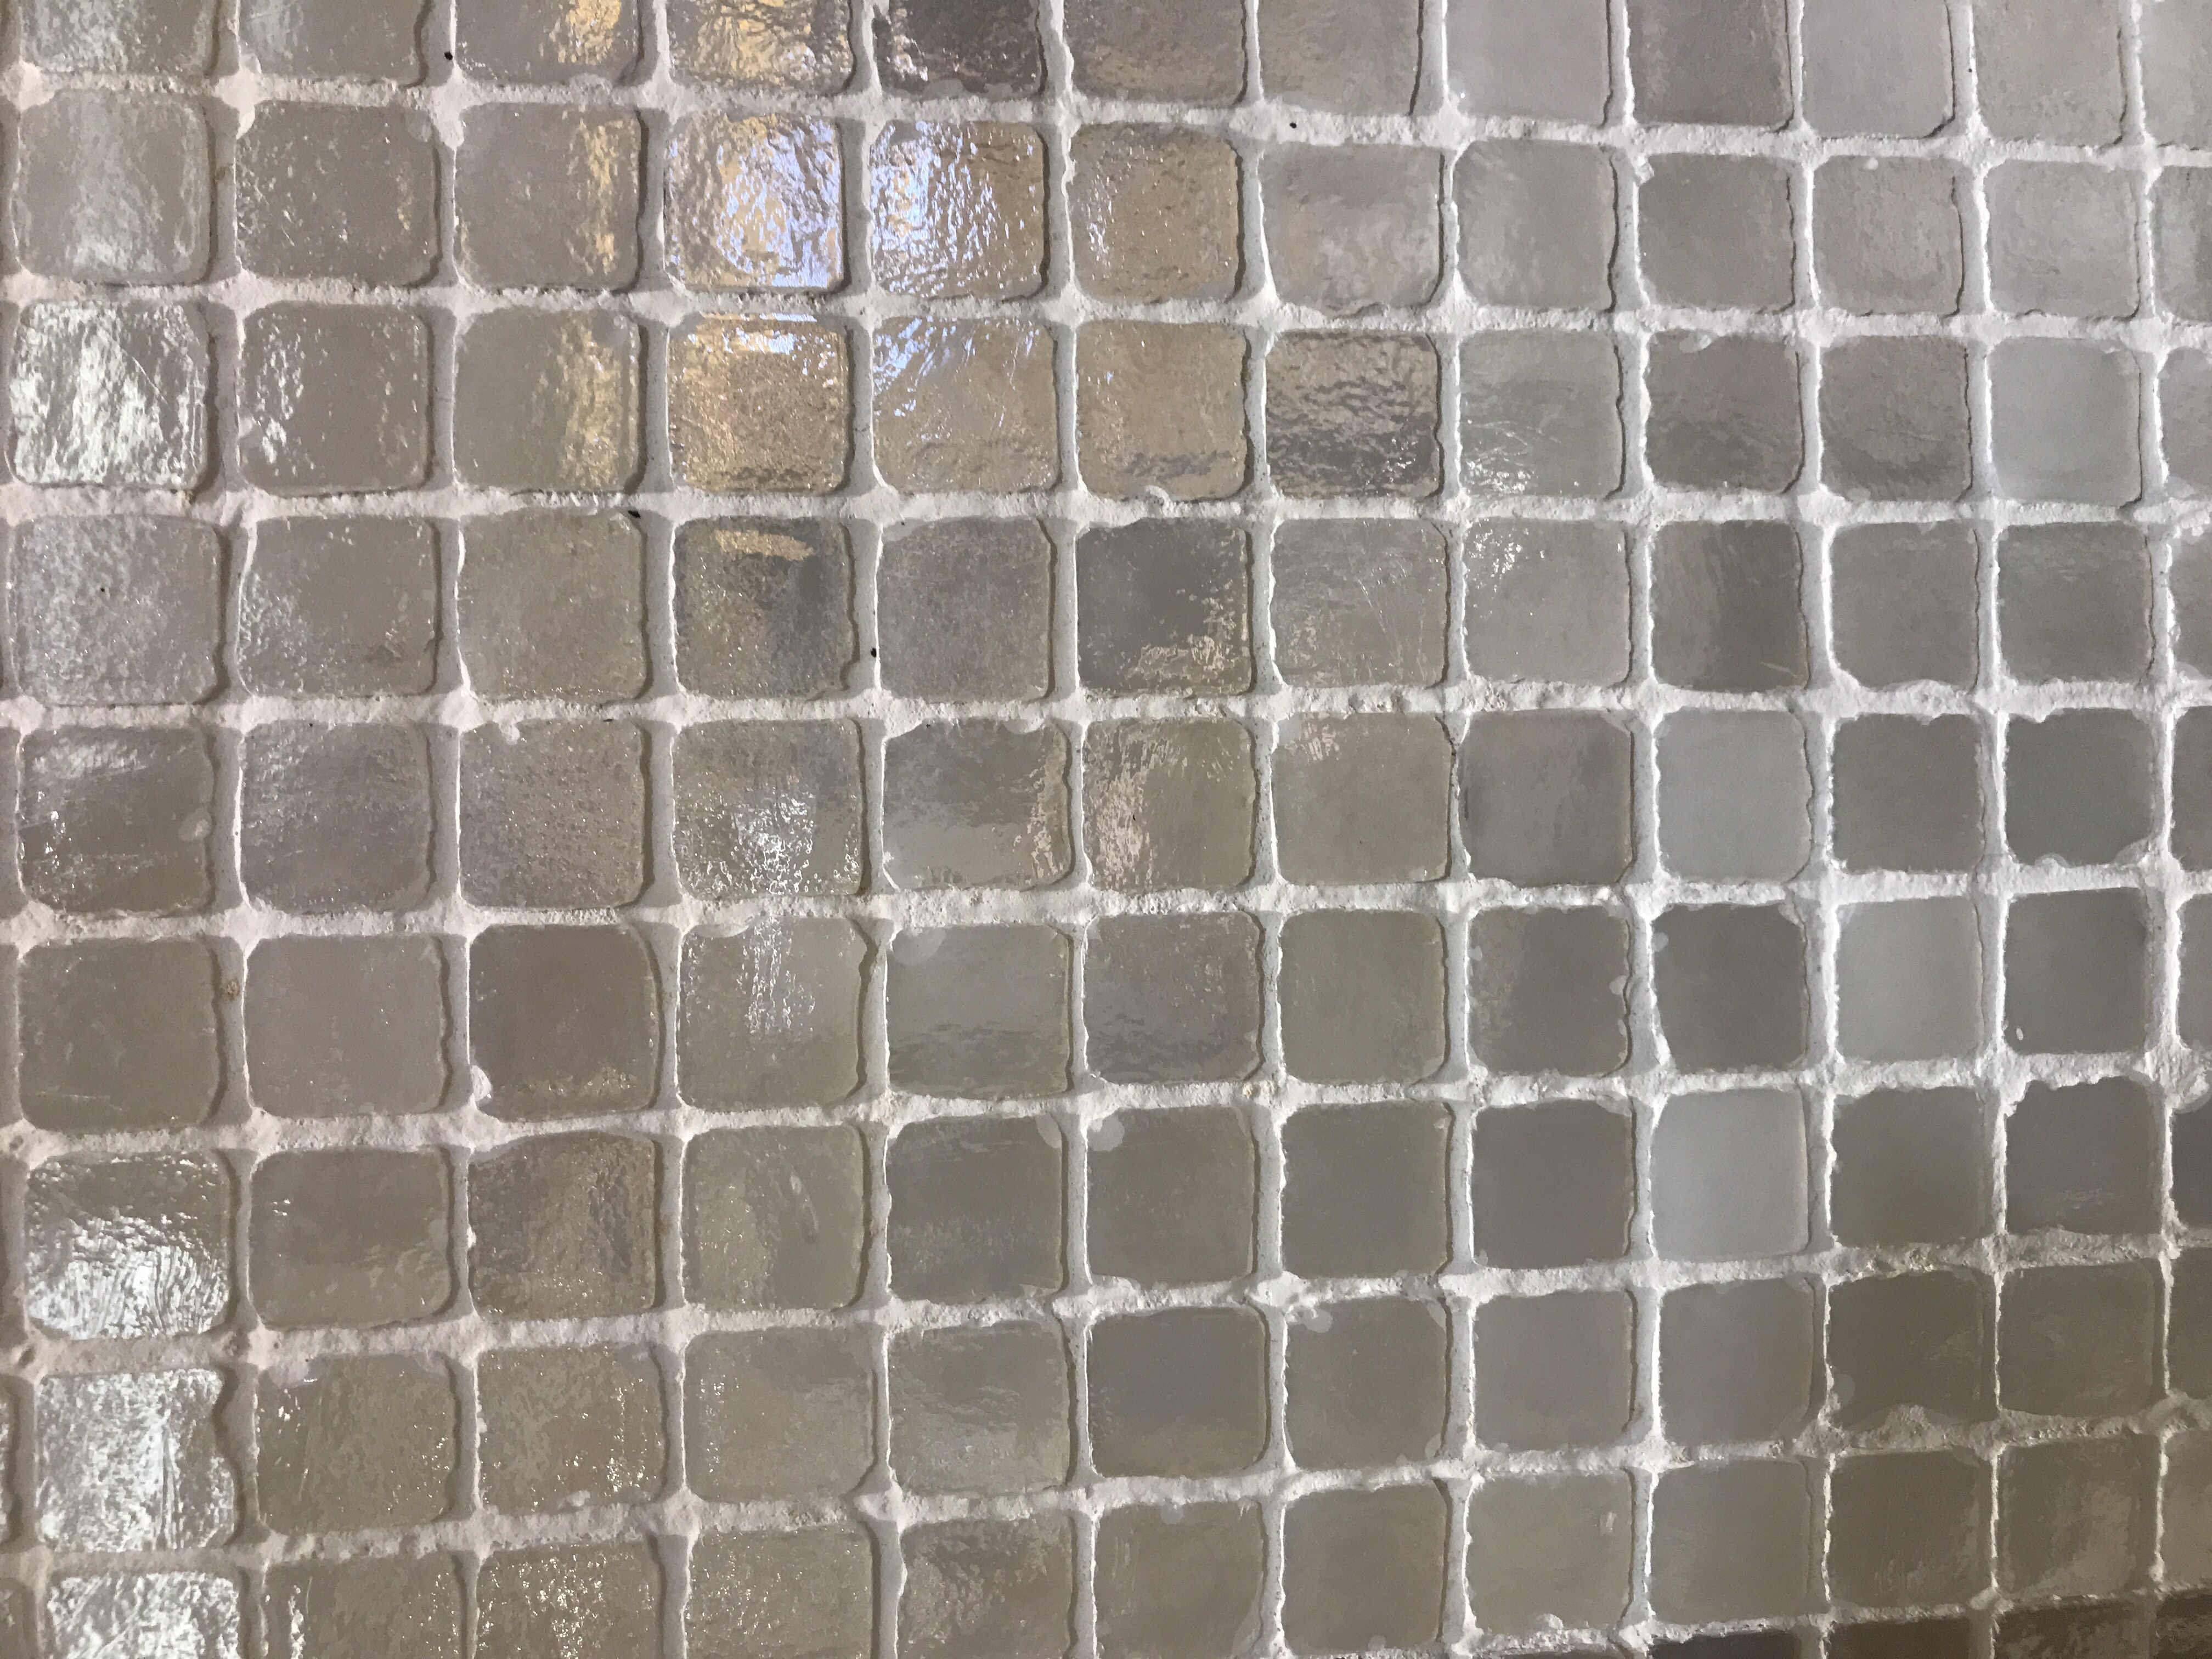
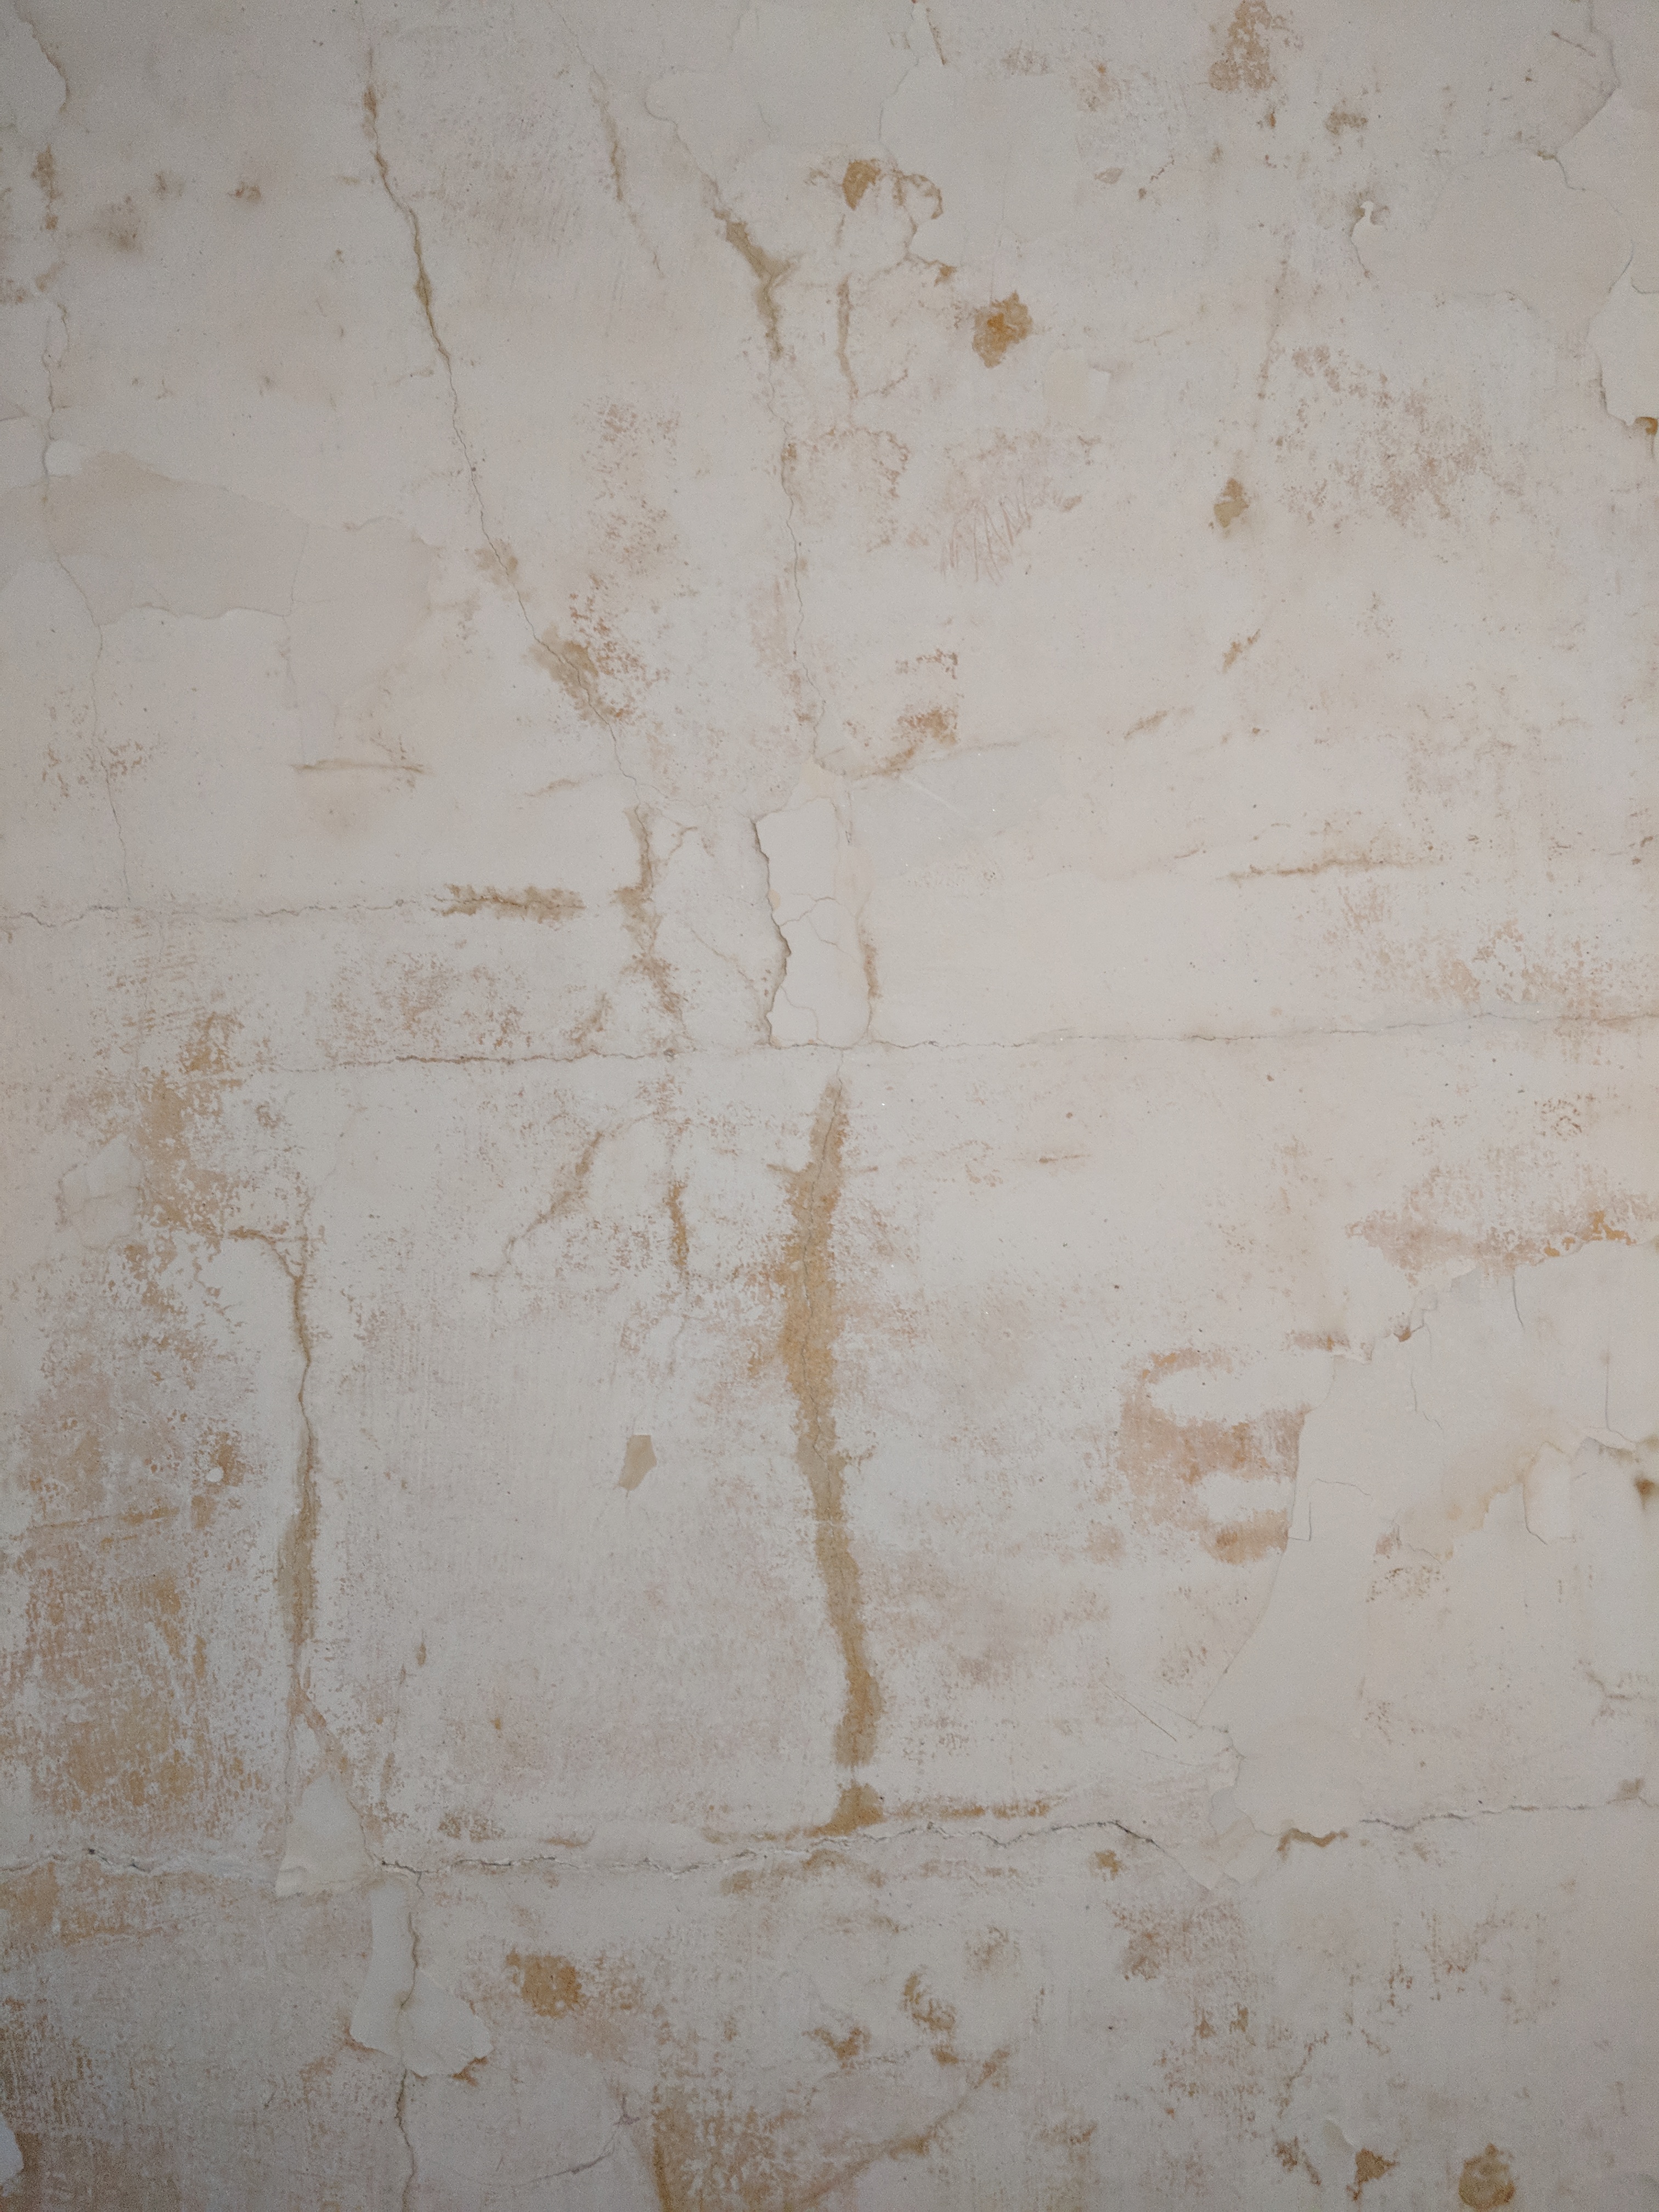
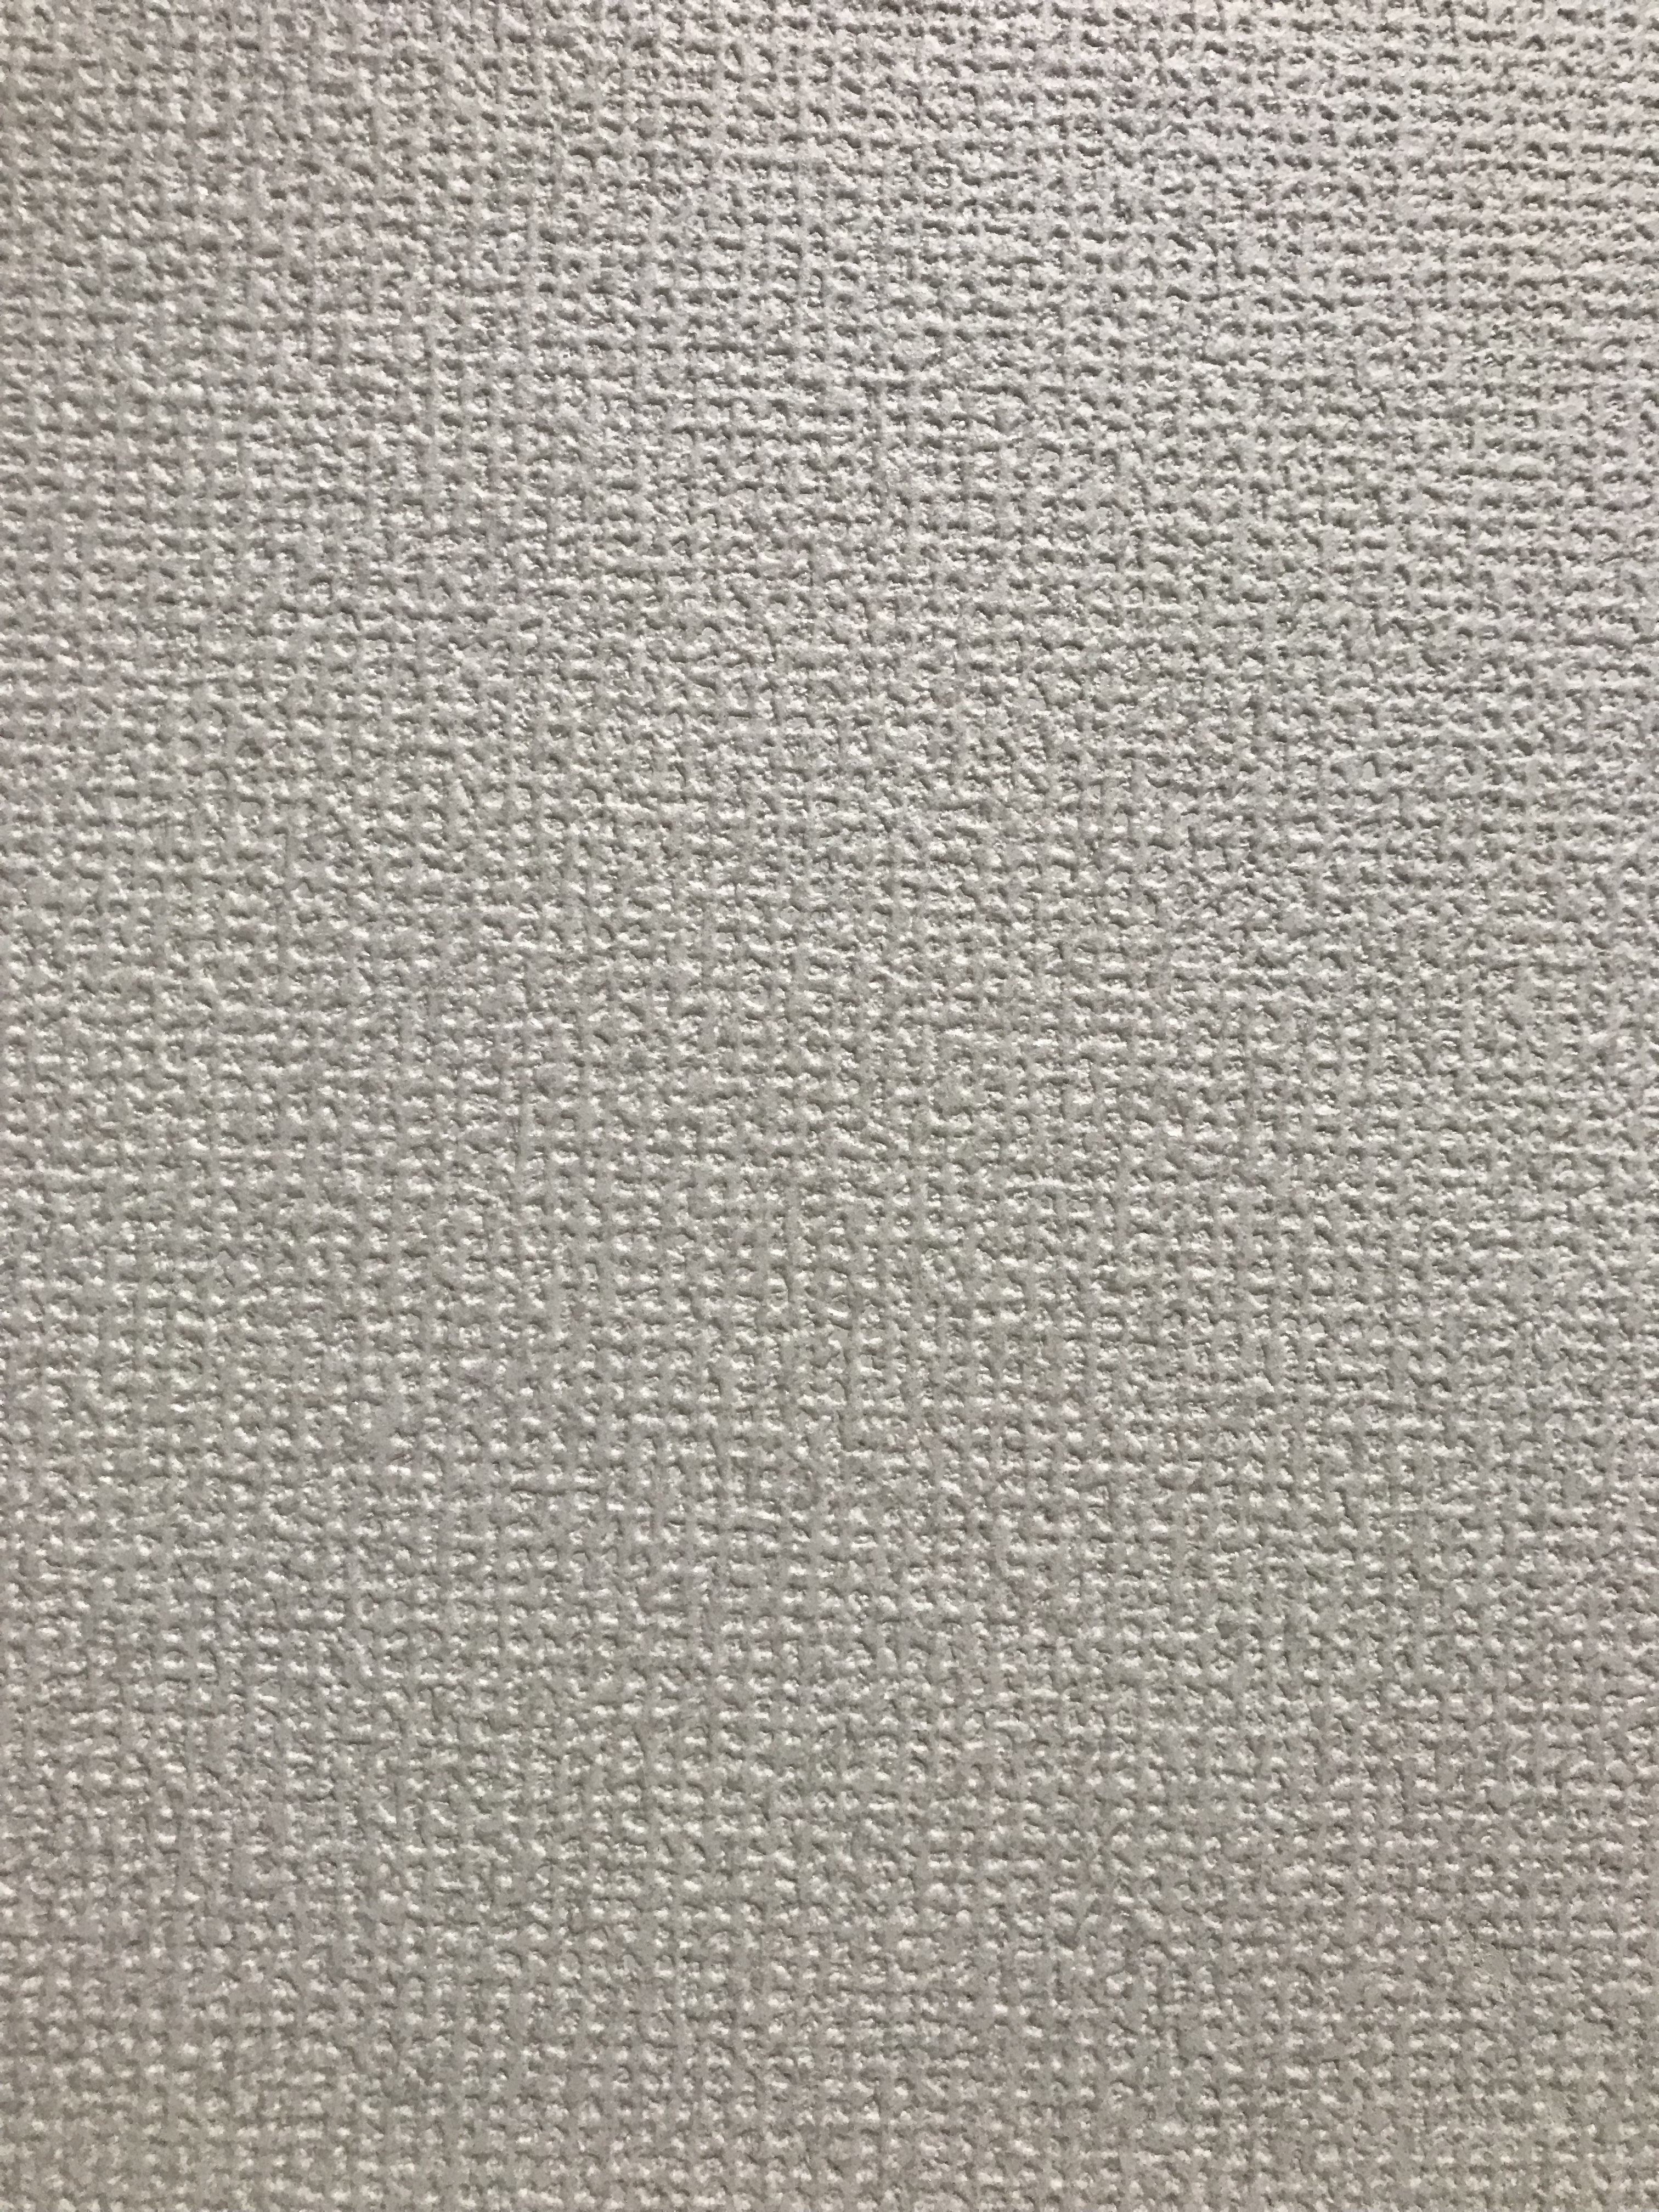
A texture in any video game is essentially a pattern that you repeat over the surface of a 3D object. This is usually meant to replicate the aesthetics and physical nature (especially the component materials) of a real life object. As such, the easiest way to get started is to snap some photos of patterns you see in your day to day and think would fit with the look of your video game. You don't need a fancy camera and in fact any modern cellphone camera will do just fine. Here are some examples:
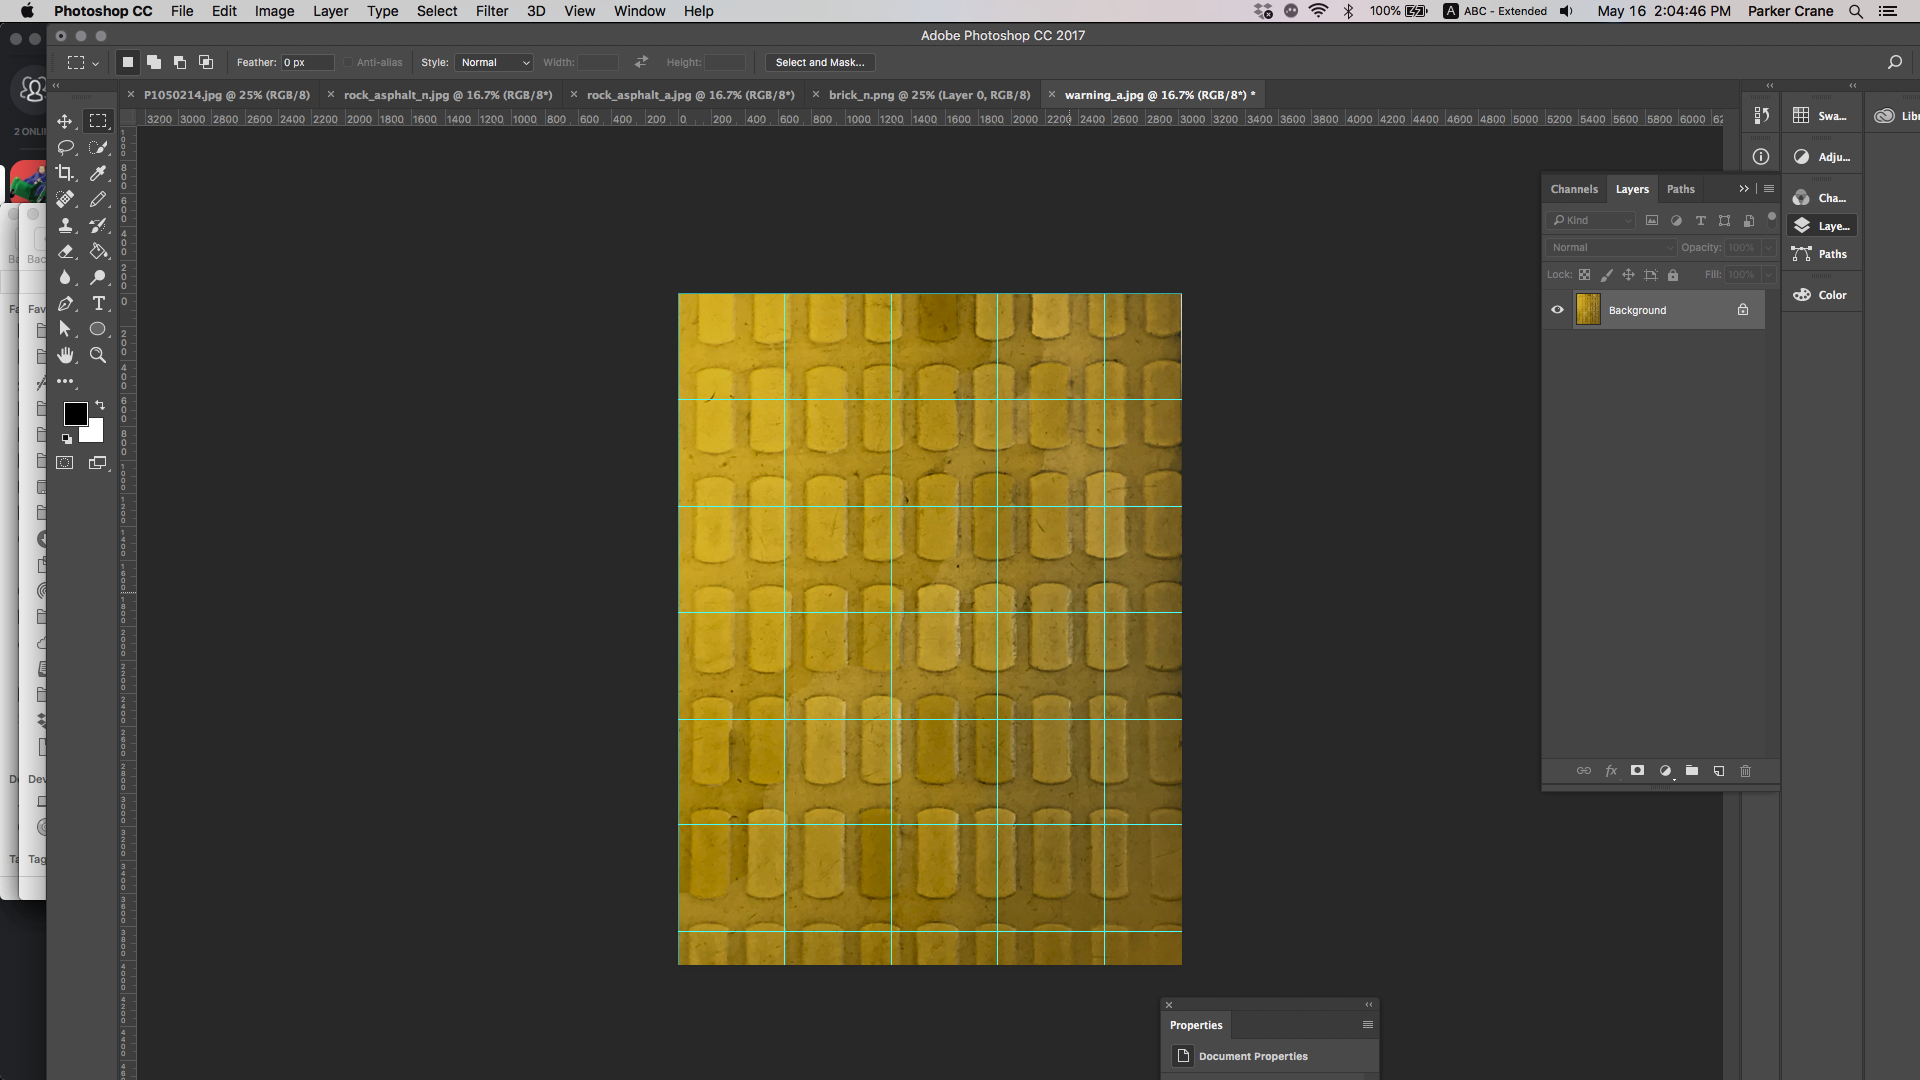
Take care after taking pictures of the textures to center them. The crop tool in any image processor, along with guidance lines, will help that process enormously. Take our bricks below, for example. Although originally slanted, with a little keystoning....
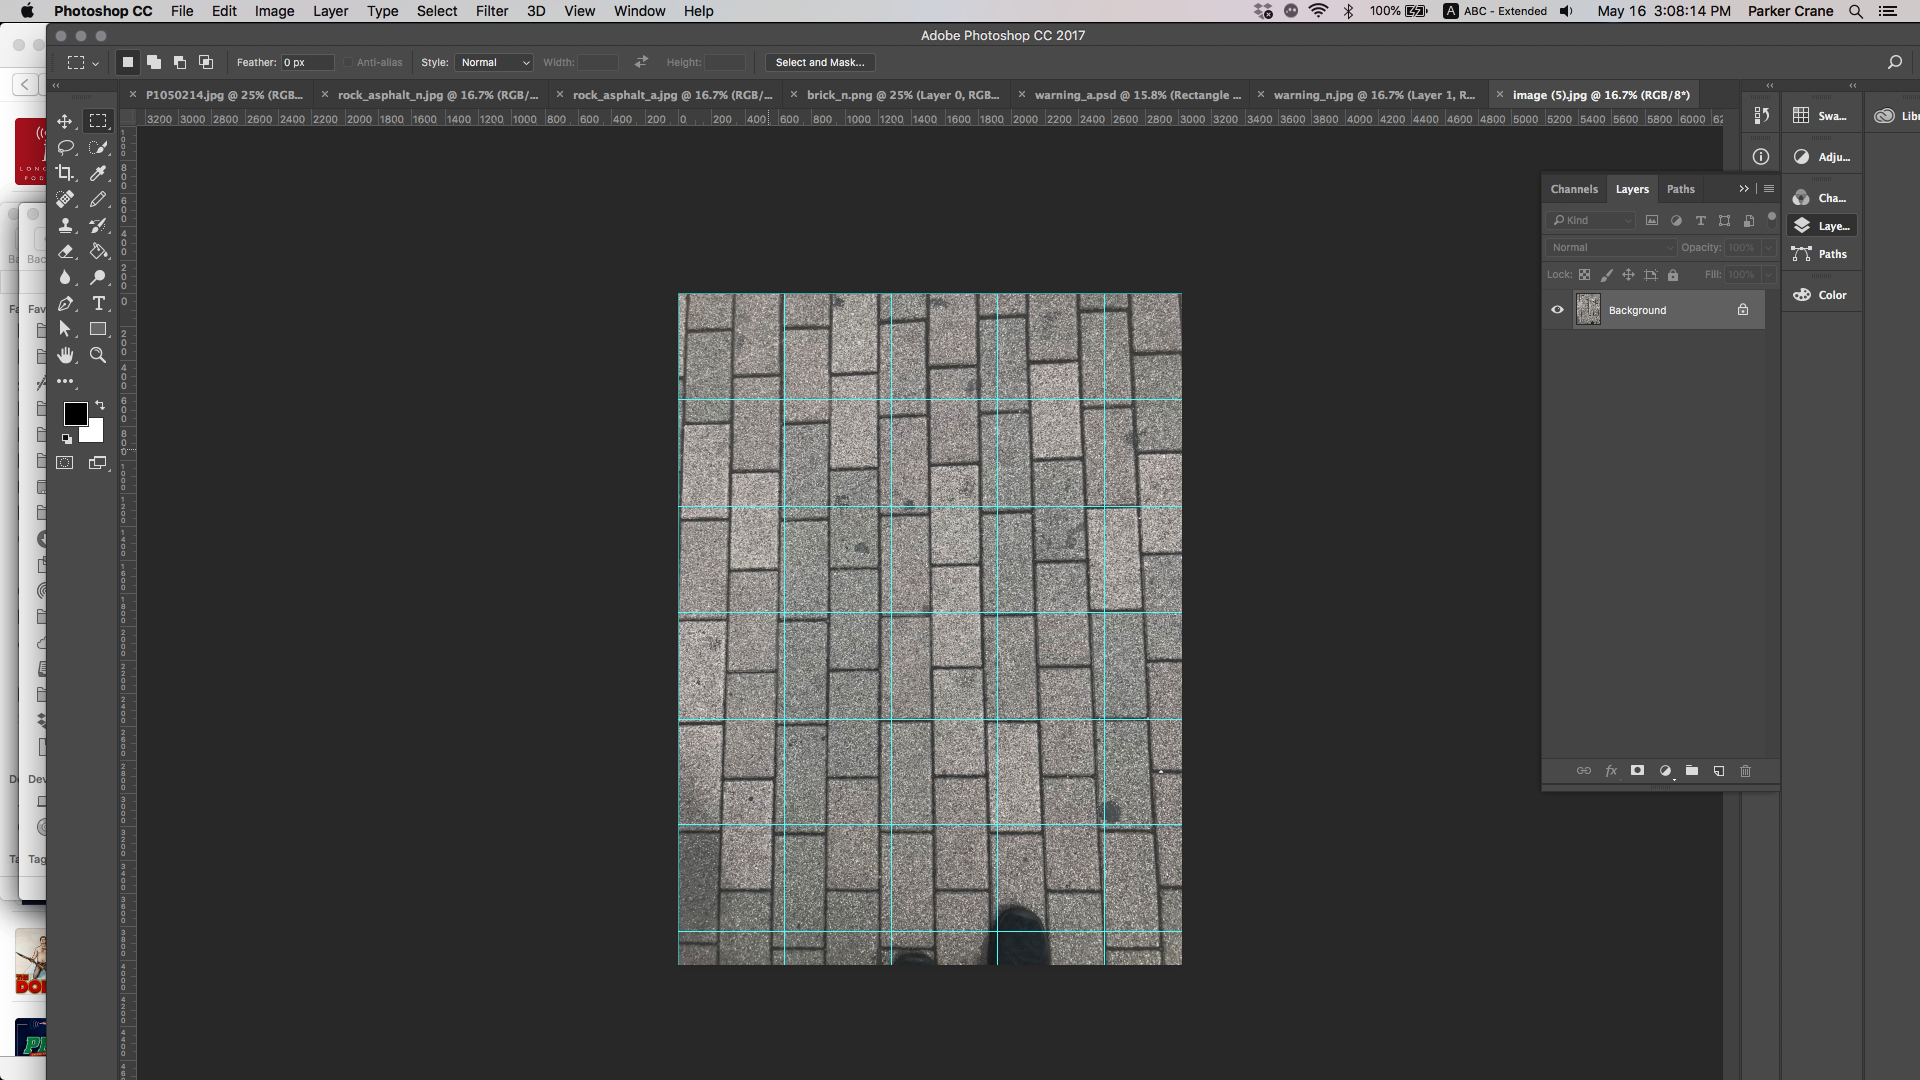
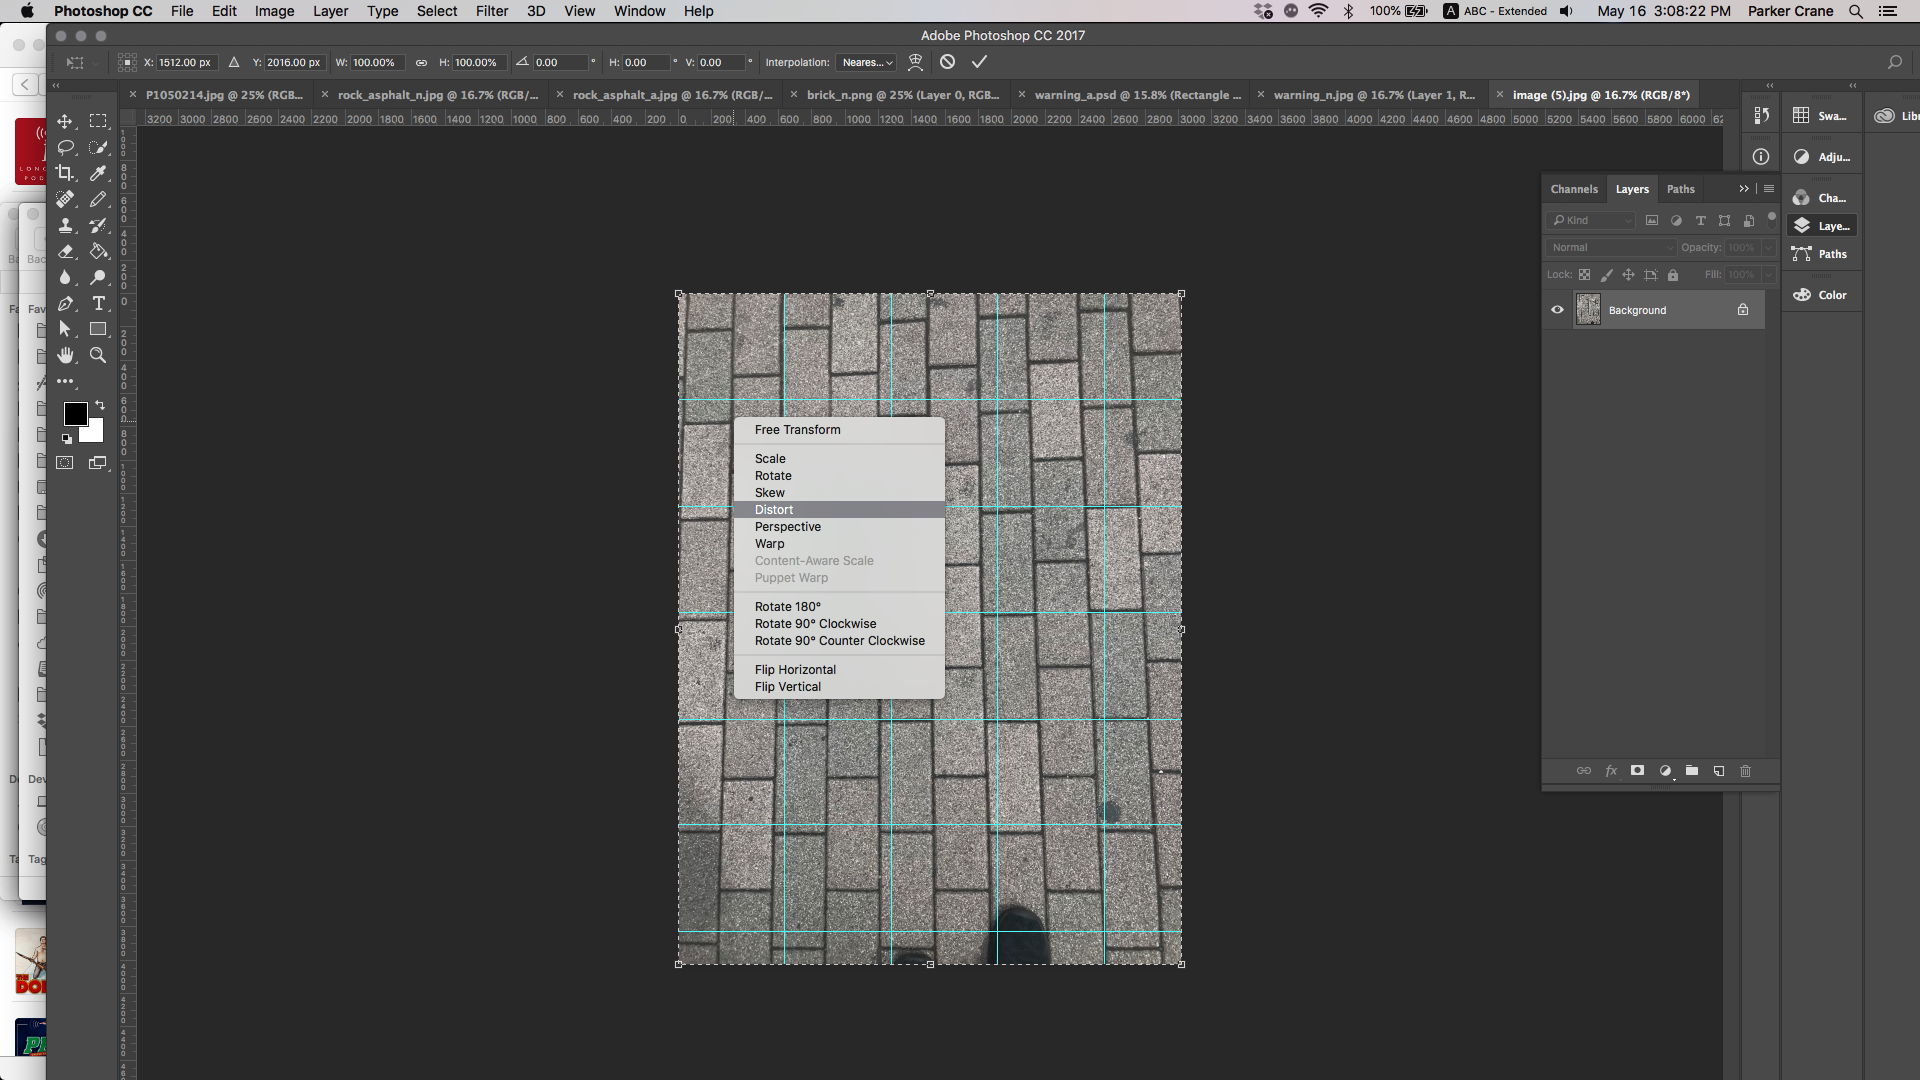
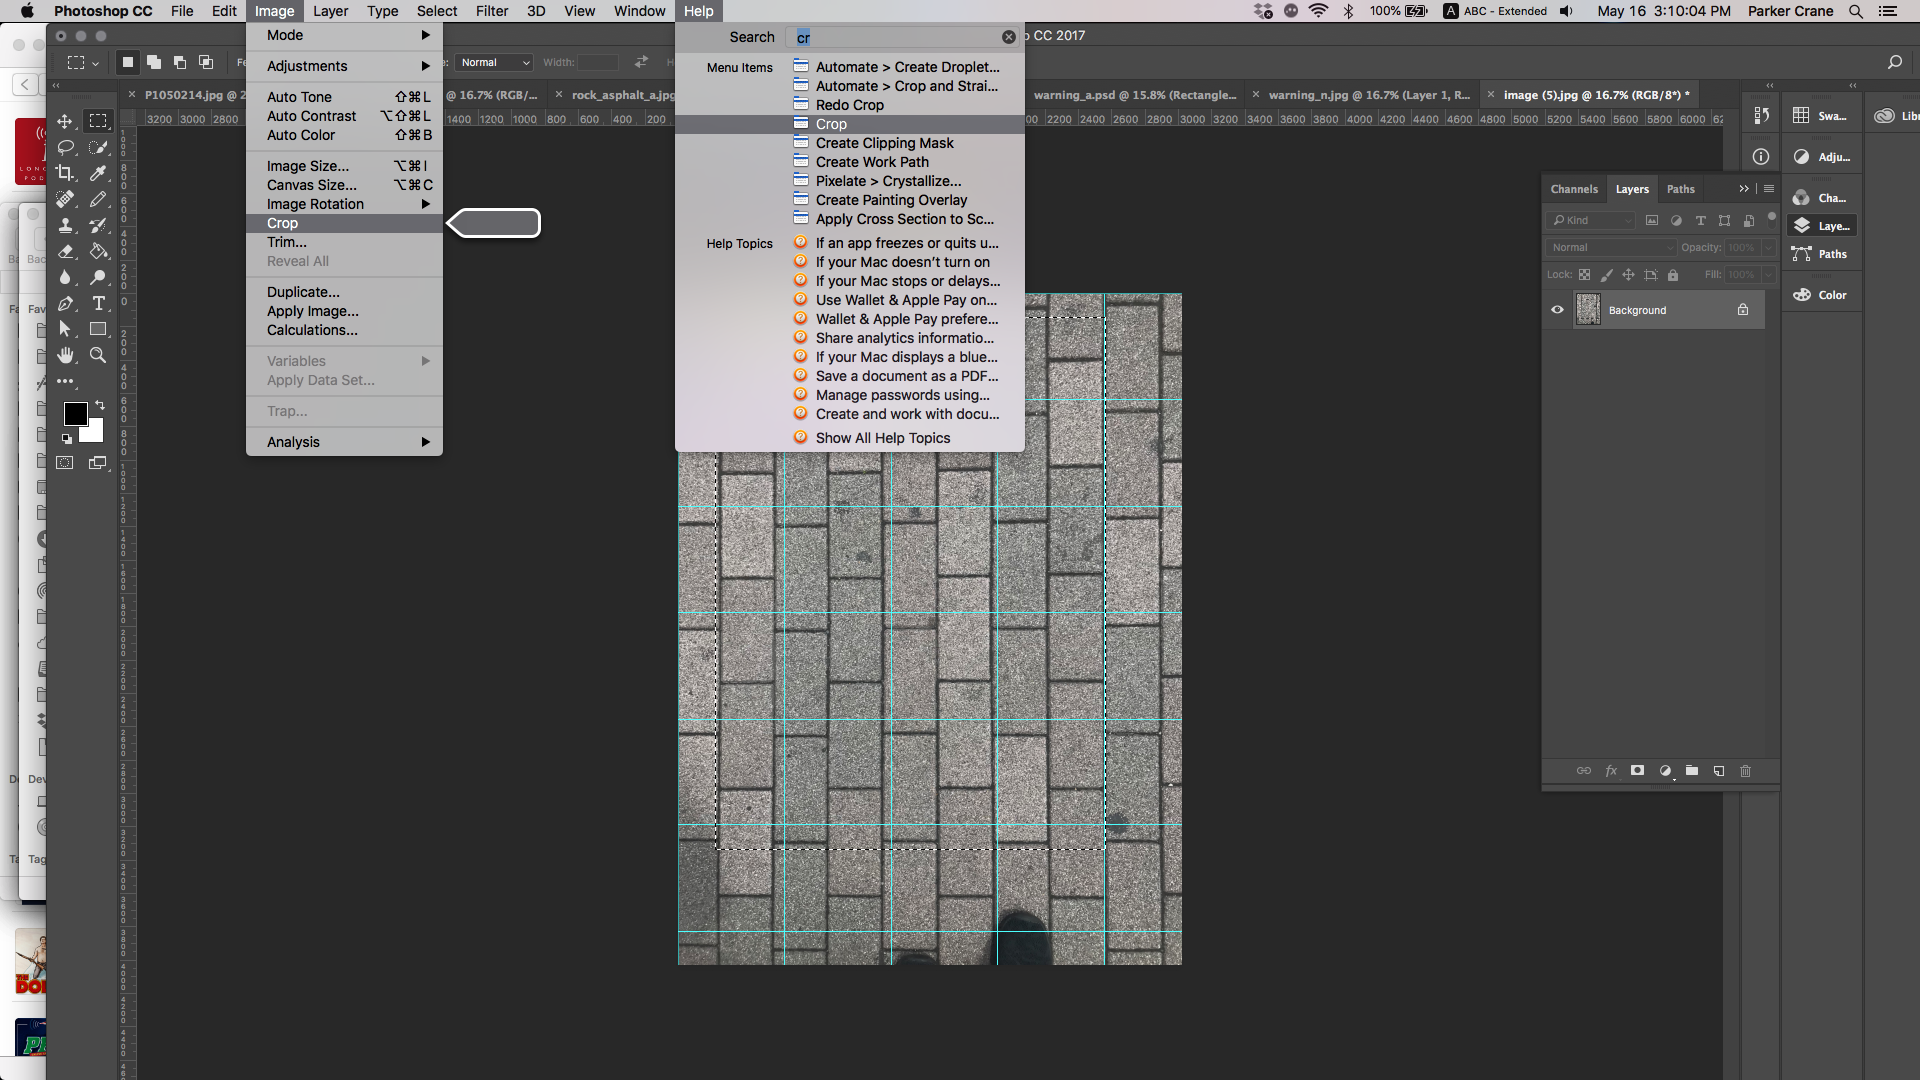
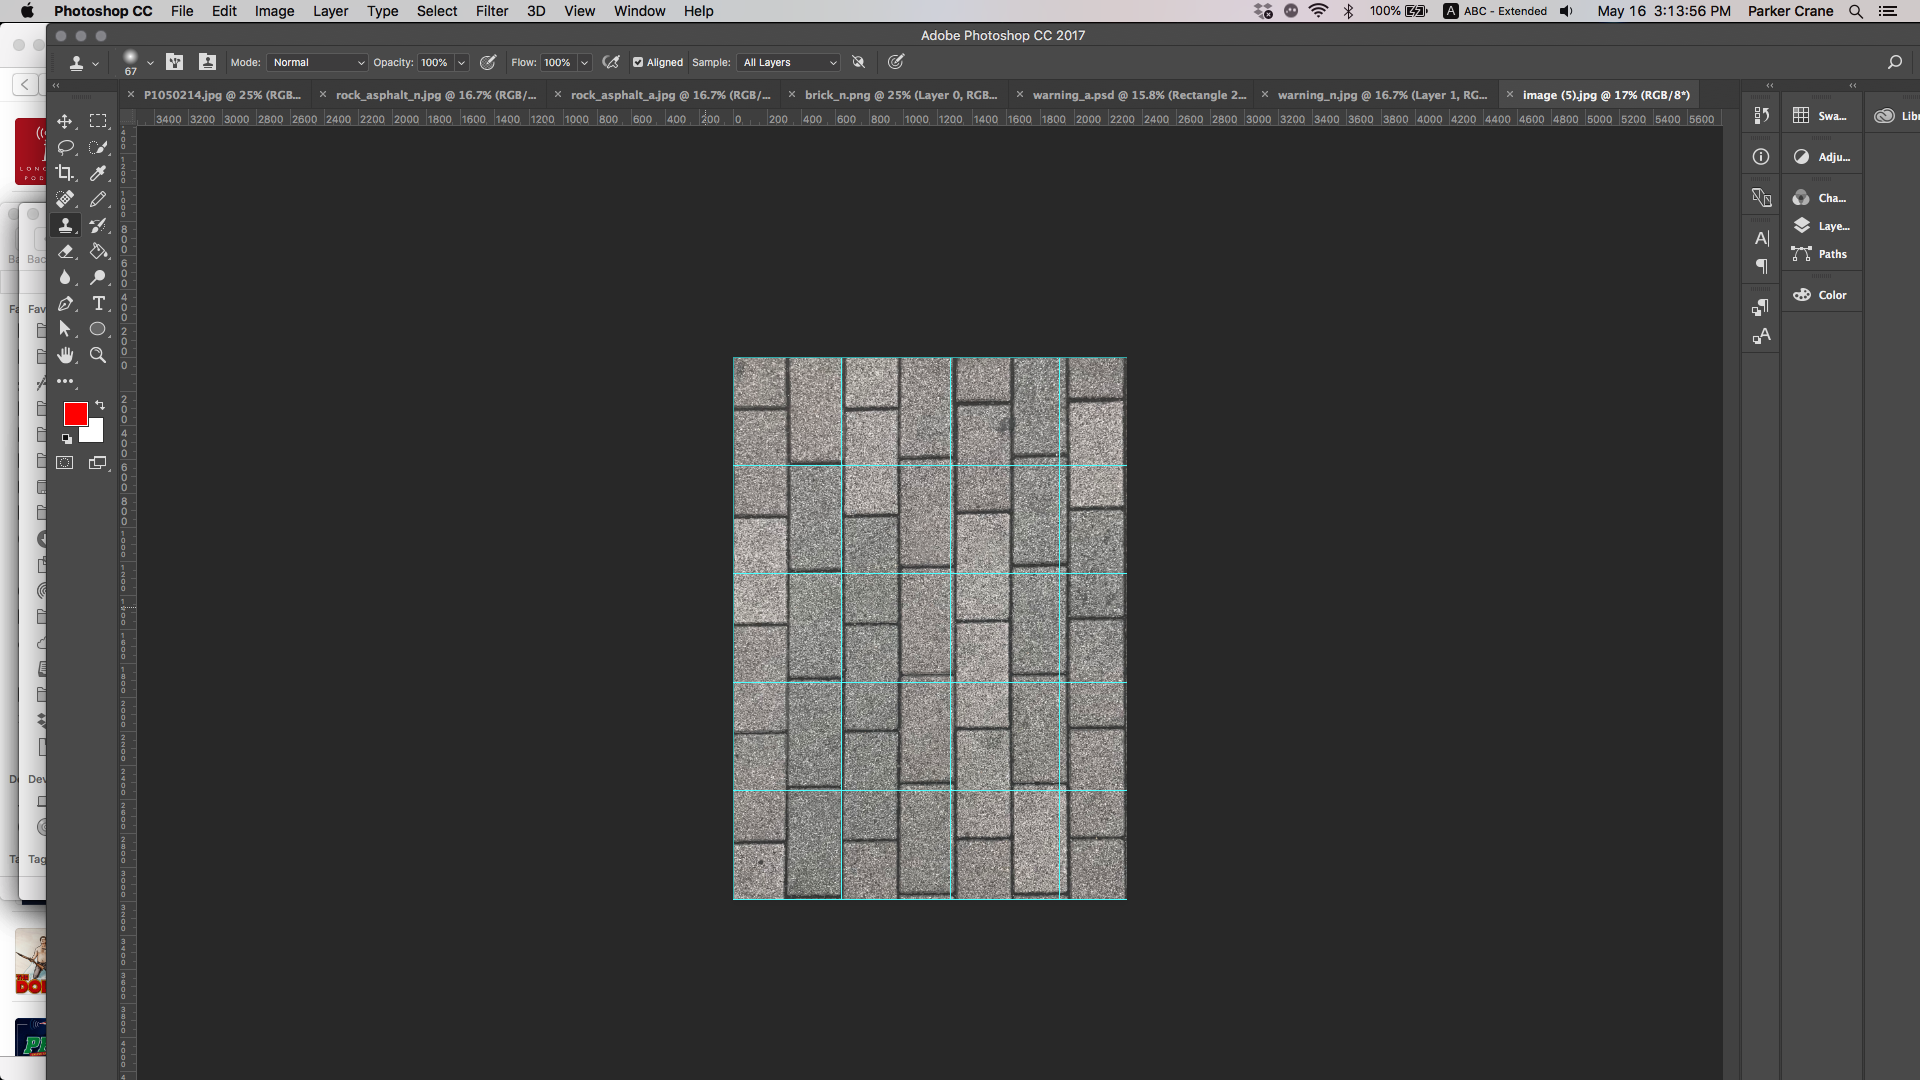
Things become right as rain.
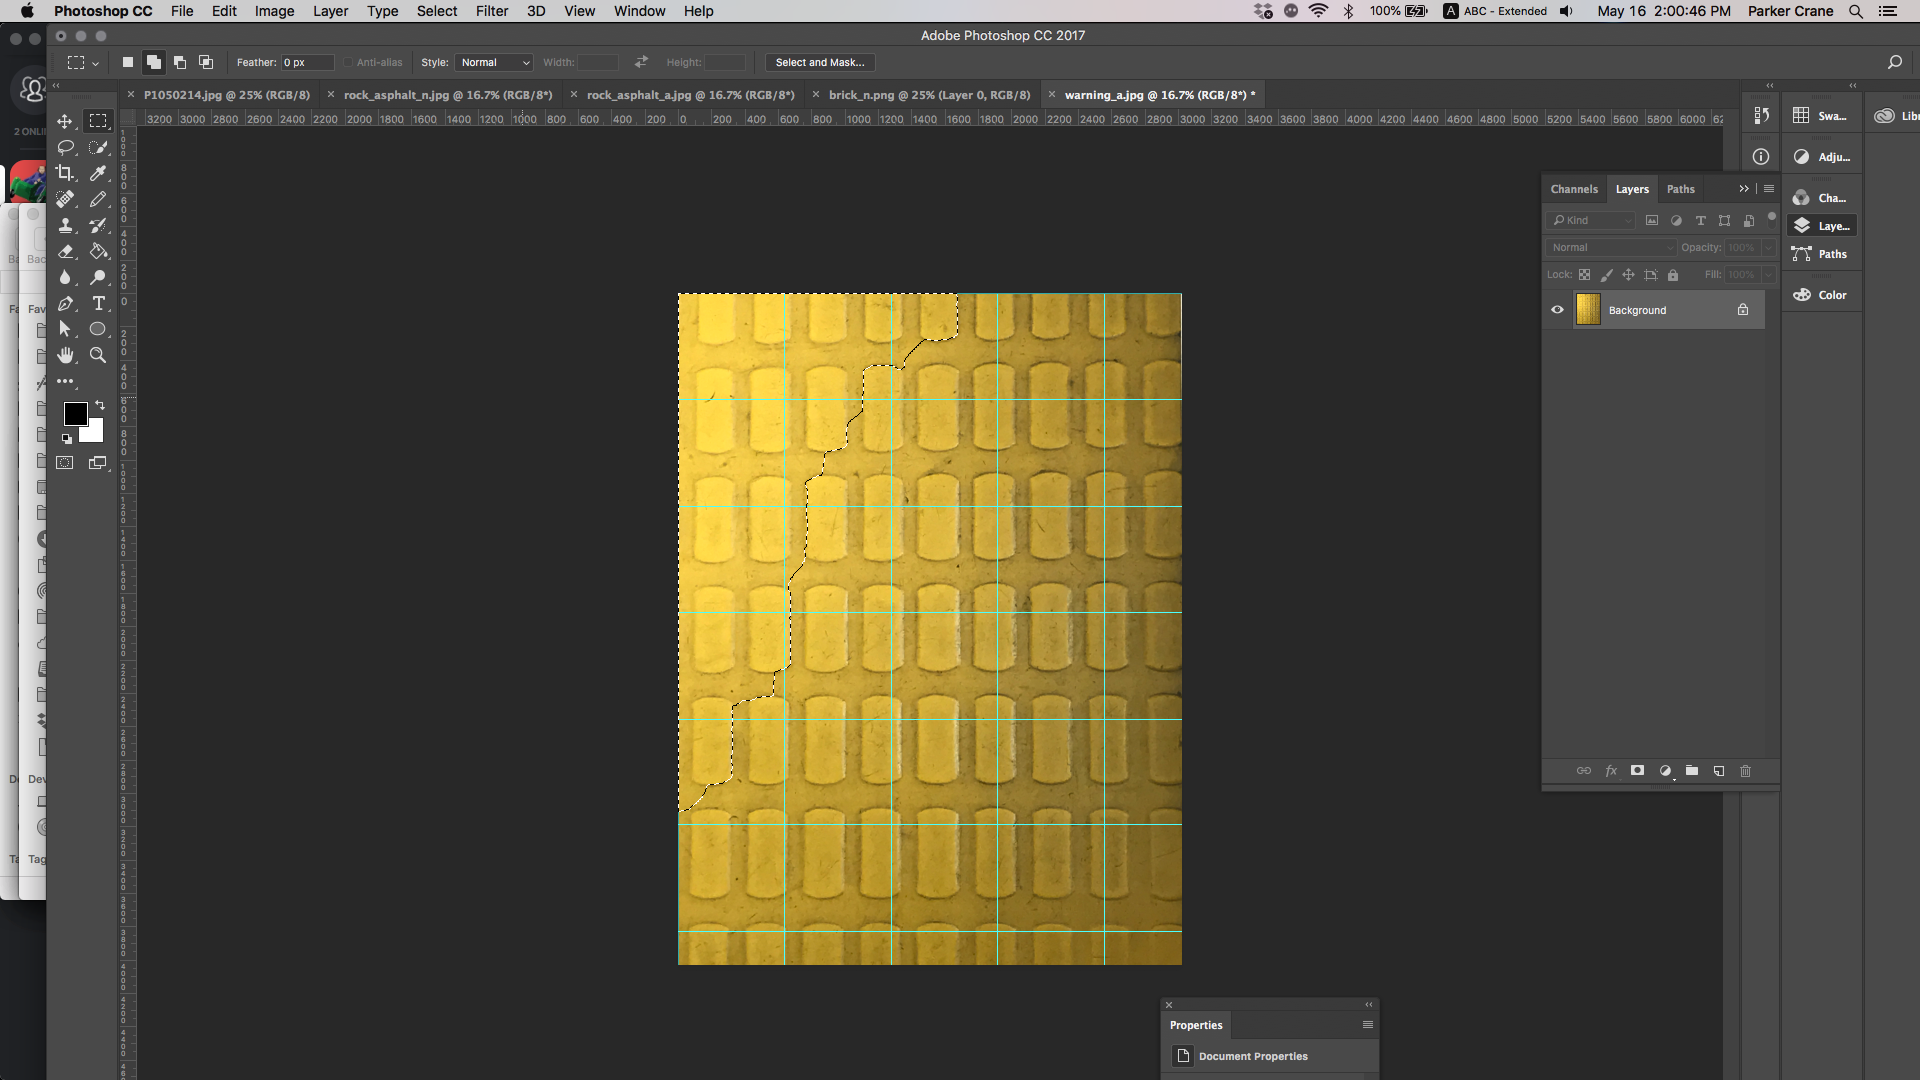
Once we've picked and cropped our texture, we have to start the process of preparing it for use in our video game. The core of that task is separating the color of the pattern from it's height or z axis (it's bumps, crenellations, etc....). With our pattern in photoshop, we save the file and call it “Alpha” for alpha texture. This will represent our colors.
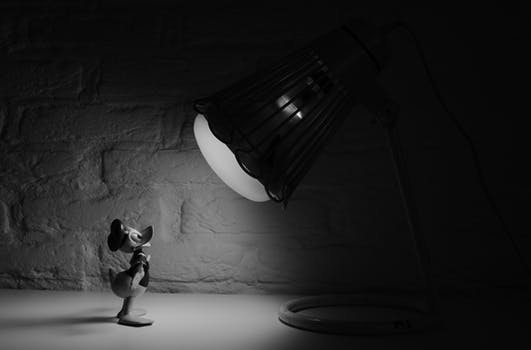
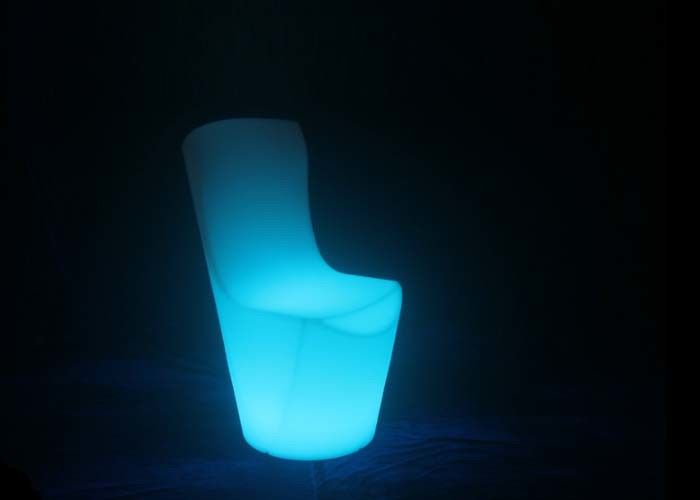
Our goal for many of these steps will be to MINIMIZE or ELIMINATE the influence of lighting on our sample pattern. This is a reflection of reality: light sources are emittive and do not come from the objects which that light bounces off of. Light bulbs might be made of glass and filament, but if they're generating real light they are white, hot points with at most a color cast. A chair can sit in the dark. An active light, by definition, cannot.
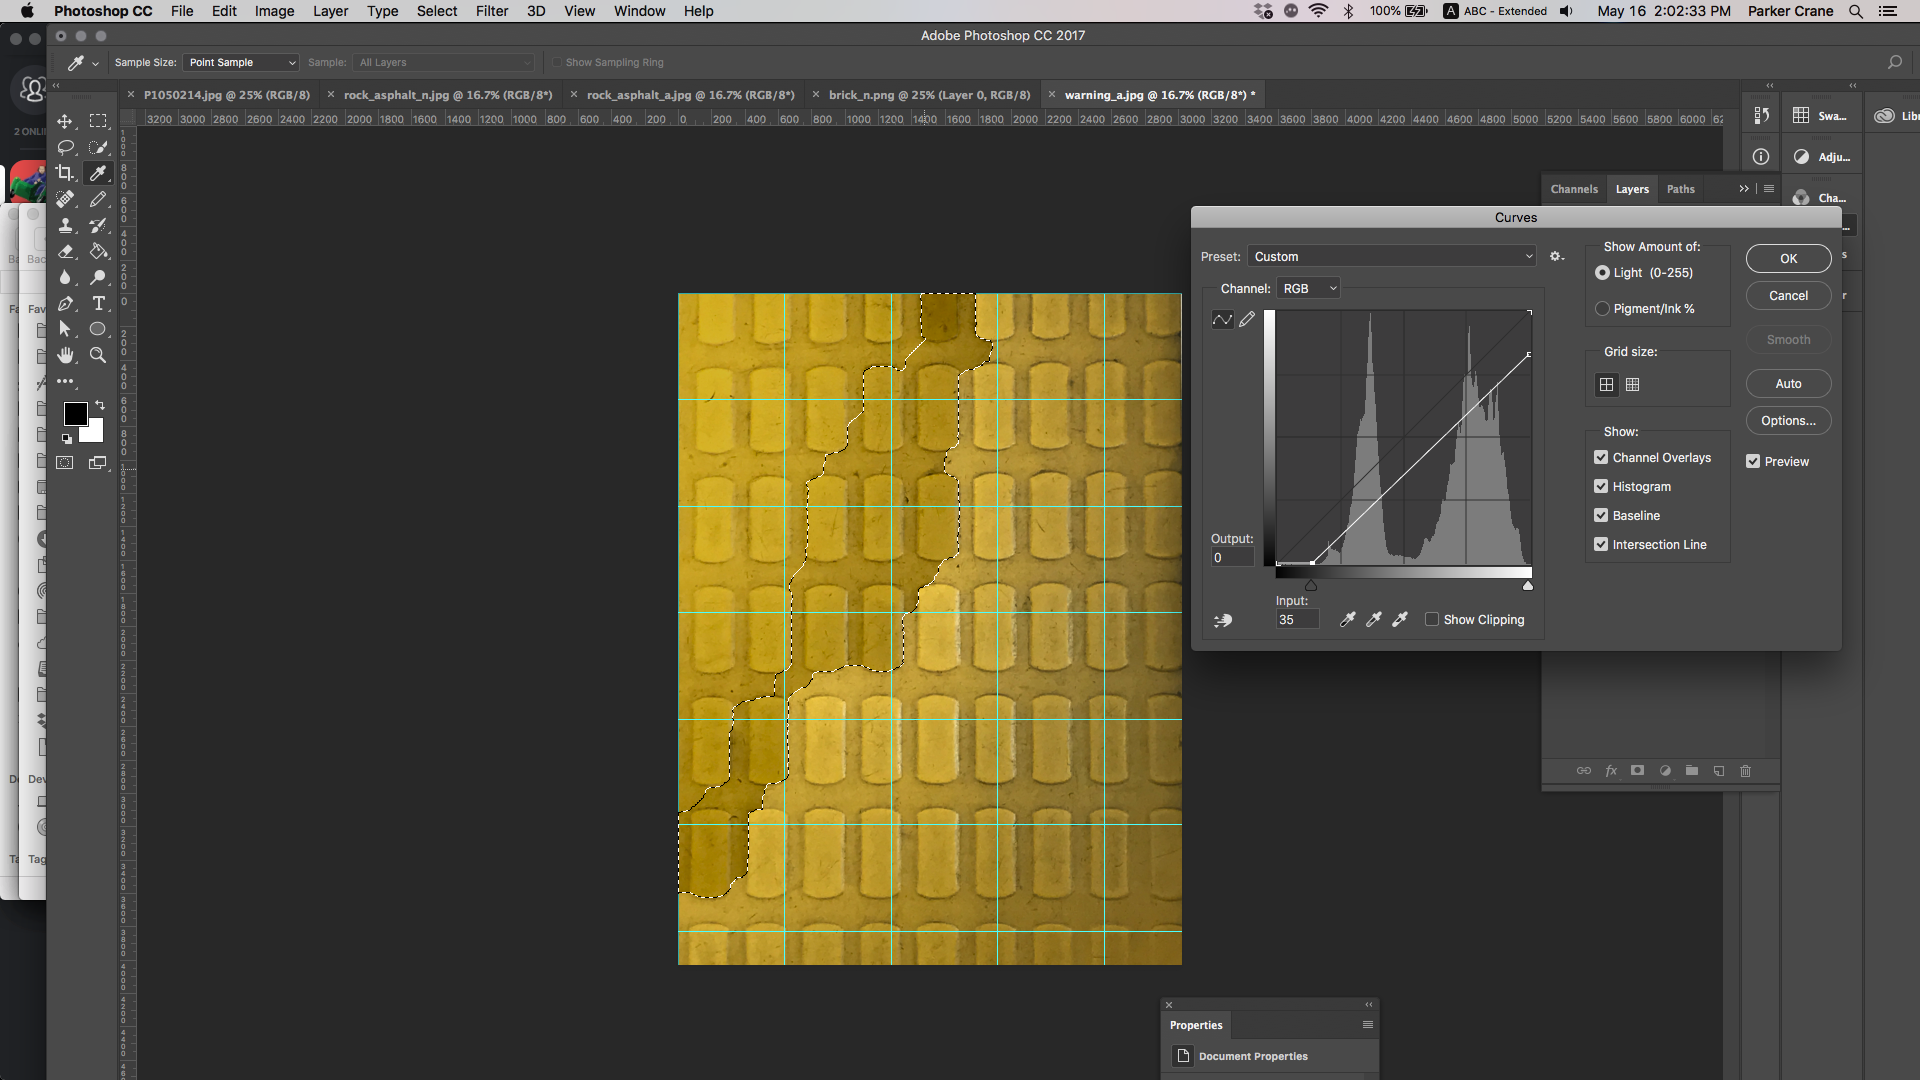
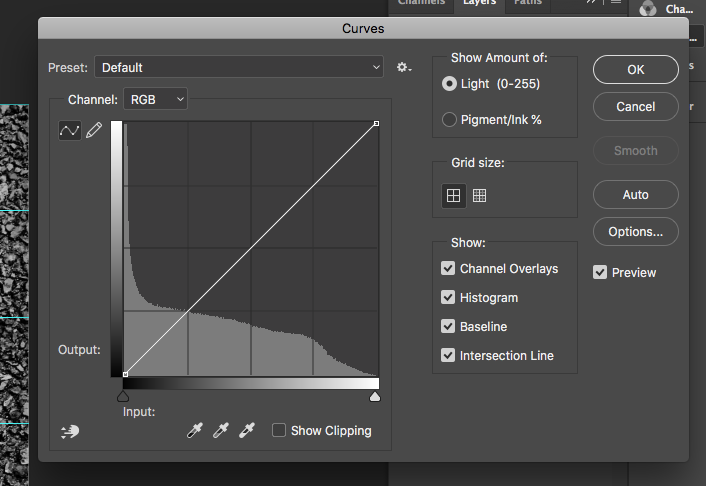
This means that for our alpha we will want to limit the dynamic range of the file to represent actual differences in shade. We do this by using the spectrogram, which you can find and manipulate using either the “levels”, “curves”, or even just a contrast slider tool. We can also select small parts of the pattern and selectively change their coloring. We want things not to be too bright and not to be too dark, but rather middling. While reducing contrast is one way to think about it, what you are actually trying to do is bring high white and high black values closer together. If you would like to change the coloring of your pattern, now would be the time.
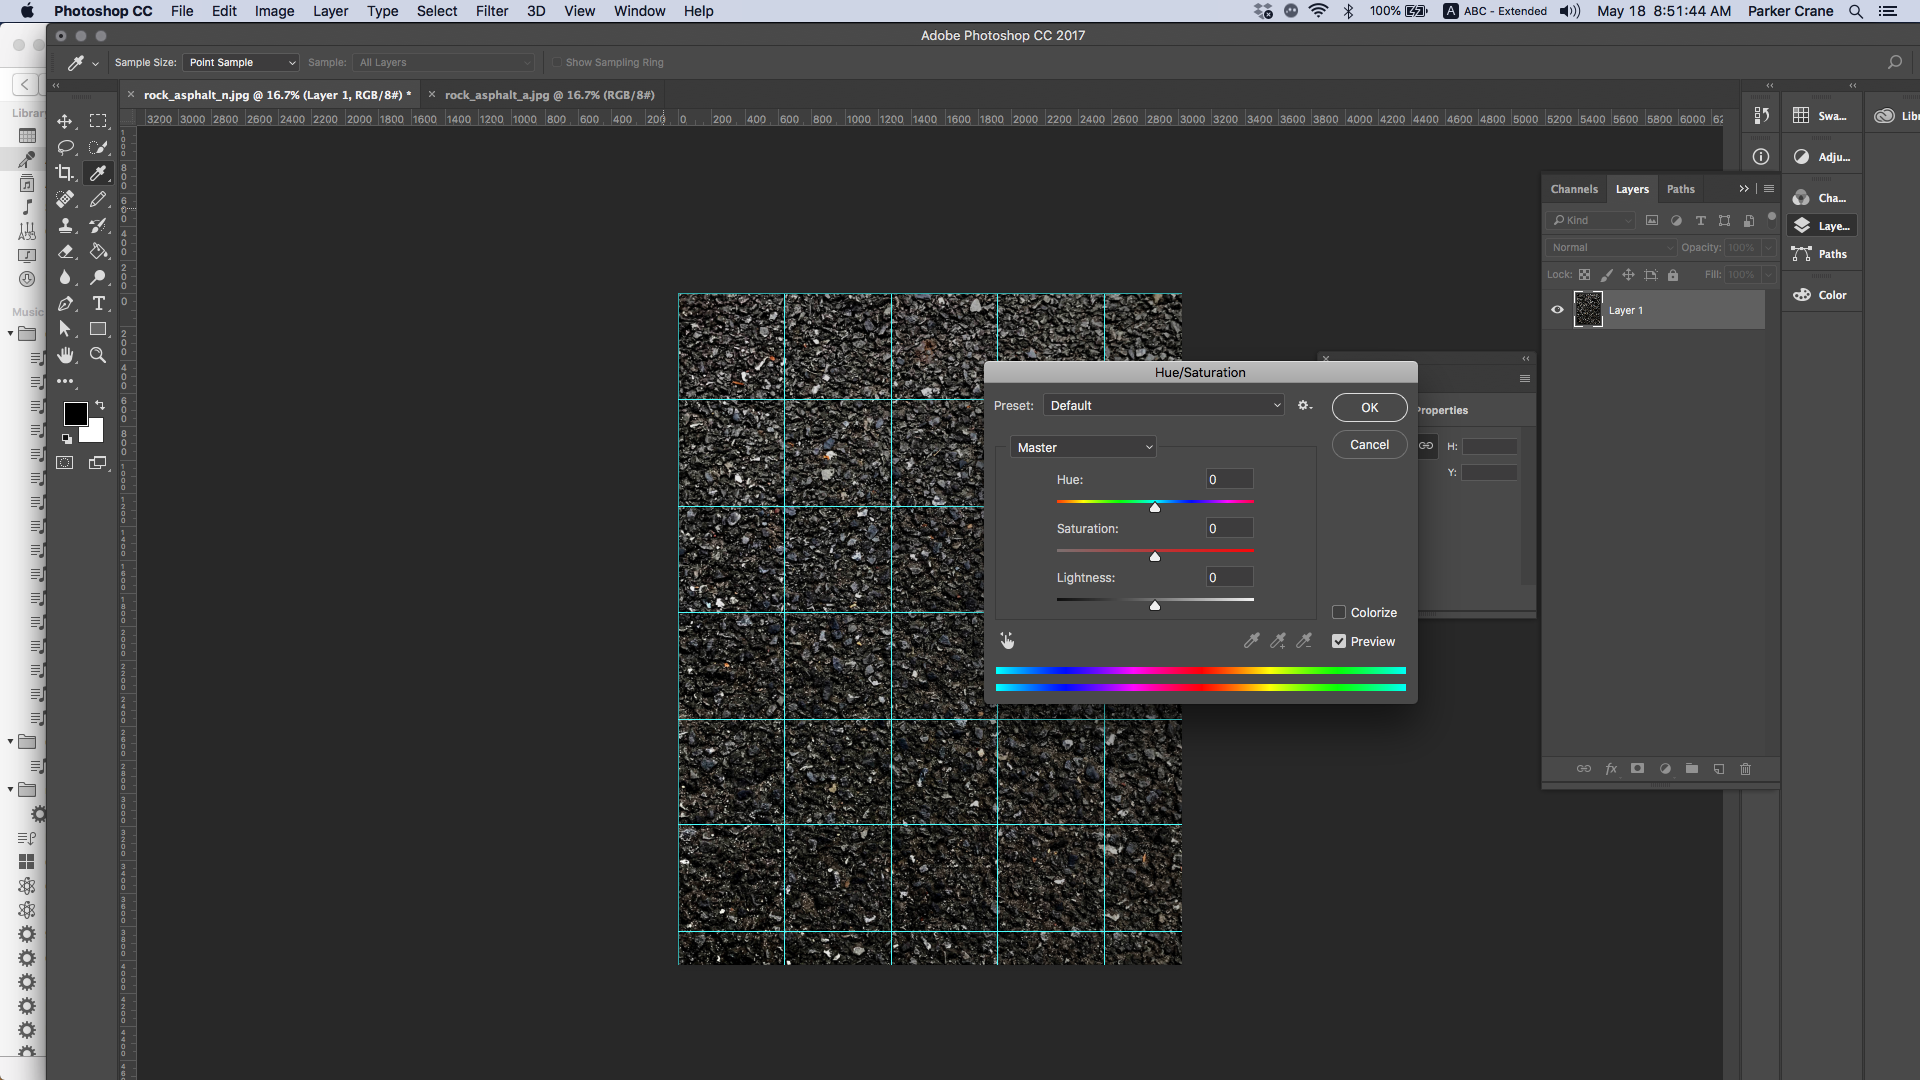
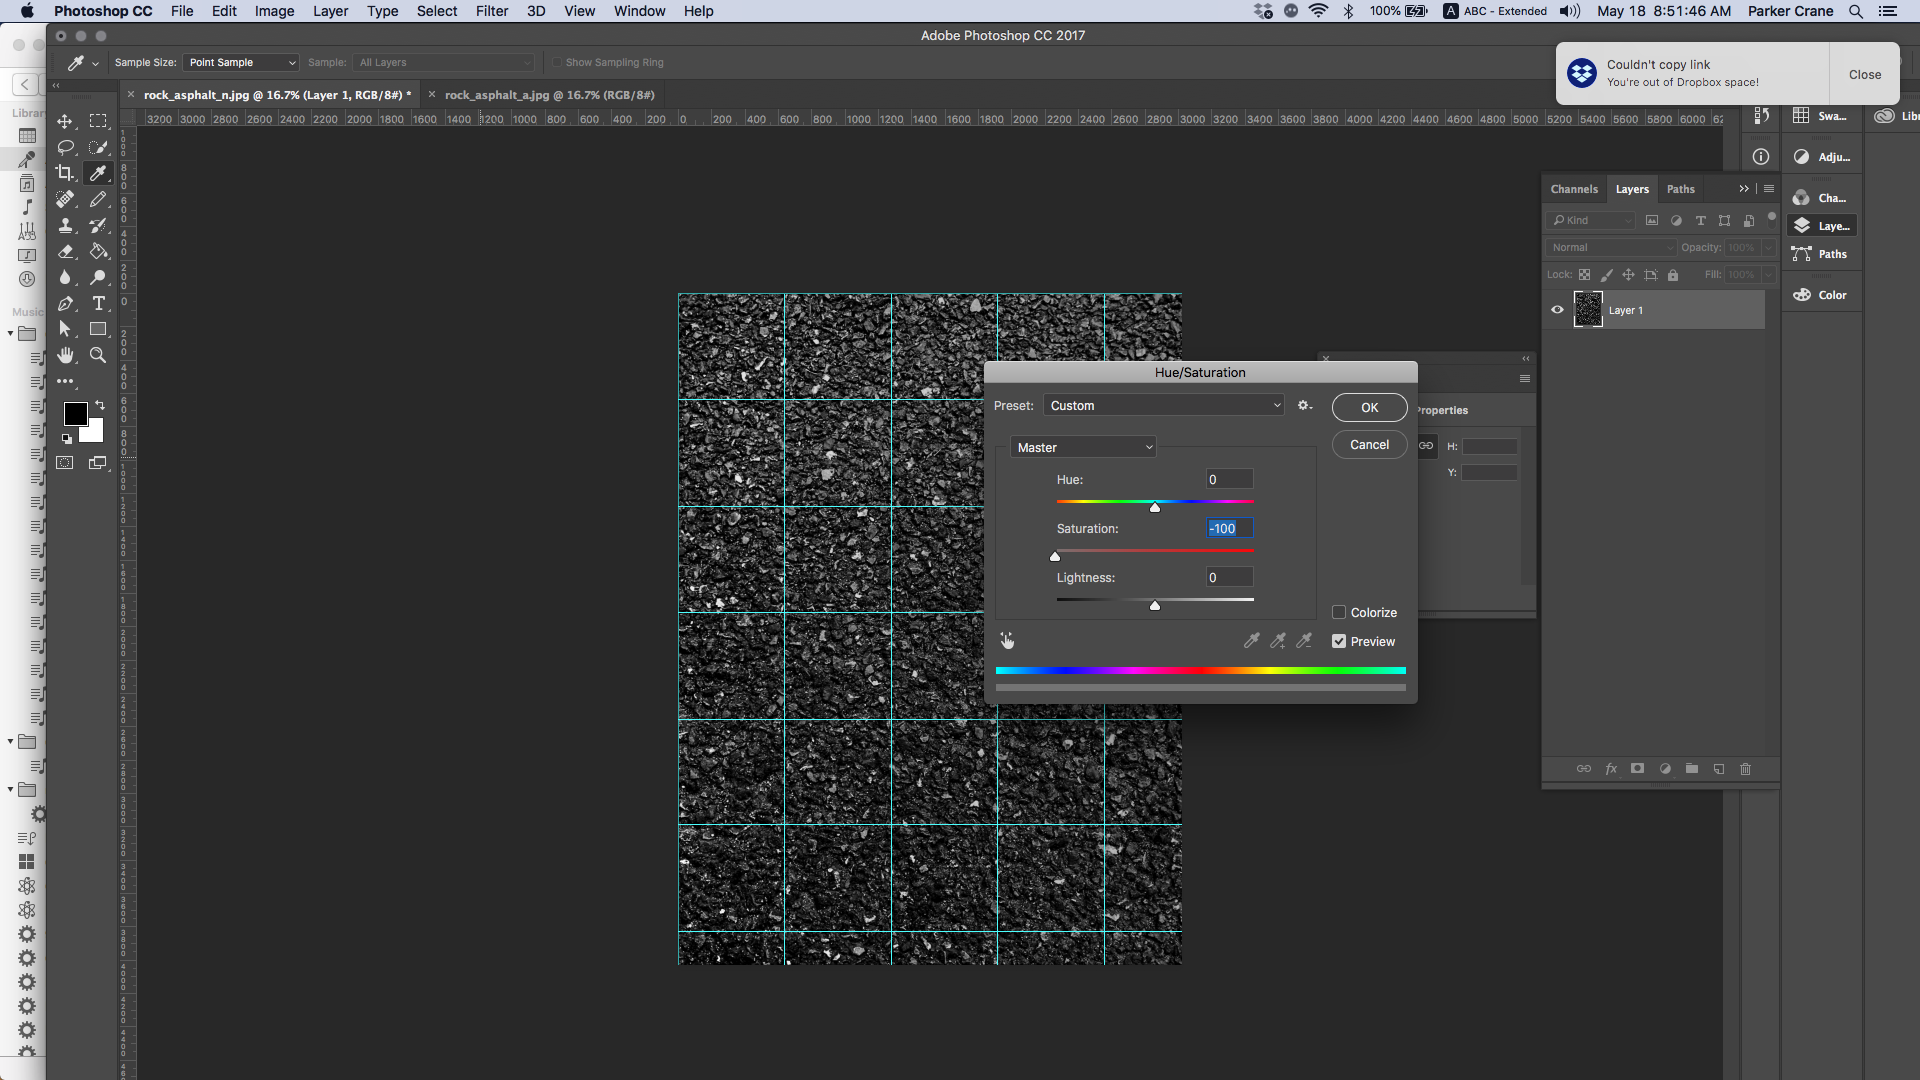
Once we have our alpha texture we can move on to the normal map. Save another version of your original pattern and call it Normal, or N; whatever will help you remember what it is. We will immediately make it grayscale by turning the saturation all the way down. This will give us a black and white image which should roughly mirror the topography of the pattern. To make it starker, we do the opposite of what we did before: while we don't try to crush dynamic range, we still try to increase it as much as we possibly can. Our goal here is to capture as much detail as possible, but Unity can be variable in it's sensitivity to different textures. You may have to play around with it to get what you want.
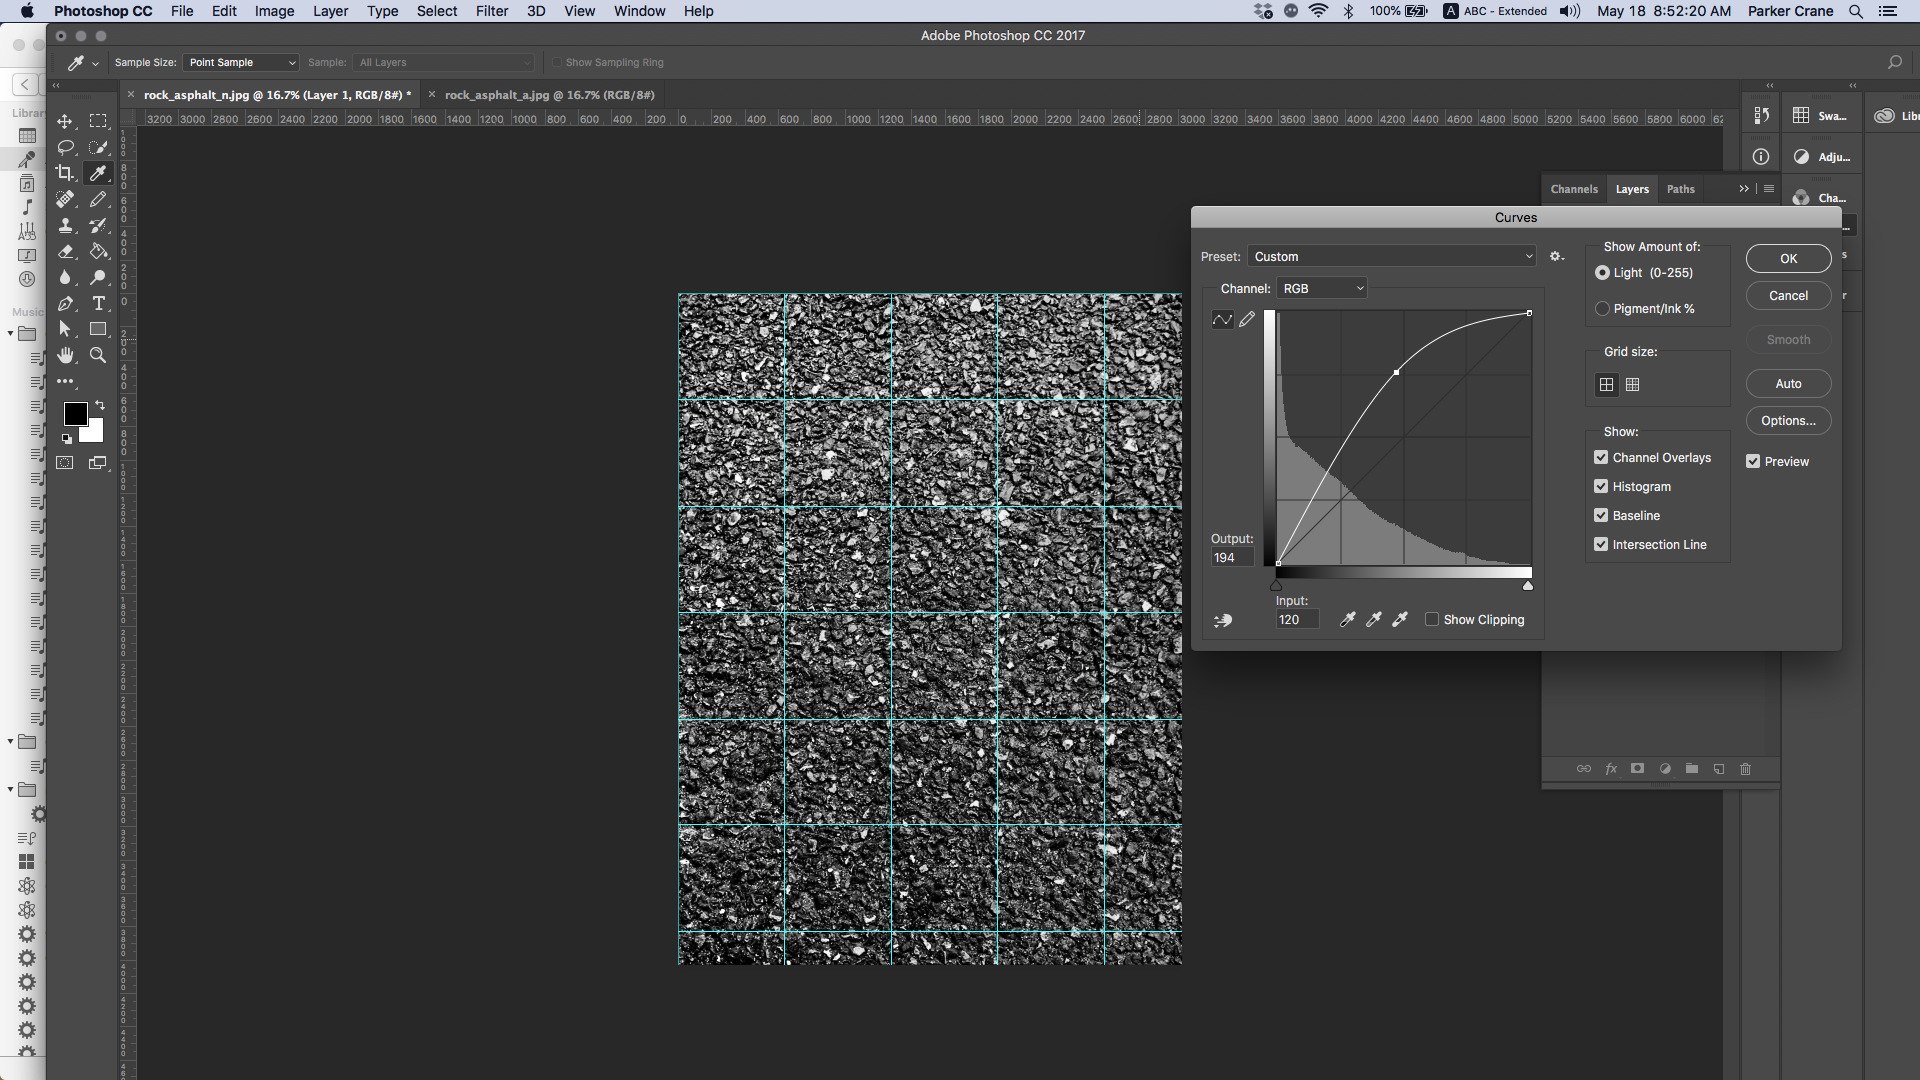
We have slight shade issues from top to bottom, but the difference is too fine for selective changes. As such, we apply a blank (note BLACK!) and white gradient.
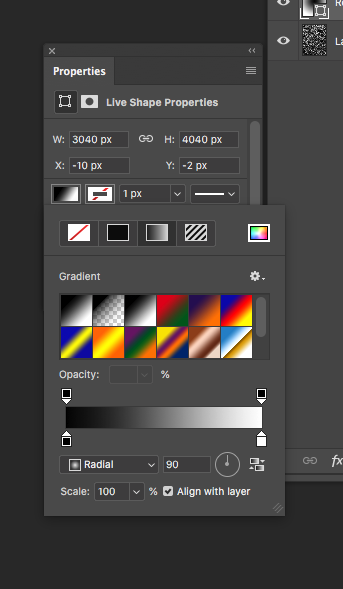
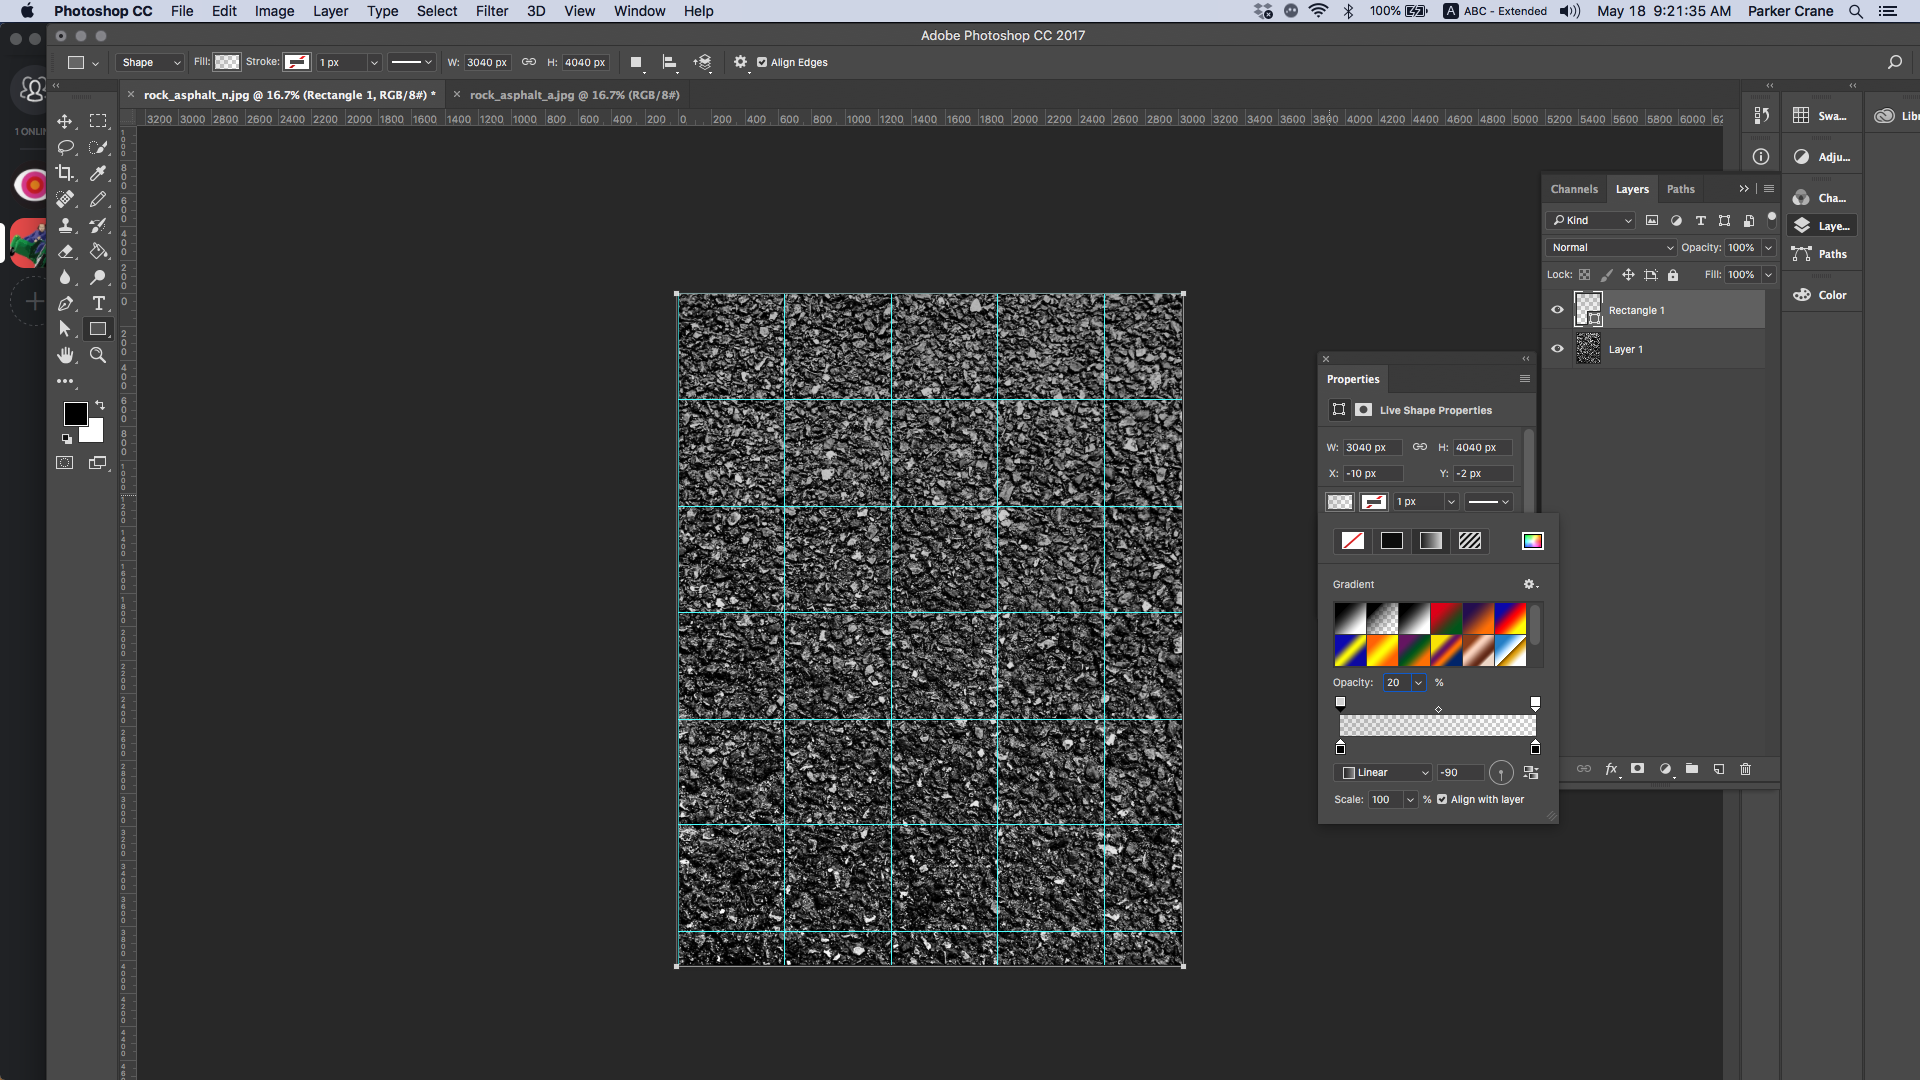
This lightens up our source more selectively. The final histogram looks something like this.
Two caveats to note: a plethora of wildly different colors will sometimes confuse the normal map and the pattern needs to look good next to itself. This is because ultimately the texture needs to be something which can repeat across the surface of an object: anything with huge differences between one side of the pattern vis a vis the other will make that very difficult.
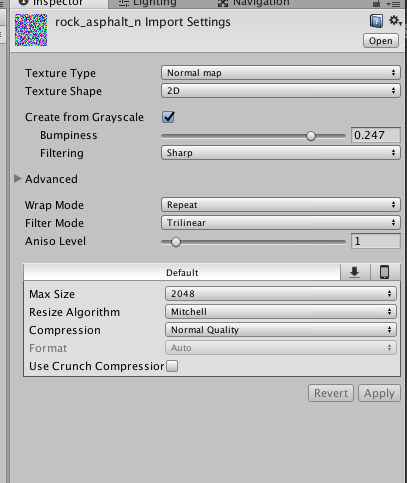
Now that we have our normal and alpha, all we need to do is load them into Unity. This, thankfully, is very easy. What we do is import the two textures (just drop them in your file folders) and then make sure to set our "normal map" to be iterpreted as such in the inspector on the right hand side. Make sure to have the "convert from grayscale" option selected when you do. These are persistent effects that you can change at any time.
That's it! From here on, we can apply our cool textures to anything and everything.
Thank you for joining us, if you'd like to subscribe to the Timeforce mailing list or wish to learn more, please click here!