One of the most frequent questions I get is how I go about making levels for Sarah’s Run, so I shall share!
first of all, there has to be an idea for what I want in the level, either in my head or on paper, making it up as I go is possible but it takes a little while and its very likely I lose my train of thought before I get anywhere. so, have a plan, you can come up with one of these anywhere, I was at a train station yesterday, killing time, when I drew this:

sure it’s messy, but it’s enough that I can recognise what I was going for with it and could get on with the level making once I got back to my PC.
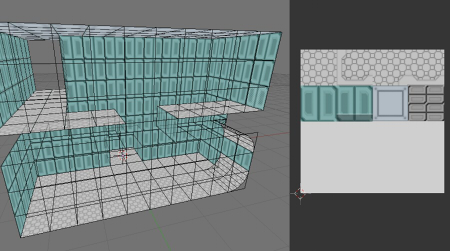
First up, TILES!
I made these and set the texture co-ordinates in Blender a while back, if they are unwrapped at this point it saves time later on when I tweak the texture co-ordinates.
Tiles are pretty sweet for a number of reasons, firstly they are super fast to make levels with, and because I can put them together in Unity itself, I can test the level as I make it really quickly, rather than building the level in another 3D app, and exporting then importing and tweaking settings every time I want to see if a ledge is the right height or a gap is wide enough.
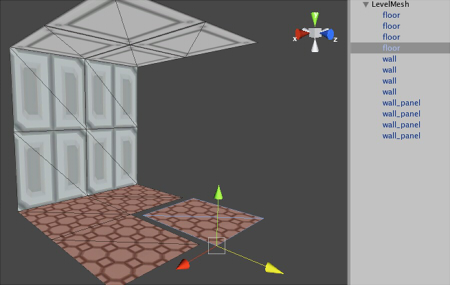
The downside to tiles in unity is that they *can* be very inefficient, especially with how many are in many of the levels in Sarah’s Run, hence why I place them all inside a ‘LevelMesh’ game object that combines all the seperate 3D models for each tile into a single mesh, meaning that whilst I’m testing drawing the level takes only one draw call, and not about 3000 (I had 7000 draw calls per frame sometimes before I decided I should fix that lol)
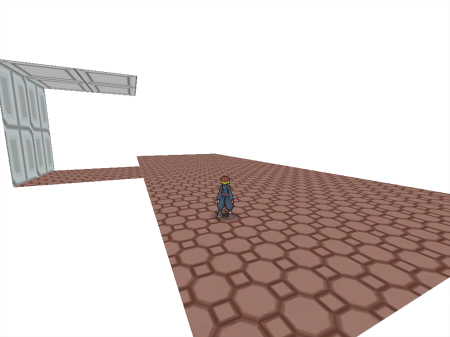
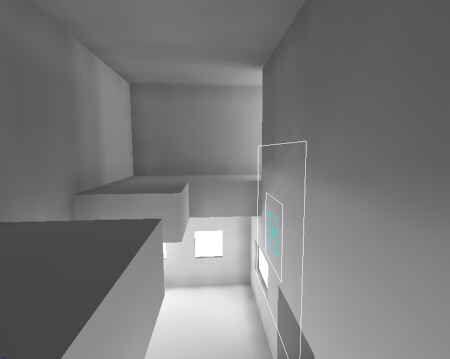
so what follows is lots of adding, testing, tweaking until the level is playable;
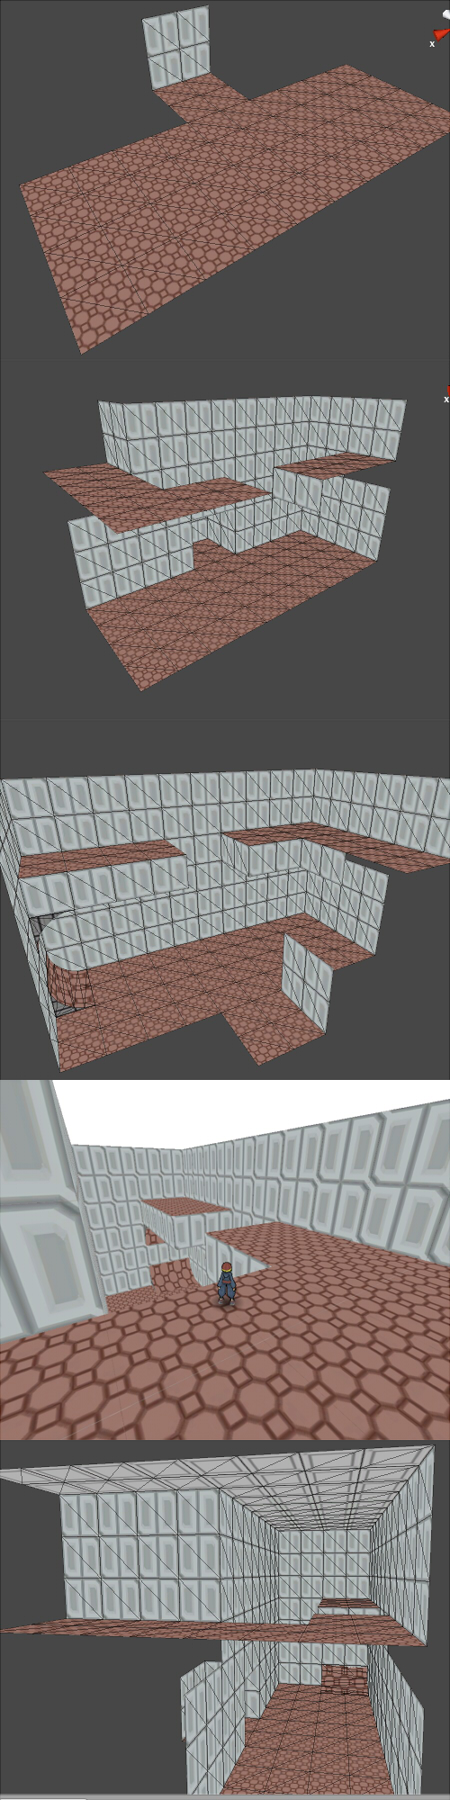
So, I can play the level, but it’s not easy to ‘read’. that is, you cant look at the level and quickly see what form the level has, it’s pretty messy. So we need to juice up the graphics a bit with some lighting (the best way to give a 2D image form IMO) and also make the textures more… good :).
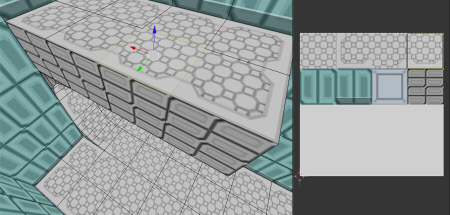
So, we export the level and take it into Blender (the export script Iuse is found here for you unity junkies)first up we tidy the mesh and clear out any faces that wont be seen, and also use a more recent texture atlas:
Once that is done, I go around and move the UVs (texture co-ordinates) for different faces so details like the floor borders look right:
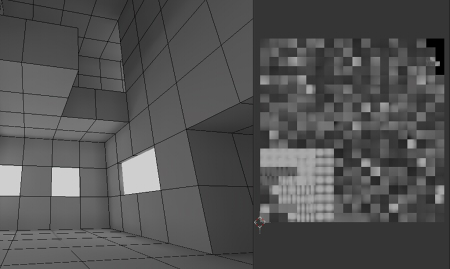
So that’s what folks call the ‘diffuse’ (unlit) texture sorted out, but in Sarahs run my environments have both a diffuse texture and a ‘lightmap’ texture that describes the light in the level. so first step for making a lightmap is I put in some meshes I want to act as ‘lights’ set them to emit and get blender to calculate ‘radiosity’. it sounds complicated but mostly I click ‘go’ and play some guitar hero until it’s finished.
once the ‘light’ has been calculated, I ‘bake’ it onto a texture (that means I get one mesh to copy whatever the lighting is on each face to the relevant part of a texture map). you can see the baked texture on the right of this pic:
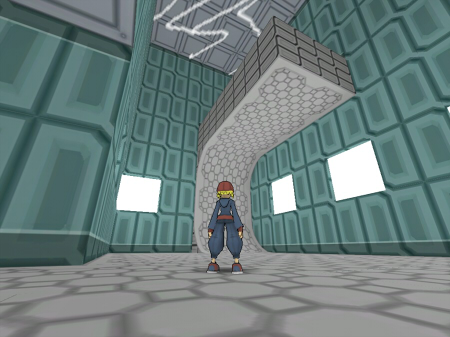
here’s what the level looks like when we take it back into unity, with both texture working together (after a little tweaking the brightness):

and just adding the deadly floor and the level is complete!
You can also play the level here if you like. This is where I say the level is ‘done’ but that isn’t really the case, if this level was going into the game I would have to make quite a few tweaks, such as offsetting the two ledges, especially if it appears earlier in the game, and I’d need to adjust the size of the gap, how high the electric ceiling is etc. I’d also like to test if it works better as a 2.5D level (like level 5 in the preview) I suspect it would.
Anyway, hope you enjoyed that. ![]()

Pretty nice, good read.
thanks! I'm glad you like it, sometimes with posts like this I worry I'm going on about things no one actually cares about ^_^;
Interesting :) I was actually thinking that it might be a good idea to make a blog entry to tell people how things work, under the hood !
Good idea and really nice game :)
thanks, and if under the hood stuff you like I'm planning on going into how I do the wall running stuff too :)
Nice!
good job!
Really nice to play.
amazing! thanks for sharing
Very informative and cool!
Hey Sophie. You really should write tutorials, or do them in video blog form. I like how you made this post "noob friendly".
Keep up the great work!