Welcome to a new devlog for Assembly RTS, the physics-based real-time strategy game!

(a small military workshop, imagined by midjourney)
Hi everyone, this week I've been working on the vehicle customization screen, aka. the assembly.
In the last devlog I decided on an outdoor setting for this, but I've since changed my mind.
Instead, I continued working on the workshop environment.
Lighting the Assembly
To make the assembly look as good as possible I experimented with different lighting setups and volumetric fog.
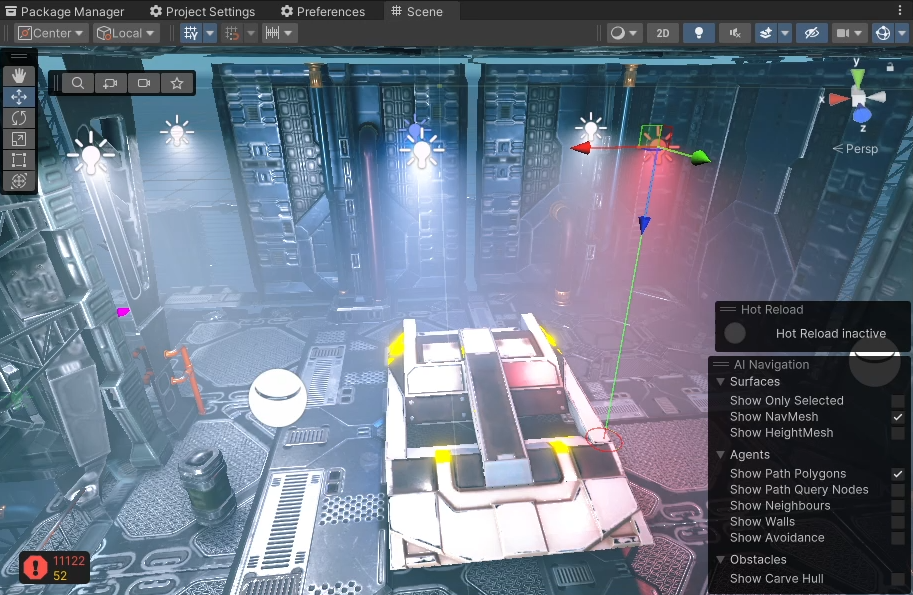
My hope was that the volumetric fog would look like smoke filling the workshop.
As it turns out, fog looks a lot more like fog than smoke 😅
Although it had a great visual effect on the scene it also reduced visual clarity.
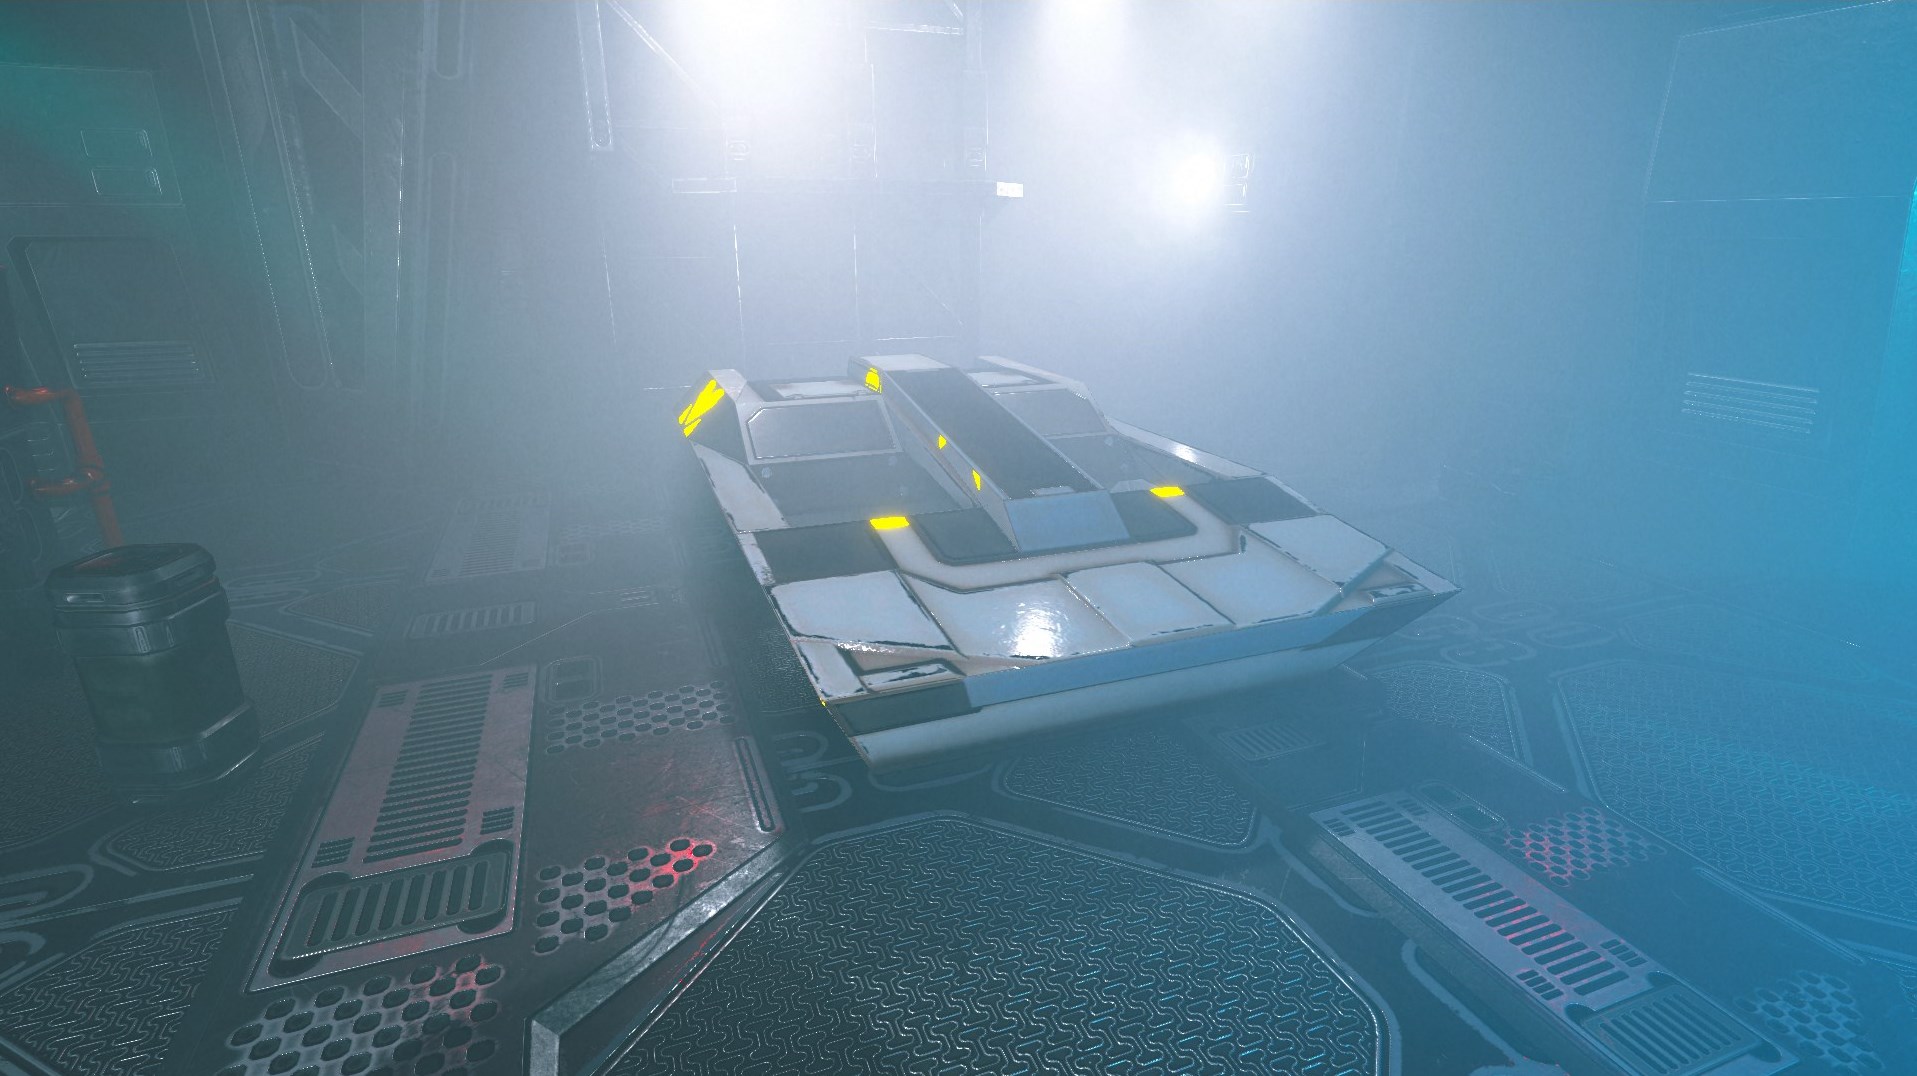
In theory I could have created a shader to achieve the desired effect but instead I decided to ditch the idea completely.
Once I removed the fog and improved the lighting even further I focused on creating the user interface.
I even experimented with having a 3D representation of the vehicle operator selected to the right.
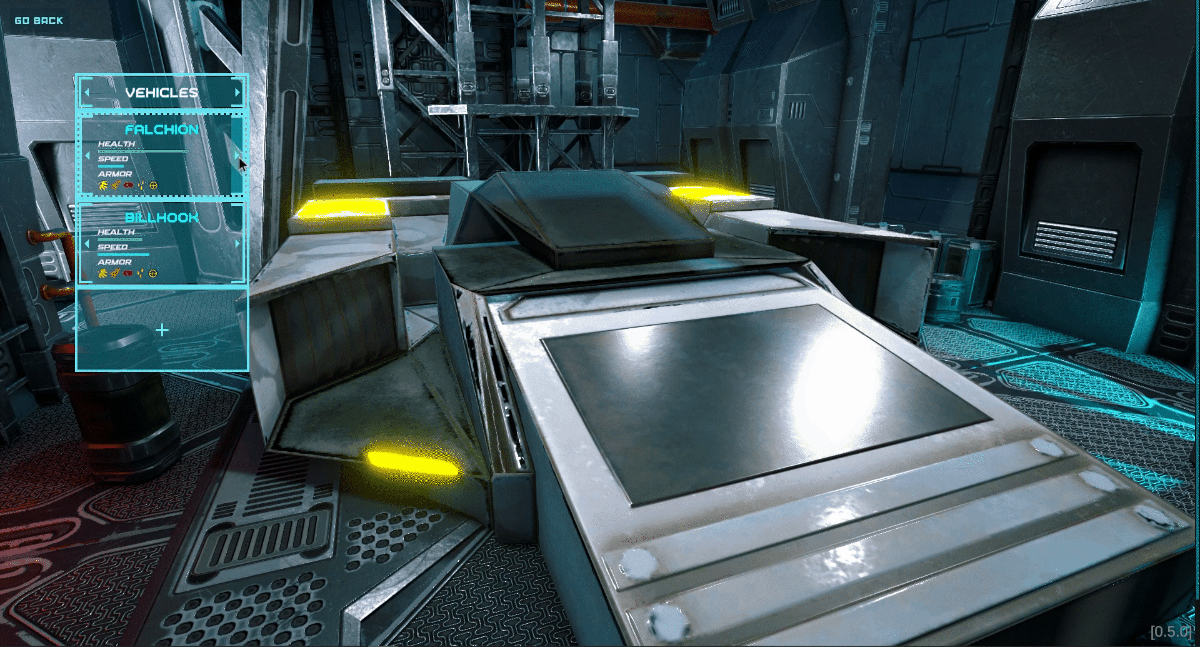
The Assembly User Interface
Please let me know what you think of displaying a 3D character for each operator in the comments section.
I've personally opted against it because it doesn't really add much visually in my opinion.
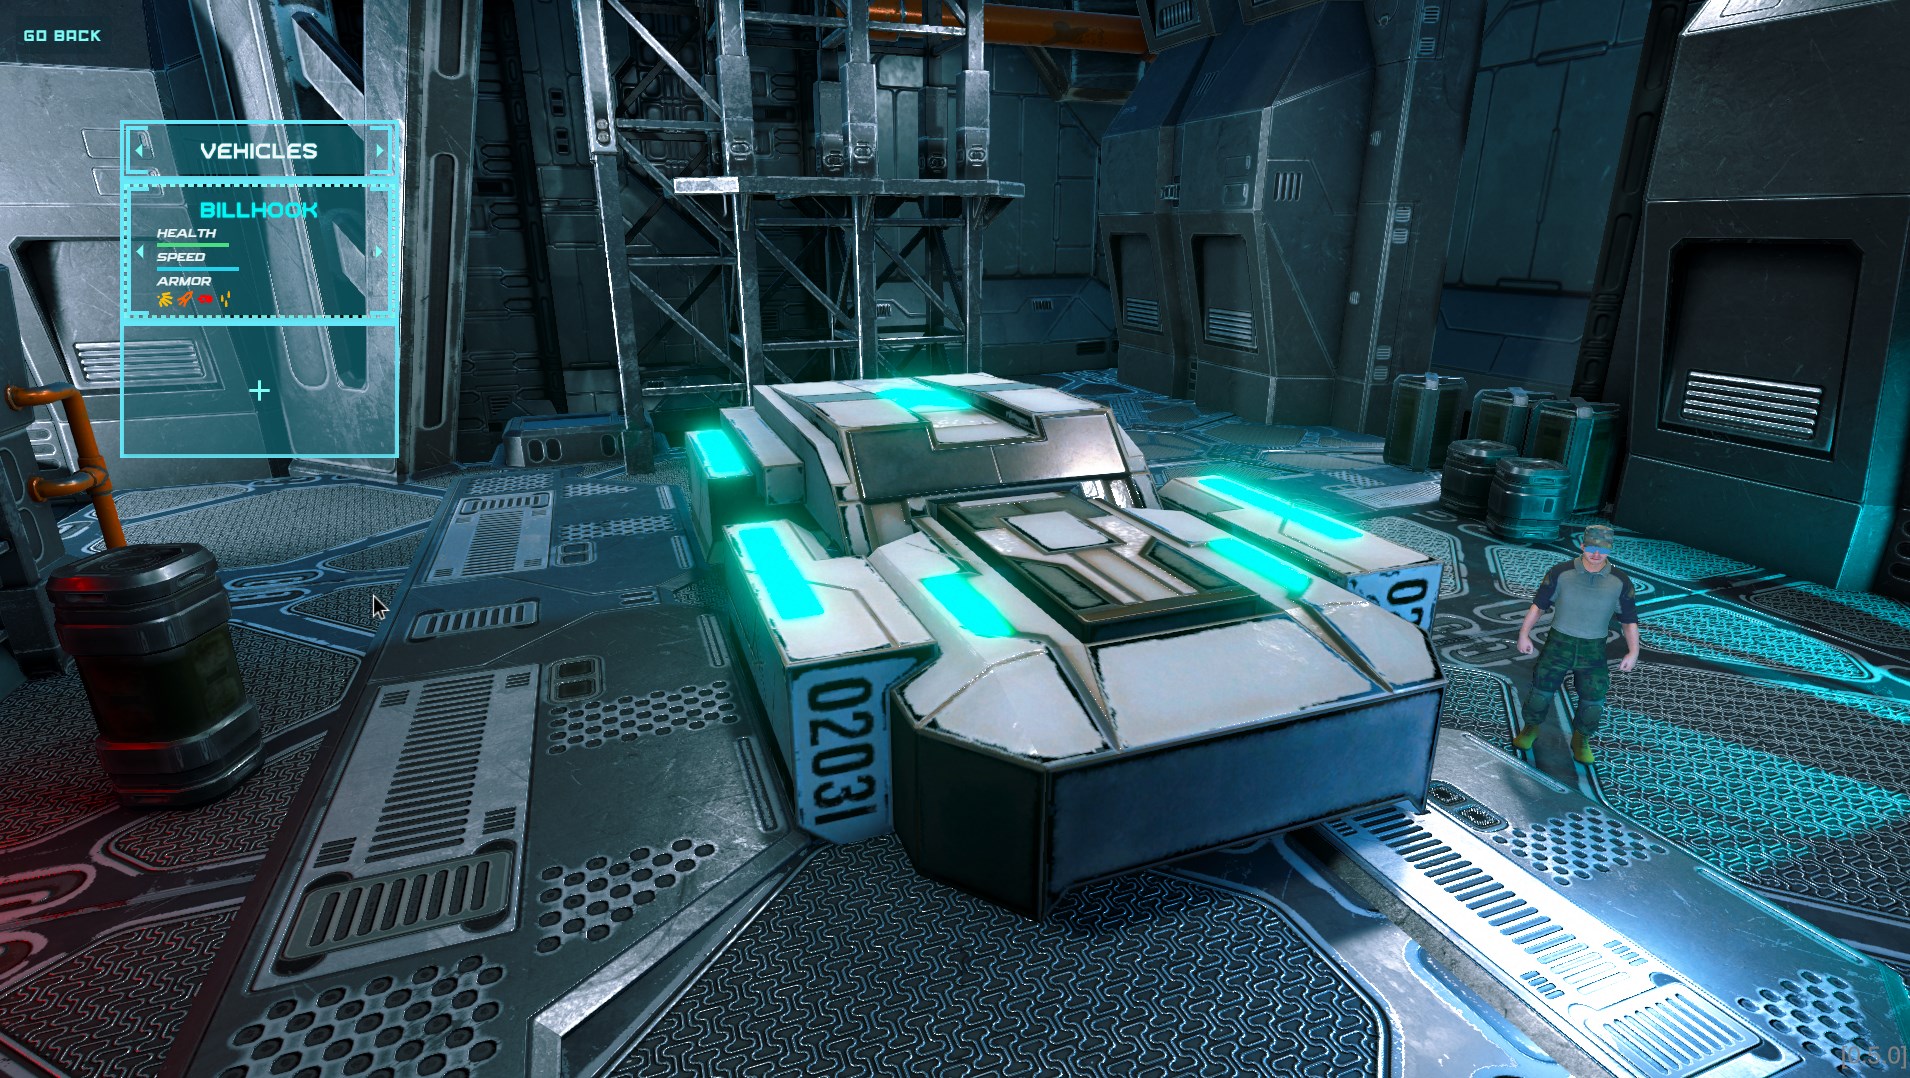
Down below you can see what the vehicle customization screen looks like right now.
The UI isn't finished and you can't select different components yet.
Notice that I've made a separate icon for each damage type:
Grenade, Rocket, Cannon, Bullet and Sniper.
One of these icons is displayed for each of the armor's weaknesses.
For example, the Billhook hull has a weakness against explosive, rocket and bullet damage but especially cannon damage.
That's it for this devlog, I hope you found it interesting. If you are excited by vehicle customization in a strategy game, including an array propulsion and weapon module options, WISHLIST Assembly RTS on Steam.
Mechs and aircraft will also receive customization options and possibly even infantry!